You’re Beautiful | Happy Days collection | Tarrah McLean
Hi creative friends,
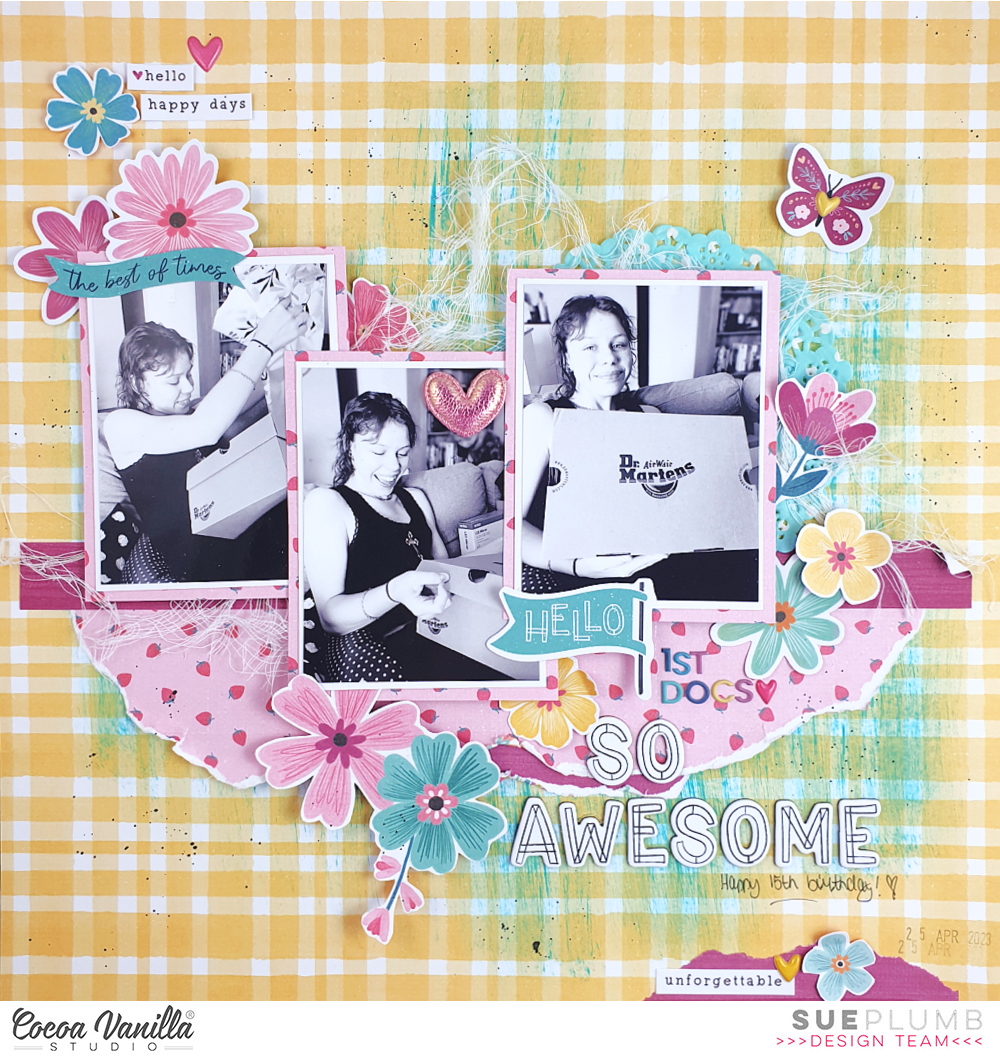
It’s Tarrah back with you and today I am sharing a new layout featuring the gorgeous new Happy Days collection!
Have you seen the gorgeous new gold foiled specialty paper in this collection? It is soooo beautiful! I knew I had to use it for a layout! I decided to document some dress up photos of my niece, adding a total of 3 photos on this layout!
Make sure you get the specialty paper in your Happy Days collection order, you won’t be disappointed!

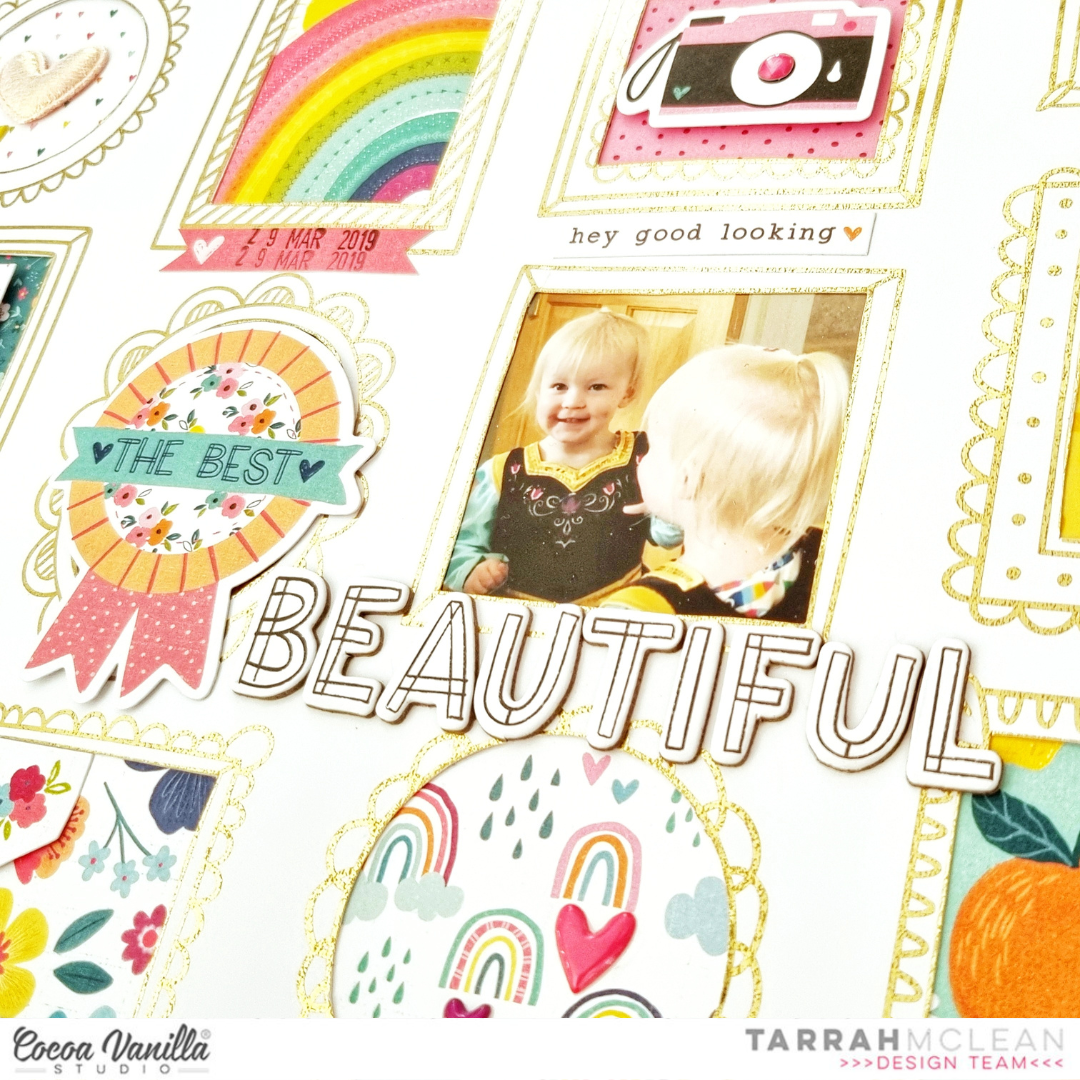
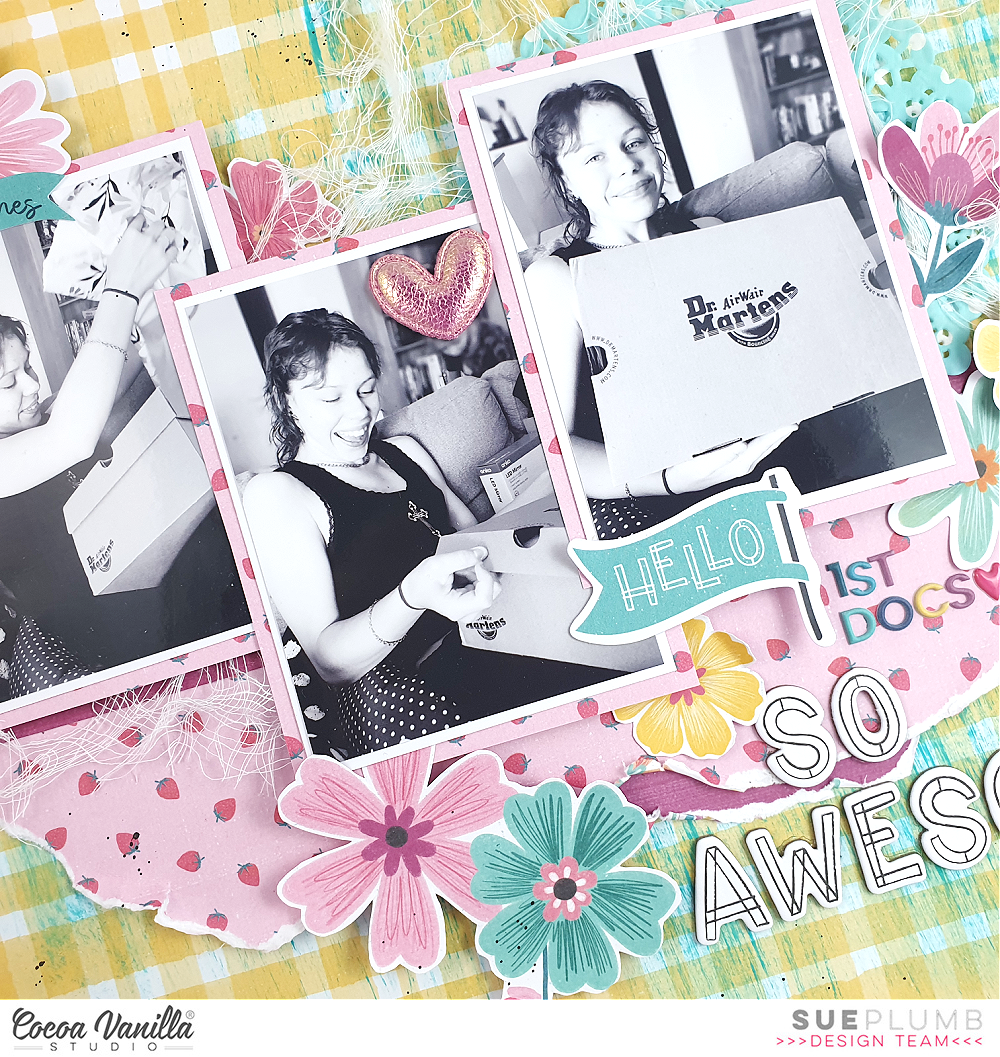
I took the gold foiled specialty paper and carefully cut out the centres of the ‘frames’ with my craft knife, leaving just the outline of each ‘frame’. I put the centres aside in case I want to use these on a project in the future. I then took the A5 paper stack and chose 1 of each of the papers from the pack and backed all the spaces in the papers where there were no photos. My title is made up of the gorgeous chipboard alphabet stickers. I placed the title split up so that it helps draw your eye around the layout.
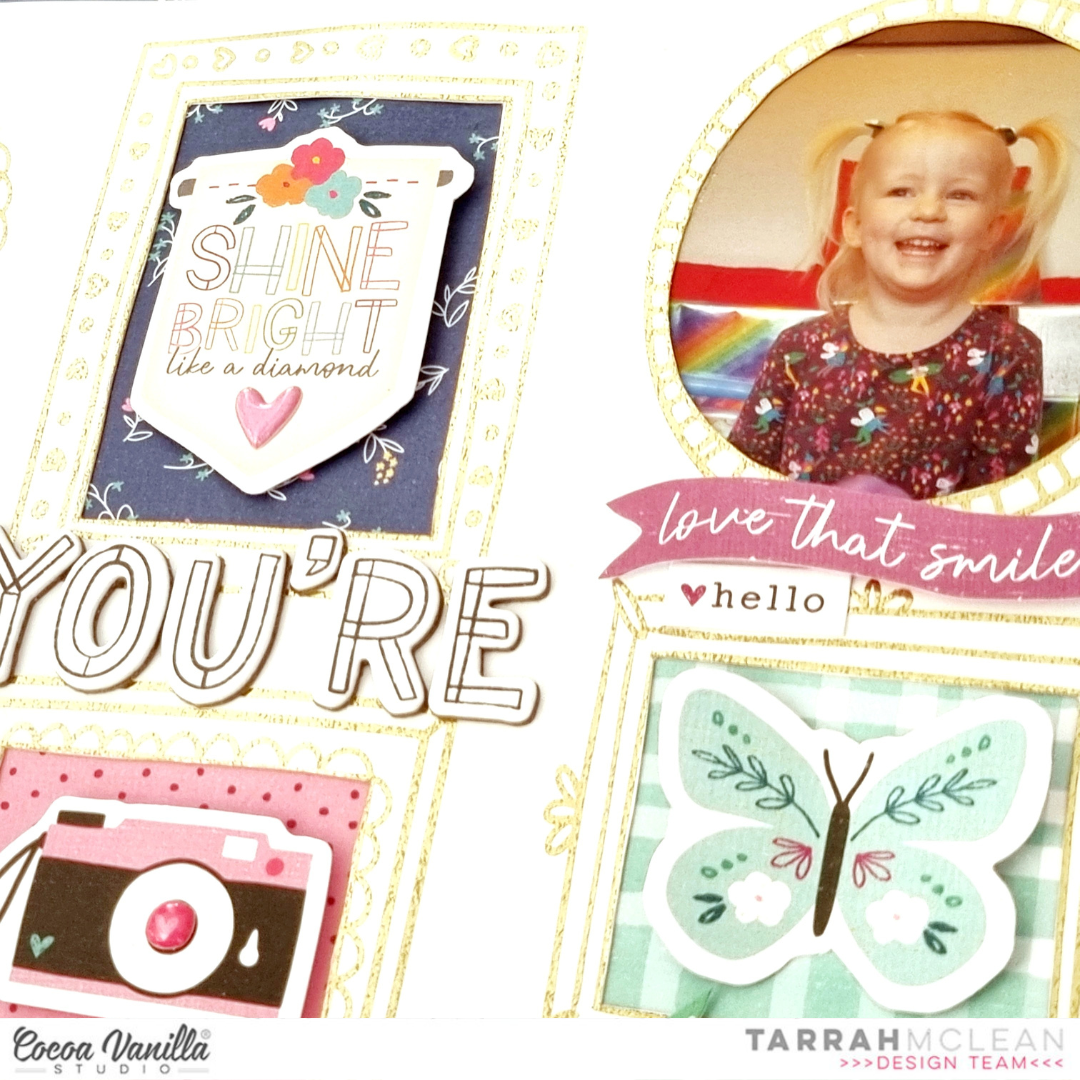
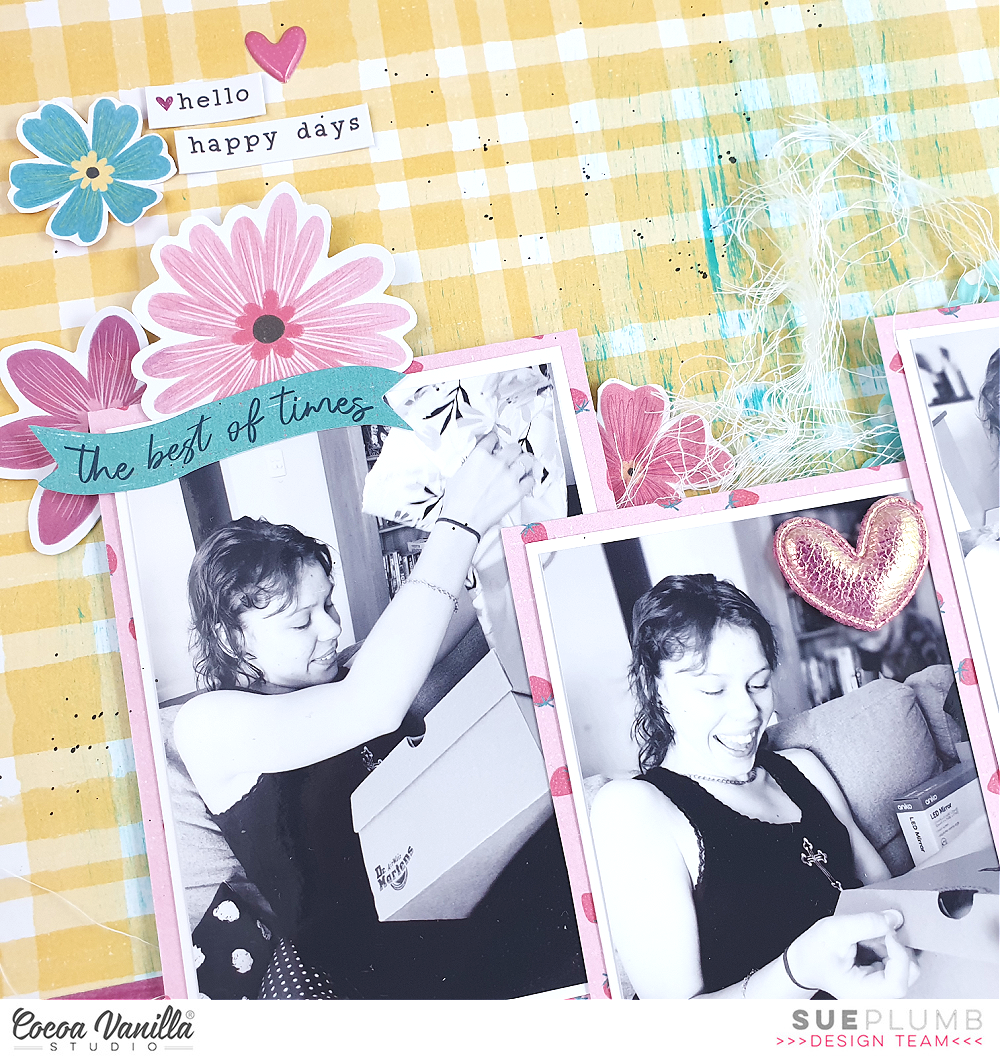
Once all of the spaces were backed, I trimmed down the specialty paper and adhered this piece to the ‘B’ side of the ‘Definitive’ paper to frame the entire layout. I chose a variety of the beautiful embellishments in the collection to embellish each of the ‘frames’ including die-cuts from the ephemera pack, enamel hearts and dots, fabric puffy hearts and accessory stickers. Many of the embellishments have been adhered using craft foam underneath to add dimension to the page, I love how the craft foam creates shadows and dimension.
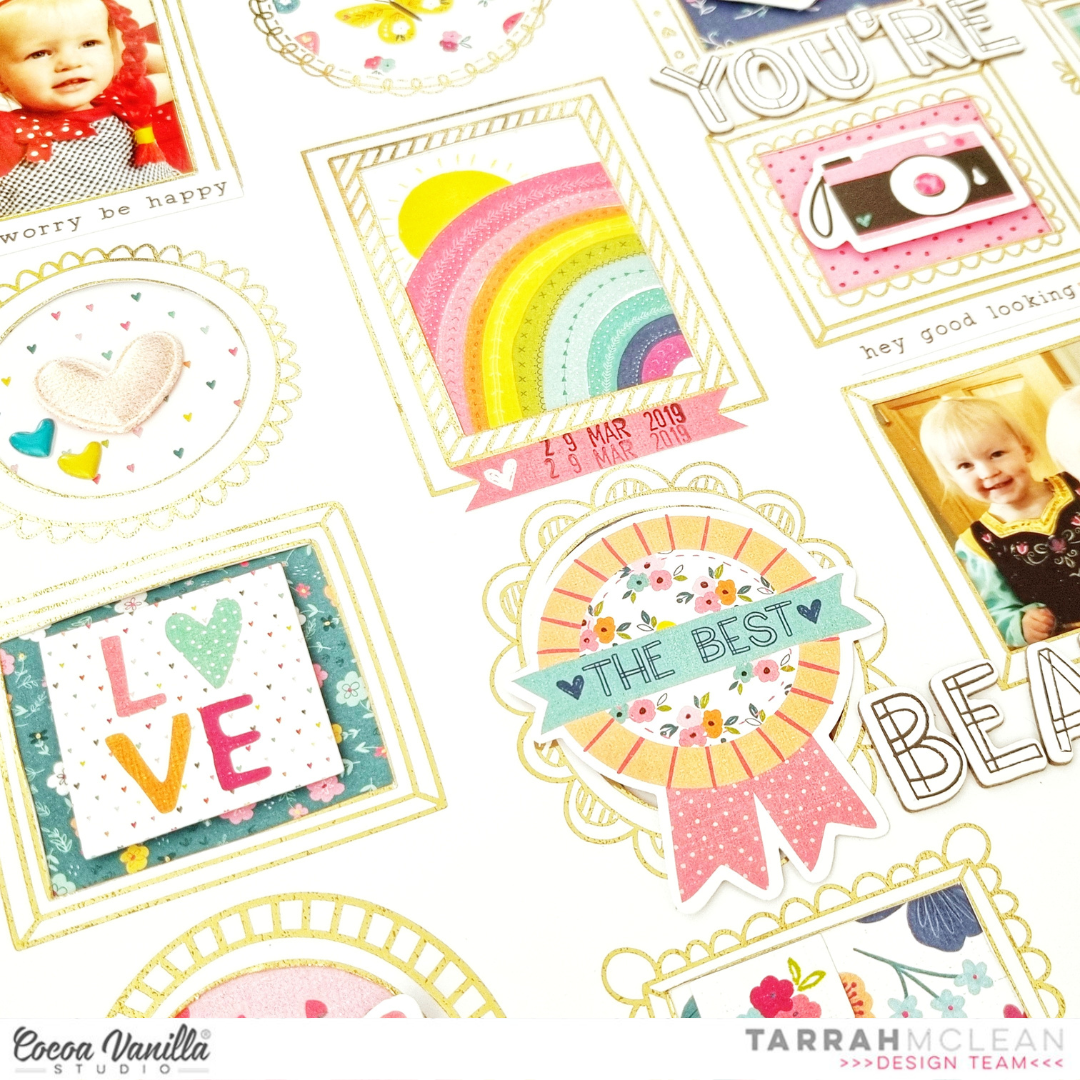
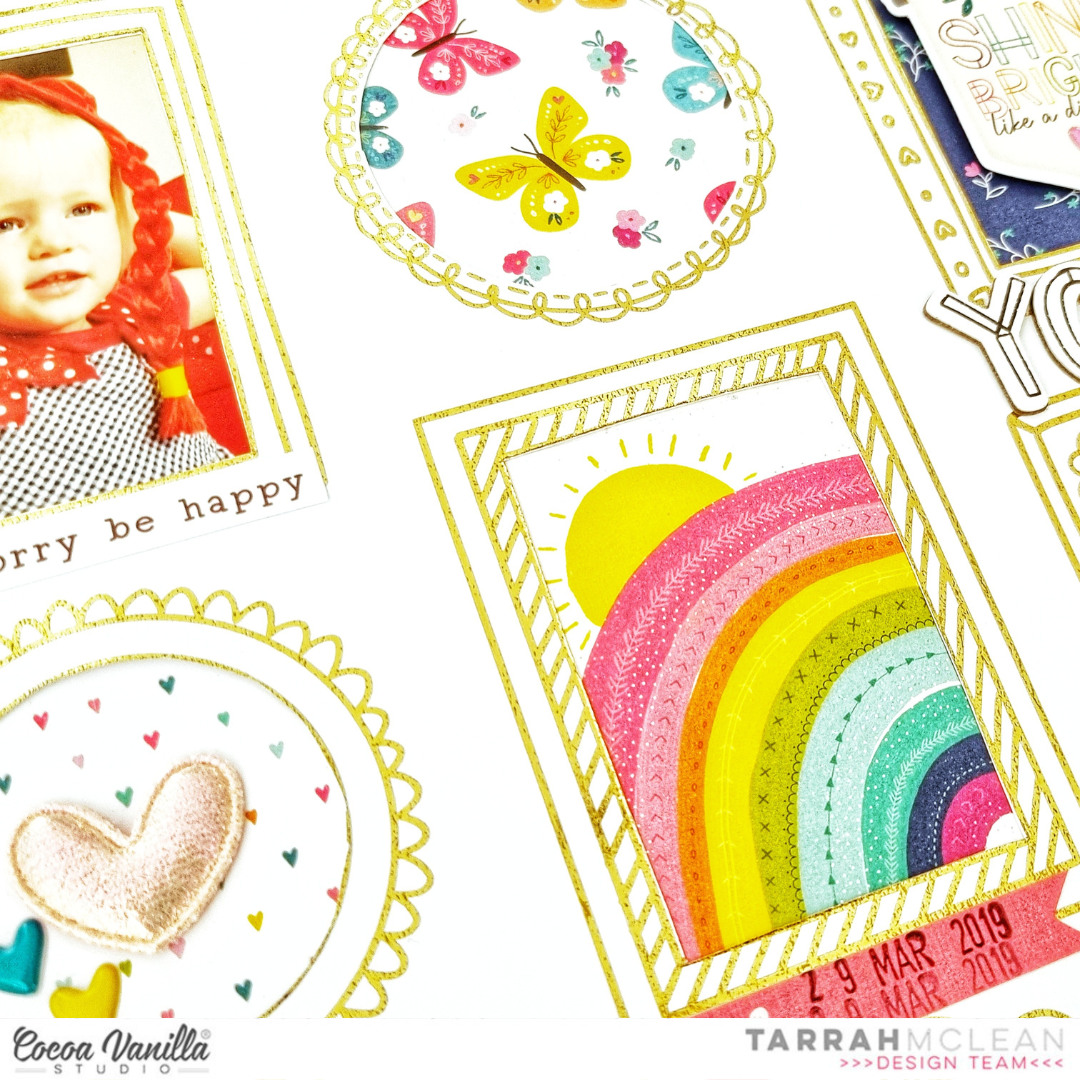
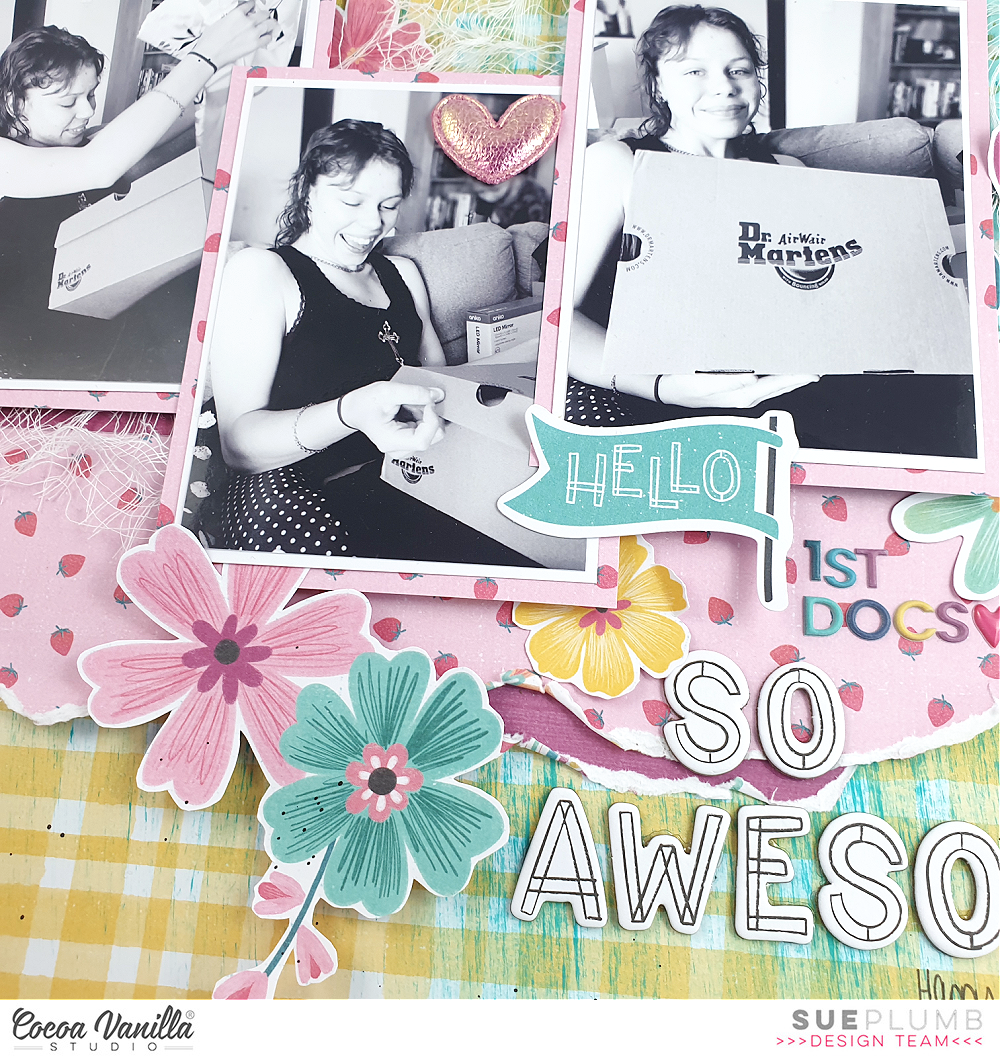
On some of the spaces, I chose to leave the embellishments off as I felt that the paper was enough for that space. You can in the below image, I left them off the rainbow paper and the round butterfly space. I also left the orange and lemon space free of embellishments and the horizontal rectangle at the bottom as well. Some of the spaces only have subtle embellishments such as the round space with the rainbow paper, I have only added 2 enamel hearts to this space.
I love how colourful and bright this collection is and how easy it is to create pretty projects! The collection made this page come together so easily and I love how it turned out! I can’t wait to see what you all create using this beautiful collection! Make sure you get your hands on it soon!
Thank you so much for stopping by the Cocoa Vanilla blog today! I hope you enjoyed reading about how I created my layout as much as I enjoyed creating it!
Happy creating!
Tarrah x
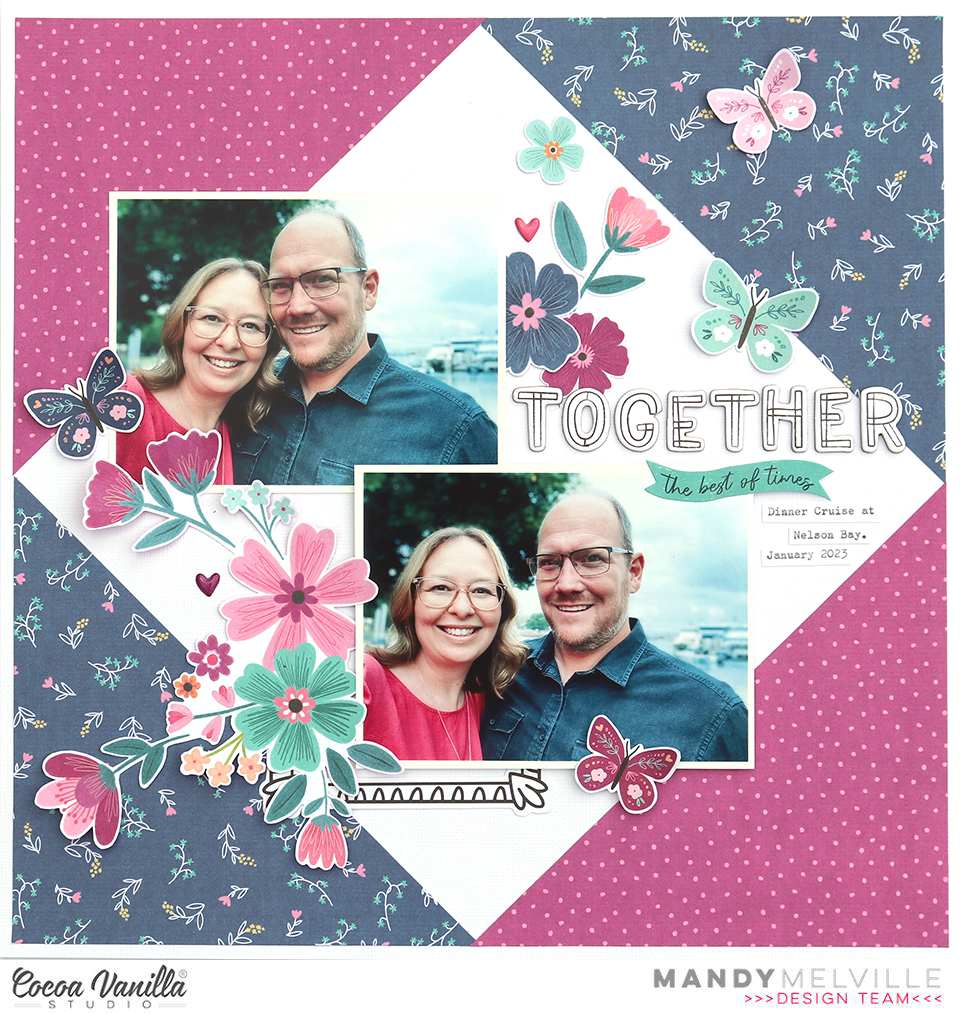
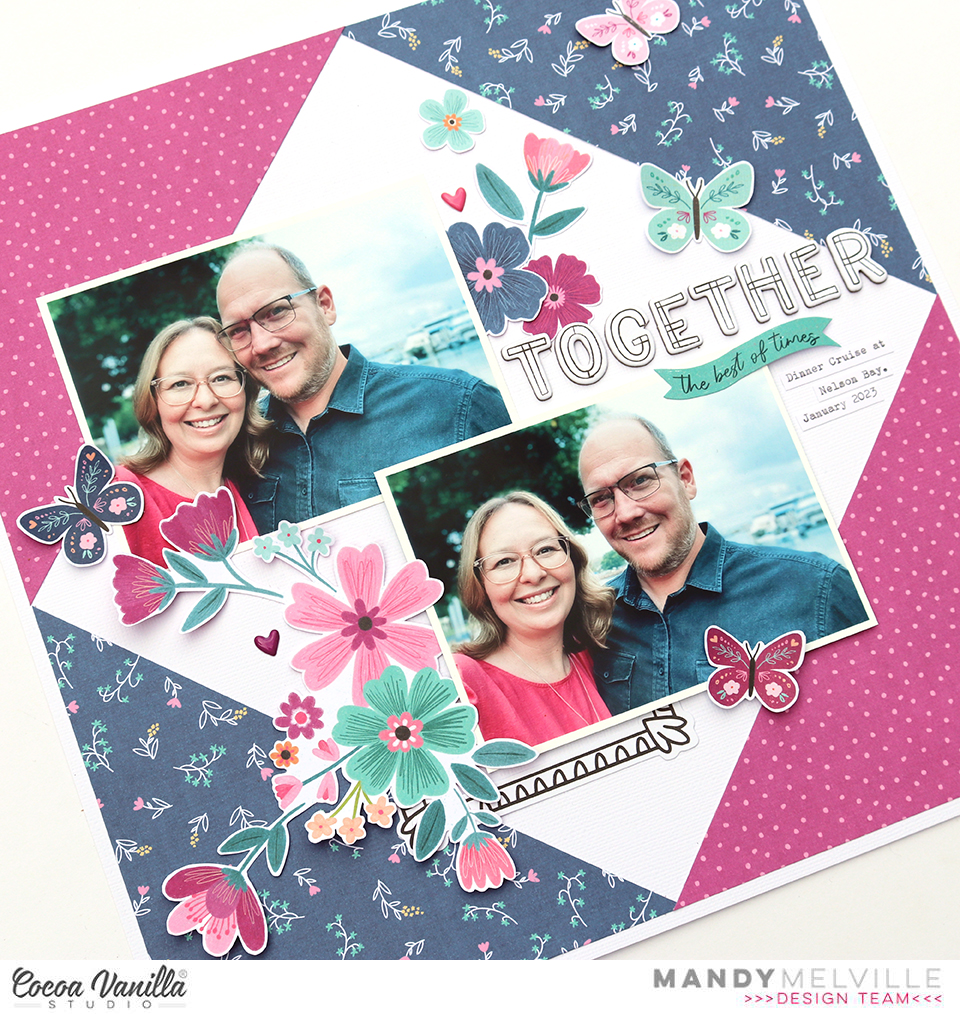
 For my title, I used the word ‘Together’ from the lovely Chipboard Titles. There are so many perfect words and phrases in this pack and it makes it super easy to add a title to your layout! Plus how sweet is that font!


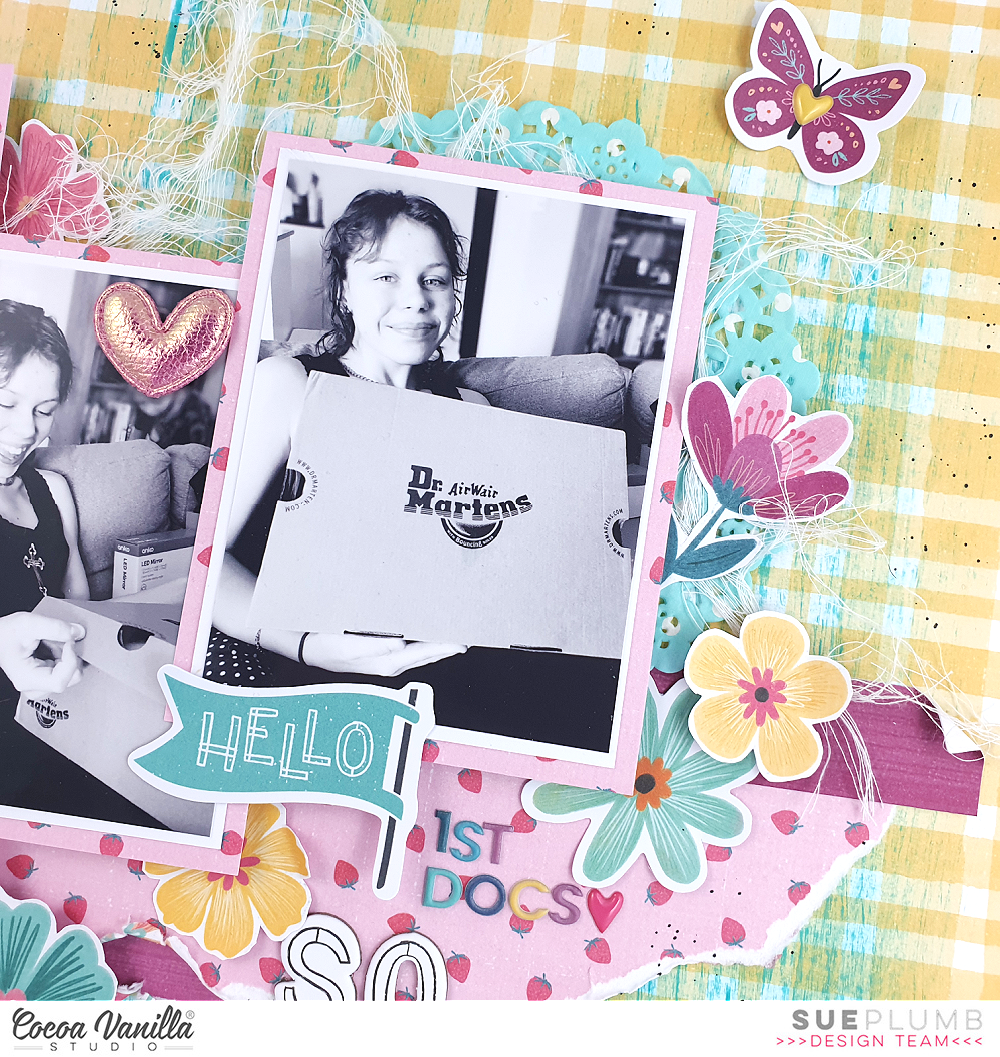
 Tucked under the top edge of the photo on the left, I added a die cut pinwheel and a flag banner. These add a fun element to the page, complementing the theme of the photos. I adhered the pinwheel with foam tape and added a chipboard star to the middle of it for some extra interest.
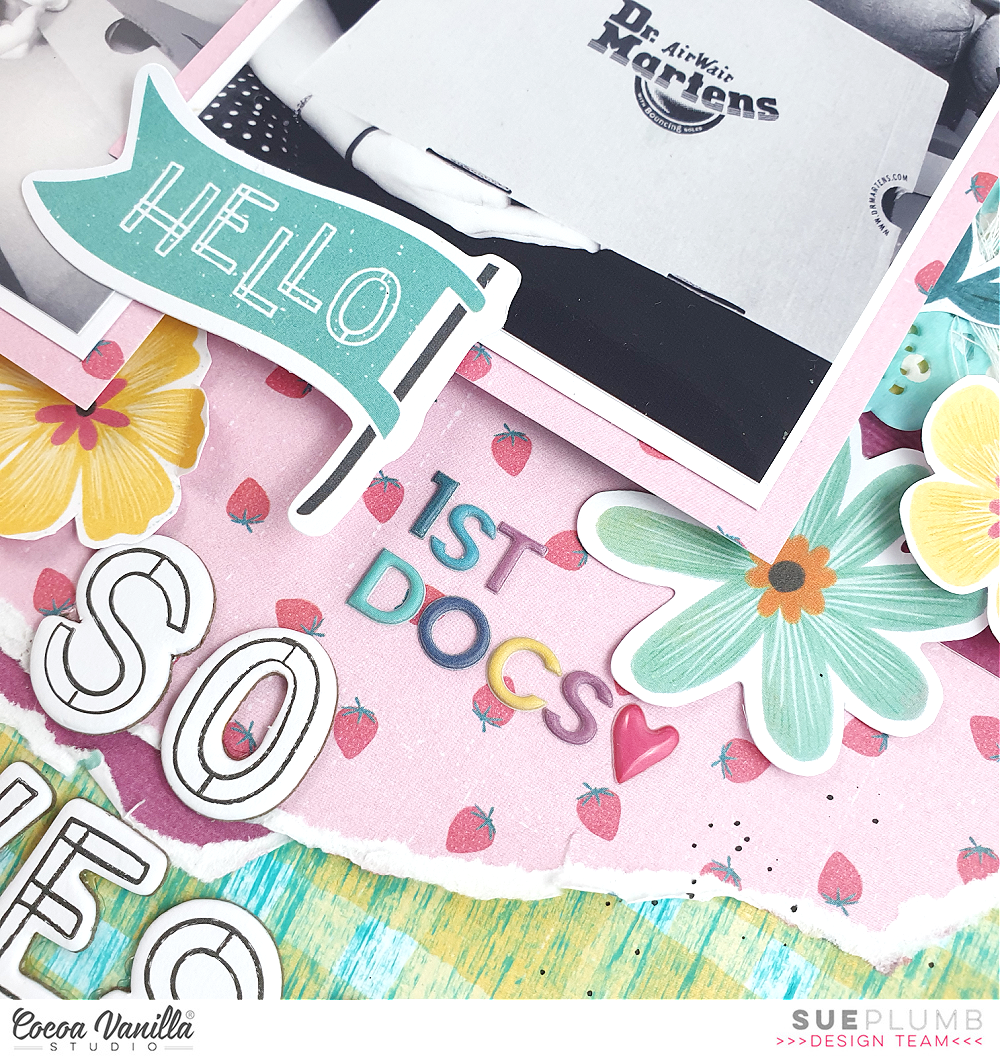
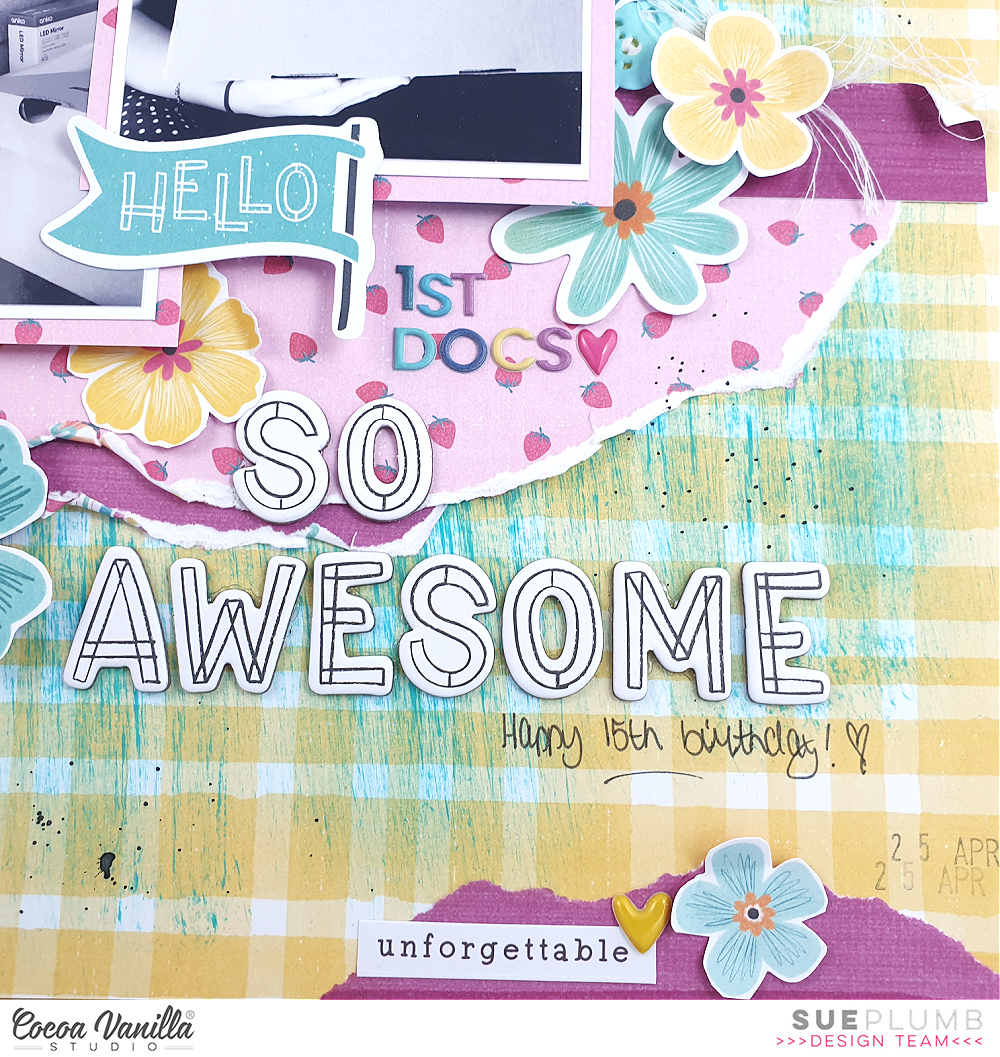
 For my title I used the words ‘So Happy’ from Chipboard Titles pack. I love the fun and playful font that’s been used for these titles! To finish off the layout I added some typed journaling, and I couldn’t resist adding a few blooms from the Floral Ephemera pack.
 Thanks so much for stopping by the blog today and taking a look at my layout! I hope that you’re as excited for this new collection as I am! I can’t wait to share more projects using Happy Days!


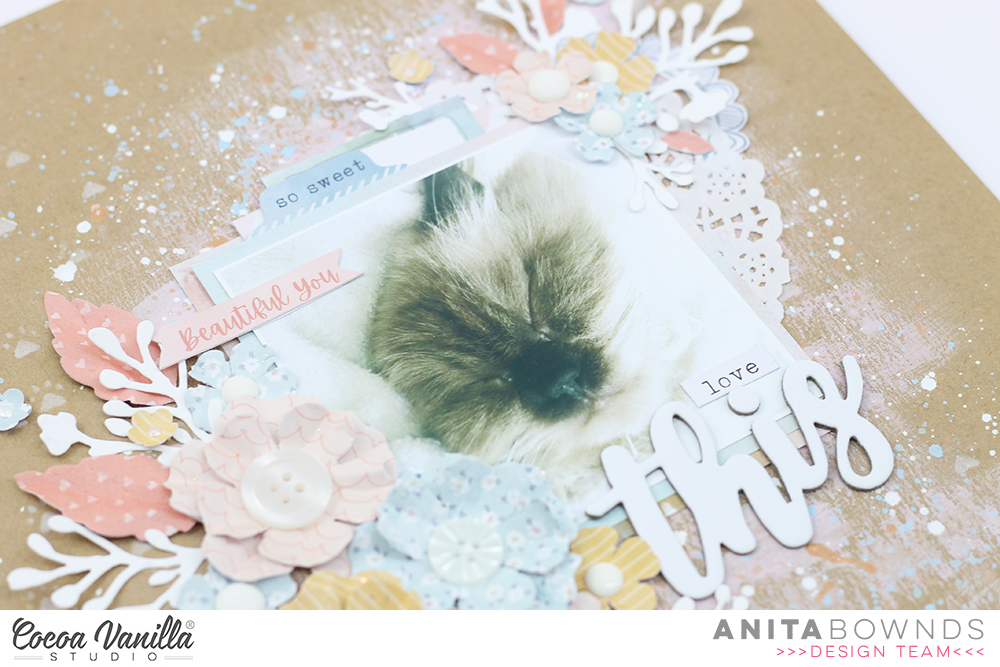


 Firstly I chose this super sweet rainbow with cloud cut file (Silhouette Design store). I kept to the rule of thirds choosing three papers that coordinated. I used
  I added a
  I then used a mix of embellishments from various collections to pretty up this page. As always I added a paint/watercolour clear sticker behind my cloud and adding a die cut butterfly over it, both these elements being from the
  I found a chipboard polaroid frame for my photo in a pretty polka dot peach and used a grey min bow to finish off. I added a die cut camera under the rainbow, added an enamel dot to the lens centre and lastly added another phrase sentiment.
 I created my title using a mix of chipboard word (using a paint brush stroke clear sticker behind it) and accessory sticker phrase sentiment and a clear sticker butterfly. To create a visual break between the cloud and title I added a peach scallop die cut.
 All thats it from me today! Thanks for taking the time to stop by and I hope you have a wonderful week.


