Hello Cocoa Vanilla family! I’m back with some MemoryDex inspiration for you! I’ve been bitten by the crafting small bug and my favorite part of this system is you get to use up products that you wouldn’t ordinarily use on a layout. If you have a bit of ephemera or a cardstock sticker that you have no idea what to do with, throw it on a memorydex card and instant gratification!
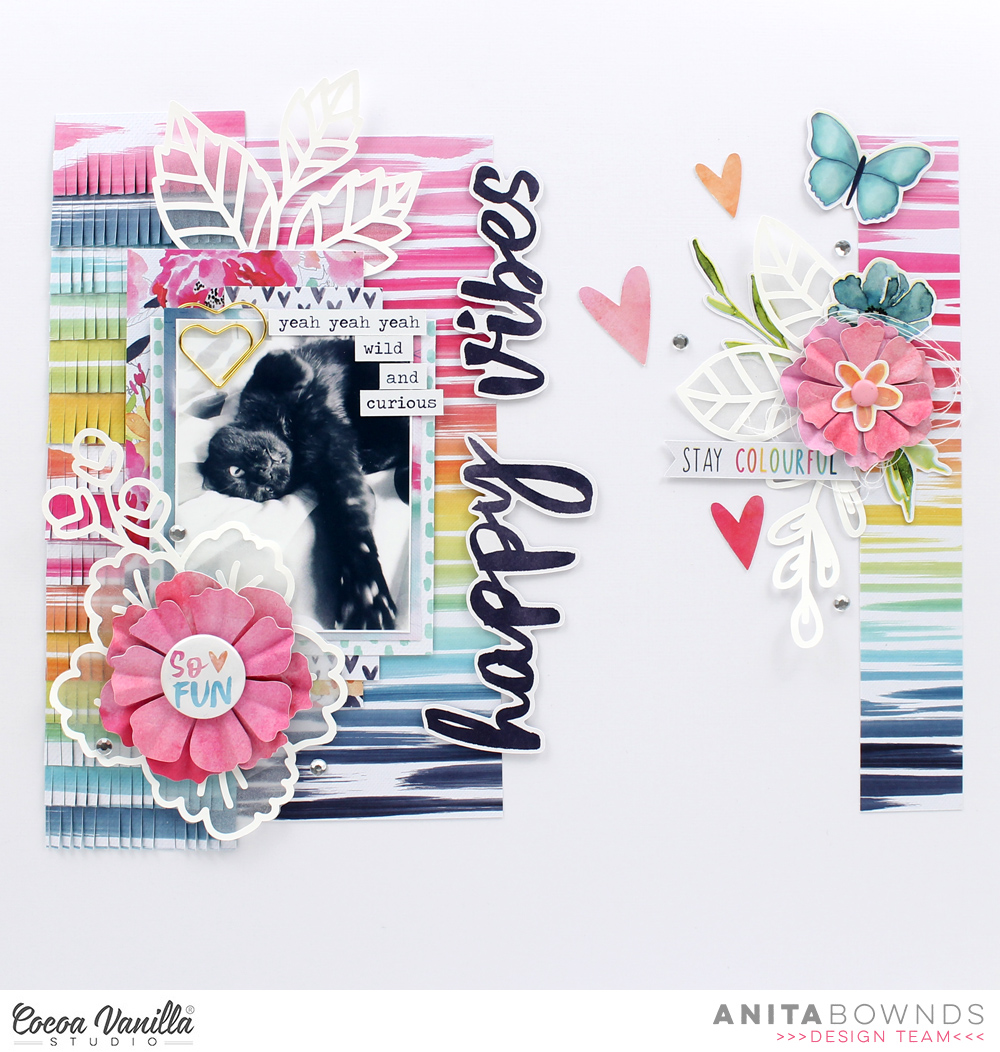
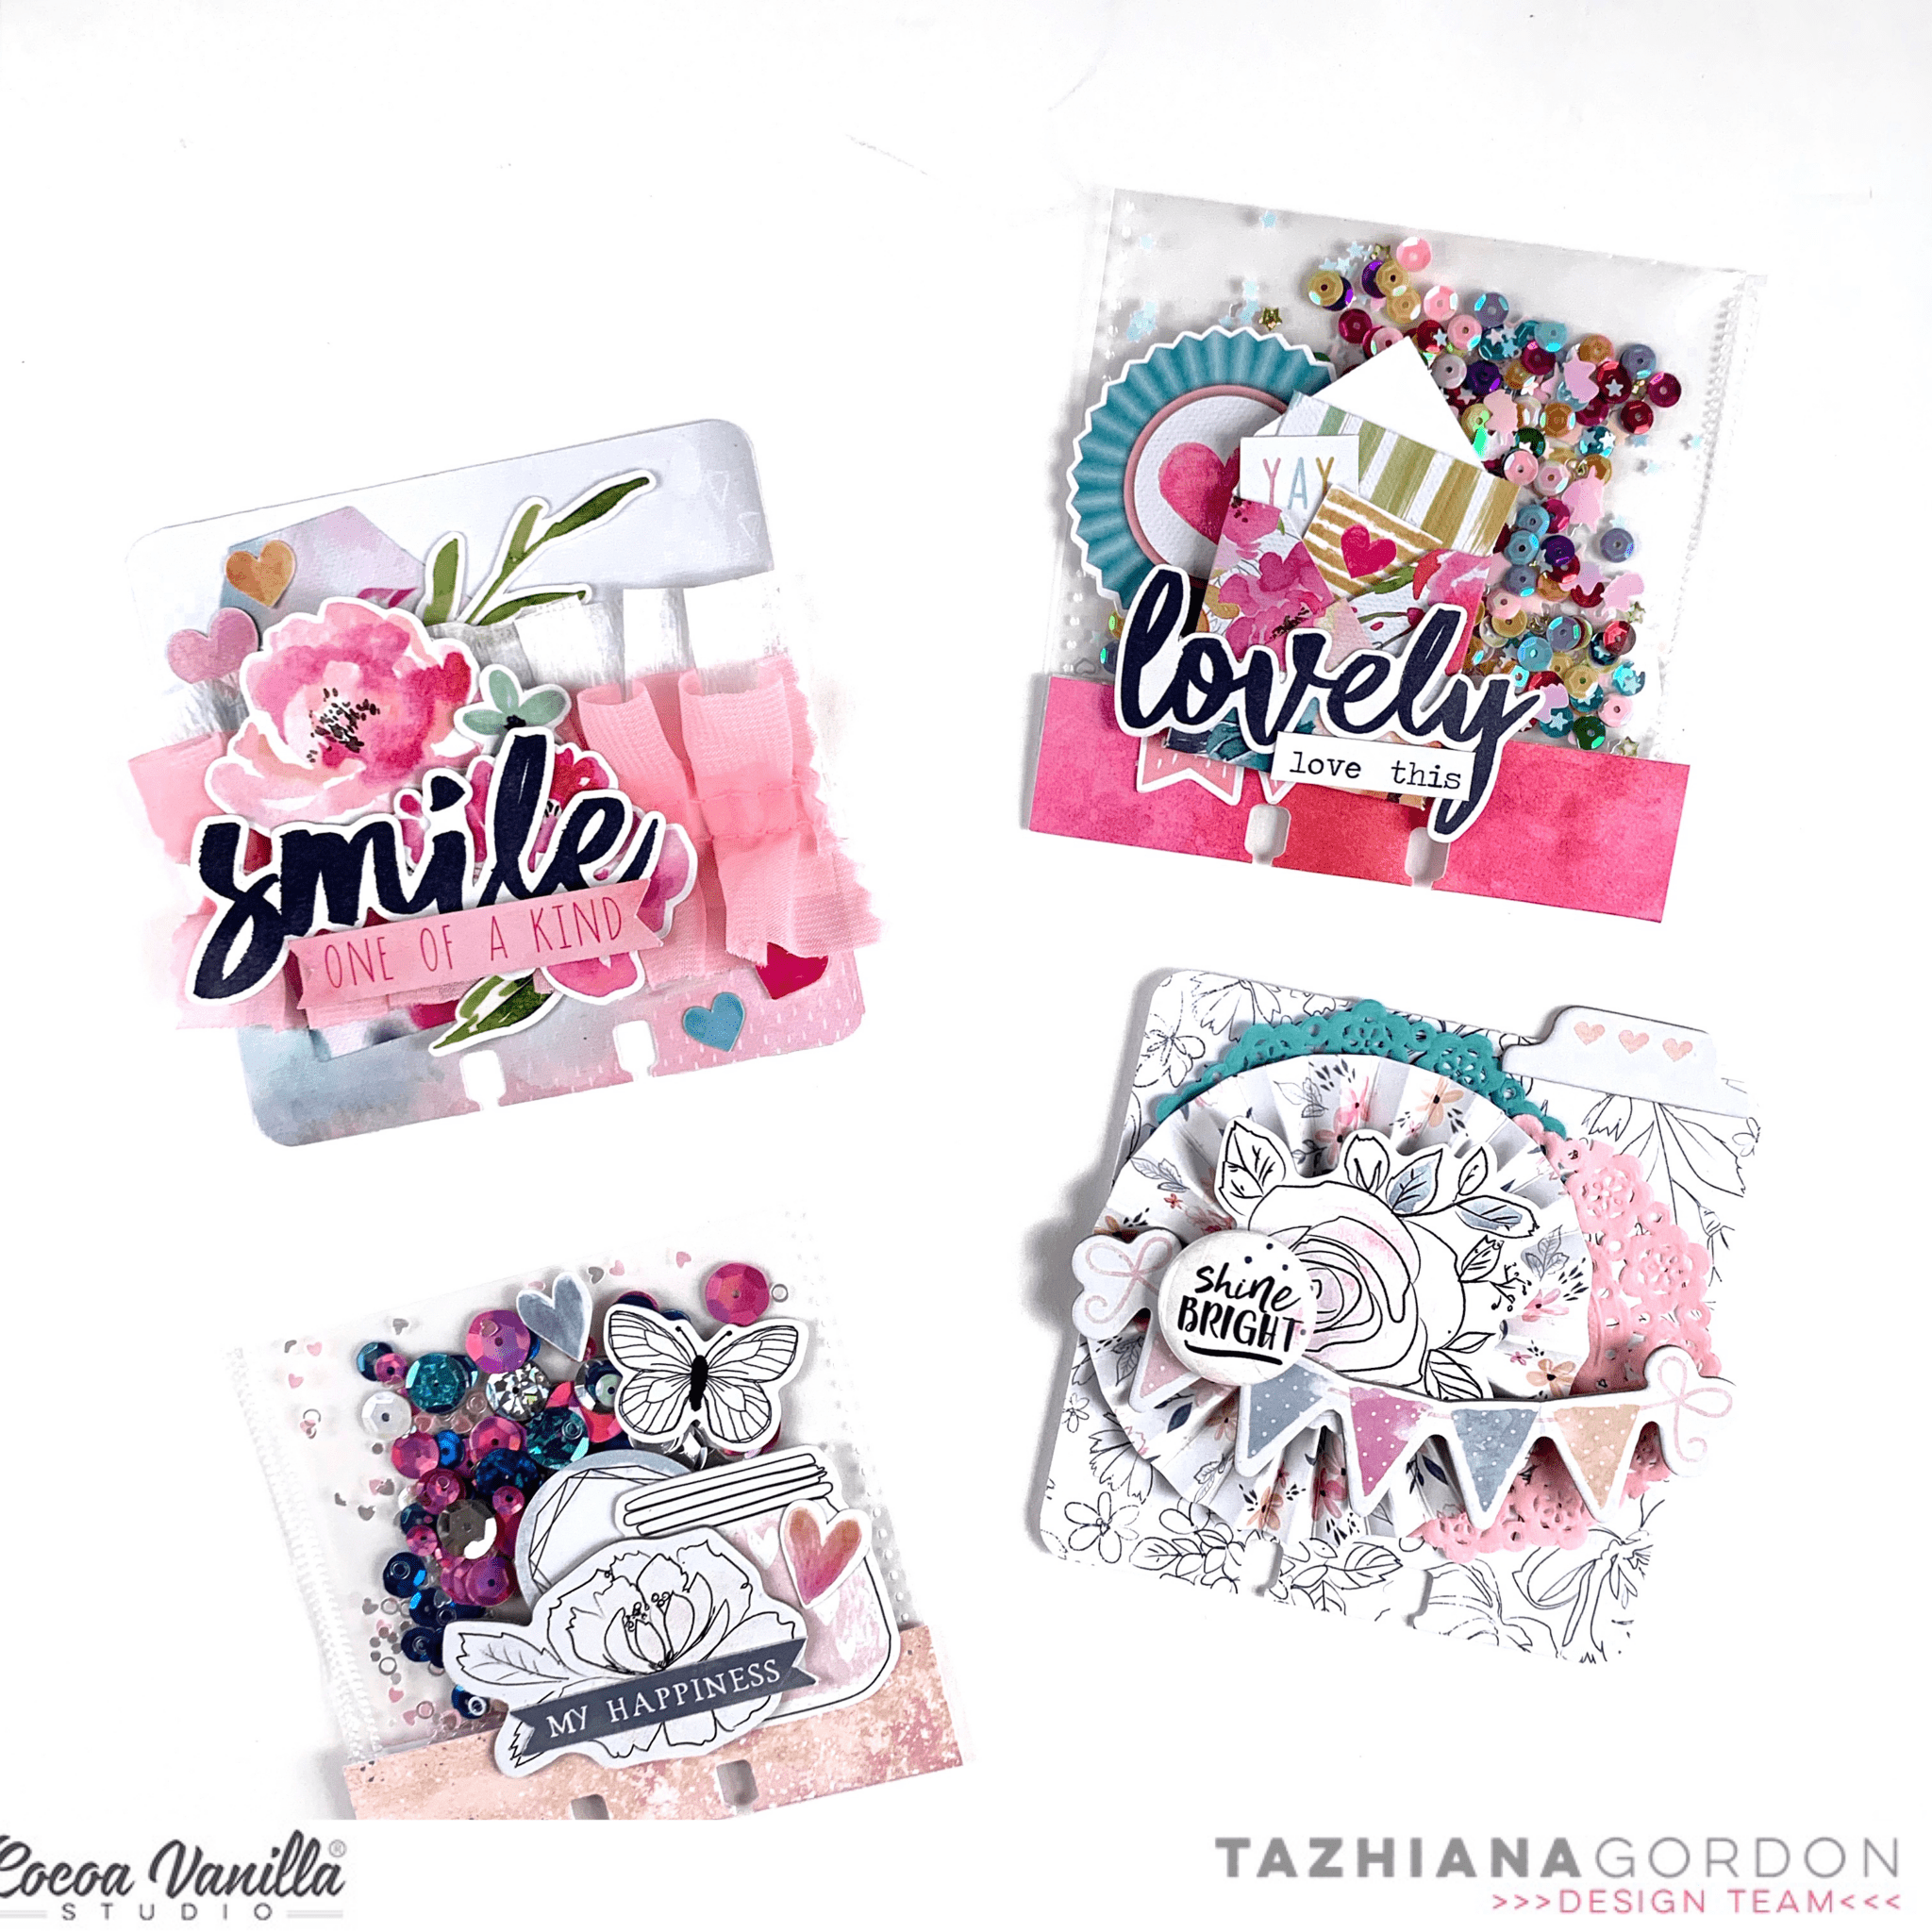
For this project, I decided to use Happiness and Midnight and to make two cards with each collection – one that is textured and dimensional and one that featured a shaker pocket.
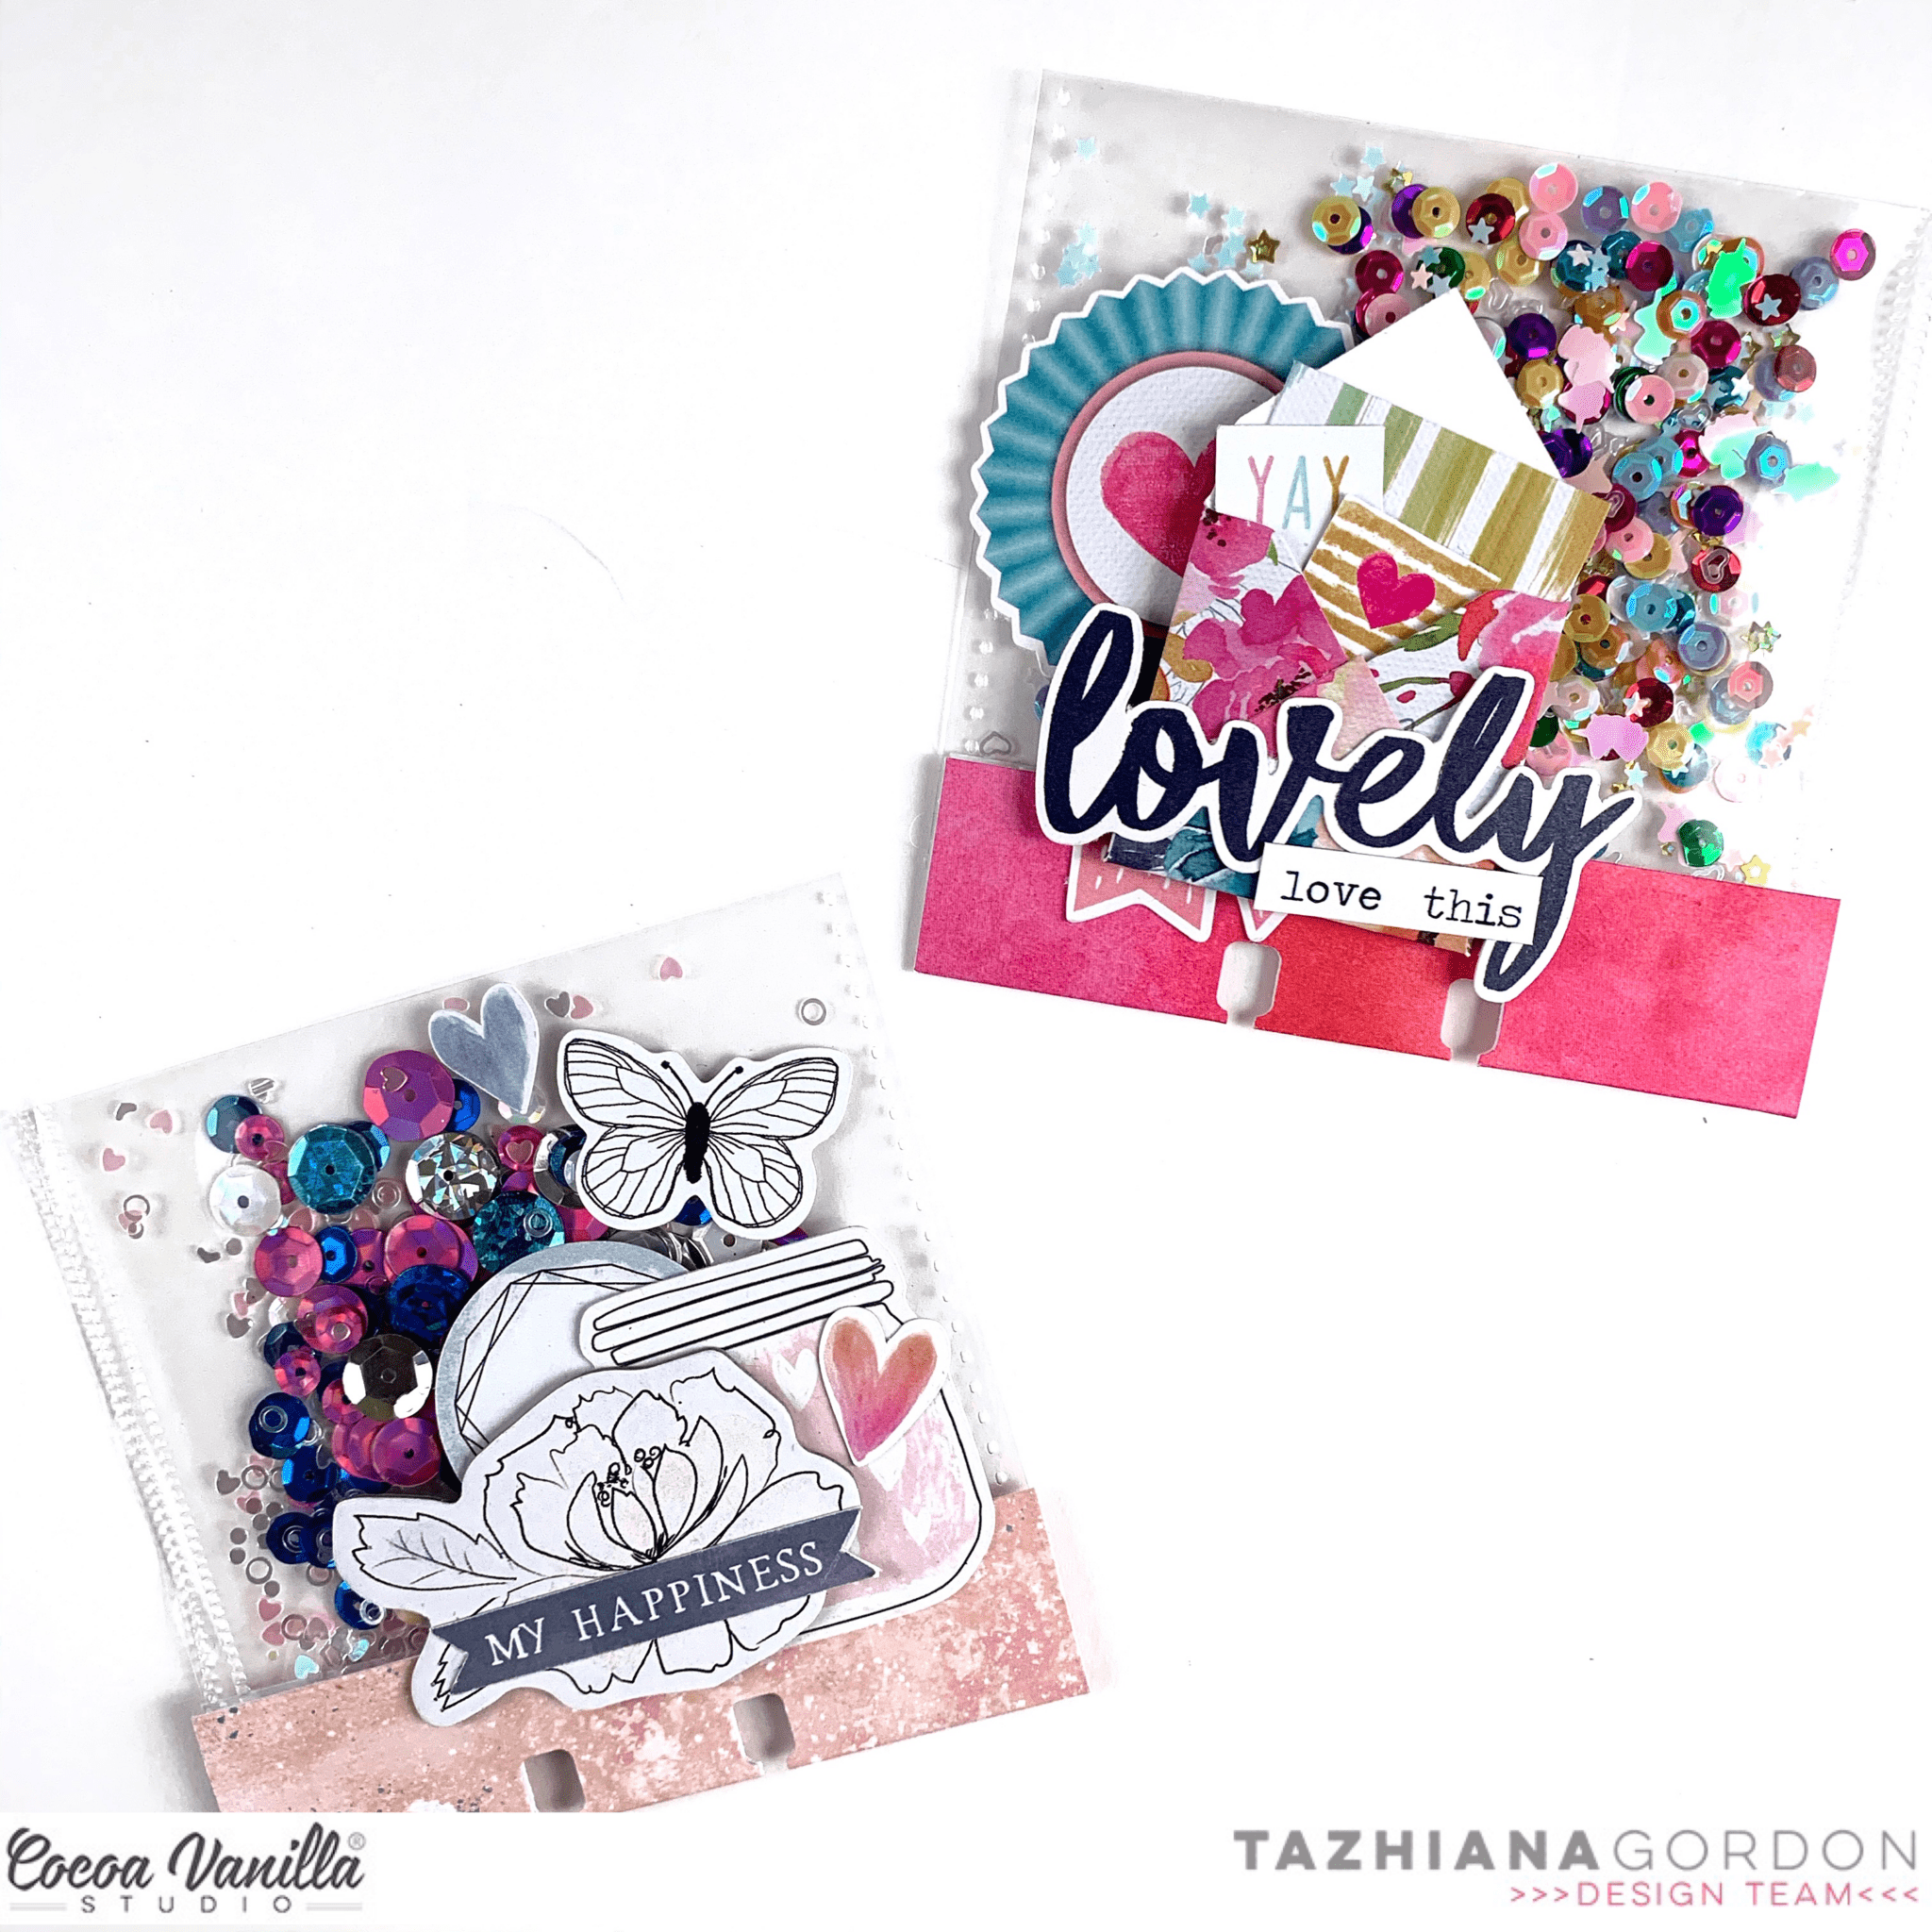
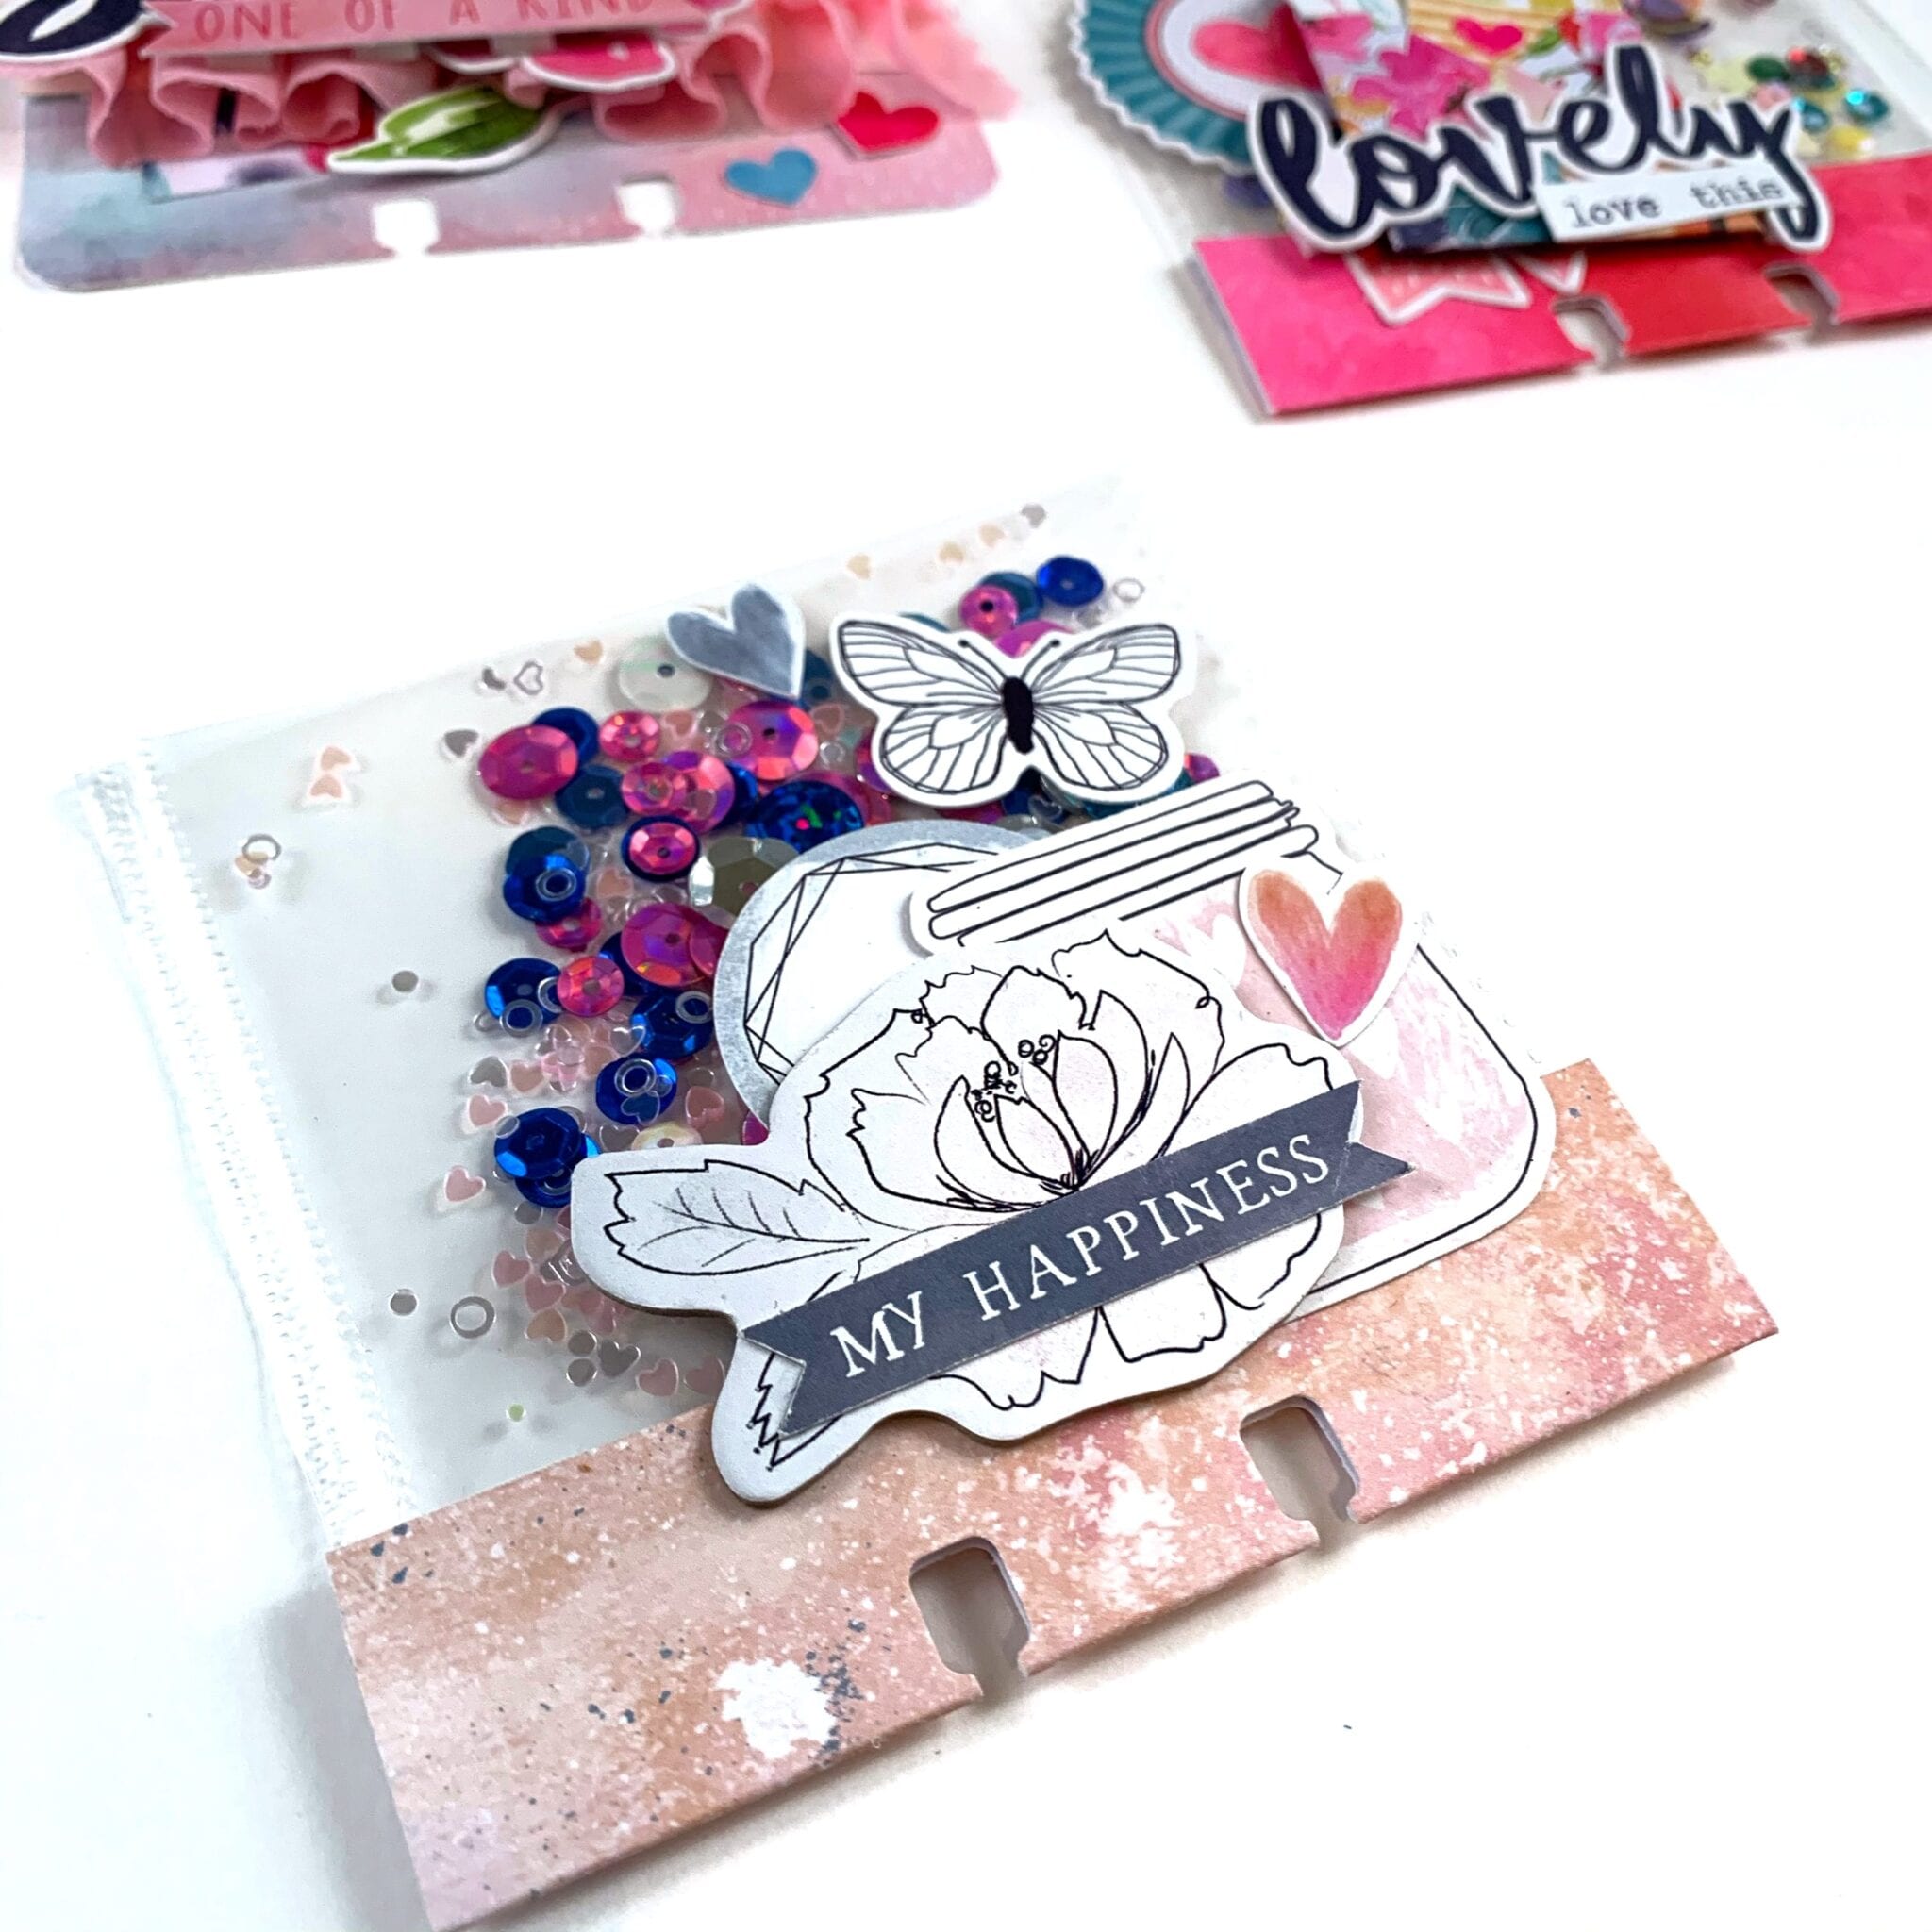
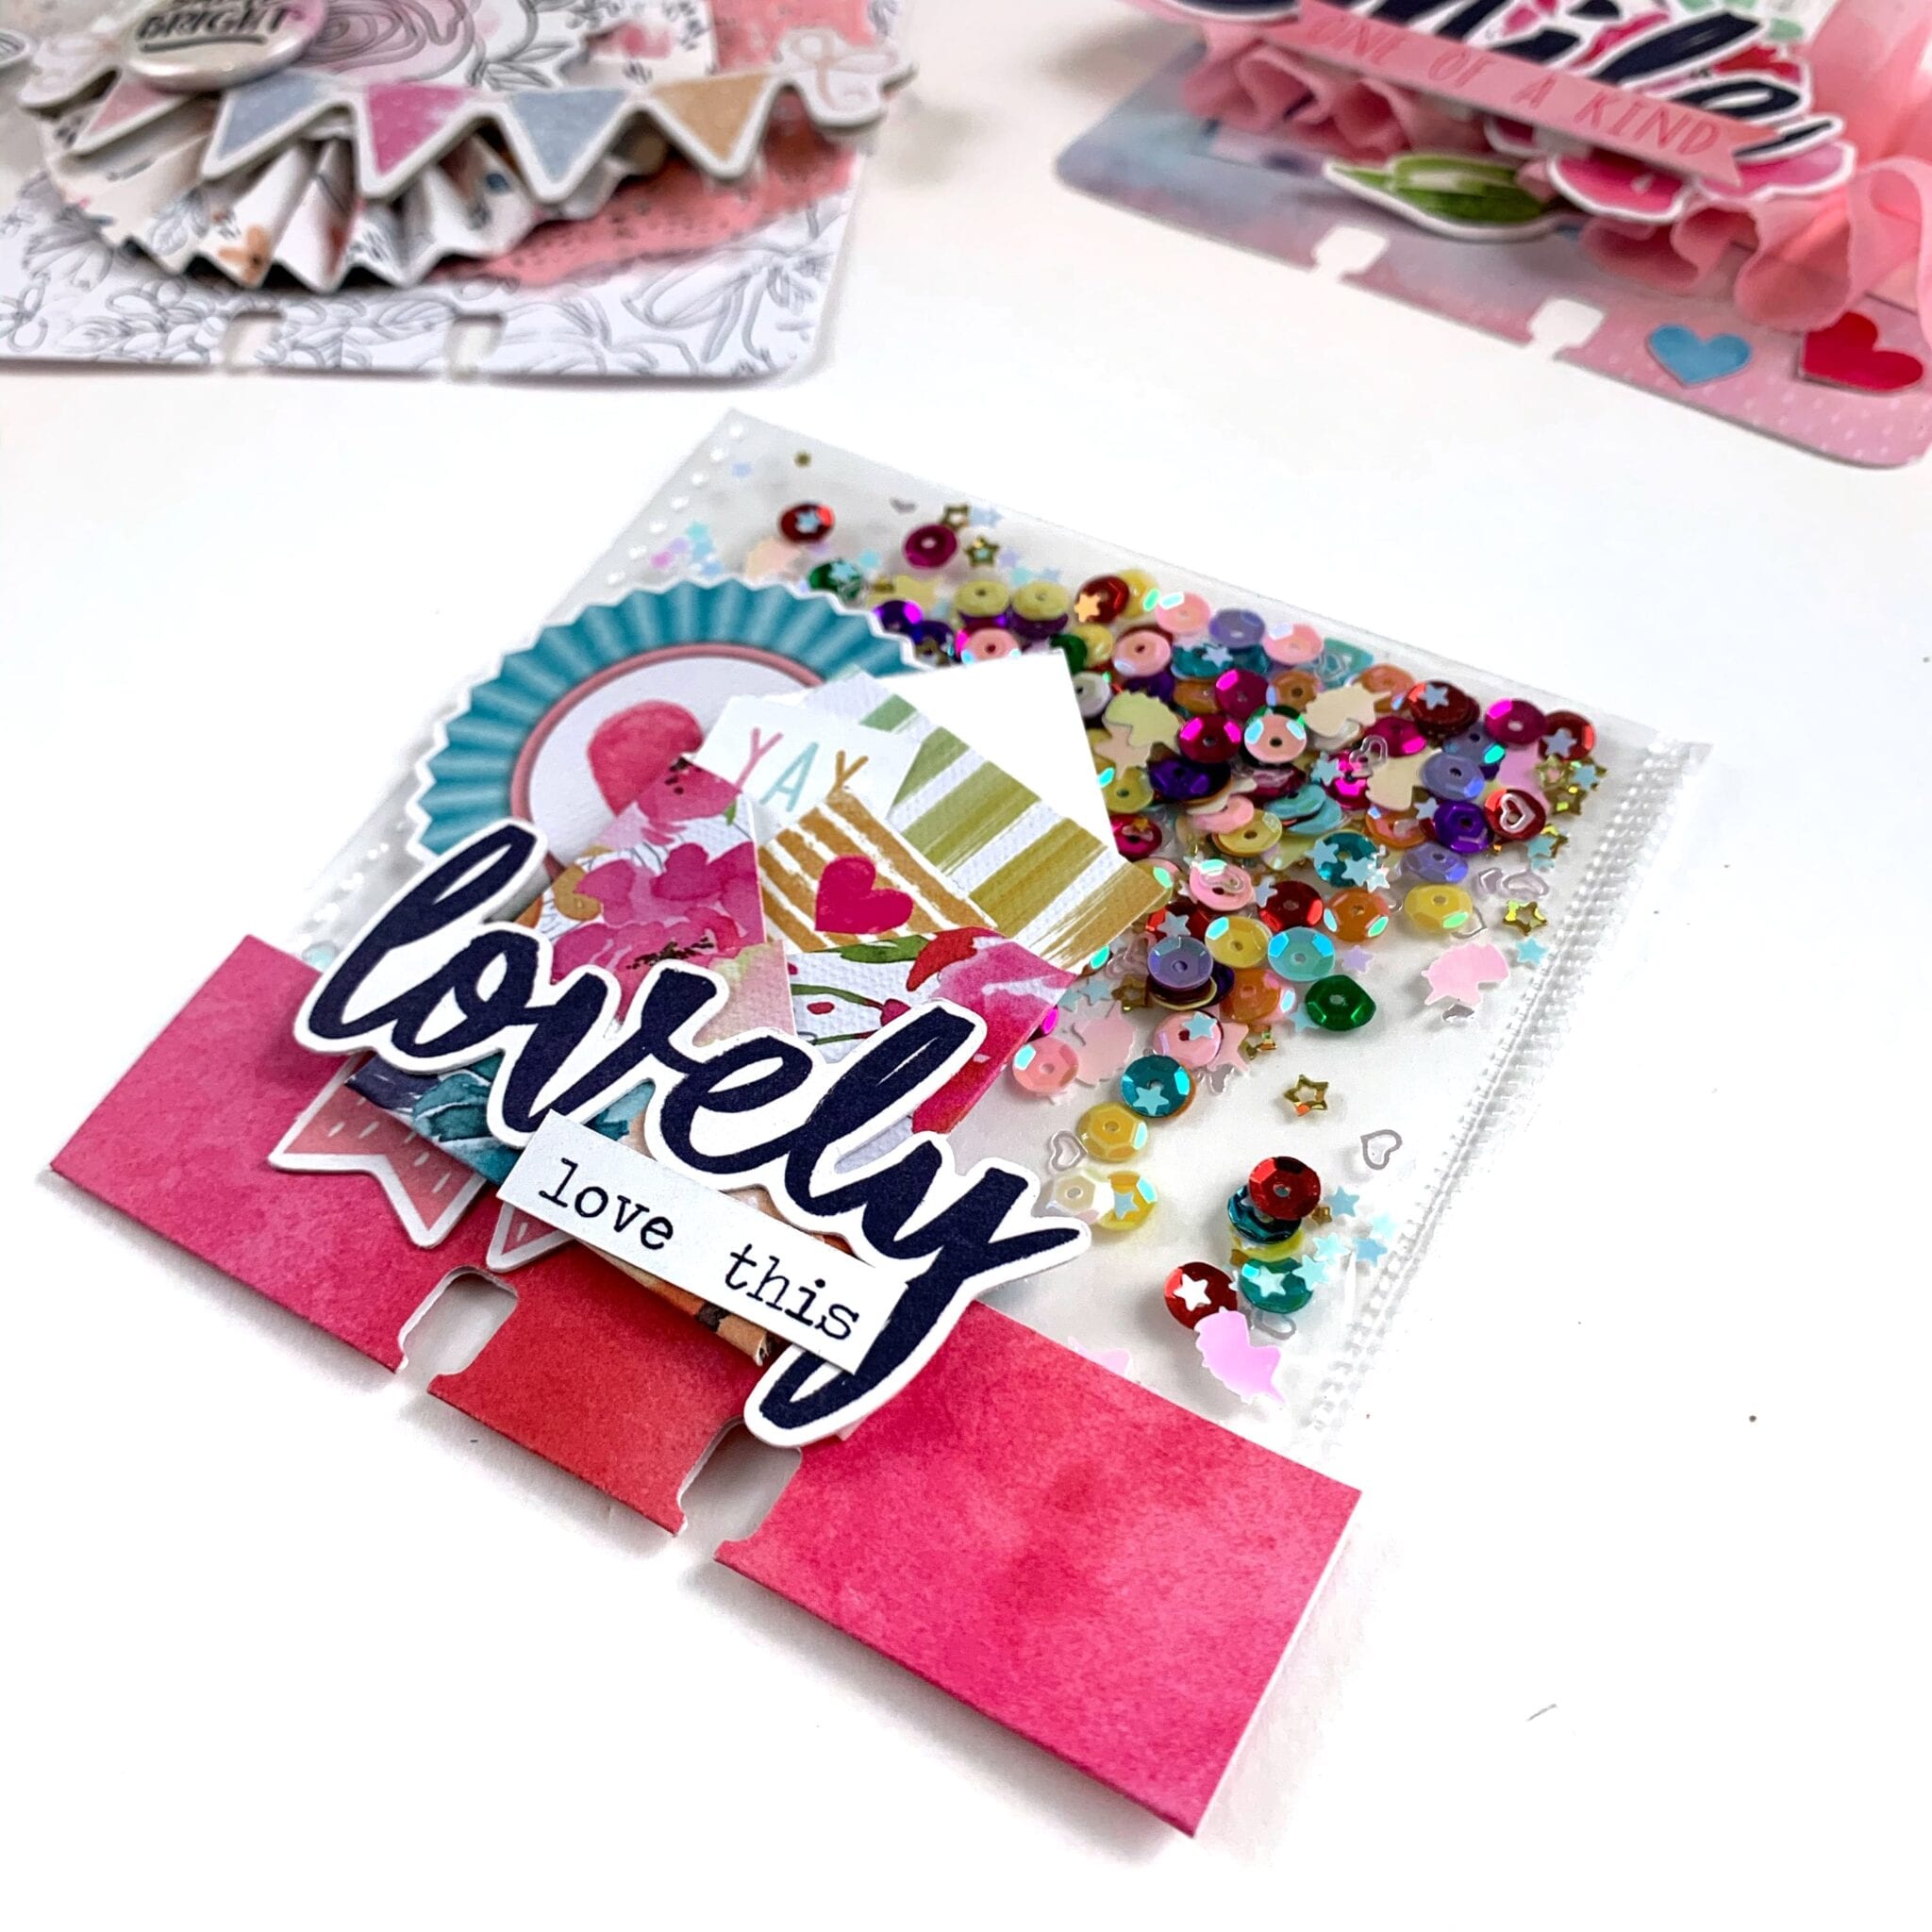
To create my shaker pockets, I used my Fuse tool but you can sew the pockets shut or use vellum and good, old fashioned adhesive to create this effect. My sequin mix was quickly thrown together after drawing inspiration from the collections – a rainbow mix for Happiness, and a mix of blues, pinks and silver for Midnight. I actually don’t own the MemoryDex dies but I do have the punch, so I start all my cards with a 4×4 inch base and then punch the bottom to place it in my storage box. In the case of the shaker pockets, I took a 2×4 inch strip, scored it at 1 inch, folded it in half, adhered it to my shaker, and then punched it so the final result was a 4×4 inch card.
To embellish, I grabbed a mishmash of die cuts, cardstock stickers, and chipboard pieces from both collections and layered to my heart’s content.
I did make a tiny envelope for my Happiness piece, I thought it would be fun to add an interesting element and tuck the stickers inside of it so it looked like there were elements escaping.
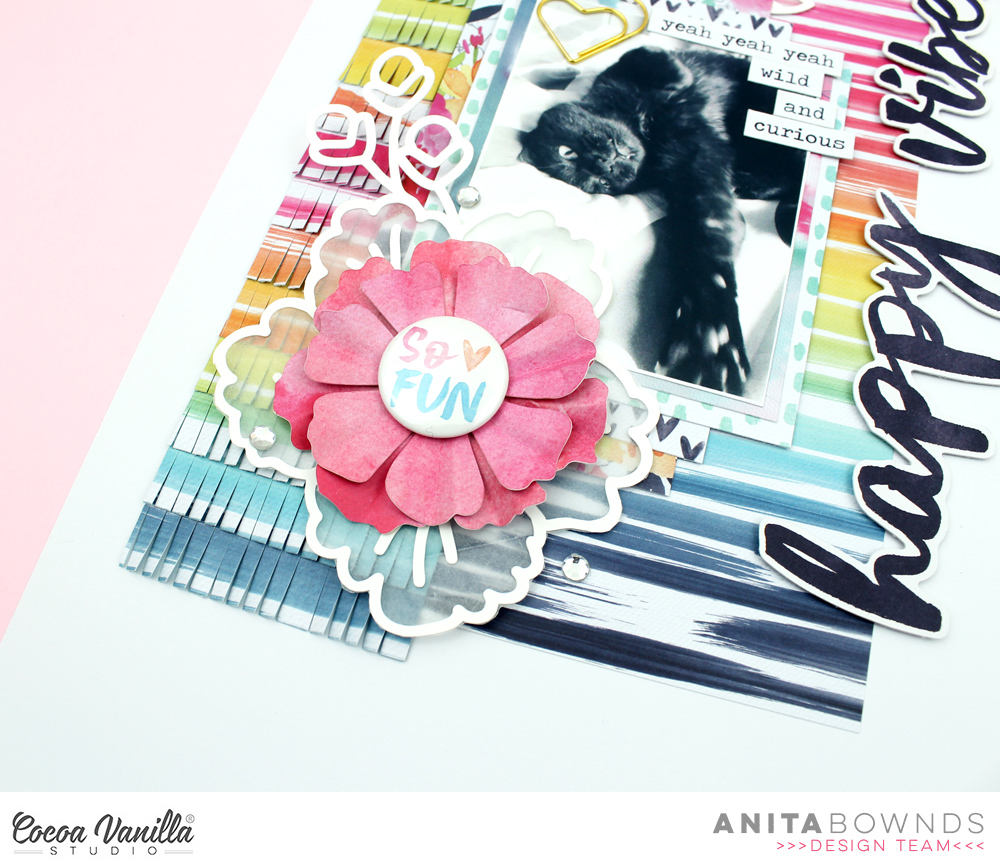
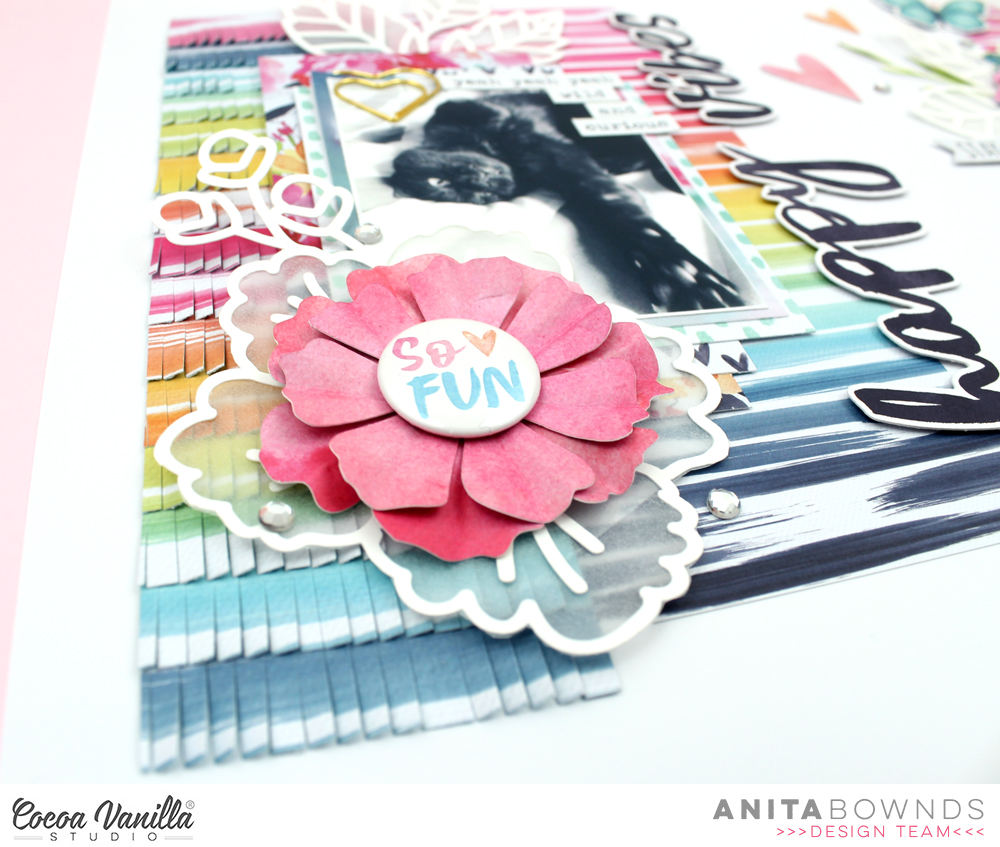
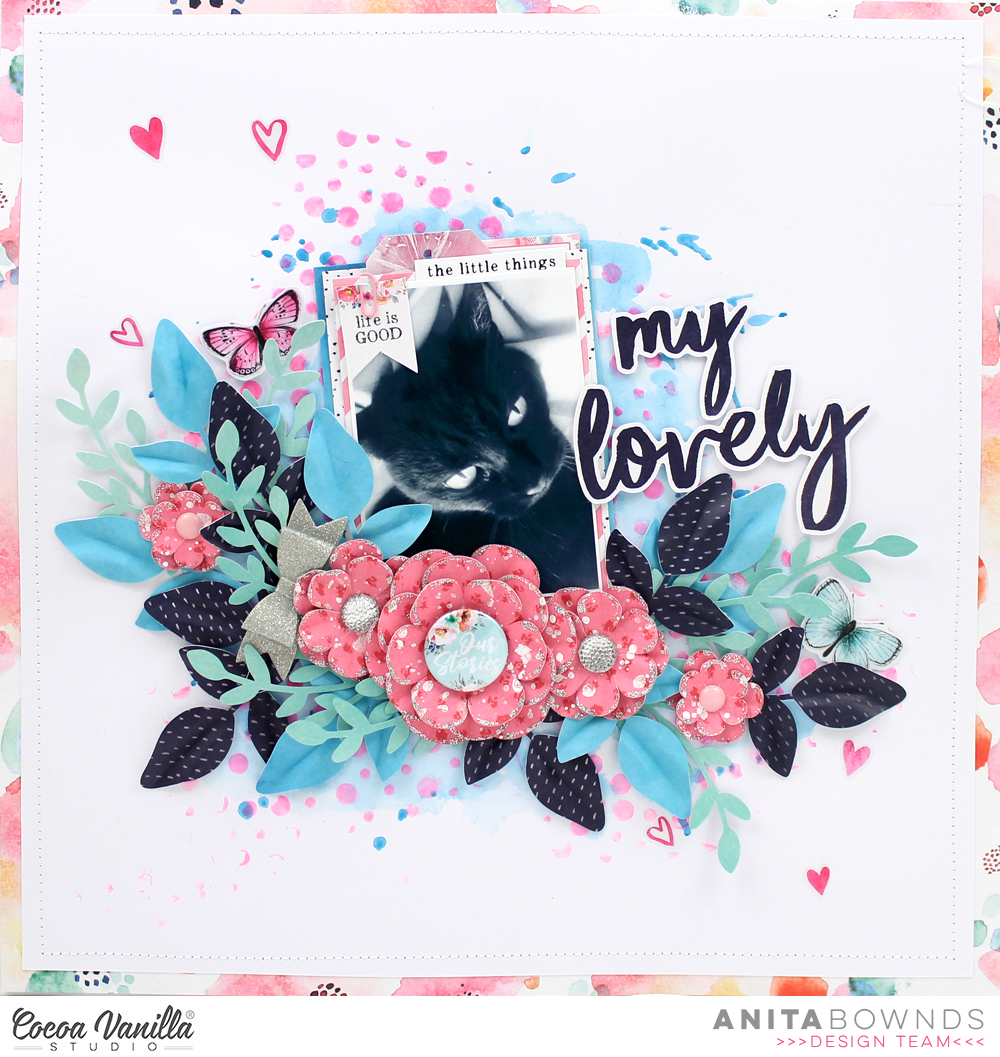
For my dimensional pieces, I stacked and stacked pieces until my cards have pretty good height and heft.
For my Midnight card, I made a large paper rosette that I layered on top of two doilies. For my rosette, I started with a strip of 1.5×12 inch paper, scored it evert quarter inch, accordion folded it, and then sealed it and pressed it into a circle. I then layered some cardstock stickers and chipboard over the top for more height and dimension, and topped it off with a flair button. This card might be my favorite of the bunch.
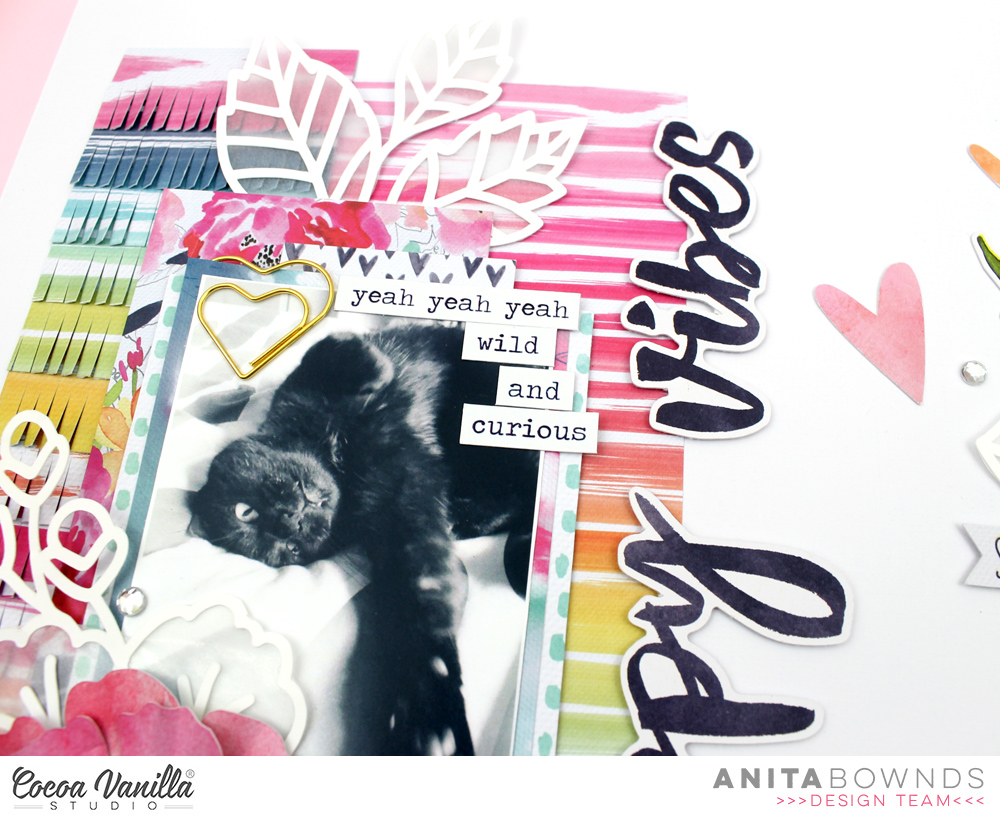
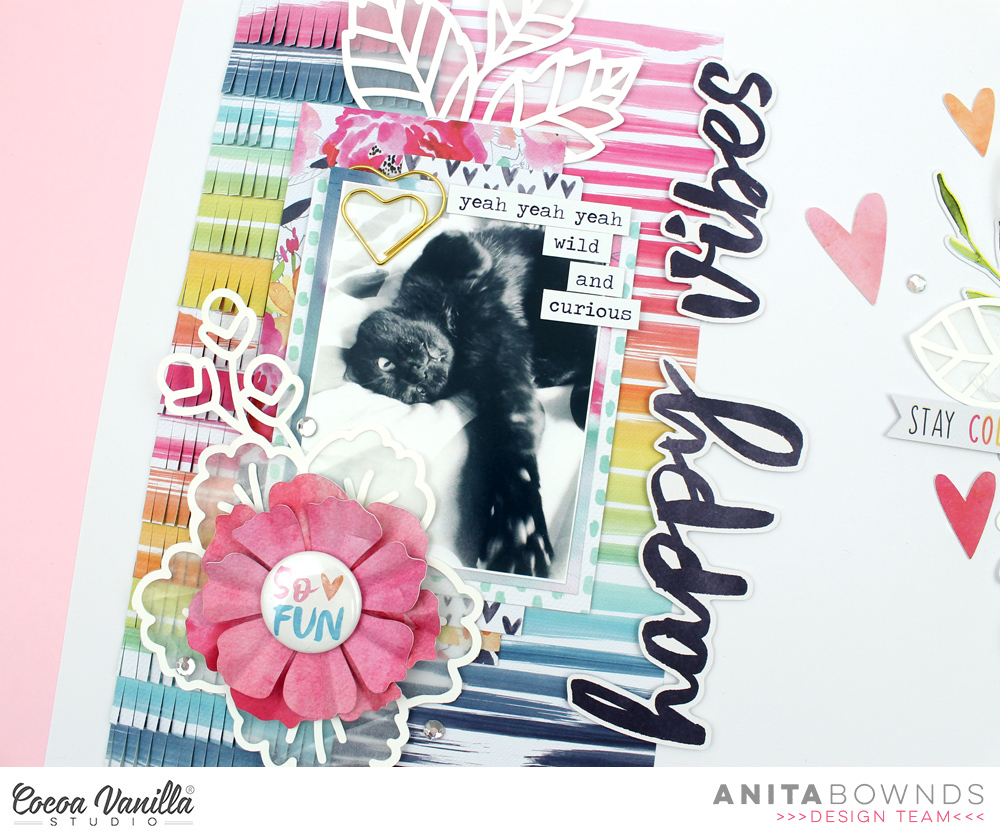
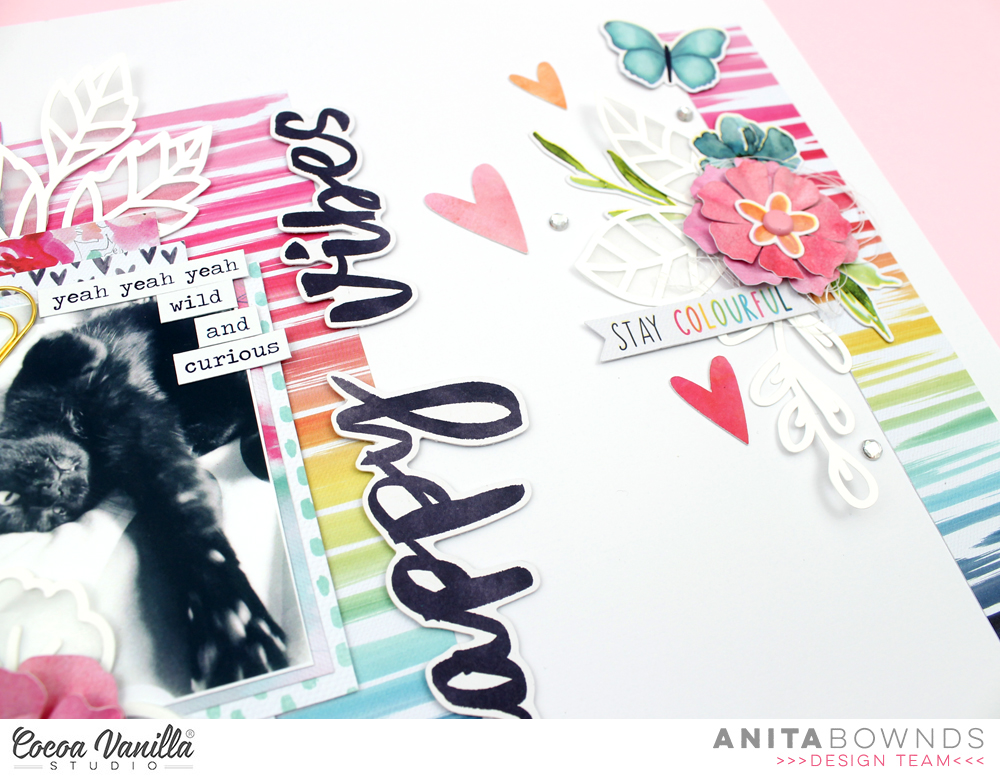
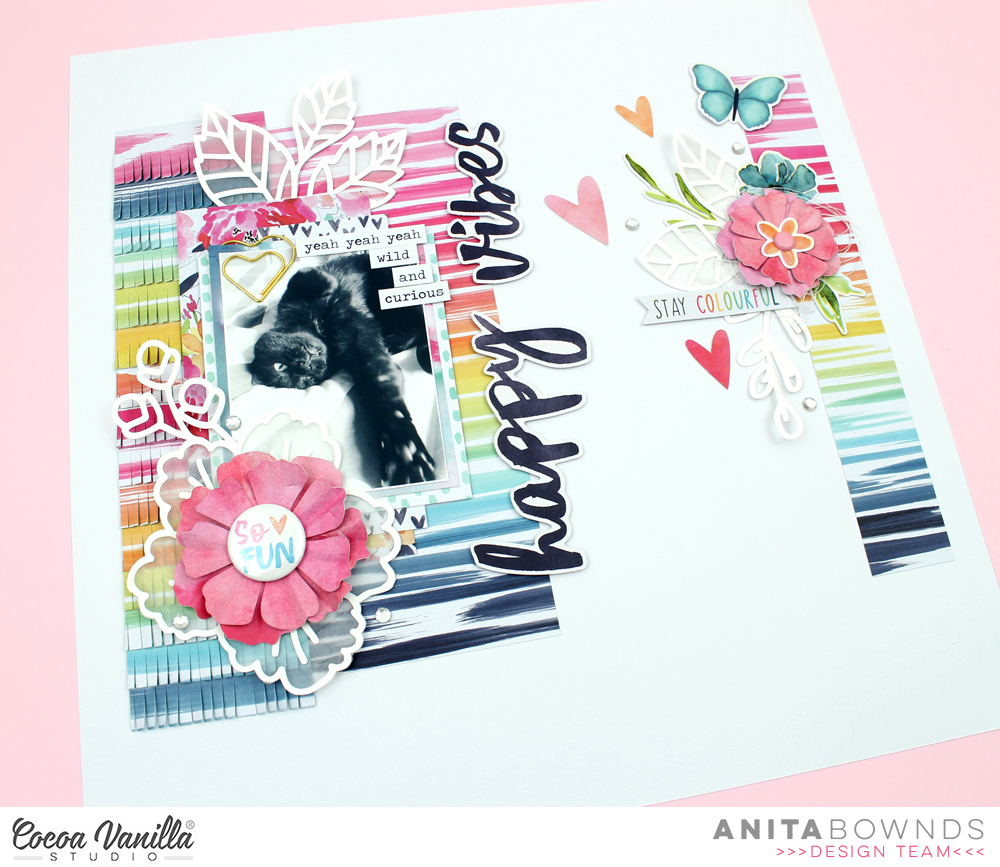
For my Happiness card, I started by pleating some crepe paper and layering that under some pleated fabric trim that I had in my stash. I layered that over a tag that I cut from a scrap of paper, added some floral and leaf die cuts, added my title from the cardstock title pack, and then for even more dimension, propped up the label sticker on foam for added height. I then added some cardstock stickers for more interest.
I hope you enjoyed these cards! They were so much fun to make and it’s really easy to try a lot of techniques and embellishments on this smaller scale. I hope you found inspiration here and give scrapping small a try! Till next time, keep it crafty friends.


 I matted my photo with one of the papers from the Free Spirit collection and also layered another one above to replace the 2nd photo as I mentioned earlier. I also added some of the journal spots as a layering piece. I added one of the scalloped border stickers above the photo of my sister and I also added a few embellishments to this area also. I fussy cut the ‘You and Me’ title from one of the journal cards included on one of the papers from the Free Spirit collection and positioned it where the sketch suggested.
  I cut out the pink phrase ‘Hello Happiness’ and added that tucked in under my photo and also layered the ‘Wonderful’ die-cut phrases over the photo also. One of the cute flair buttons and a die-cut heart were added to the left of the photo. On the sketch, the suggestion is to place a large embellishment like a jar of flowers, I added one of the floral stickers from the accessory sticker sheet here instead and I really like how it looks.
  Lastly I added the die cut banner popped up using pop dots to the top left corner touching the machine stitching, I also sprinkled some white sequins around and some navy Heidi shine mist. The date stamp was the very last thing added and that completes my layout.
 To begin my layout, I chose a fun cut file design from The Cut Shoppe and cut it out from yellow cardstock. I then adhered the cut file to plain white cardstock. I love the contrast of the bright yellow against the white cardstock, reminds me so much of summer! For the very centre of the design of layout, I picked the ‘In the Summer Time’ sticker from the accessory sheet and popped it up on foam dots and placed it in the centre of my page.
 Like I said earlier, I matted my photo using just the one piece of patterned paper, this photo is a very recent one of my sister and her eldest daughter in the waters of the Jurassic Coast in England! How gorgeous is that archway and water?! So inviting! I popped my photo up to create some dimension and shadows and then the next step was to embellish.
  I chose some of the die-cuts from the ephemera pack including the coloured star strip, the iceblock rectangle piece and the journal tab. These 3 pieces I tucked it below the photo and to the right side of the photo. I created a focal point towards the centre of the page by adding a cute flair button, a wood veneer heart and another sticker. I also had to add that Sunshine puffy sticker, I just love the puffy stickers from this collection!
 Lastly I added some of the super cute enamel shape stars around the edges of the sun to add some colour and interest. I also splattered a few splats of black mist and added the date stamp to finish off my Summer page!