Sweet Easter | Happiness Collection | Michelle Stokes
Hello Hello its Michelle here today with my first layout share this month. I hope this post finds you safe and well during the Easter break. This weekend is looking a little different, and a lot quieter than previous years so I thought what better way to brighten it up than to create something Easter related using the cheerful HAPPINESS Collection. Full of wonderful happy colours to brighten our moods.

I chose a sweet cut file from CUT to YOU, a basket thats full of eggs reminiscent of most Easter mornings after the big fluffy bunny has been and left a wonderful mess. As Leila is getting older this may be on of the last years in our house that we can share in the joy of the Easter Bunny with her. Lets hope we get at least one more..
I started my creative process by cutting the design out a few different ways. First was the basket using the woodgrain pattern on the BRIGHT & BEAUTIFUL paper. I’ve cut both the detailed design of the basket and also the backing piece using the same paper to replicate the look of a real basket. Next I cut the eggs multiple times so that I could individually back them with pattern paper then layer them together in the basket at different heights. If only Easter eggs looked this good!

This layout documents one of many fond memories – the excitement and sheer concentration of opening all the hunting eggs to see whats inside. I layered 2 photos together, both backed with a piece of EXPRESSIVE paper with some fussy cut florals layered to the right.

I used the SPRINKLES paper that reminds me of confetti for the bow on top of the basket, along with a lighter hint of pink from the MEADOW paper. The eggs are backed using MEADOW, LITTLE THINGS, GOOD VIBES, SO FRESH and EXPRESSIVE.

I fussy cut butterflies from both the 12×12 and 6×8 versions of BRIGHT & BEAUTIFUL along with a floral cluster from the SO FRESH wreath to layer along the edge of the basket rim. I also tucked in a couple of leaf strands and stapled tiny hearts to the eggs from the EPHEMERA pack.

The title is made up of a CARDSTOCK TITLE word and alphabet letters from older collections.

Theres a few more tiny fussy cut flowers scattered here and there from both the MEADOW paper and 6×8 version of BOTANICAL BLISS and a good splattering of gold colour shine to finish it off. Once the ink was dry I trimmed the edges of the white cardstock and adhered the layout to a 12×12 piece of BOTANICAL BLISS to bring all the colours together.
Well friends thats all from me today, thanks so much for stopping by. I hope you have enjoyed seeing my Easter themed share this weekend. Be sure to pop in to the Cocoa Vanilla Studio Community group on facebook to share all your crafty ventures with us over the Easter long weekend. We do love seeing what you all create using CVS products.
Until next time, Happy Scrapping, enjoy the chocolate and stay safe
Michelle xx


 Absolutely stunning!


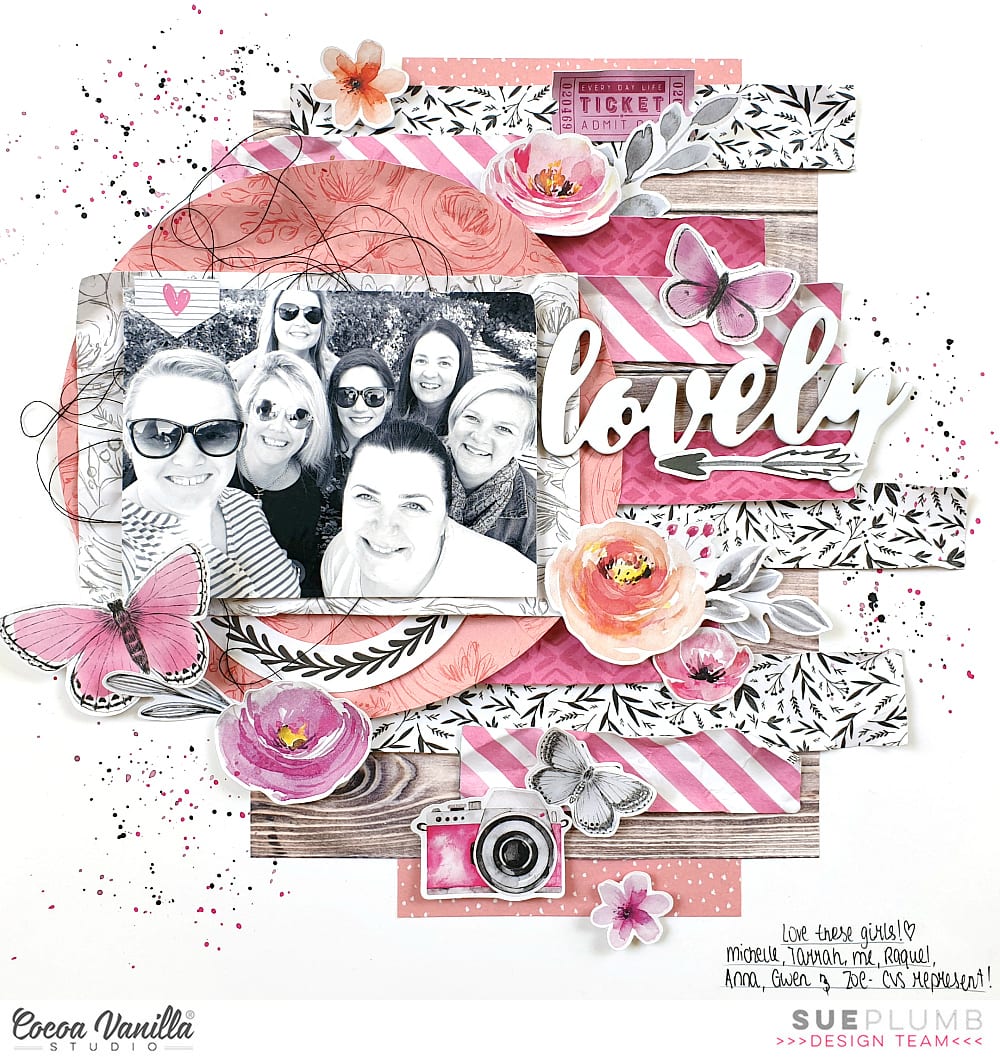
 I chose a pink, grey and white colour scheme for my layout today, I pulled some of the papers and lots of embellishments that were in that colour scheme and started out by cutting the cut file on white cardstock, I cut the file out with the intention of leaving some of the design inside the cardstock. I loved how I could pop out the hearts and create a dimensional look with them. I backed the cut file design with the pink paper and then machine stitched around the circle – you can see more detail in the photo below. I then matted the cut file and pink paper onto one of the grey patterned papers.
  The photo is of my sister and I at our brothers wedding a couple of years ago, not often we get photos together with both my sister and brother living in England now. I added lots of paper layers underneath my photo and used foam tape to pop up my photo from the page. In the photo below, you can see I added a cluster of embellishments including some die-cuts and accessory stickers, I used foam dots again to lift up the camera die-cut and I also added one of the enamel dots to the centre – hooray for enamel dots making a come back in this collection! I love them! Over one the right hand side is another cluster featuring some of the floral and butterfly die-cuts. I also added one of the cute bows to the right of my title.
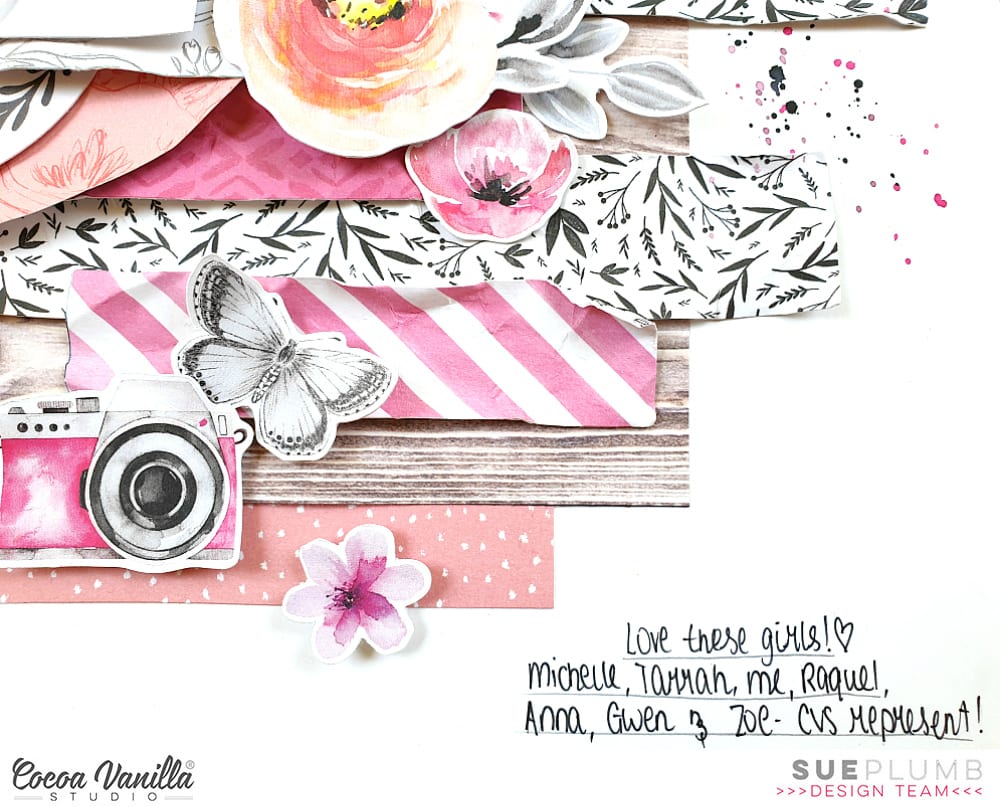
 My title is one of the gorgeous foam word titles, these are brilliant to add to any project, they make a statement and they really pop off the page too! I added one of the larger butterfly die-cuts to the left of the title to balance out the with the smaller one on the right hand side. A couple more enamel dots and a couple pf the gorgeous clear stickers were also added for some extra interest and texture.


 So many pretty details!

