So Sweet | Storyteller | Kellie Moore
Welcome back to the blog Cocoa Vanilla fans!
Today I am sharing my second page using the new ‘Storyteller’ collection and these colours are my jam! I find them so easy to use and the whole collection can be used to cover so many different subjects…the choices are endless!
For my page today I started with wanting to make a statement background that featured many of the patterned papers, so out came the A5 paper stack. I chose a few different patterns and decided that I really wanted to bring in more of the red so I pulled a piece of red cardstock from my stash to add into the mix and went crazy cutting out 1 inch squares.
![]()
I decided to make a big star with the squares so I used a piece of cardstock to cut a star then stuck down all of the squares onto the star, trimming off all of the excess paper. I then decided to add some more texture to my page by adding some hand stitching to some of the squares…love me some texture!
![]()
Next I wanted to add some paper layers behind my photo so I HAD to use the woodgrain paper that matches so well with the hat my little boy is wearing in the photo….and I also added a paper doily to give some separation between my star and my photo.
Now that the base of my page was done, it was time to get some embellishments down, and of course I needed some of the gorgeous florals, so I used a mix of the florals from the floral ephemera pack and some that I had cut out from the ‘Spring Fling’ paper. I positioned them to the top left and bottom right of my page to draw the eye down through my photo.
![]()
Next, to complete these clusters, I added some of the butterflies from the ephemera pack and some of the gorgeous ‘wooden buttons’ ….LOVE!
![]()
Now, I just need to add my title so the words ‘So Sweet’ from the foam title stickers were just too perfect not to use… so I placed it below my picture and my page was complete!
![]()
I hope I bought you some inspiration today, and you are having as much fun with Storyteller as I am.
I will be back next month to share more with you.
Happy Scrapping!
Kel.
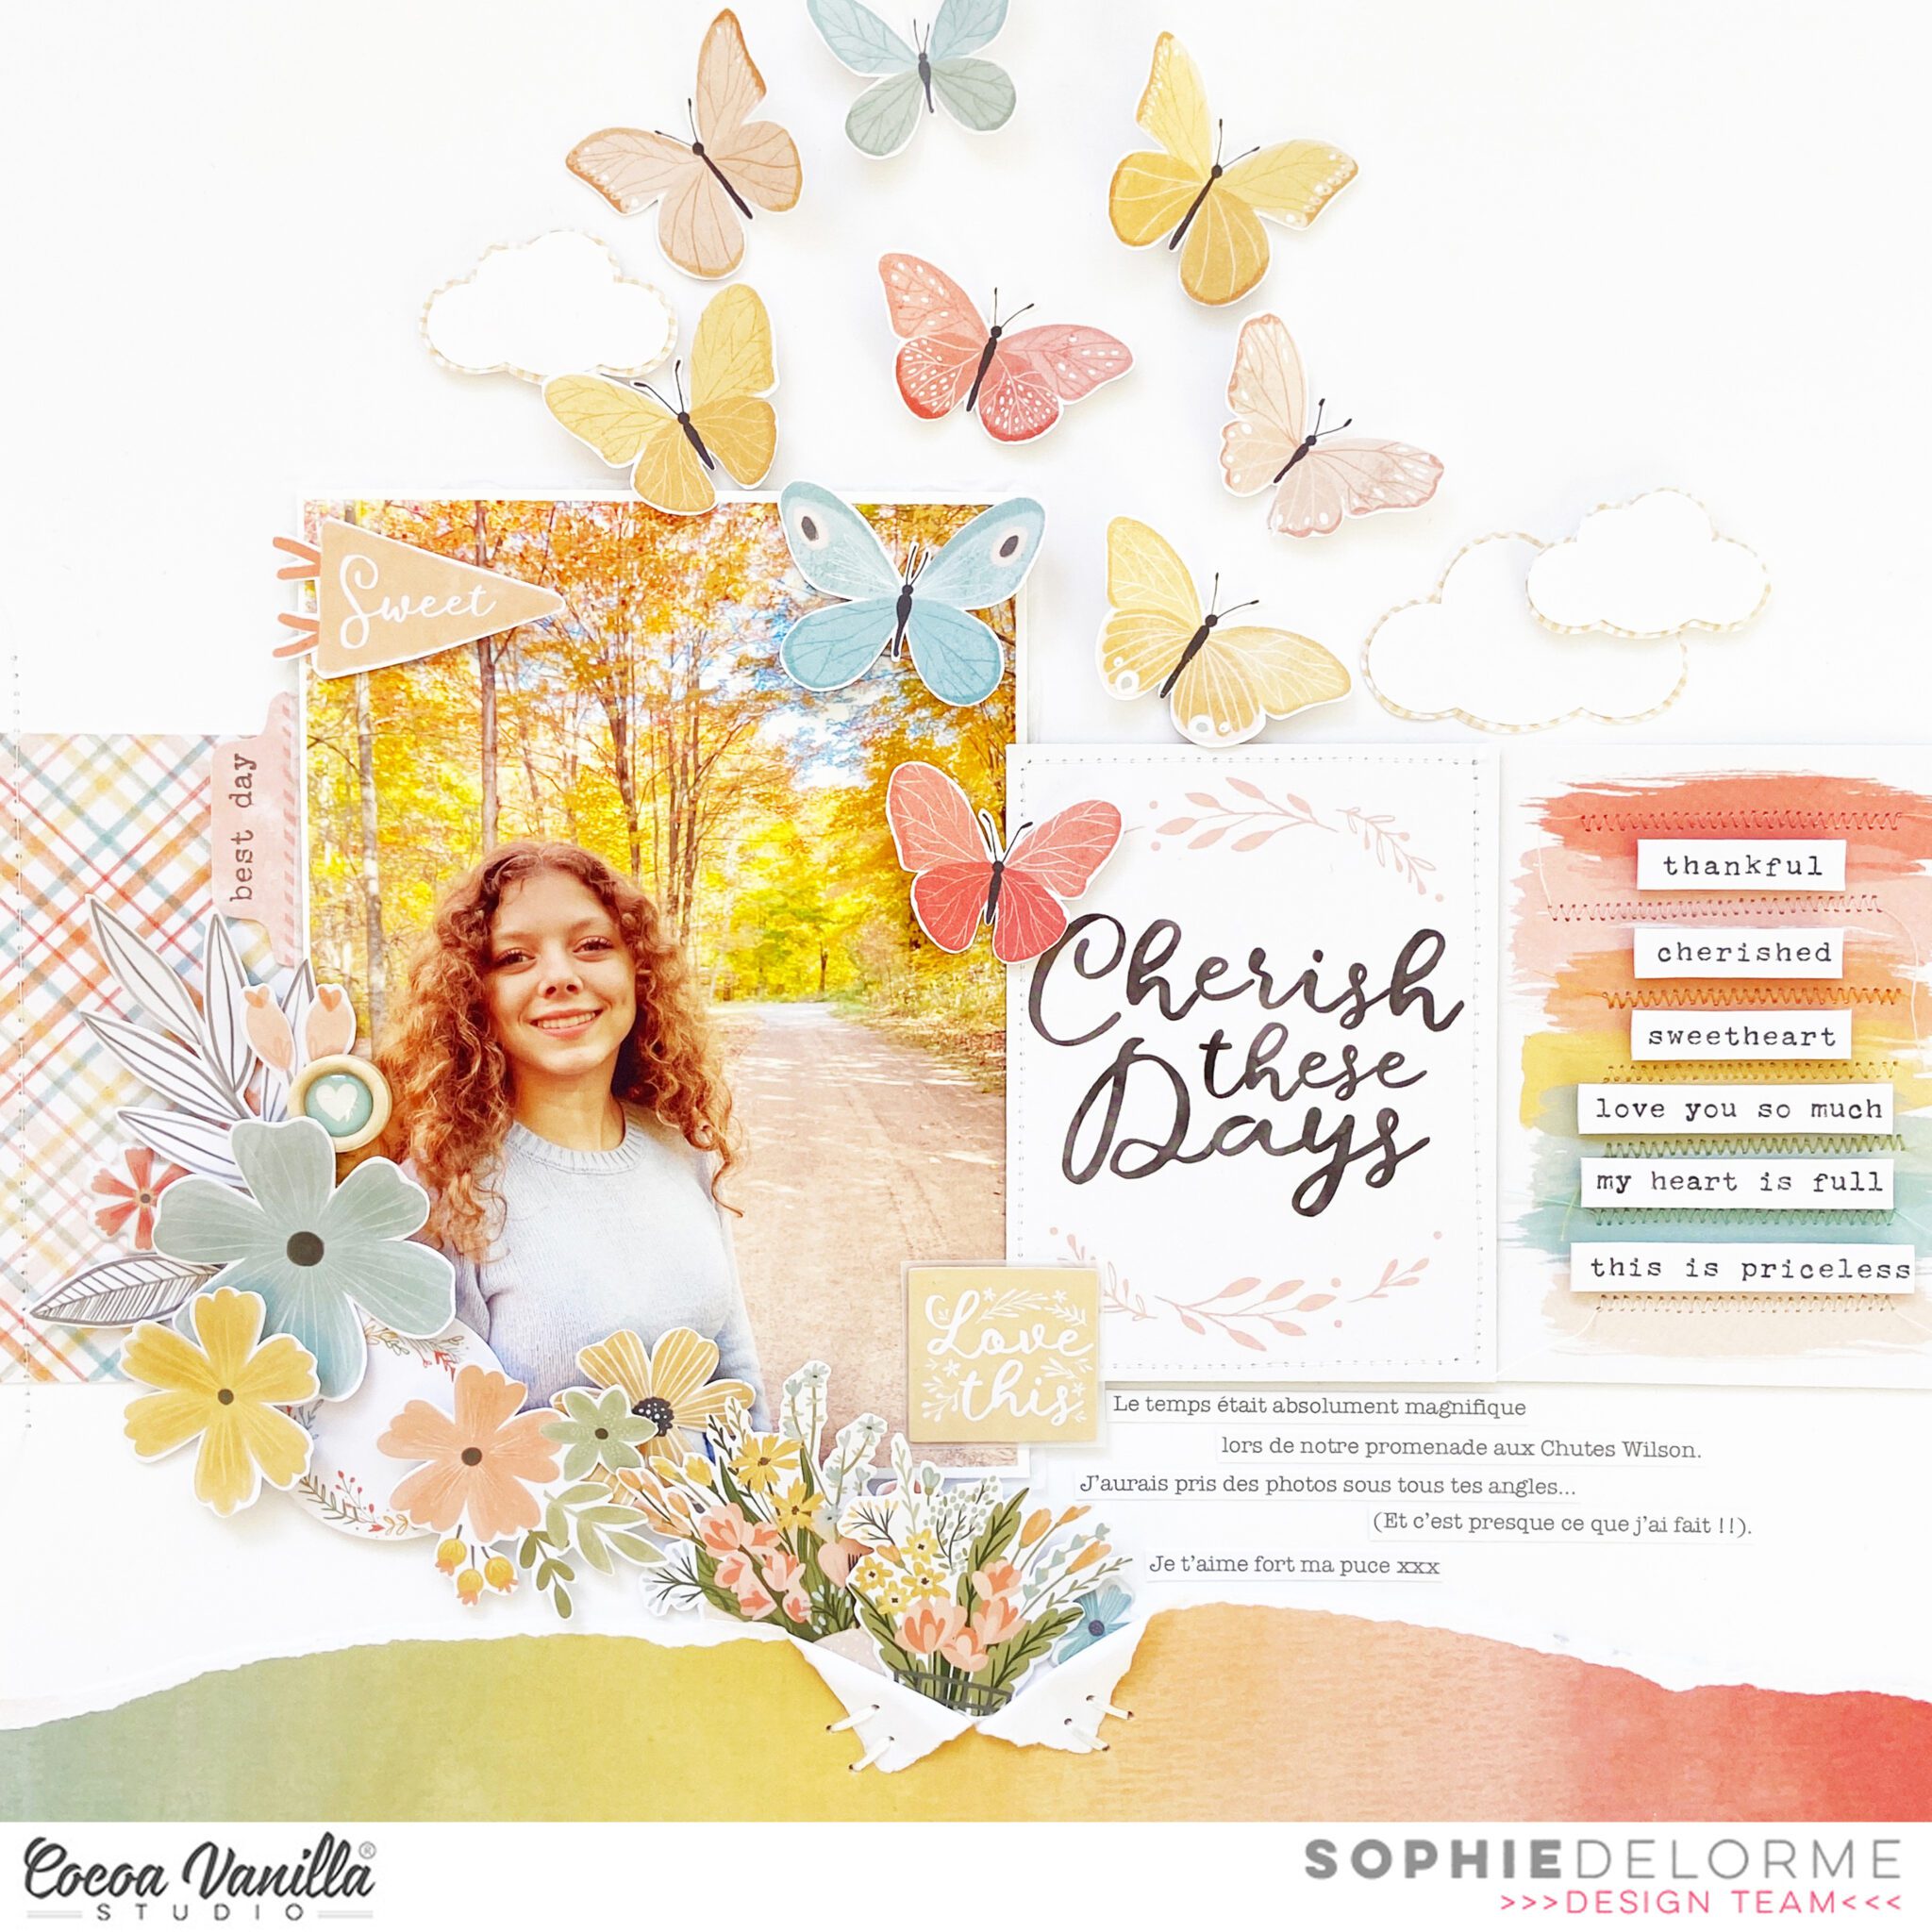


 I grab a 12×12 white cardstock paper and choose the colors of Distress Oxide I want to use. The colors I chose are, antique linen, fossilized amber, worn lipstick and spiced marmalade. I start by blending the Distress Oxides and use my blending tools. I start with the color antique linen. Then fossilized amber, spiced marmalade and lastly worn lipstick. I gently blend the colors together and the soft tones in my background come more and more to life. I splash some more with the different colors of distress oxides. Now it’s time to decorate my layout with the awesome collection “These Days” and the cute picture of my son.
 I used different metal dies sets for the leaves and twigs. Some leaves I stitch with gold and white sewing thread. I like lots of little different details in my layouts. I select several die-cuts and along with the leaves and twigs I make clusters on both sides of the hexagons. I use the cute wooden buttons as additional decoration.


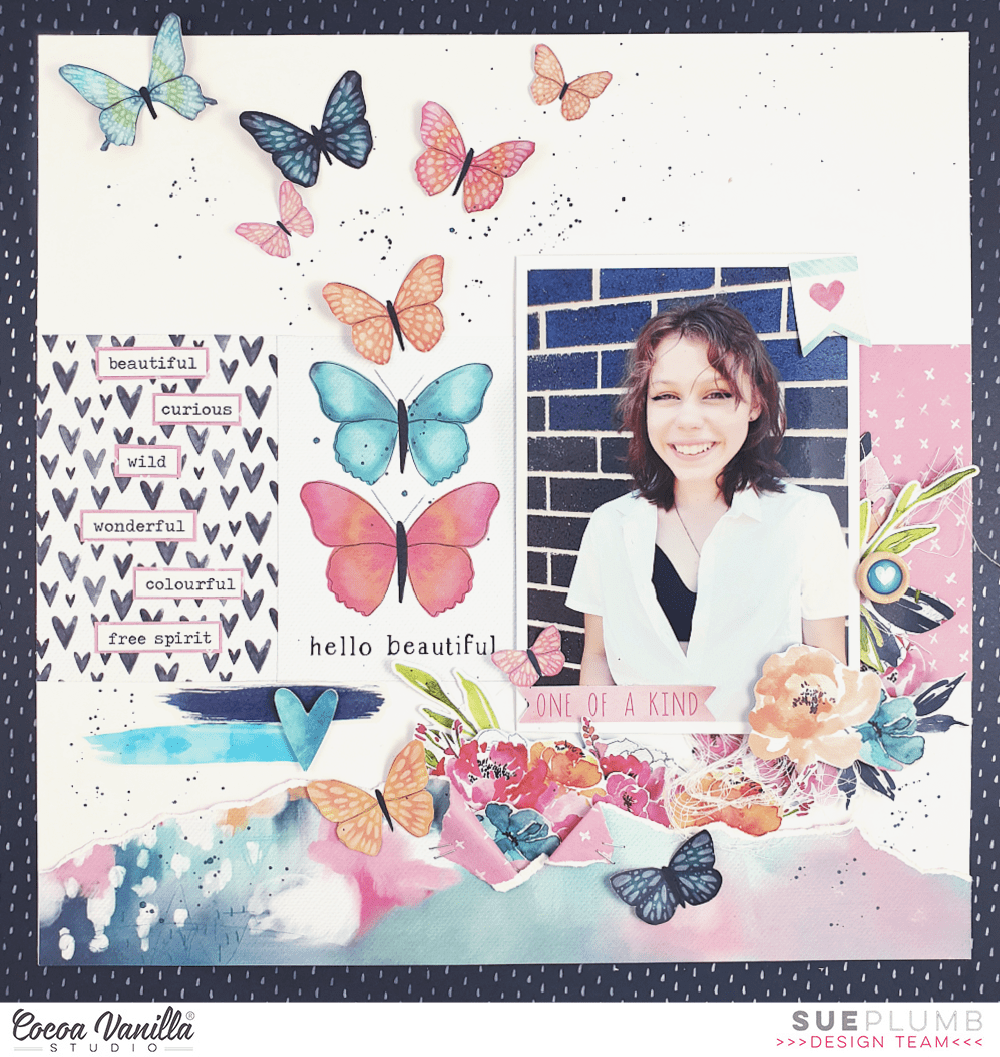
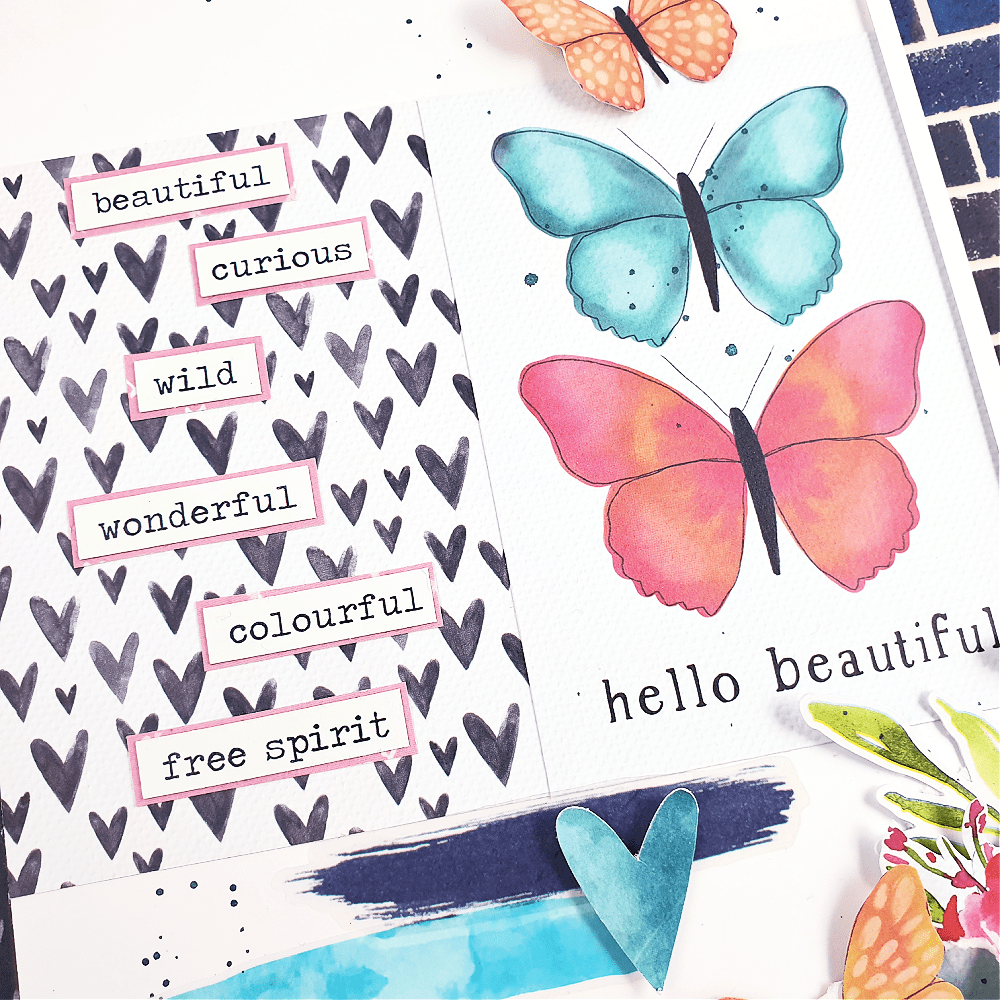
 I placed die-cuts, flowers and stickers between the butterflies. I loved how that turned out. Look the gorgeous word strips on my layout and the gold title Memories under the butterflies. I splashed white gesso and gold acrylic paint splatters on top of the butterflies and embellishments.I punched some white twigs out of white cardstock and gave them a winter look with the Nuvo glacier. WoW, such a cool effect! I really love the shimmers. Curious to see more details and exactly how I made the layout! Just hop over to the Cocoa Vanilla Youtube channel for the process video!


 I start by cutting the photo frames and with gold sewing thread I stitched the edges. I cut the photo into a circle and also cut two circles from the design paper as well. I placed these circles behind the photo and with gold sewing thread I stitched the edges.
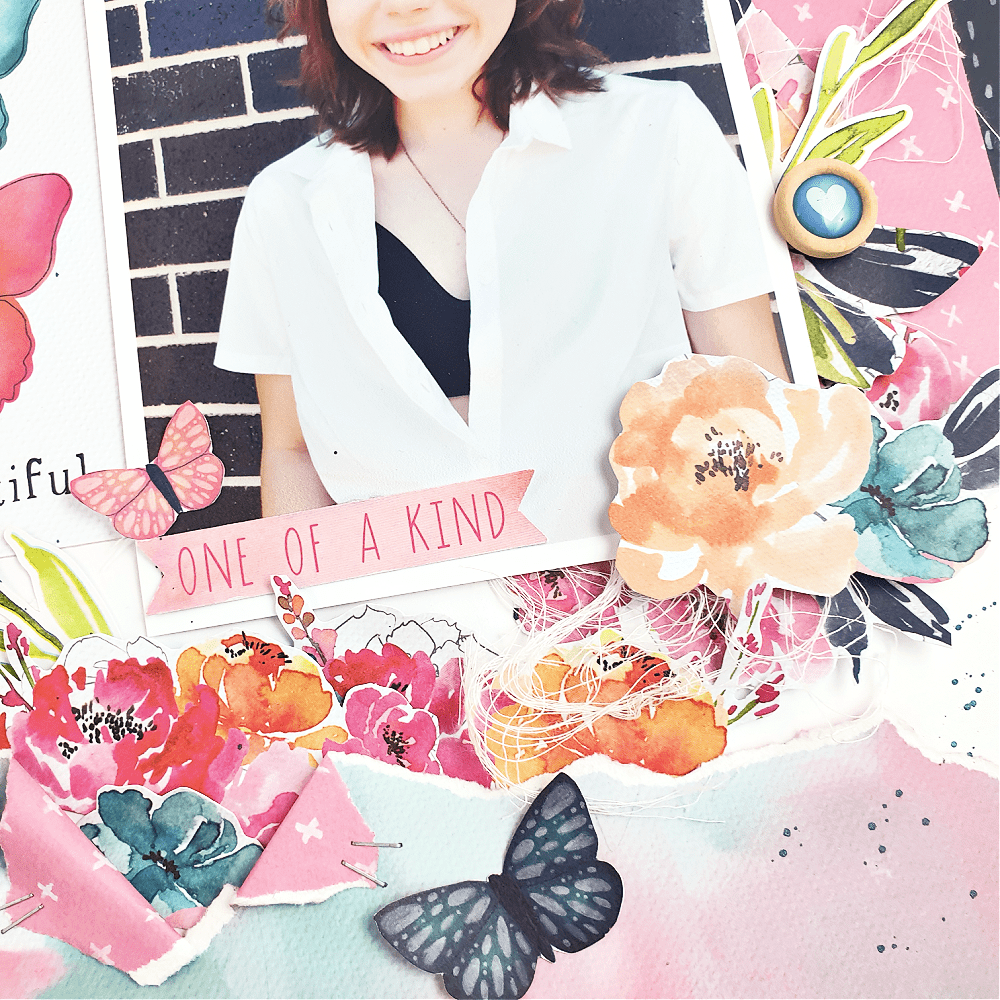
 I cut some butterflies and flowers from the gorgeous design papers and used the beautiful flower die-cuts, stickers and the wooden buttons from this awesome collection. I placed them I around the photo. I love creating layers with these amazing embellishments. For the title, I use a pocket page card titled ” Little Moments of Joy” I cut out the text and use it as a die-cut on my layout.


