Happy notebook | Happy Days Collection | Anna Komenda
Hello crafty Friends. It’s Anna here with my second June post. This one is related to the first post, where I shared with you four cards for the teachers of my daughter. I also made matching notebook to go with one of the cards, using the same colorful and pretty “Happy days” collection.
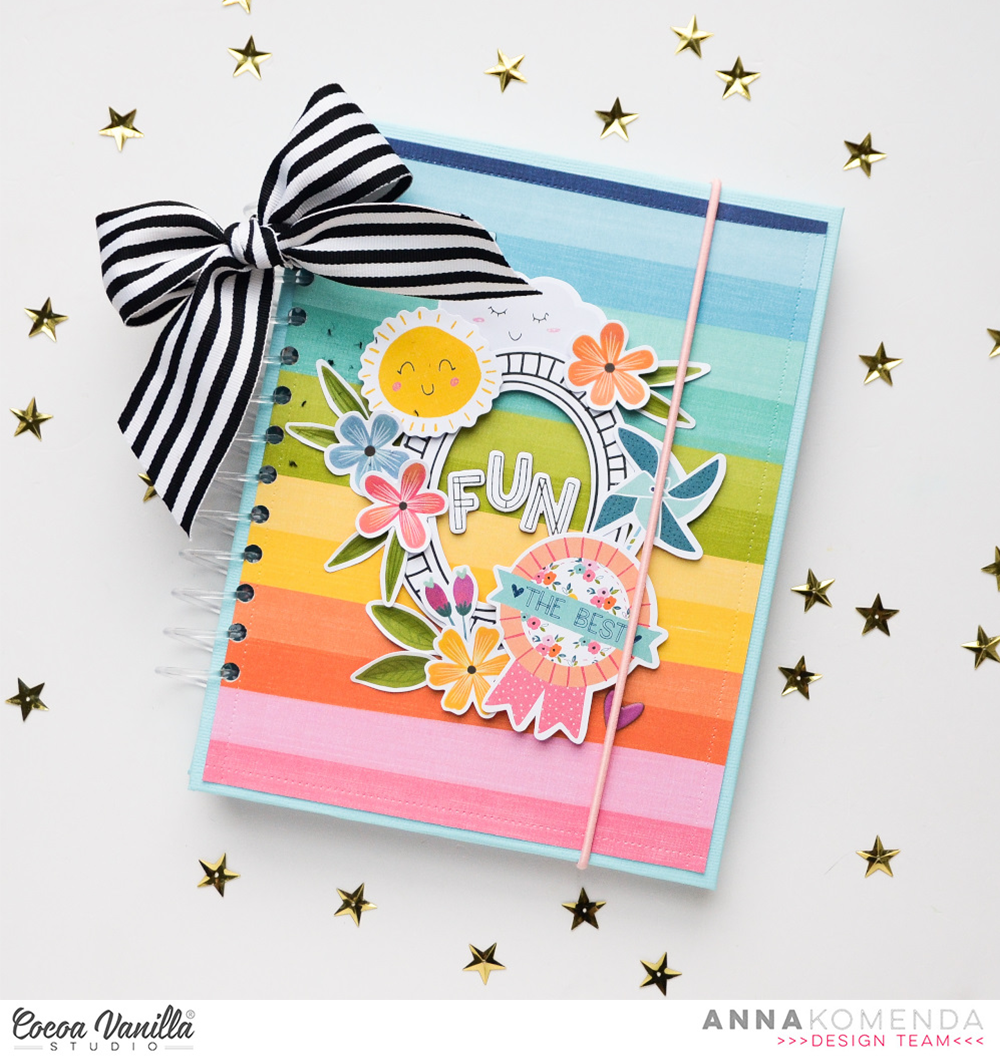
As always I made it from scratch, starting with the covers, through all the pages and connected everything with a transparent, plastic spring. My covers are cut from the white cardboard and wrapped with blue cardstock. You can use pattern papers for this purpose too but it would require using up two the same ones from my precious pile and I wasn’t ready to say good bye to them. That’s why I chose blue cardstock.
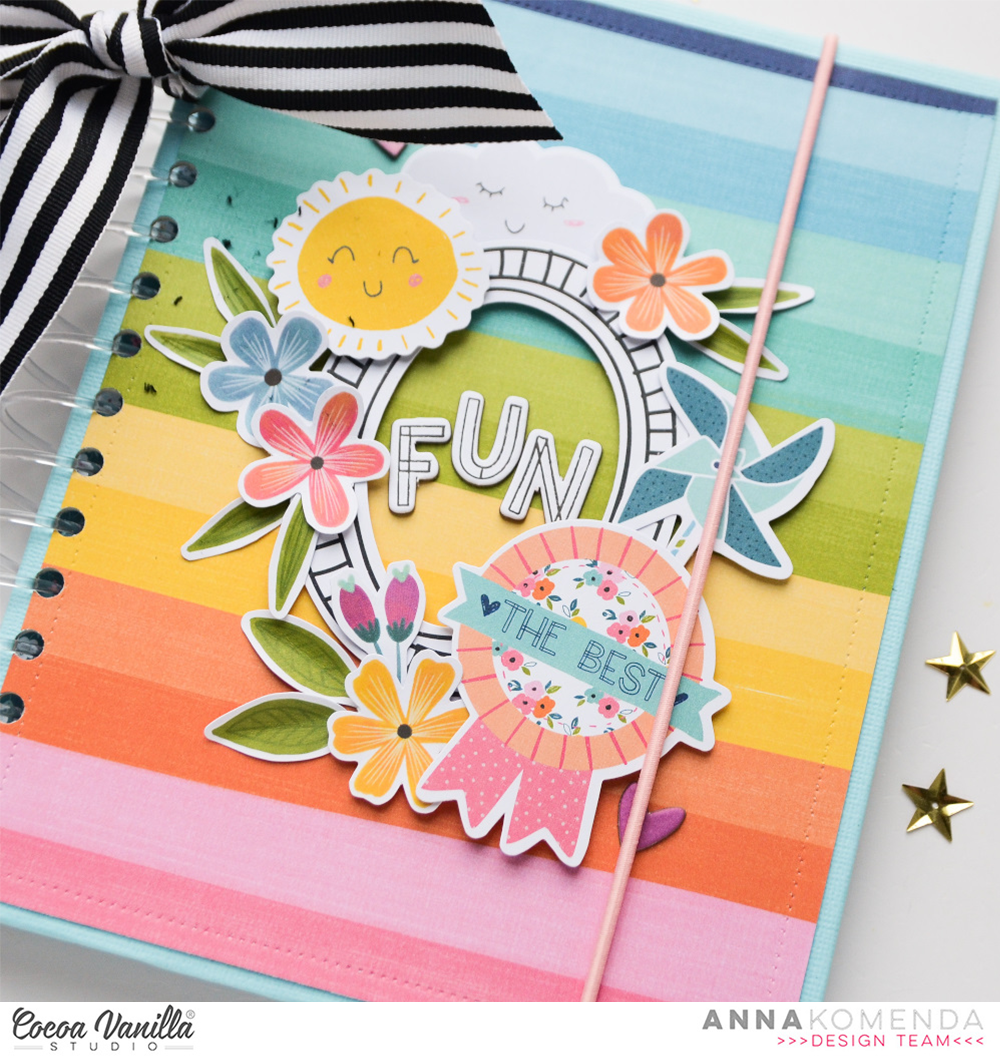
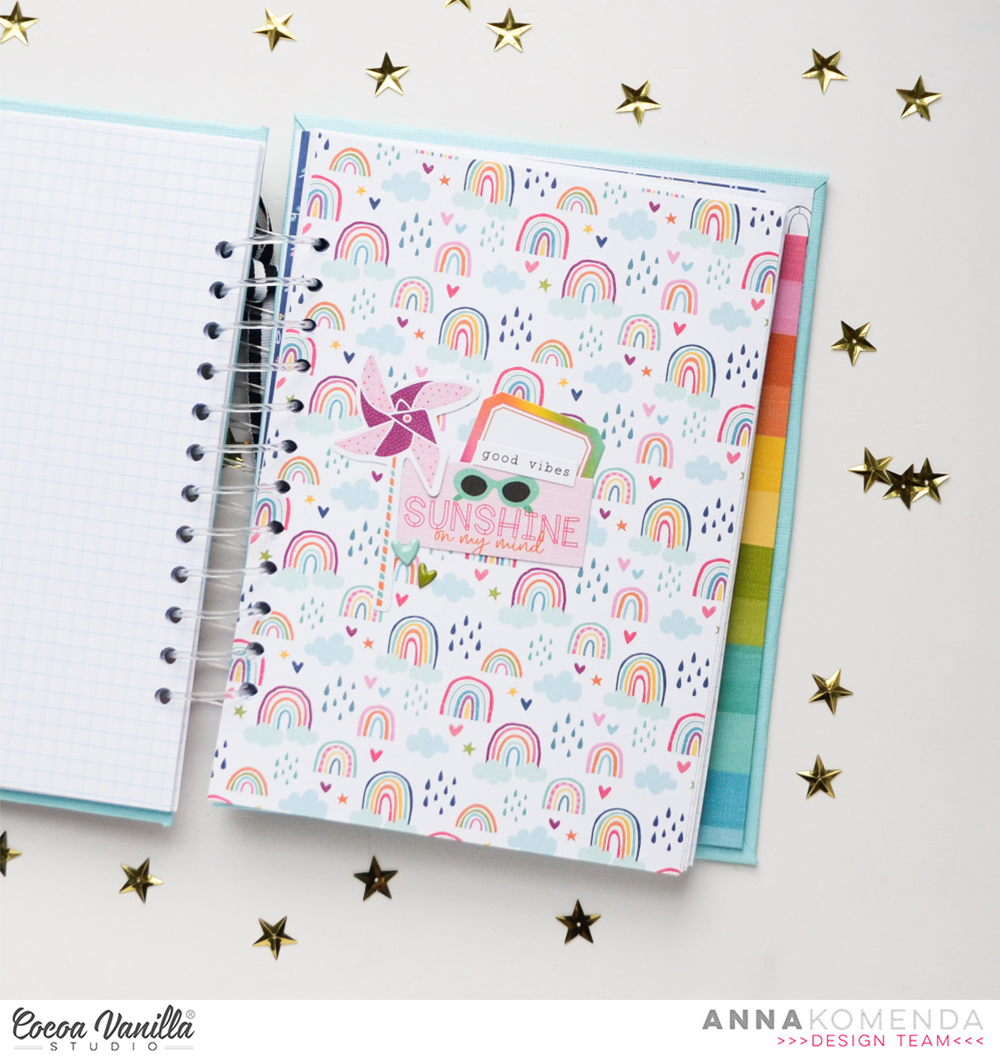
Covers are decorated with beautiful rainbow pattern called “Lollipops”, both on the front and on the back. I added this fun texture of stitches using jagger. You can but it very cheap in sewing stores or departments. As this notebook will be used frequently, I couldn’t add too many embellishments to the cover. They would fall out easily and it would be hard to write on the left sides of paper. I picked few pieces from Ephemera Pack and few flowers from Floral Ephemera Pack and glued them down.

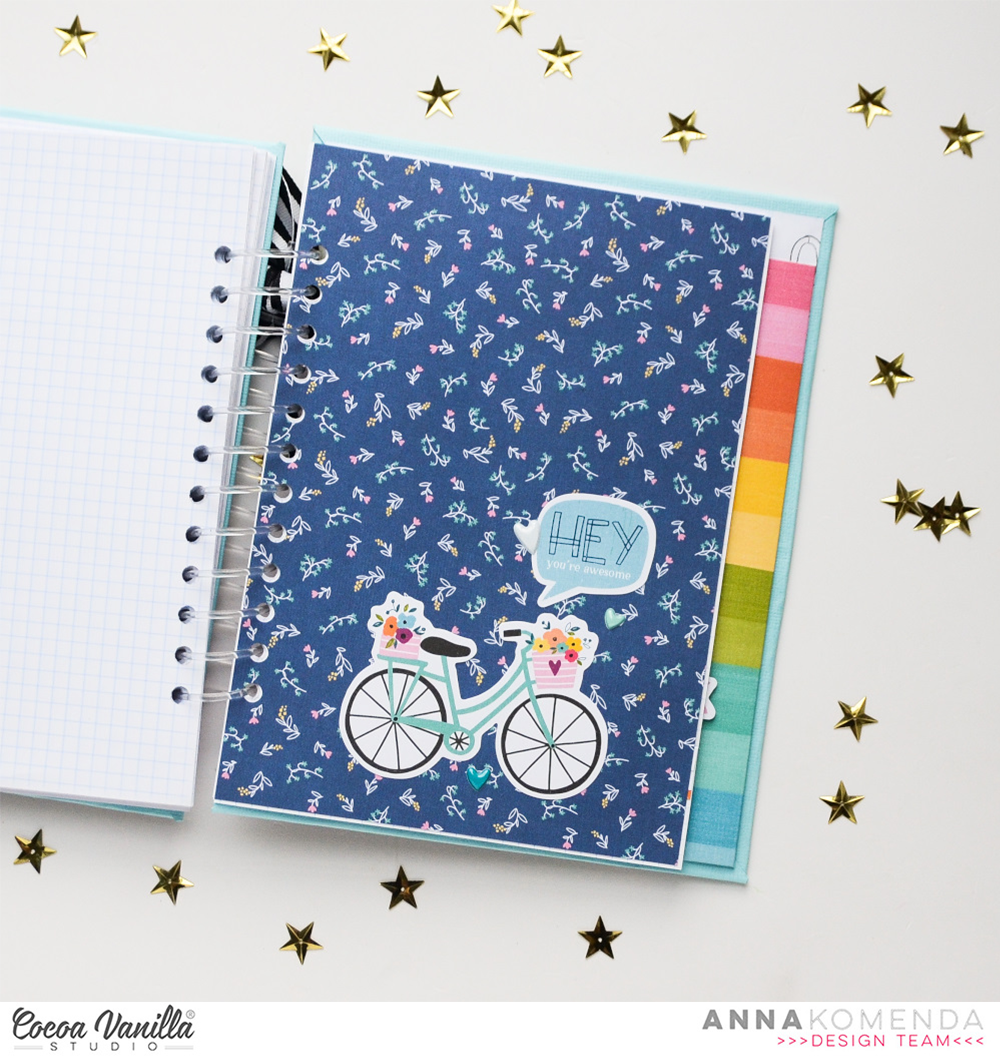
Inner covers are decorated with filled with words “Definituve” paper. Back cover also got a useful pocket for any loose pieces of paper or keepsakes. Notebook carry 120 sheets of checkered paper and few decorative dividers. Those dividers are made with A5 Paper Stack as they are just a perfect size!
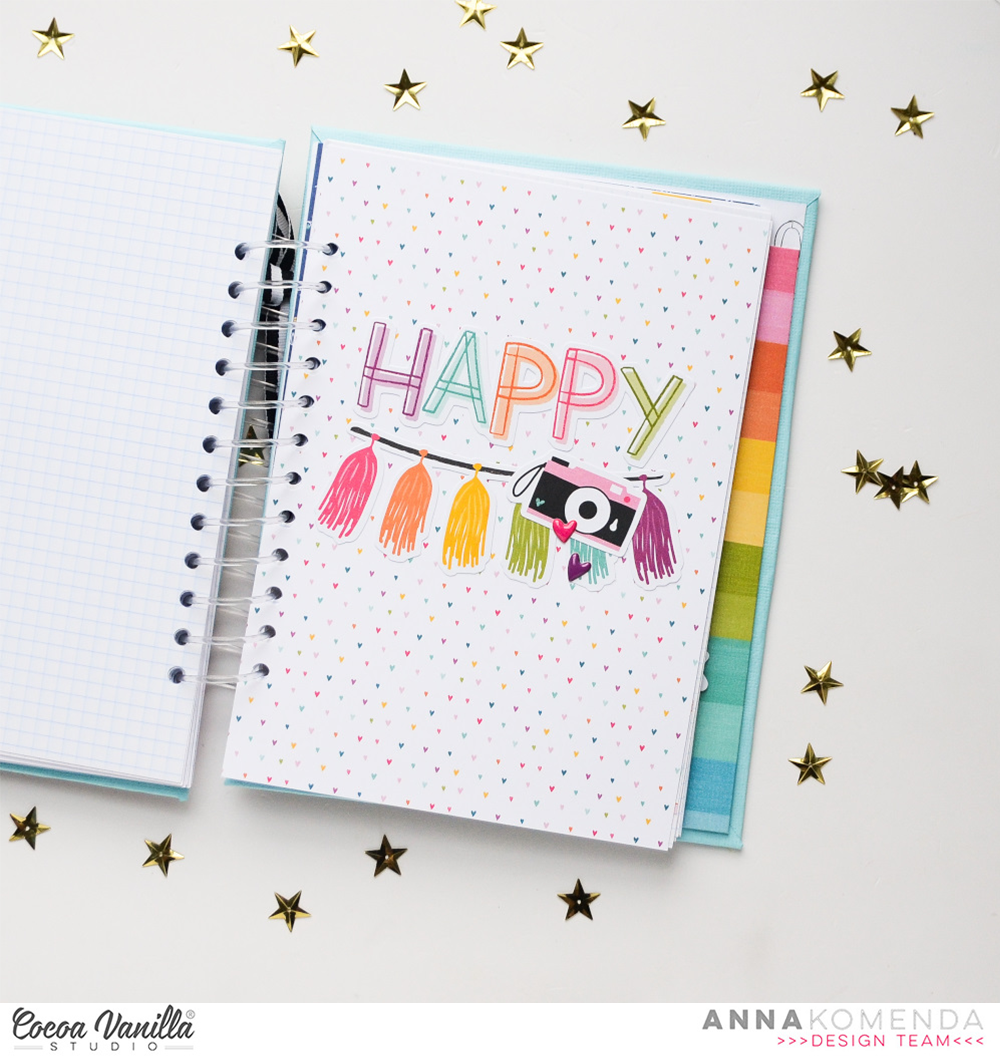
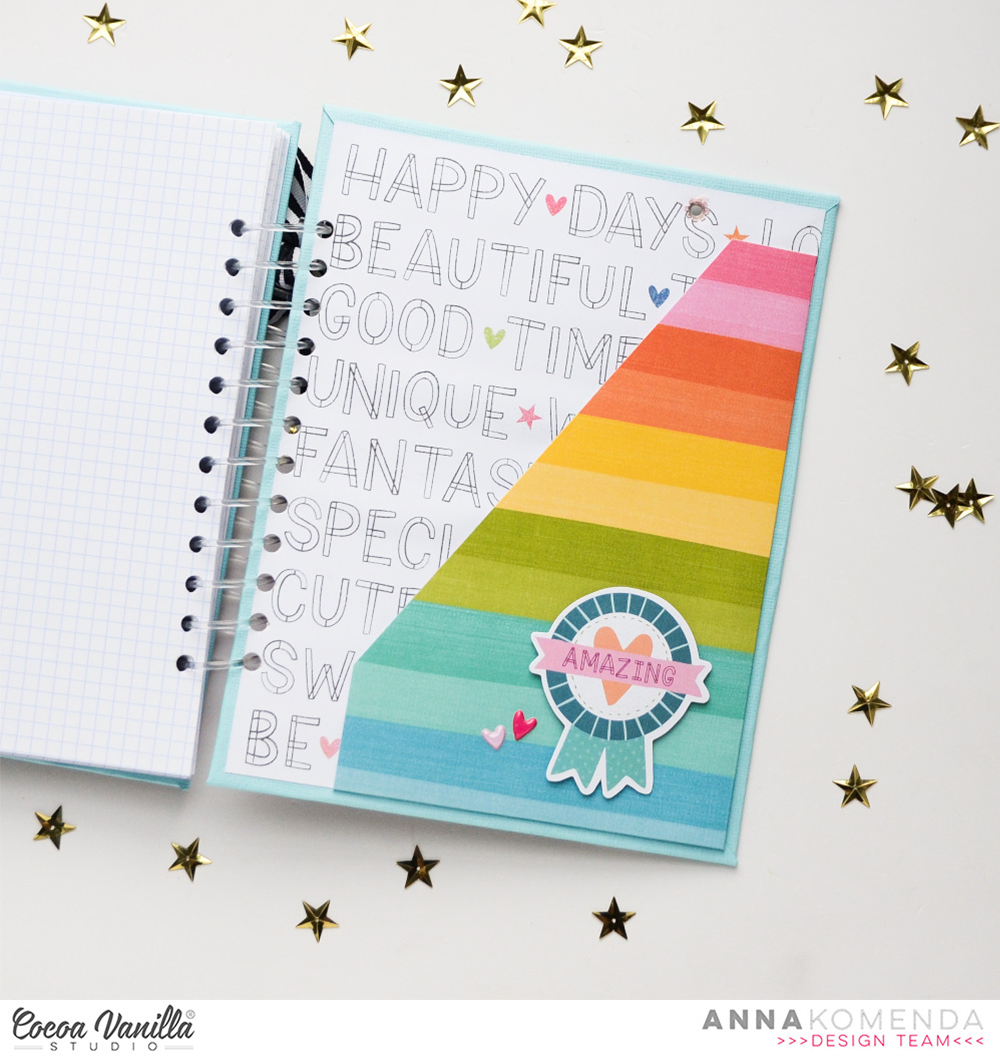
Each one is also decorated with ephemera pieces and stickers from 6*12 Sticker Sheet. I even added stickers to some of the pages to make them prettier. First divider could be a little bit bulkier so I also added “My days” wording with Chipboard Titles.
With all the elements ready, I could use my old but still good Cinch machine to bind everything together. I could use metal wire but I chose plastic spring instead. They are both equally good. I just liked the transparent look better.
I hope my little gift will bring joy to my kid’s favorite teacher. Now it’s time for two months long vacation! Summer is in full swing and we can’t wait to soak up the sun.
Thank you so much for spending your precious time with me. Sending you lot’s of hugs.
Anna


 I started this layout off by trimming down a sheet of white cardstock and matting it on the gorgeous magenta Flutterby paper. I added a doodled border around the white cardstock to add some further definition and interest. Next I cut two triangles, one larger than the other, out of the beautiful yellow Feel Good paper, and adhered these on each side of the page. I matted my photo with a paper from the A5 Paper Stack and adhered that over the larger triangle on the left hand side of the page.


 I finished the layout off with some cute banners in the top right hand corner of the page, a couple of little phrase stickers from the Accessory Sticker Sheet, and of course a sprinkling of hearts from the Die Cut Ephemera and the Puffy Sticker Pack.


 I also printed my photo as a square and positioned it amongst the smaller squares on the page. I pieced it all together a little like a puzzle until I was happy with the placement of everything. The photo was adhered with craft foam in order to give it some extra dimension on the page.
 The fun part about creating a grid design layout is embellishing each of the sections in the grid. I added various die cuts and stickers to each of the squares in the grid, using foam tape to pop some up off the page. I tried to make sure that it looked well balanced by making sure that I didn’t have too much of one colour in any particular area.
