Love To Be Jolly| Merry and Bright | Anita Bownds
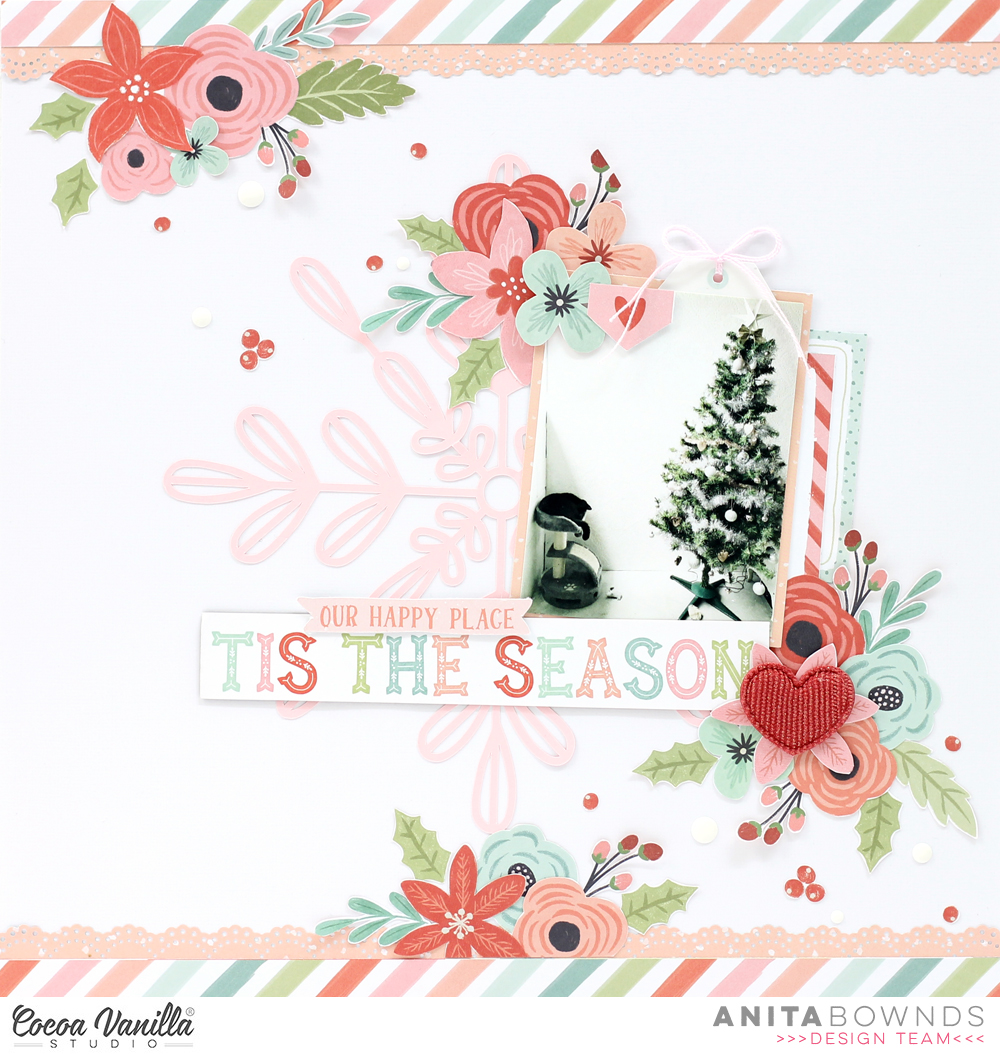
Hey crafty friends, Anita with you today sharing a Christmas layout using the merry and bright collection
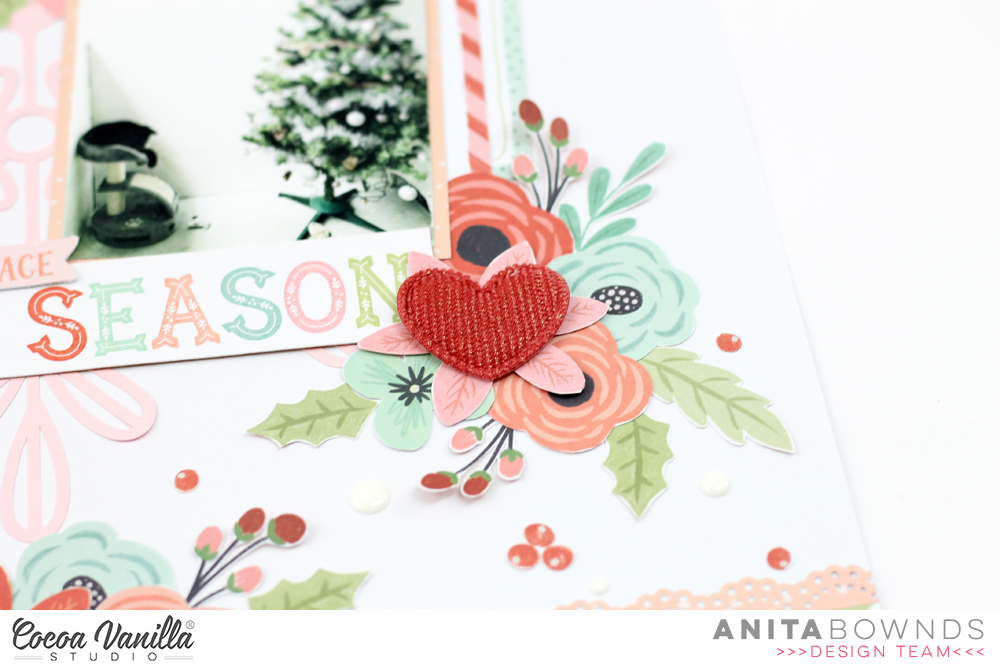
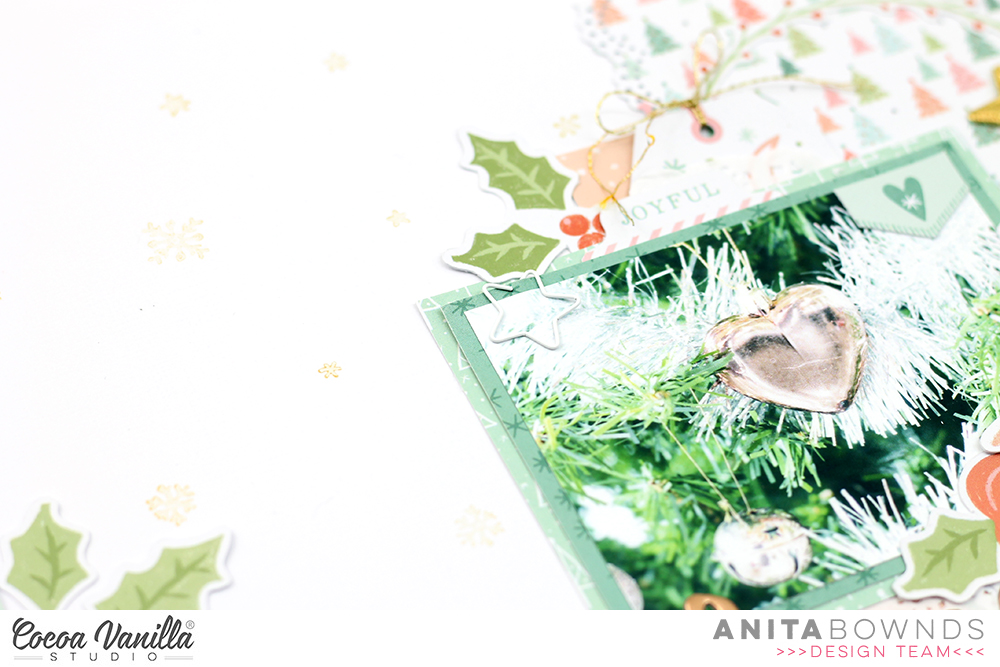
Each year I like to take a bunch of close ups of new little Christmas ornaments hanging on the tree I think it always great to document because we don’t always decorate our tree the same each year but I’m totally in love with these cute heart ornaments…
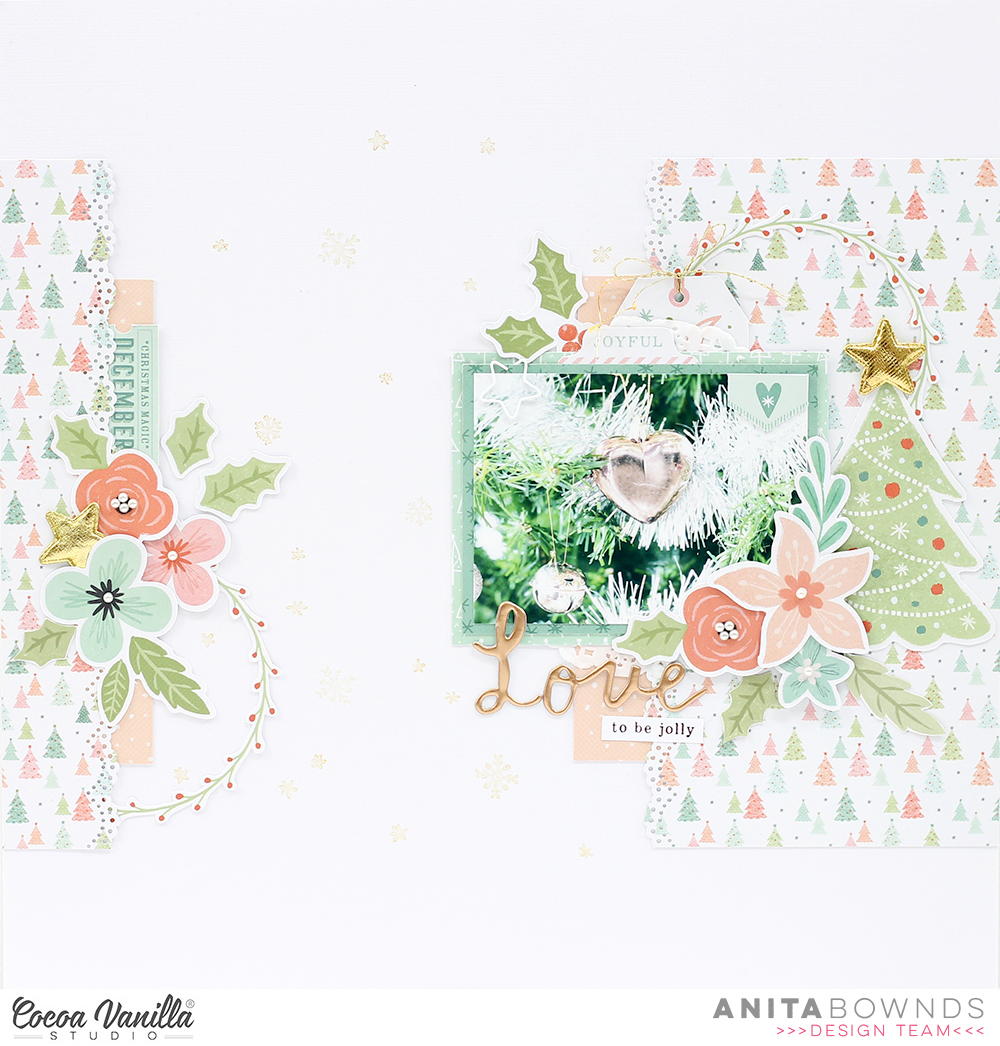
I chose another I created and decided to scrap lift myself and this gives you the opportunity to use the same design but with different products and colours
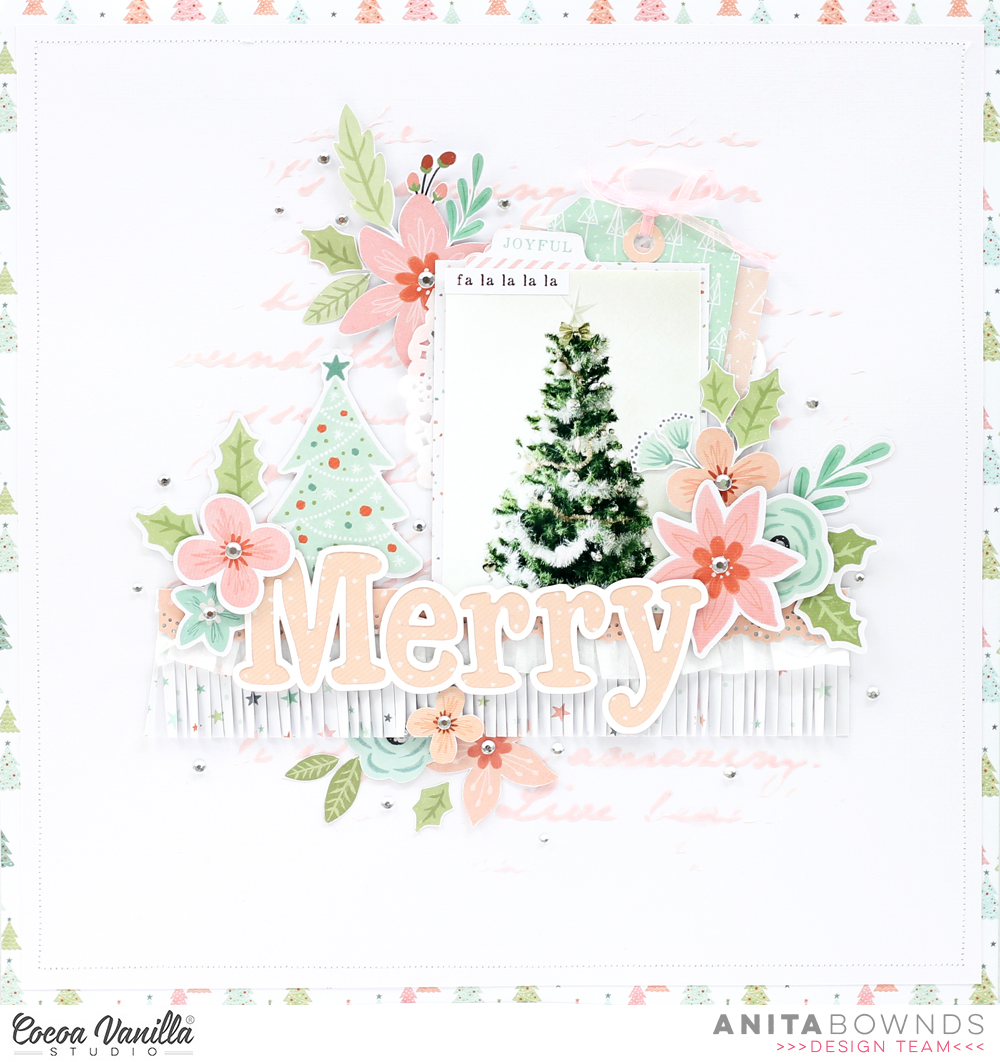
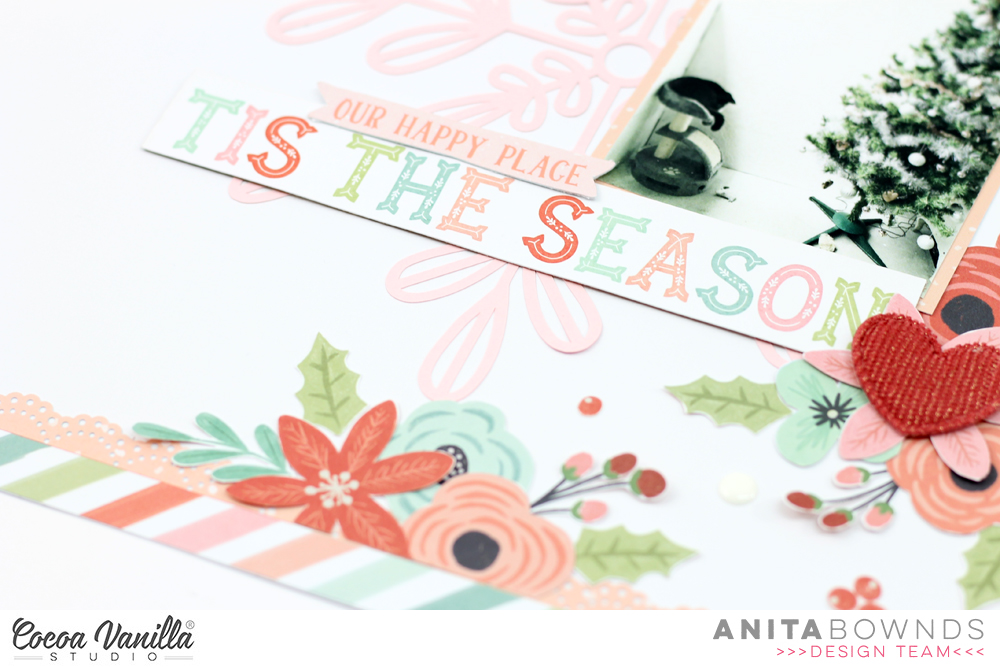
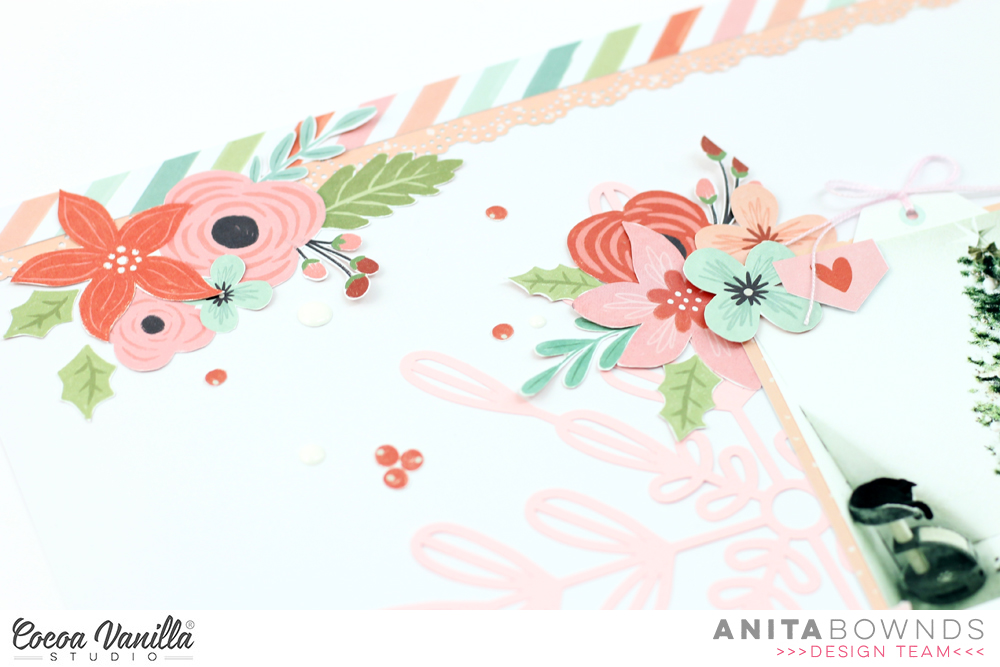
So I started off with my white cardstock background and pulled out some pattern paper from the 6×8 I then trimmed a strip off one side then using a border punch I punched 2 decorative edges on both pieces and added the on opposite sides of the background then using the pink pattern paper from the 6×8 I cut another 2 strips just a little shorter and tucked them just underneath the first bits of pattern paper
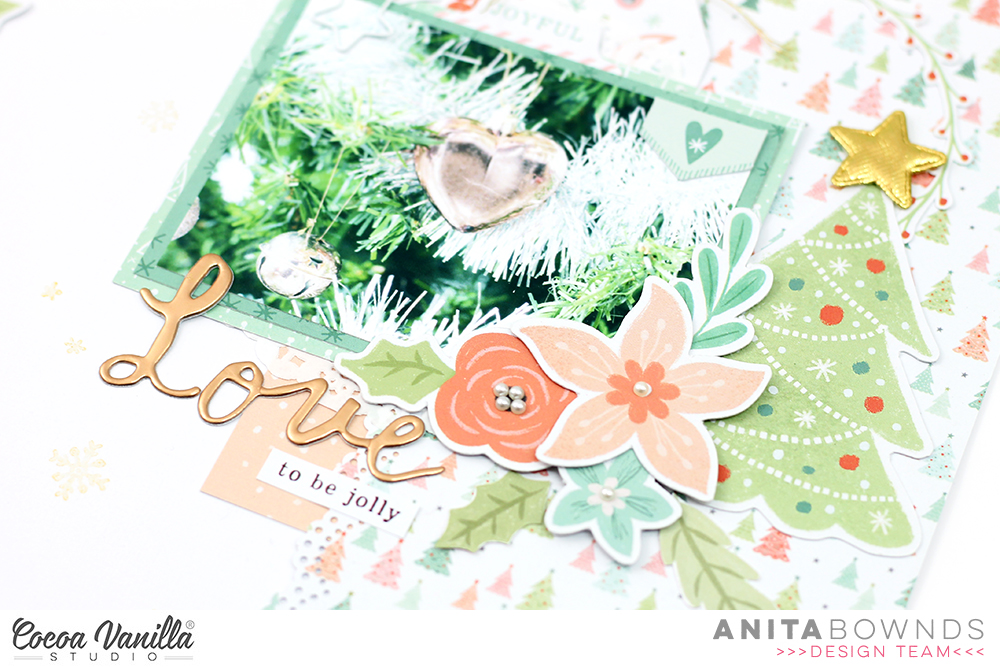
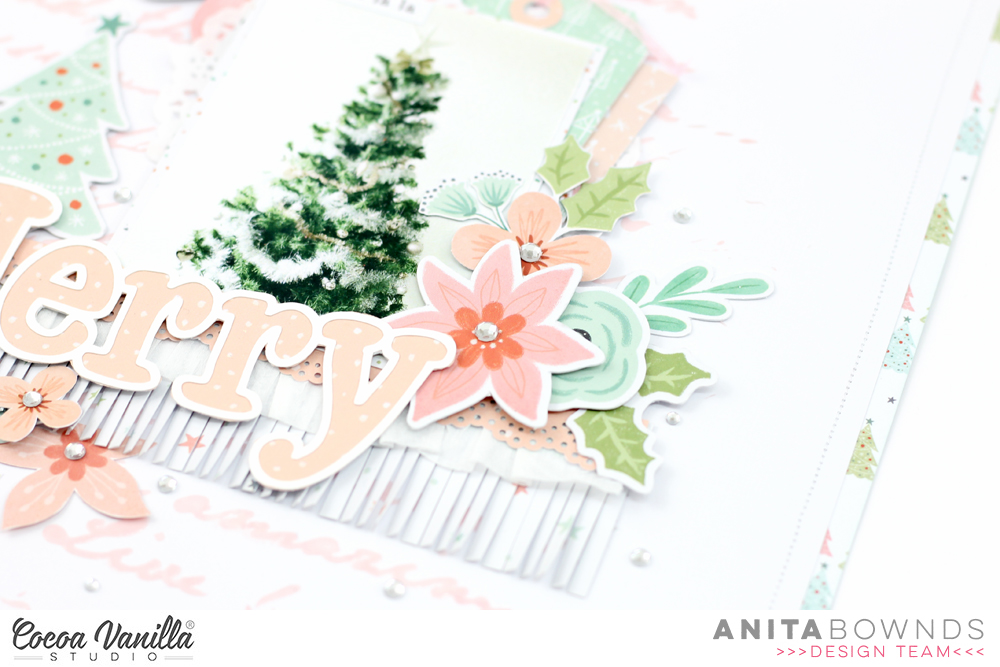
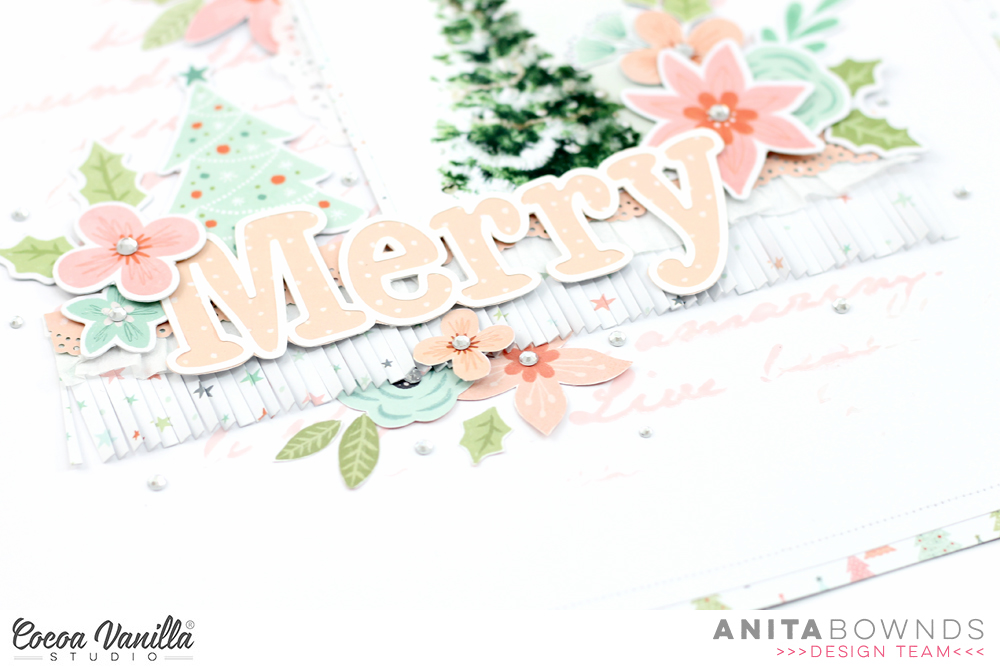
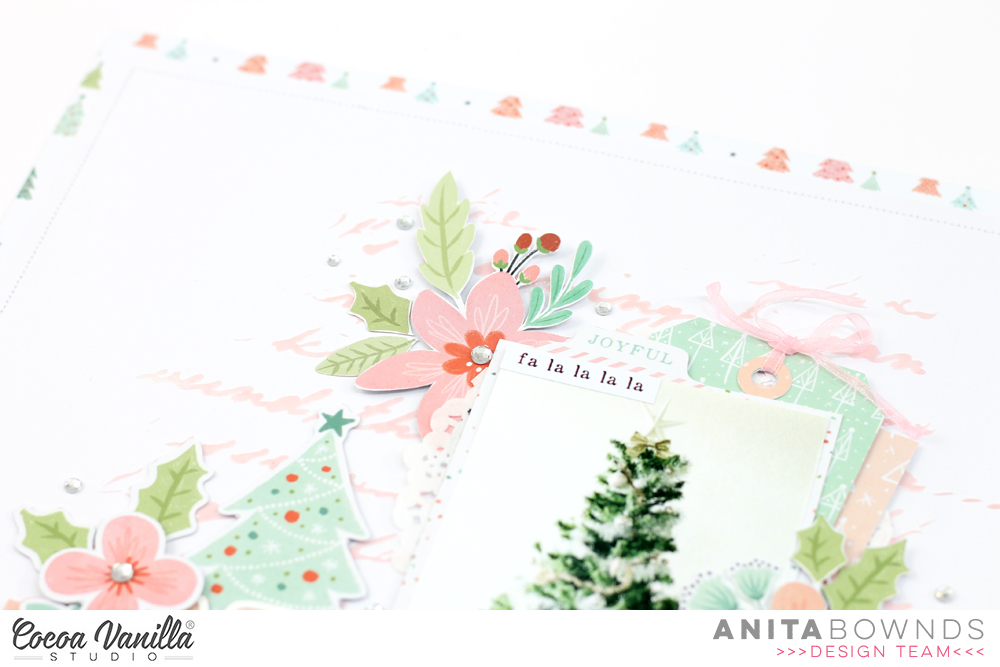
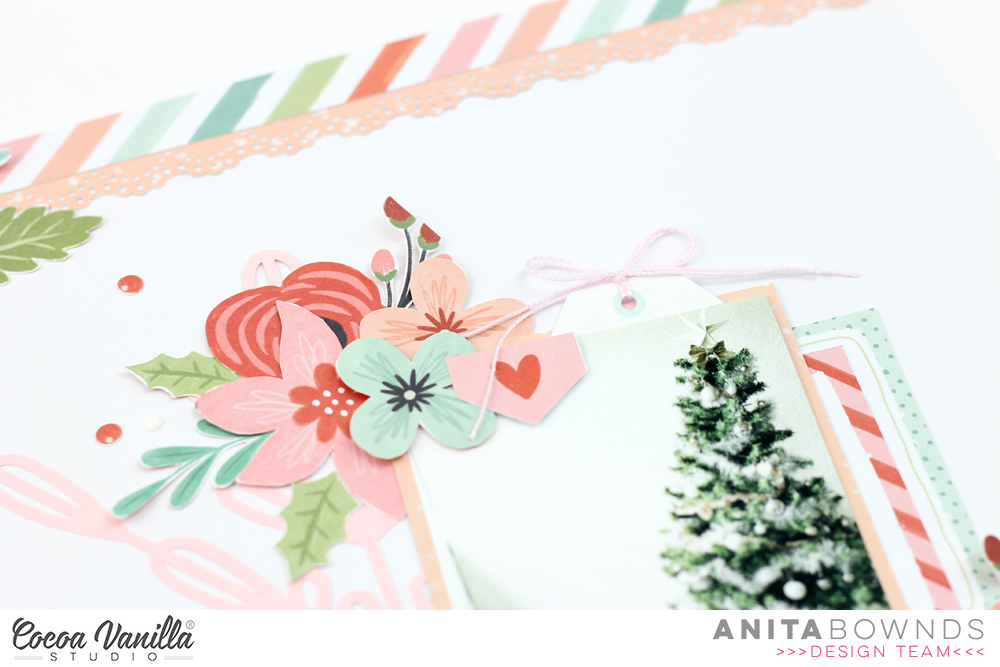
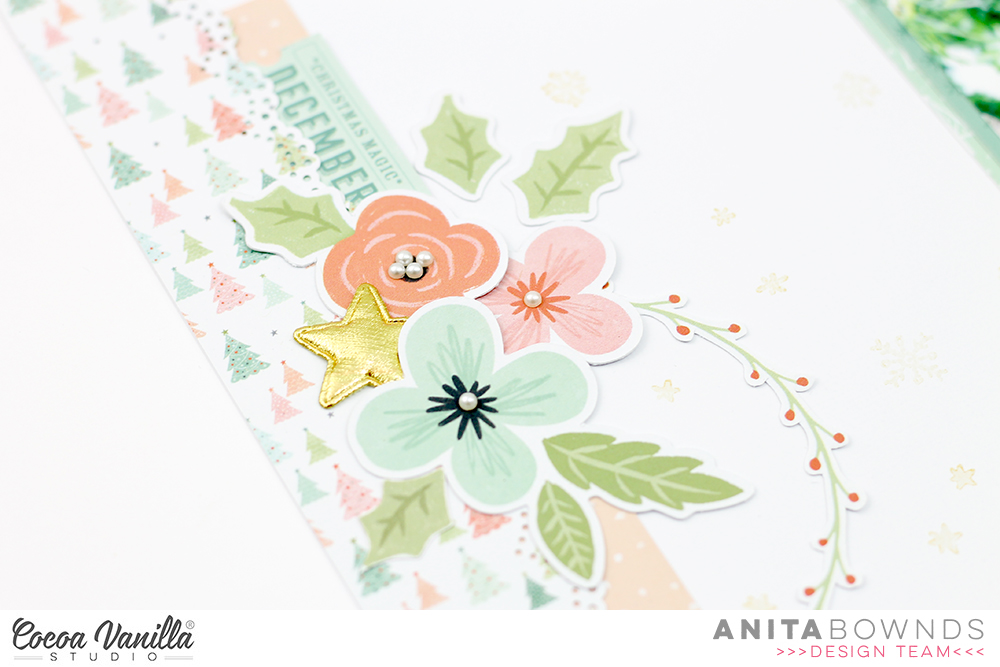
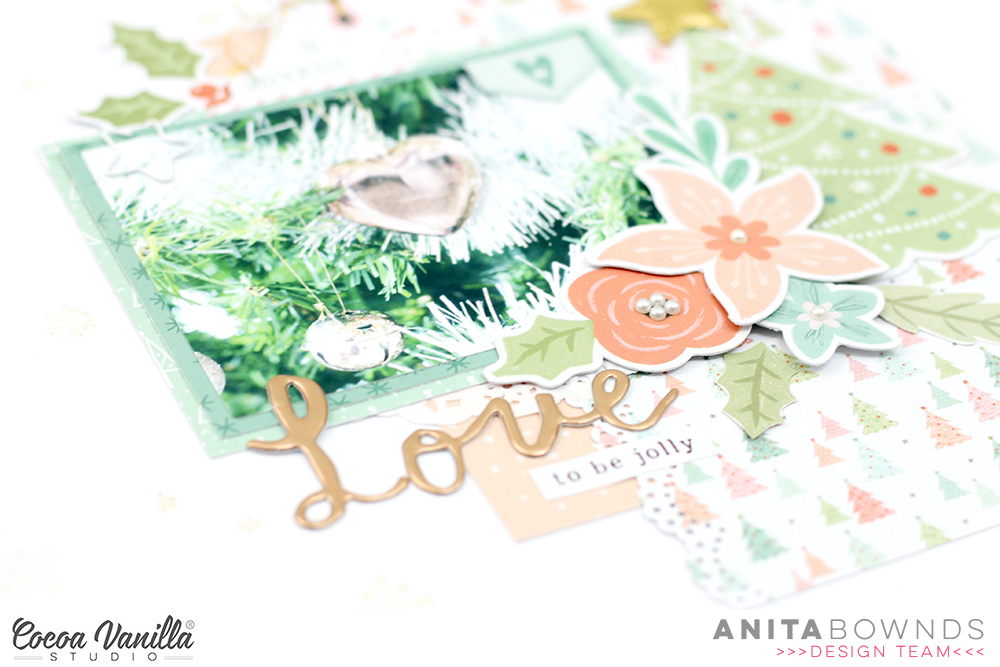
Then I matted my photo on more pattern paper from the 6×8 and added a doily behind to add softness and texture then I adhered it down on the right hand side just overlapping both bits of pattern paper then next I pulled out a bunch of ephemera die cuts and tucked them in the photo layers and clustering them on the right hand side of the photo I then add my title and sub title thickers and a accessory stickers
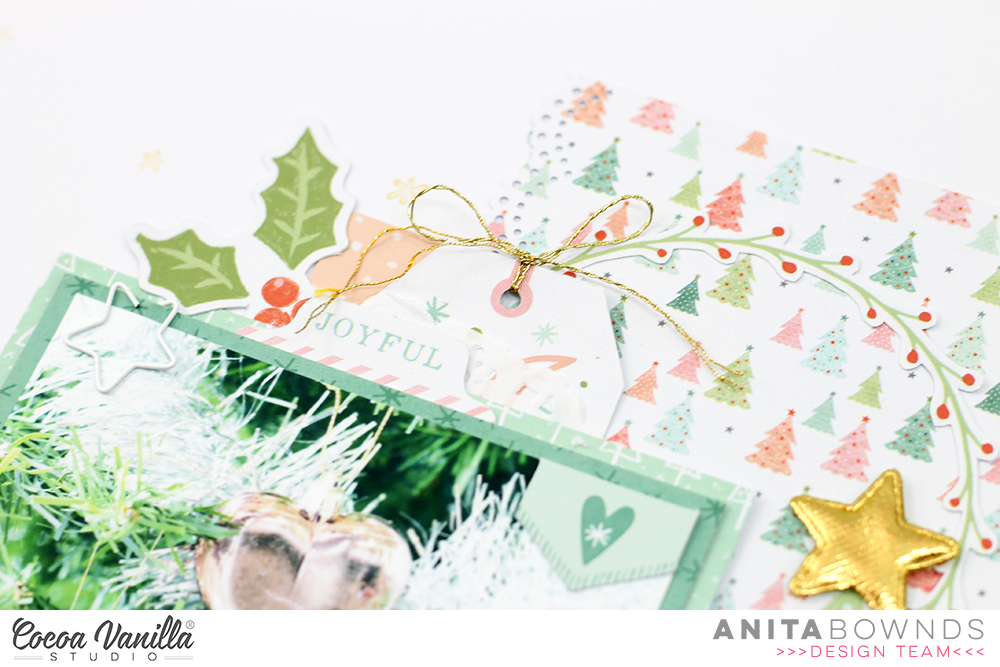
I then added another cluster of ephemera and flowers on the left hand side and added the puffy gold stars in the clusters and on top of the Christmas tree to add a gold touch then to finish it off i did some stamping with some tiny stars with gold , added some gold threads to my tag and a few pearls from my stash in the Centre’s of the flowers.
Happy holidays everyone I hope you have enjoyed my Christmas inspiration today…
Happy crafting…