It’s Sophie on the blog today with a new page to share!
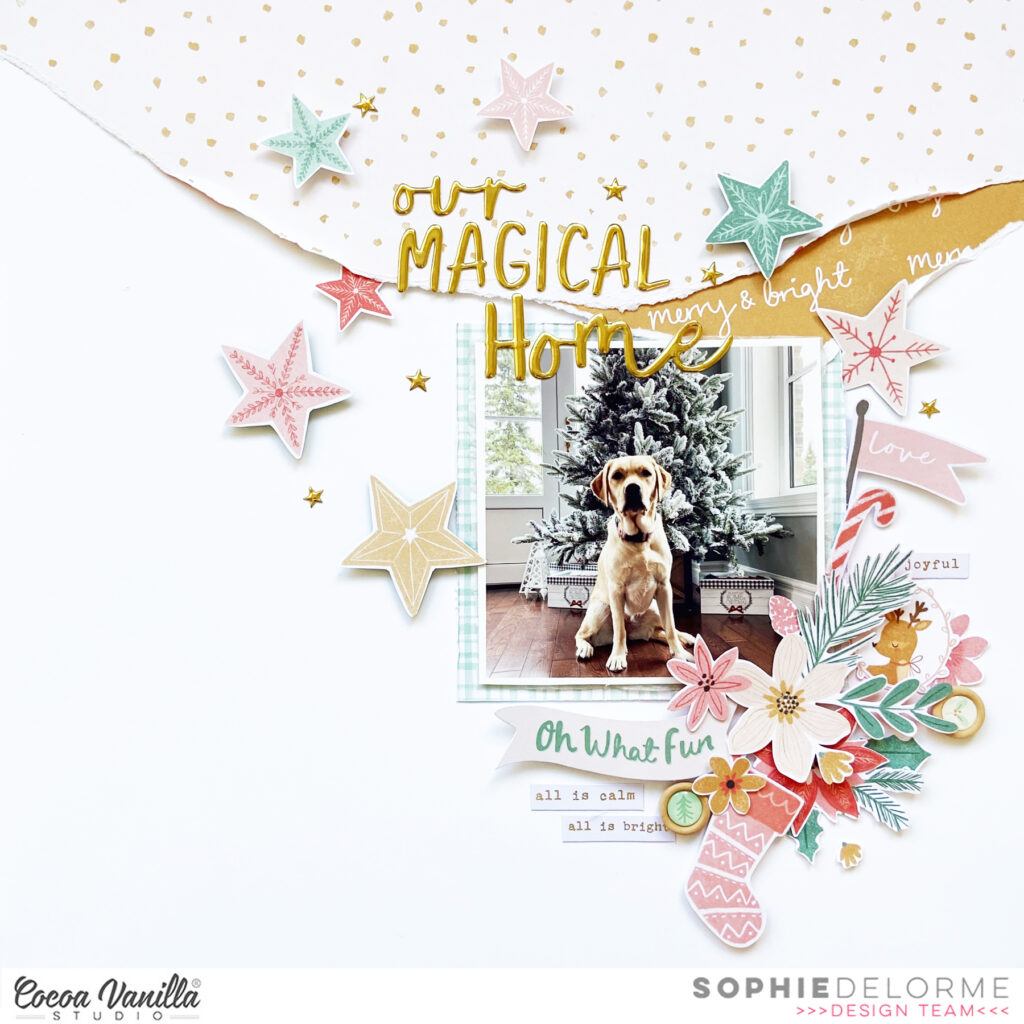
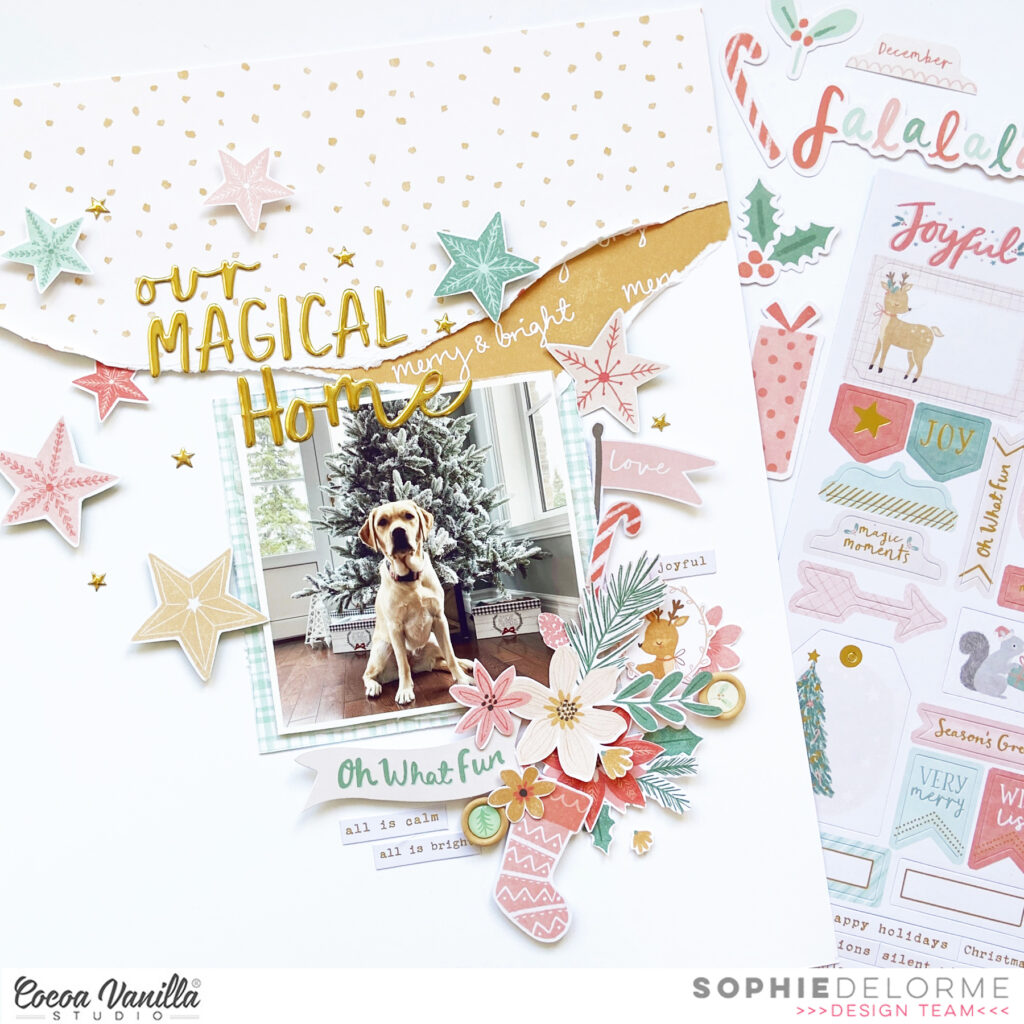
I am all in the Christmas fever this time of year and used the beautiful Joyful collection for my Christmassy layout!
I teared two big pieces of patterned papers from the collection and placed them on the top of a thick white cardstock.
I layered tissue paper, adhesive foam and another patterned paper behind my photo and placed it a little bit off centered to the right.
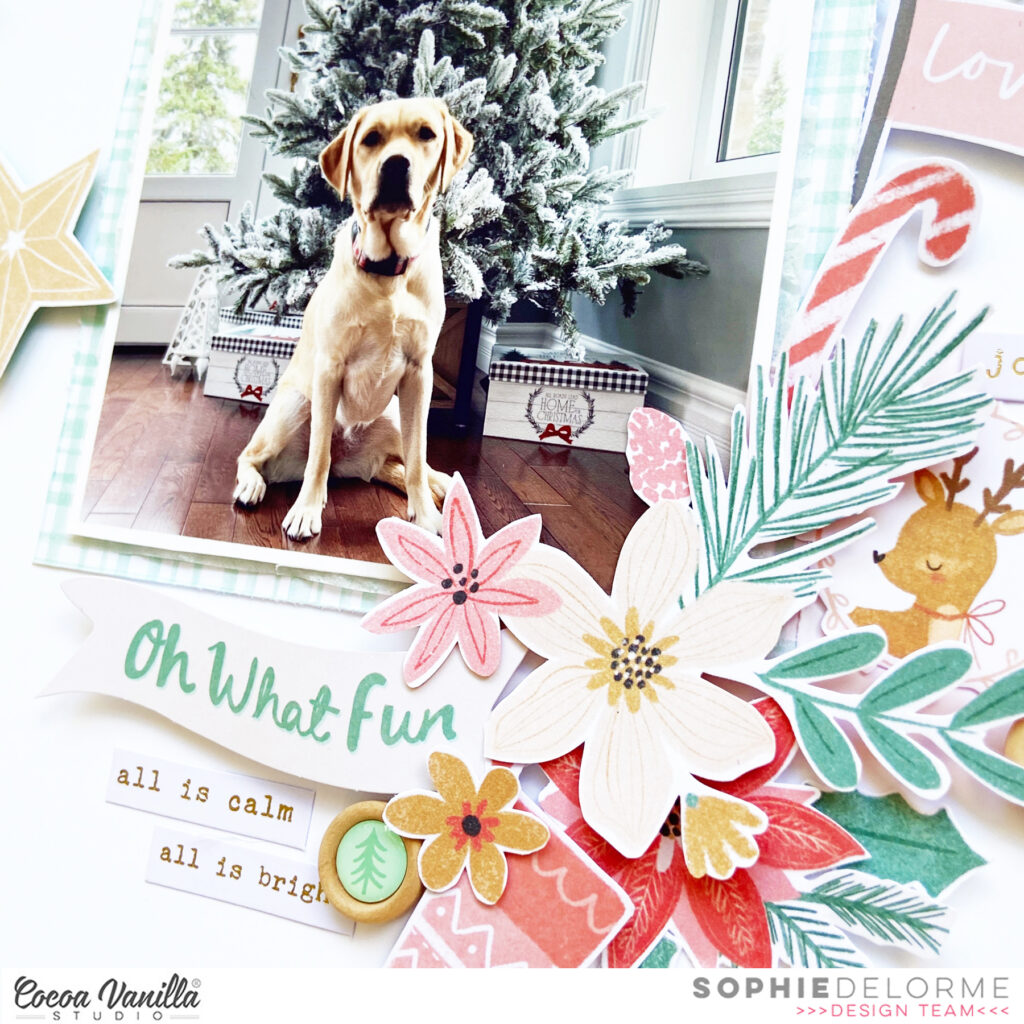
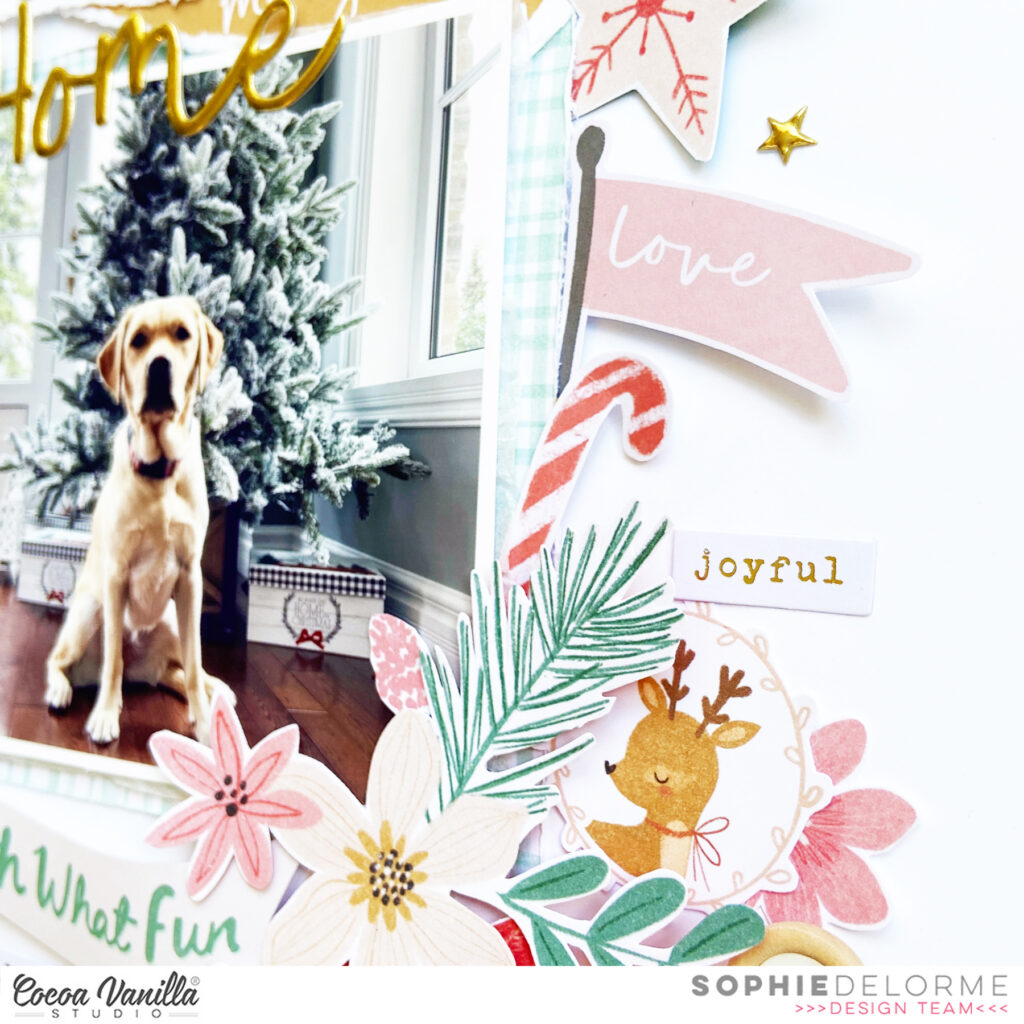
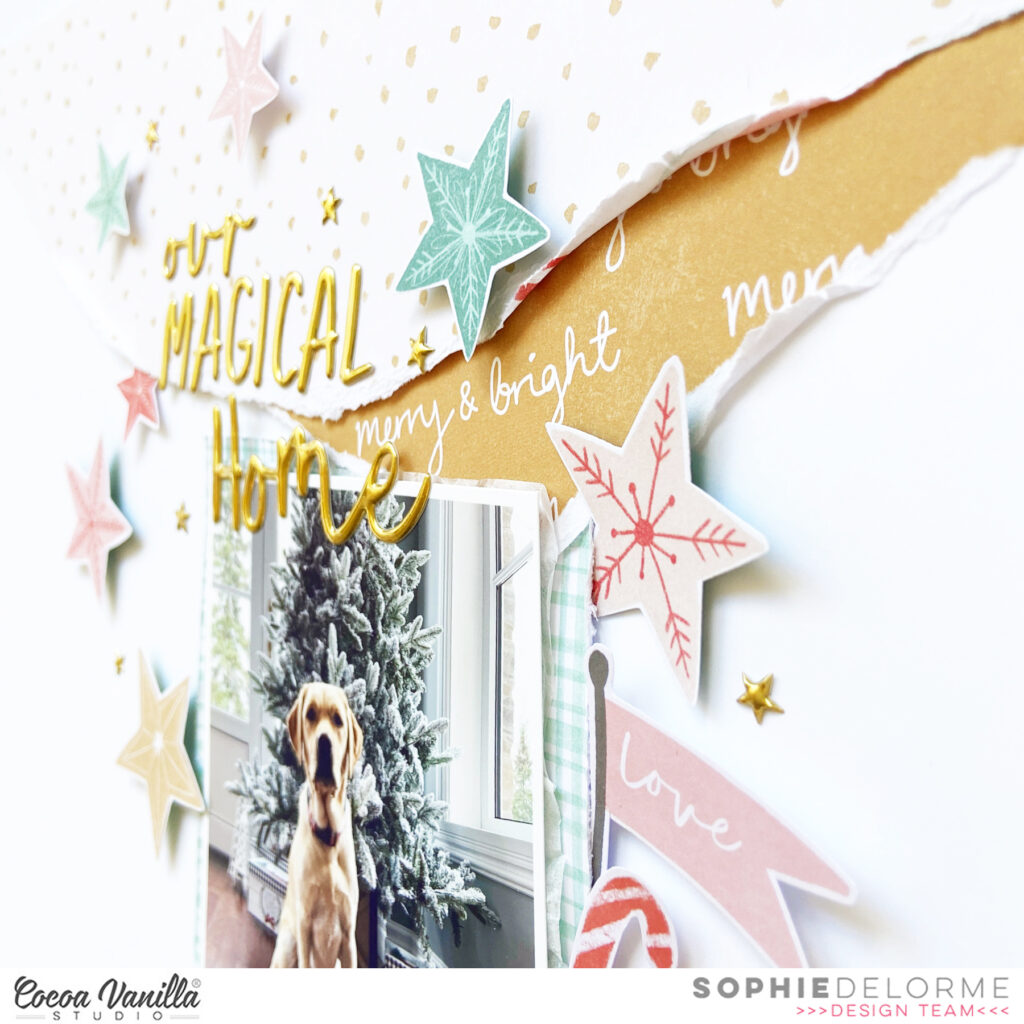
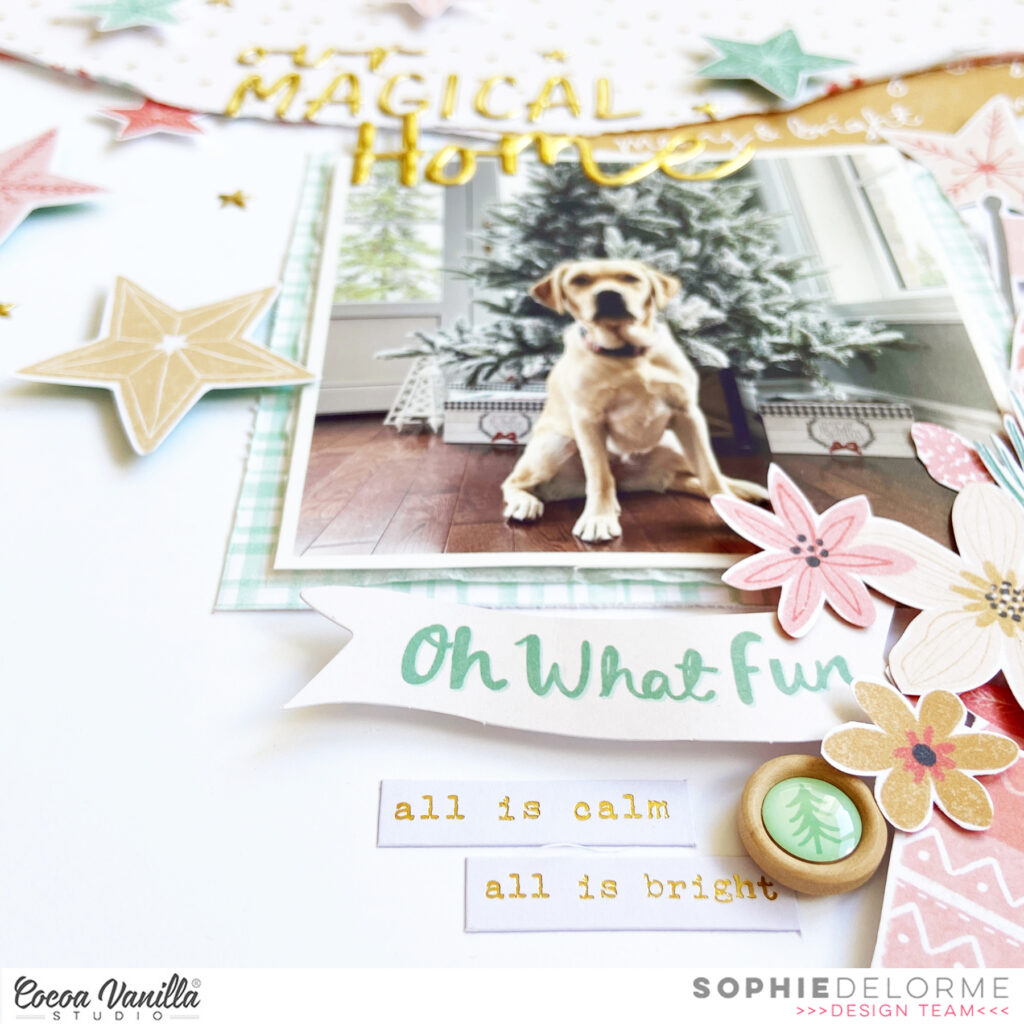
I built a beautiful cluster of embellishments from the Ephemera pack and some fussy cut florals, as well as a few sticker phrases on the bottom right of the photo.
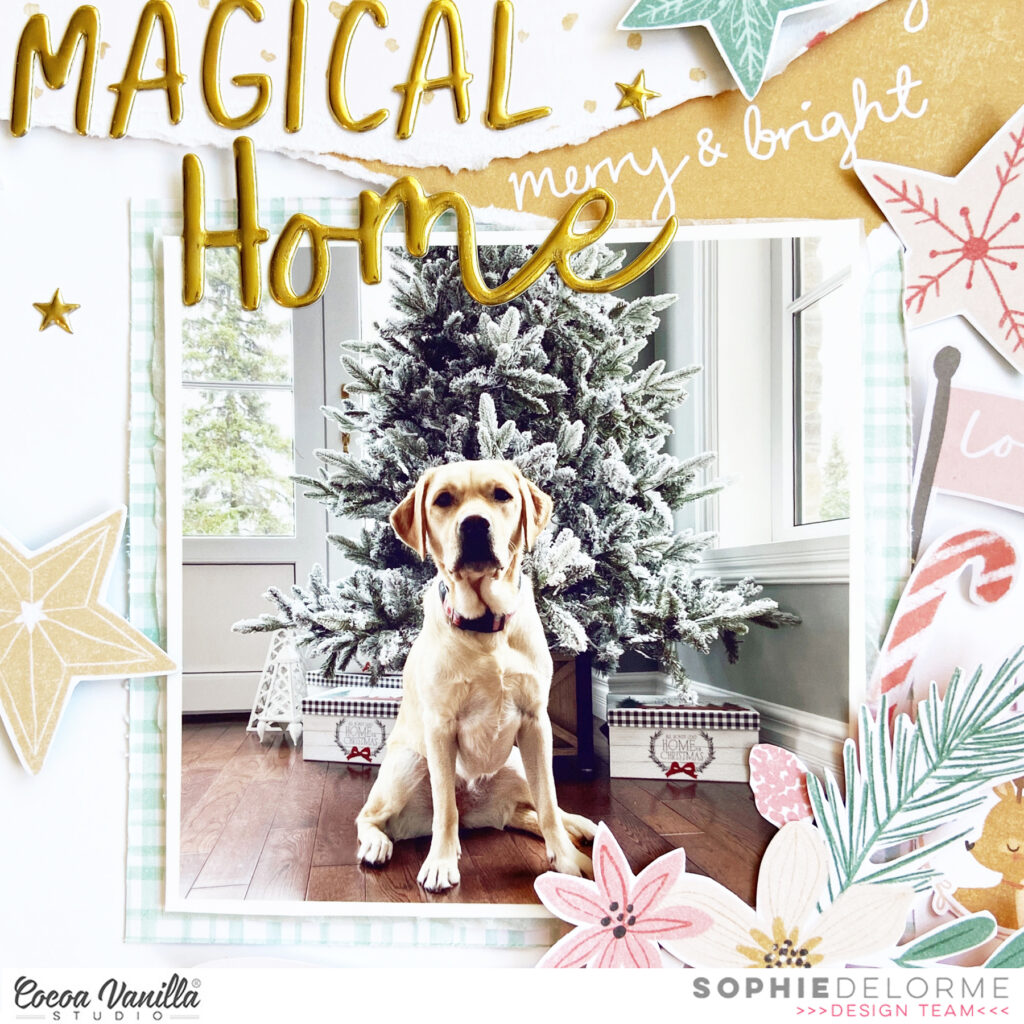
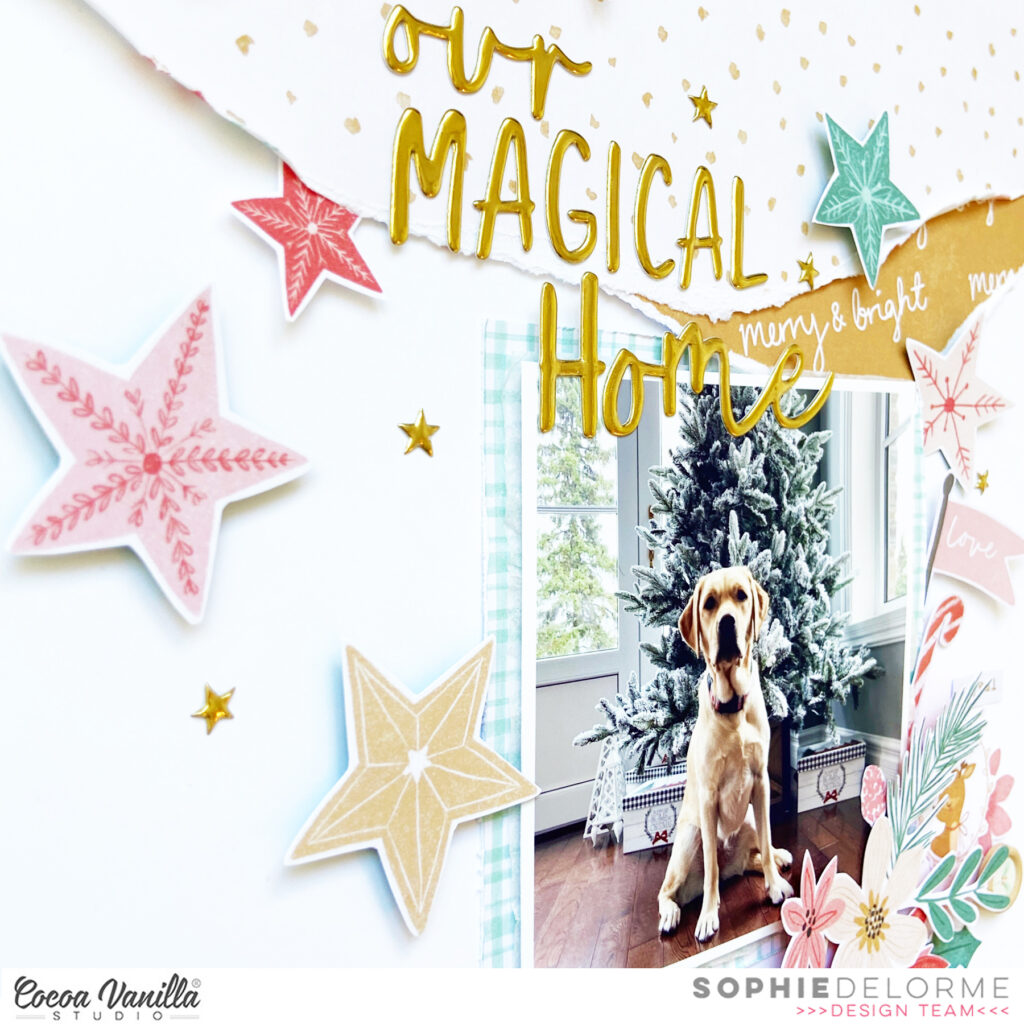
My title is made out of the Puffy Title Sticker sheet.
Finally, I fussy cut stars out of patterned papers and scattered them around my title and photo.
Here are more close-ups:
I hope that you like this page and that it can give you new ideas to try ! Most of all, I hope that you are having a wonderful holiday season!
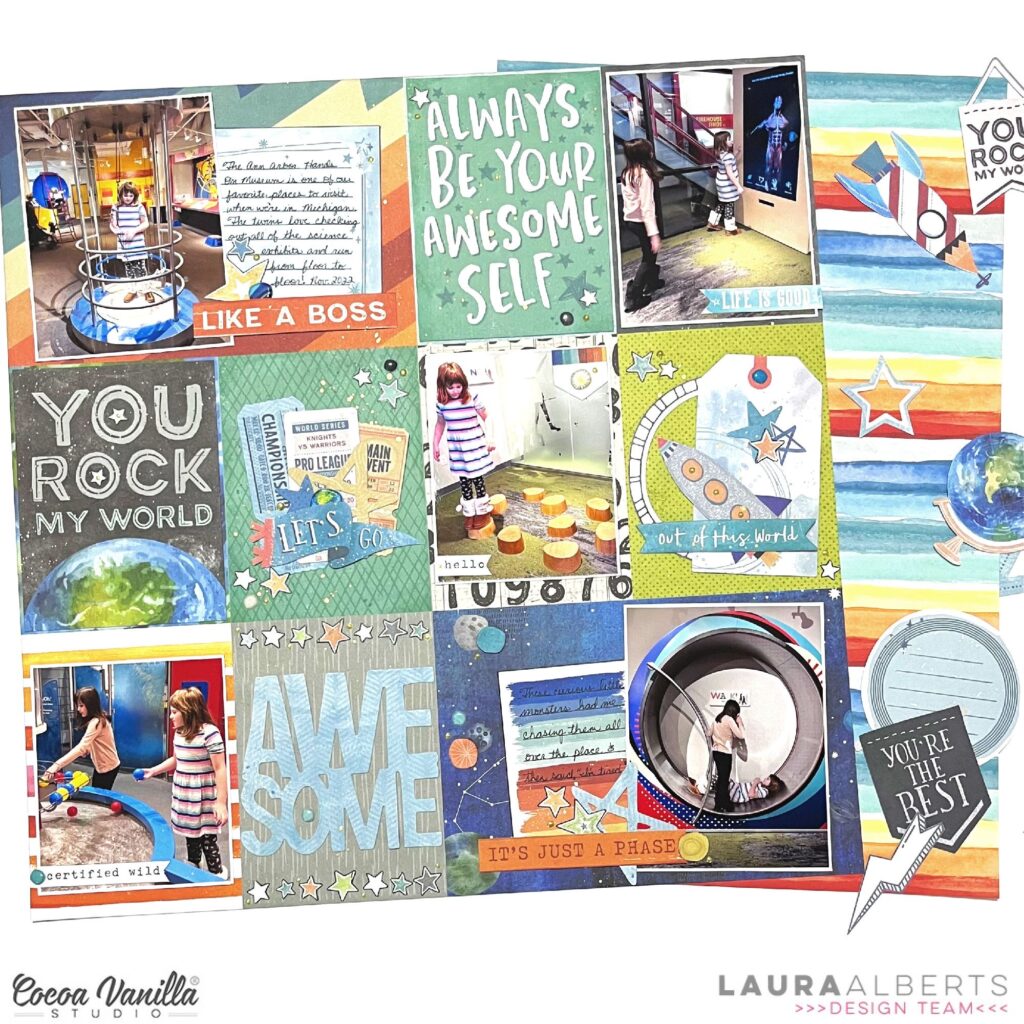
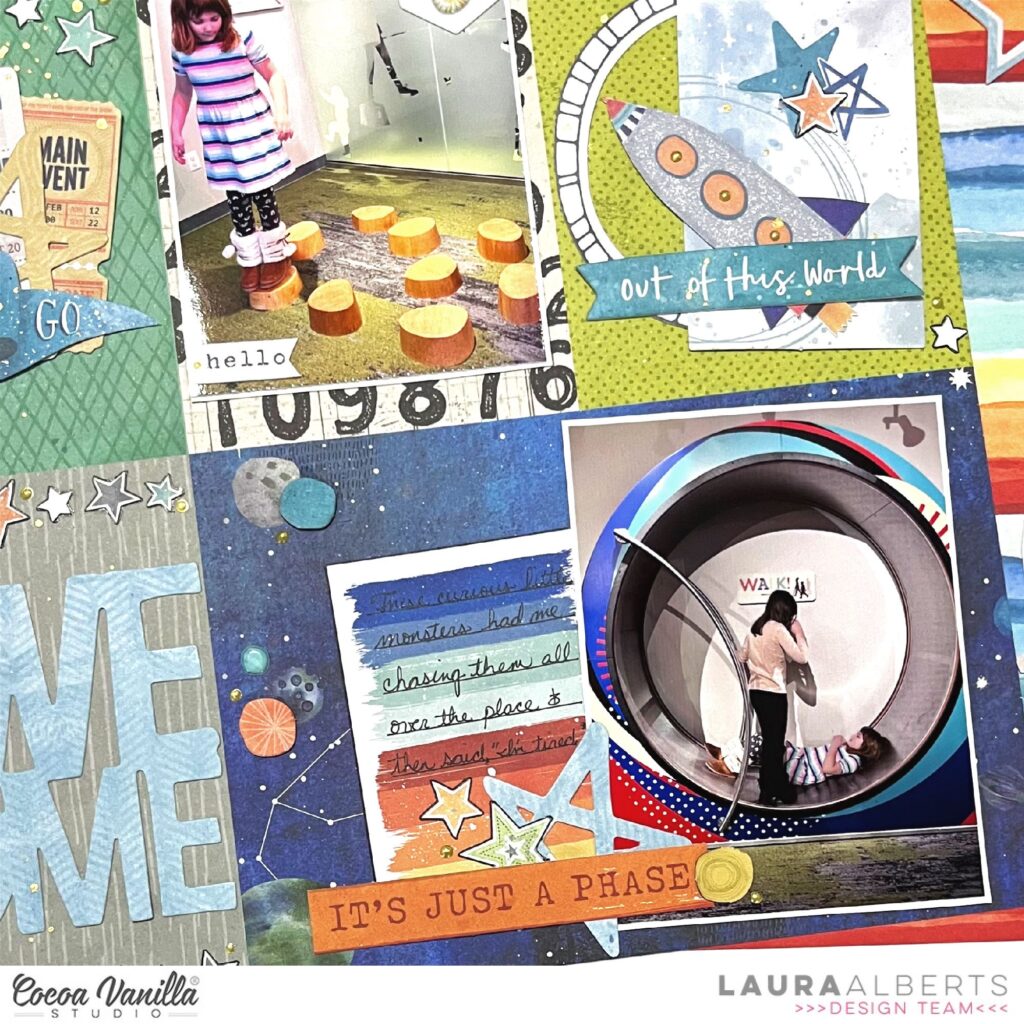
Hey y’all! Laura Alberts here with a fun and funky grid layout using the cut-apart sheet from the No Limits collection to scrap FIVE photos on one page! Absolutely love this mix of patterns, it was perfect for these pictures from out trip to the hands-on museum. This is a busy layout, but one of the ways I made this layout a little more cohesive was to mirror the top left corner with the bottom right.
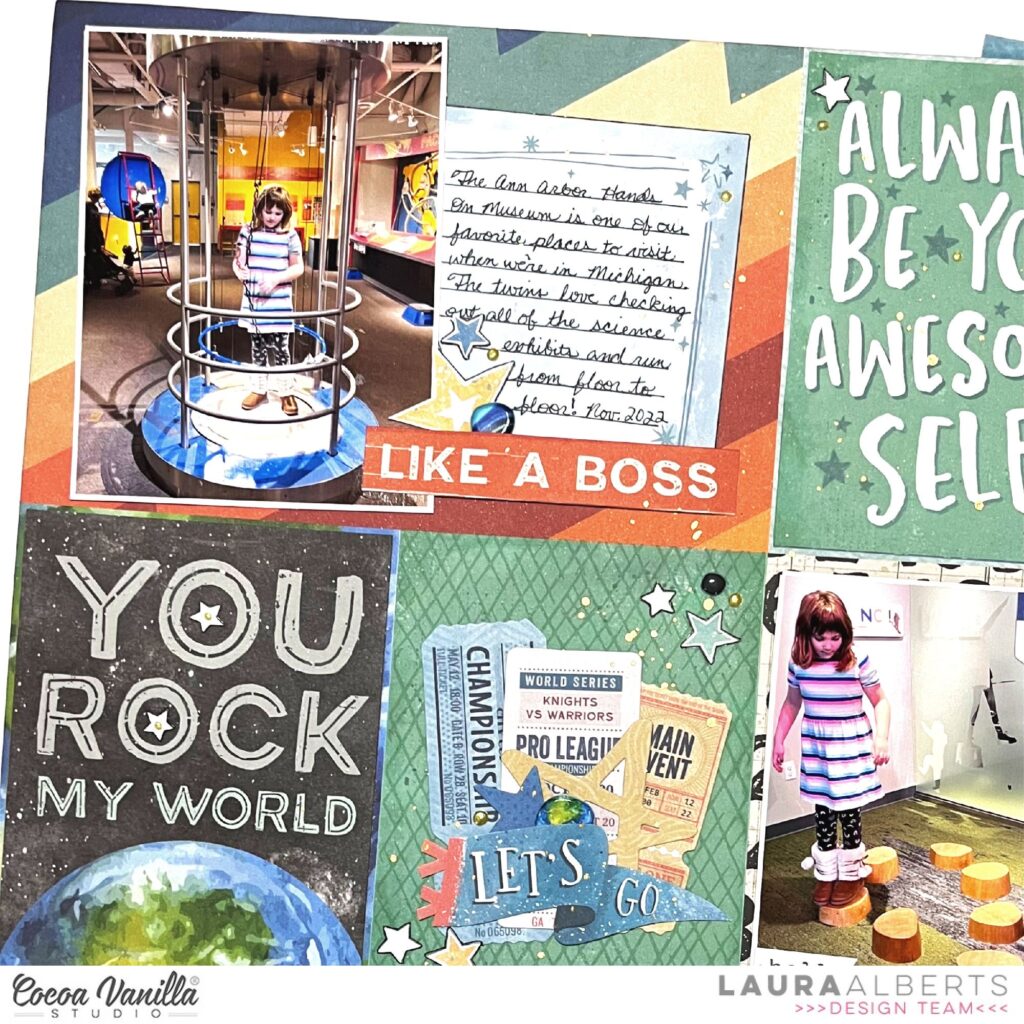
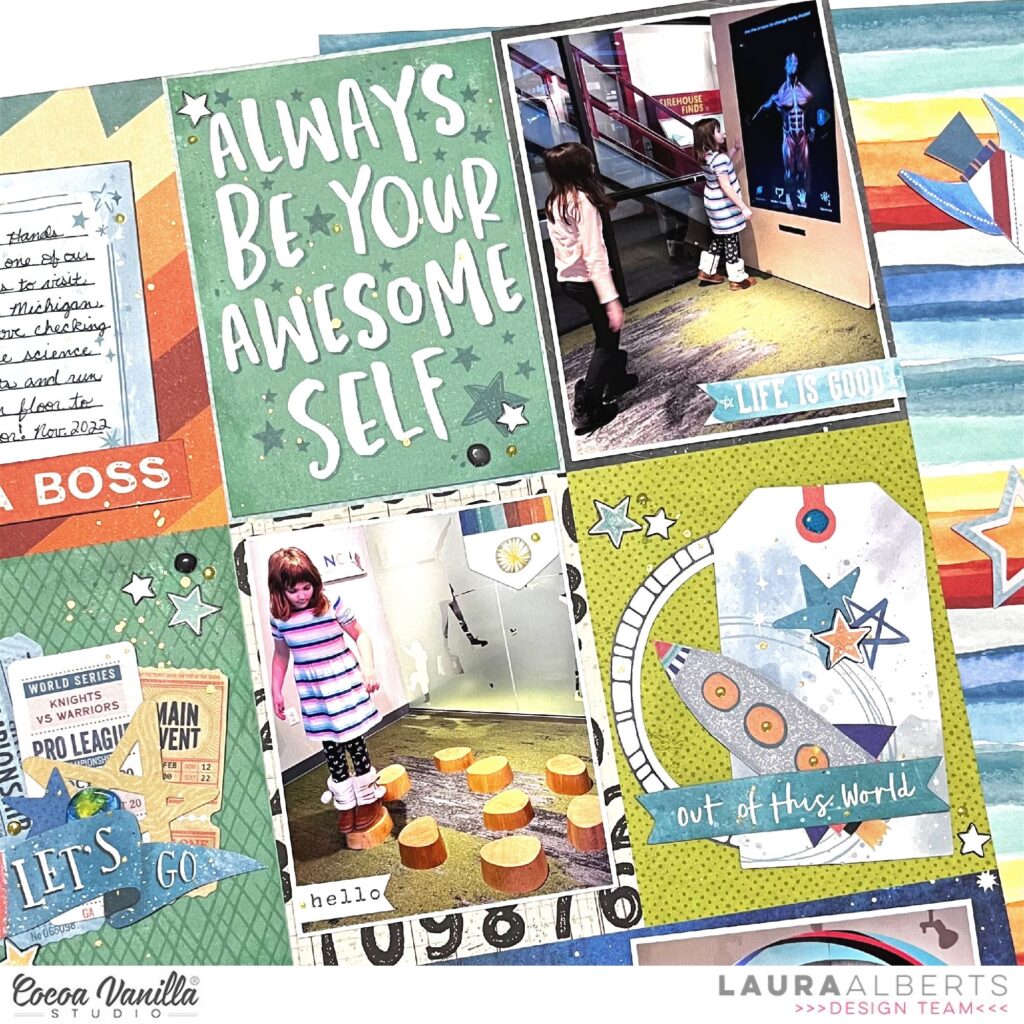
Another fun idea was to use cut-apart cards from the second cut-apart sheet in the collection to layer on top of the first! The “You Rock My World” and Always Be Your Awesome Self” came from that second patterned paper and helped me to limit the color scheme of this page. The clusters on the open rectangles are a mix of chipboard, ephemera, and puffy stickers with fussy cut stars on the edges. The trio of tickets in the middle was a fun detail for a museum trip!
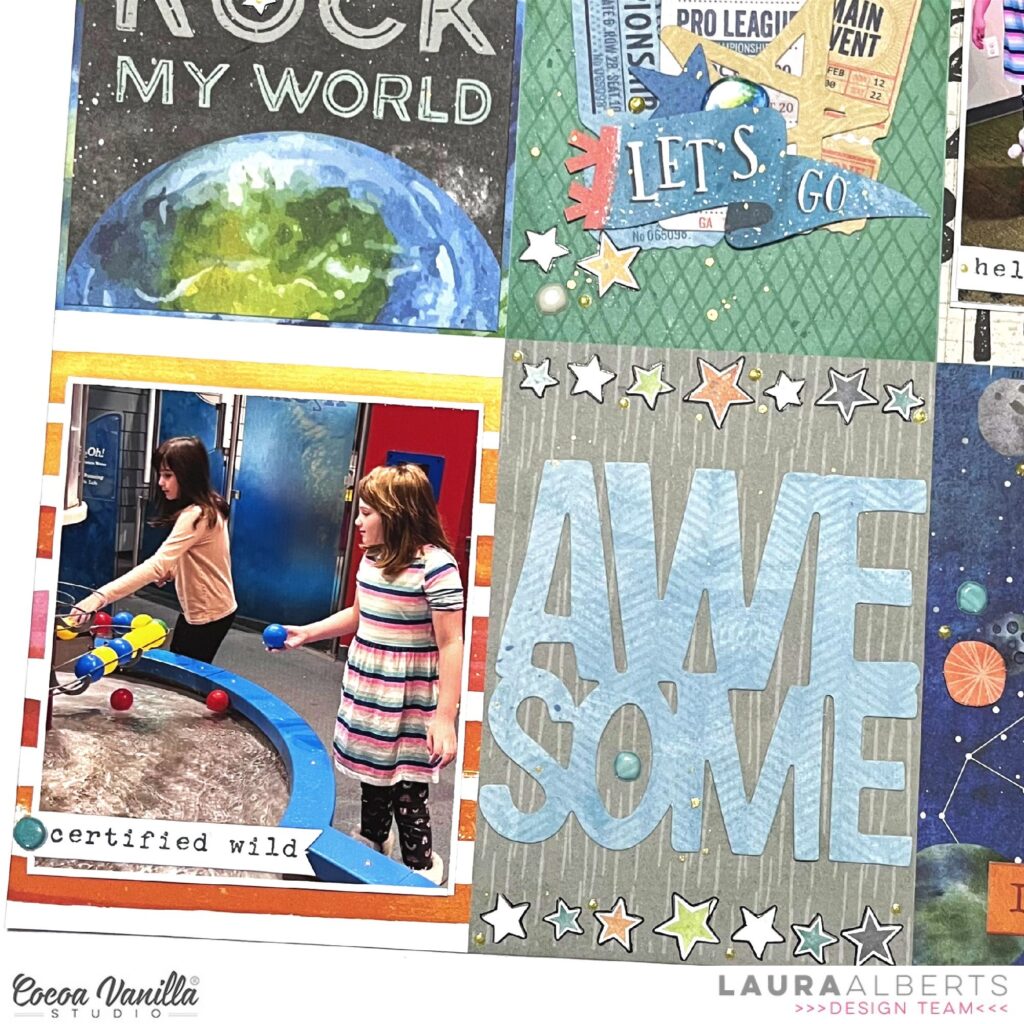
This bottom left side of the grid holds the title because the two photos that I loved the most ended up on the bottom row. Added to the die-cut title “Awesome” are borders of fussy cut stars from the Nebula patterned paper. Love all the elements that made it onto this page, especially the chipboard planets!
I especially liked this part of the grid with a rocket ship bursting from the “Out of this world” chipboard piece. It was a fun way to incorporate a science themed icon in this museum layout. The photos I’ve spread out throughout the grid are all so energetic and bold that I just had to use this equally bold collection.
I hope this layout inspires you to give your cut-aparts a second look and find new ways to use them! If you’d like to see how “Awesome” came together, check out the process video below:
Hello crafty Friends. December is almost here with it’s festivities and I am for sure going to join this merry madness. But before I will dive into christmas, I have one final fall project to share with you. It was created with beautiful “Heart & Home” collection – the newest addition to CVS family. It already landed in CVS shop and what’s even better – it’s on sale! So run quickly to grab it, along with many discounted goodies from older collections.
I created another layout, this time with brand new photos of my girls. I always take them to the nearby forest, when the autumn takes it’s most glorious colors to snap some photos. Thanks to that, I have a bunch of pretty pictures to scrapbook with all the pretty seasonal collections.
I love all wooden patterns and I like using them as a backgrounds. It’s already a second page I made with “Heart & Home” with “Framed” paper. It has such a lovely, warm color. I cut my photo into a circle and placed it in the middle of my page.
Using “Floral ephemera pack” I made a frame around my photo using both flowers and leaves. I also added some butterflies (or probably moths) to this composition. They are cut out from one of the 12*12 papers called “Fall beauty”. I just love papers with elements you can fussy cut and extend your ephemeras, as they usually run out quickly. So keep an eye on papers with elements, that are big enough to be cut out and are not clustered together overlaping eachother. Buy extra sheet of this paper and you will thank me later!
My title is made with super pretty and shiny “Die cut titles with gold foil”. They always look amazing but are so hard to photograph. They either look black or white in the photos because of the light reflecting off them. I used two words “happy” and “hearts” to make my title and spread them on both sides of the photo. I also added bits and pieces from “Ephemera pack”, like house and some sentiments.
My final touch, as always, was to add some tiny accents like puffy hearts from “Puffy heart stickers”. And that’s it! Layout was finished.
This page is a closure for my fall projects. Now it’s time to dive fully into christmas! I will be back in two weeks with something festive! Thank you so much for staying with me and wee you soon!
Welcome to today’s Cocoa Vanilla Blog! Once again, I’ve drawn inspiration from the beautiful Heart and Home collection by Cocoa Vanilla. This collection has delightful and fresh colors that inspired me. Today, I wanted to shine a spotlight on the gorgeous and elegant gold word die-cuts. By arranging the words in a stacked manner with a bit of overlap, I created a playful and eye-catching title.
To begin, I cut three circles from white cardstock and chose a vibrant yellow patterned paper to fill them in. The middle circle may be a bit elusive because I ultimately decided to place the lovely photo of my daughter and me in the center. On the left side, I crafted a cluster of flowers and butterflies. I choose die-cut flowers and some hand-cut blooms from the beautiful patterned paper, I added a touch of whimsy with strategically placed cut-out butterflies.
For the title, I incorporated the playful arrangement of gold word die-cuts, complementing it with a word strip and adorable puffy alphas. Additionally, I placed some puffy hearts throughout the layout. I love incorporating various elements and materials into my layouts to add depth and interest. To finish it off, I added distress splatters in the lovely Speckled Egg color. I find this shade to be a perfect match for the light blue-gray tones present in this collection.
Thank you for stopping by the blog today. I hope this layout has sparked some inspiration for you. Looking forward to seeing you next time with fresh ideas! Have fun, and until next time.
It’s Sophie on the blog today with a mood board inspired layout!
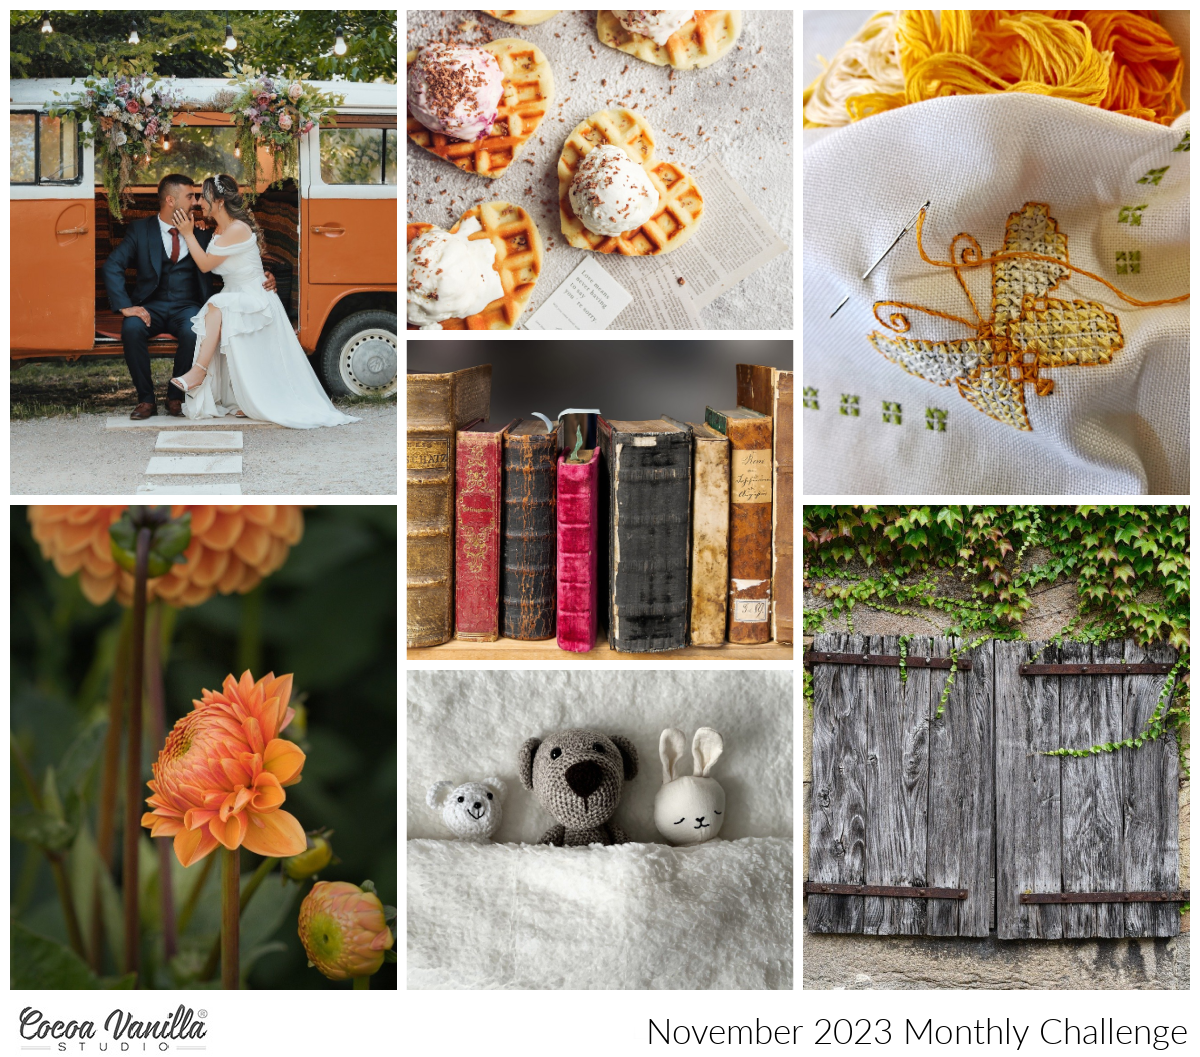
Have you seen the November challenge? Niki Rowland designed a gorgeous mood board named “Grateful” this month. Here it is:
I used the These Days collection for my page, and was inspired by the warm orange and yellow tones of the board, the beautiful flowers on the left lower image, the sewing on the top right image and the heartfelt love on the top left image.
The photo of my two fur babies on a crisp sunny morning is so precious and was the perfect photo to illustrate the theme of the board.
I centered it on a 12×12 white cardstock, added two strips of patterned paper on the top and bottom parts of the layout and handstitched two horizontal lines with green thread.
I selected two pocket cards, added stitches to them and placed them on each side of the photo for my subtitle and journaling.
My title comes from the Foam Title Stickers from the collection.
I added embellishments from the Ephemera pack, the floral die cuts pack, a few phrase stickers and two fussy cut butterflies.
Here are more close-ups:
A mood board is such a great source of inspiration! Check out the blog on November 1st to see all the details of the challenge and how to enter for you to get a chance to win a $25 store voucher to the Cocoa Vanilla Studio online store.
Hey y’all! Laura Alberts back again with a bold and beautiful layout that’s a bit of a stash dive into the stunning No Limits collection. I absolutely love this one and had to dig it out for this fun page featuring our visit to a hands-on museum on our last trip to Michigan. I started with a large block of this playful orange patterned paper with a little border strip on each side, then layered my photos over ephemera stars and a cut-apart journaling spot.
These large star frames are some of my favorite pieces from this collection! On the empty right and left edges of the layout, I added a scattered star border using fussy cut shapes from the Nebula patterned paper. Each of the stars is outlined with black gel pen to make them stand-out and I added a few tiny, sketchy stars for a bit of fun.
The bottom of the layout has a simple cluster with border strips underneath of a frame from the ephemera pack. I backed the frame with a cut-apart piece and filled it with the leftover bits of stars from the border layered under a cut-apart subtitle. This element was so much fun to put together!
I hope this layout inspires you to give this scattered border style a try. If you’d like to see how “Adventure” came together, check out the process video below:
I’m delighted to share with you a layout that holds a special place in my heart, crafted with the beautiful Heart and Home collection by Cocoa Vanilla Studio. Inspired by the gorgeous mood board of November, I embarked on a creative journey, infusing elements of black and white, delicate stitching, heart patterns, and blooming florals into my design.
To start this project, I drew inspiration from the elegant simplicity of black and white showcased in the November mood board. The chosen photos telling a unique family story. These snapshots, filled with precious moments that I want to show case on this layout.
Using my electric cutting machine, I carefully crafted a large heart from a patterned paper within the Heart and Home collection. This heart, symbolizing love and gratitude, found its place at the center of a white cardstock canvas. To add a touch of whimsy and craftiness, I adorned the edges of the heart with delicate light blue stitching using sewing thread, creating a charming and tactile border.
The heart, now a focal point. From a different patterned paper, I cut out a lot of flowers, using them to artfully fill one side of the heart. This floral infusion not only added a burst of color but also conveyed the growth, beauty, and joy inherent in the memories being celebrated. On top of this bed of flowers, I placed two photo frames and my black and white photos and these frames served as windows.
For the title, I choose for the stunning gold-foil phrases and little puffy stickers from the beautiful Heart and Home collection. The words “Thankful for this life” were carefully arranged to convey the sentiment of gratitude, prompting a pause to reflect on the beauty and joy of the life shared with my beloved family. To balance the layout, I made a small cluster of flowers, leaves, and a word strip adorned the upper right corner of the heart. This added a touch of symmetry and completeness to the overall design. As a whimsical finishing touch, a few butterflies were scattered among the flowers, symbolizing the fleeting nature of life’s beautiful moments.
I am pleased with how this layout turned out, and I hope it inspires you in your own creative process. Thank you for joining me on this scrapbooking journey. Your visit to the blog today is truly appreciated, and I look forward to sharing more inspiration with you in the future. Until next time, happy crafting, and may your days be filled with gratitude and joy!
It’s Tarrah back with you today to share a new layout featuring the gorgeous Heart & Home collection.
The Heart & Home collection is perfect for documenting photos of family. I took this photo of my parents recently at the airport before my Mum was leaving for England. I just love this photo of the 2 of them.
I started with a plain white cardstock background and chose a free quilt design cut file by Paige Evans as one of the features for my layout. I cut the cut file out from the ‘B’ side of the Framed paper and love how the wood grain looks against the white. With the bigger frame piece, I adhered the white cardstock on top of this piece and then machine stitched a border around the outside to add some texture. I then took the A5 paper stack and backed some of the open spaces. I adhered my photo on the right hand side of the page using craft foam and added one of the cardstock frames from the ephemera pack over the photo. I also tucked in one of the florals underneath, I love how you can see the different dimension I created here.
My title is made up of the gorgeous gold foil cardstock titles and I placed the title on the left of the photo using craft foam for dimension too. I layered one of the small phrase pieces from the Gather paper over the top of the title. On the right of the photo, I added more die-cut pieces from the ephemera pack and also added a puffy heart here as well. At the top of the frame I added one of the phrase stickers from Accessory sticker sheetand also placed one of the banner stickers also from the Accessory sticker sheet at the bottom of the photo and layered a puffy heart over top of the heart on the sticker.
Next up it was time to add some more embellishments. I decided to add some of the stickers from the Accessory sticker sheet, adding 2 of the square ones to the square shapes in the cut file. I also added some more of the smaller die-cut pieces from the ephemera pack to some of the open spaces in the cut file as well. Some of them I added craft foam to underneath and some I placed flat on the page. I love the different levels of dimension not to mention the shadows this creates on a project. Lastly I added some more of the super cute puffy hearts and stamped the date stamp of when the photo was taken to finish off the layout.
I love how Cocoa Vanilla collections co-ordinate! It is so easy to create pretty projects with their gorgeous collections, I highly recommend you get the Heart & Home collection for your family memory keeping, it has perfect elements to help capture those all important memories and to tell your stories.
Thanks so much for stopping by the Cocoa Vanilla blog today! I hope I have inspired you to pull out your Heart & Home goodies and create something pretty! You could even create a similar project using another gorgeous collection from Cocoa Vanilla Studio!
Today I am sharing a mother and daughter layout. In choosing these cooler colours from the Heart & Home collection it gives a totally different feel compared to my previous Fall layouts using this collection.
This delicate and beautiful heart cut file is from the Silhouette Design store. I wanted to add layers instead of simply adding the white cardstock onto the butterfly paper, so I used a scollop square cut file (again from the Silhouette Design store). By doing this I have created four layers including the heart. My measurement for the squares are 12×12, 9×9 and 8×8.
Instead of using the oval die cut floral frame from the die cut ephemera pack, I backed it and created a journal block adding phrase sentiment sticker from the accessory sticker sheet and a die cut banner finished of adding puffy stickers to the centre of the flowers.
I created another embellishment cluster using one of the gorgeous house die cuts as a focal point. I tucked floral die cut ephemera in and under the house with I added with foam tape. I added puffy heart stickers to the house and finished off adding another die cut banner over the house.
I added a 3.5×3.5 inch photo which I matted and added with foam tape. I created a larger floral die cut bunch, tucking the flowers, springs and leaves slightly under my photo. Again I added some puffy stickers to the centres of the larger flowers.
To finish off I created my title Joyful Days using the puffy alphabet stickers following the shape of the heart. I added a die cut phrase sentiment using a shade of darker green which connects my title and sub title.
I have used three papers to create this layout: Fall Beauty, Leaf Litter and Gather.
I hop this layout has inspired you in some way! Thank you so much for stopping by today and see you again soon.
It’s Sophie on the blog today with this new layout!
I used the beautiful Heart & Home collection again!
I wanted to focus on the beautiful frames from the “Framed” patterned paper. I fussy cut a few of them and centered them under a beautiful and sweet photo of my two doggies cuddling and sleeping together!
I machine stitched around the frames and used them to add subtitles and a little bit of handwritten journaling.
I placed a strip of the “Fall Beauty” patterned paper at the bottom of the layout and tucked a few framed under it. I also added many fussy cut leaves and flowers to embellish around the frames, with two bigger floral clusters around my photo.
The GORGEOUS heart & Home Gold Foil words made the perfect title for my page.
Here are more close-ups:
I love the result and hope you like it too! It’s another way to use frames on a page without framing a photo!
Thank you for stopping by, I will see you again soon!