To the Moon and Back | No Limits | Danni Visser
Hi Cocoa Vanilla fans! Danni here with a fun, bright layout featuring my two favourite little people and the incredible No Limits collection. This week the team were challenged to make a layout with multiple photos or shaped photos, so I decided to do both. I am really happy with how this one turned out, I hope you like it too!

One of the easiest ways to use shaped photos is to use a cutfile. I have had this star patterned one sitting in my stash for ages, so now was the perfect time to use it. It’s a combination cutfile/stitching template which gives an extra layer of detail and interest, but that’s completely optional.
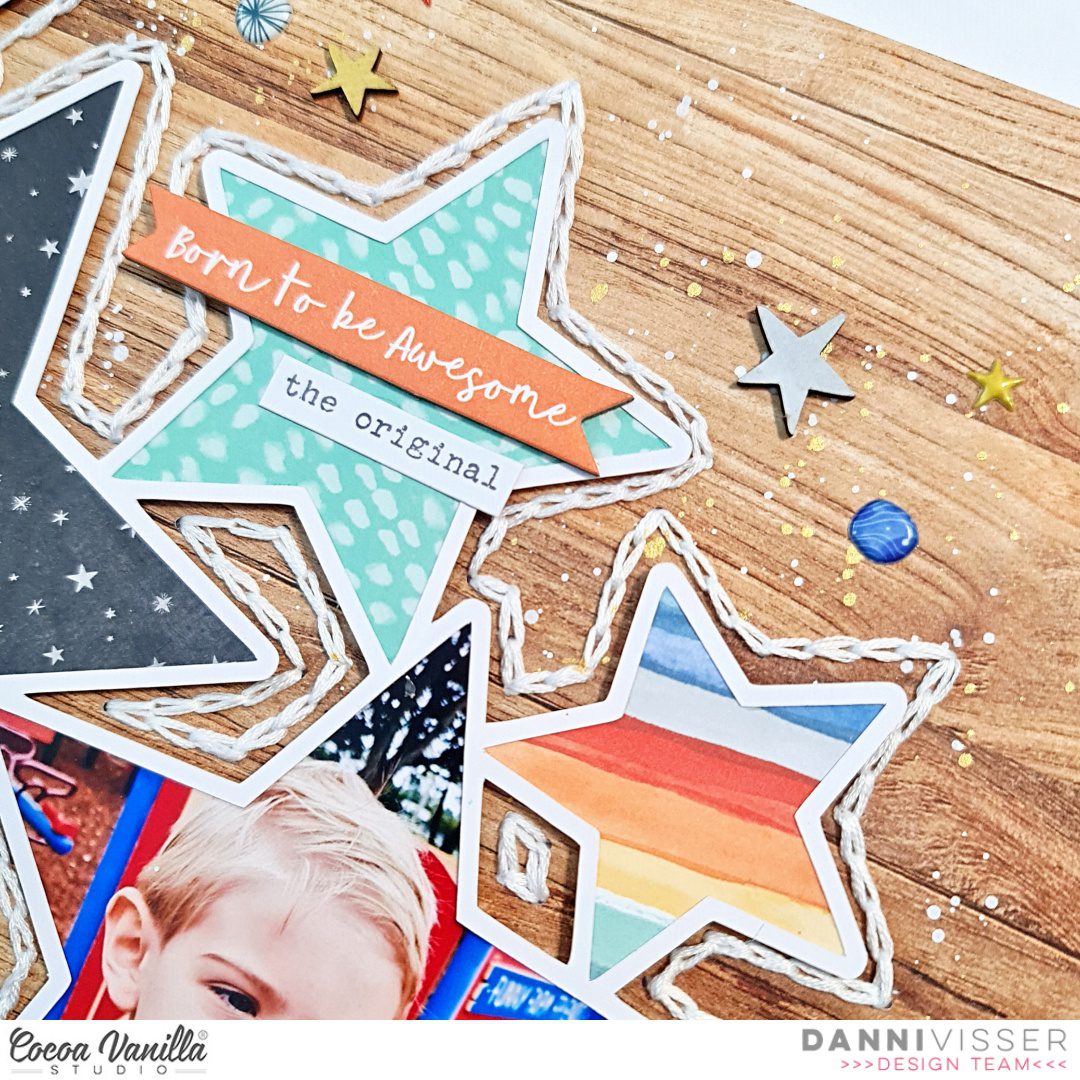
I used the A5 paper stack, Eclipse 12×12 patterned paper and a couple of double-sided 3×4 cards to back all but two of the star shapes in the cutfile, which I saved for my photos. Just make sure to print the photos large enough so they will fit in the stars, then adhere the photos to the back of the cutfile and trim off the excess. My two littles were having a lovely time at the park this day, even though the weather was a bit gloomy!
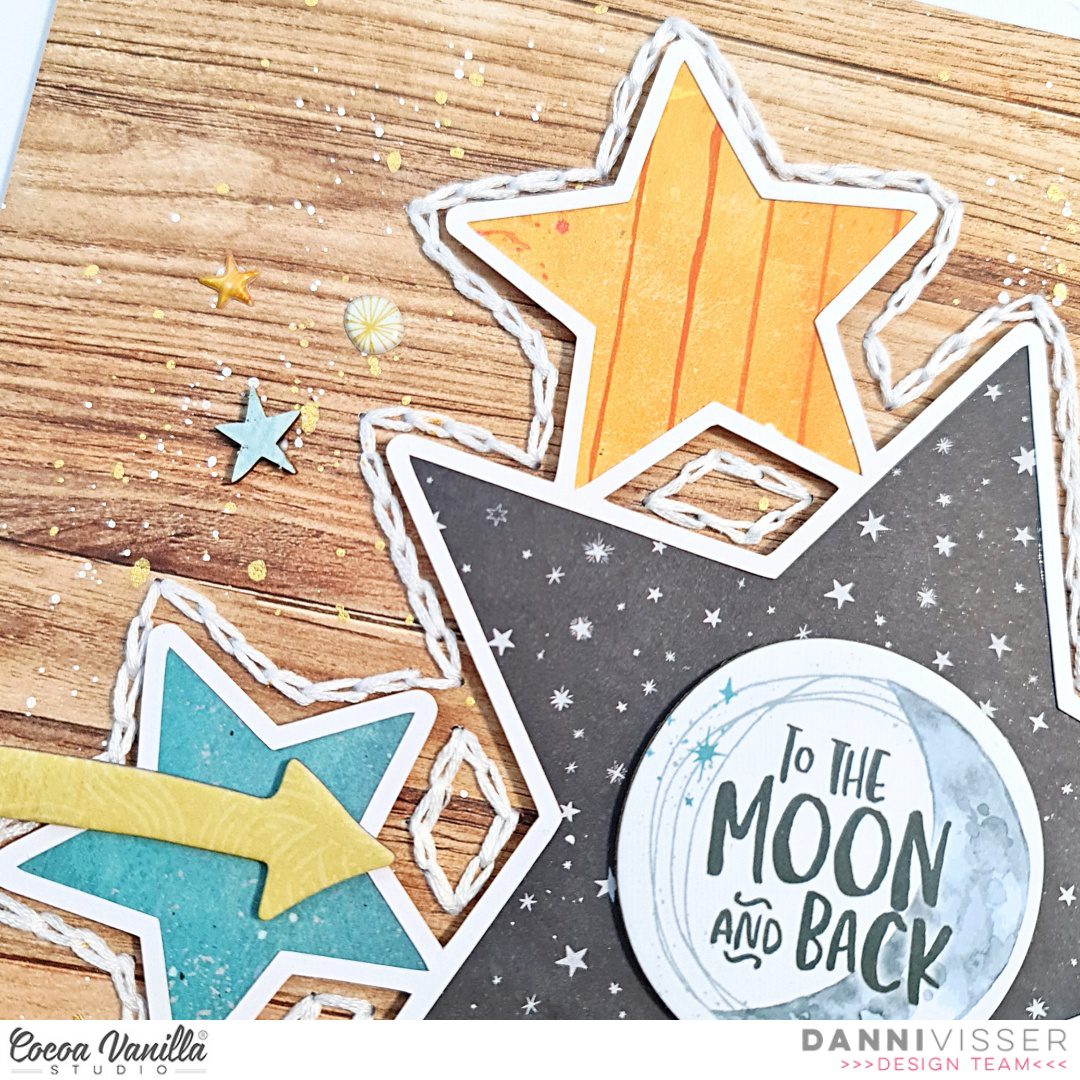
Once my cutfile was backed I added some adhesive foam to the back of the stars to add dimension. For the stitching, I used the stitching template part of the cutfile to cut the stitching holes into The Big Bang 12×12 patterned paper, before stitching with embroidery thread using a chain-stitching technique. This can be quite time consuming, but I love all the extra texture this provides.
Once I had finished the stitching, I added some tiny delicate splatters of gold mist and white acrylic ink all around the outside of my stitched pattern. Then I adhered the cutfile down within the stitched pattern. Make sure to use a good amount of adhesive if you do something like this, as the backed cutfile is quite heavy.
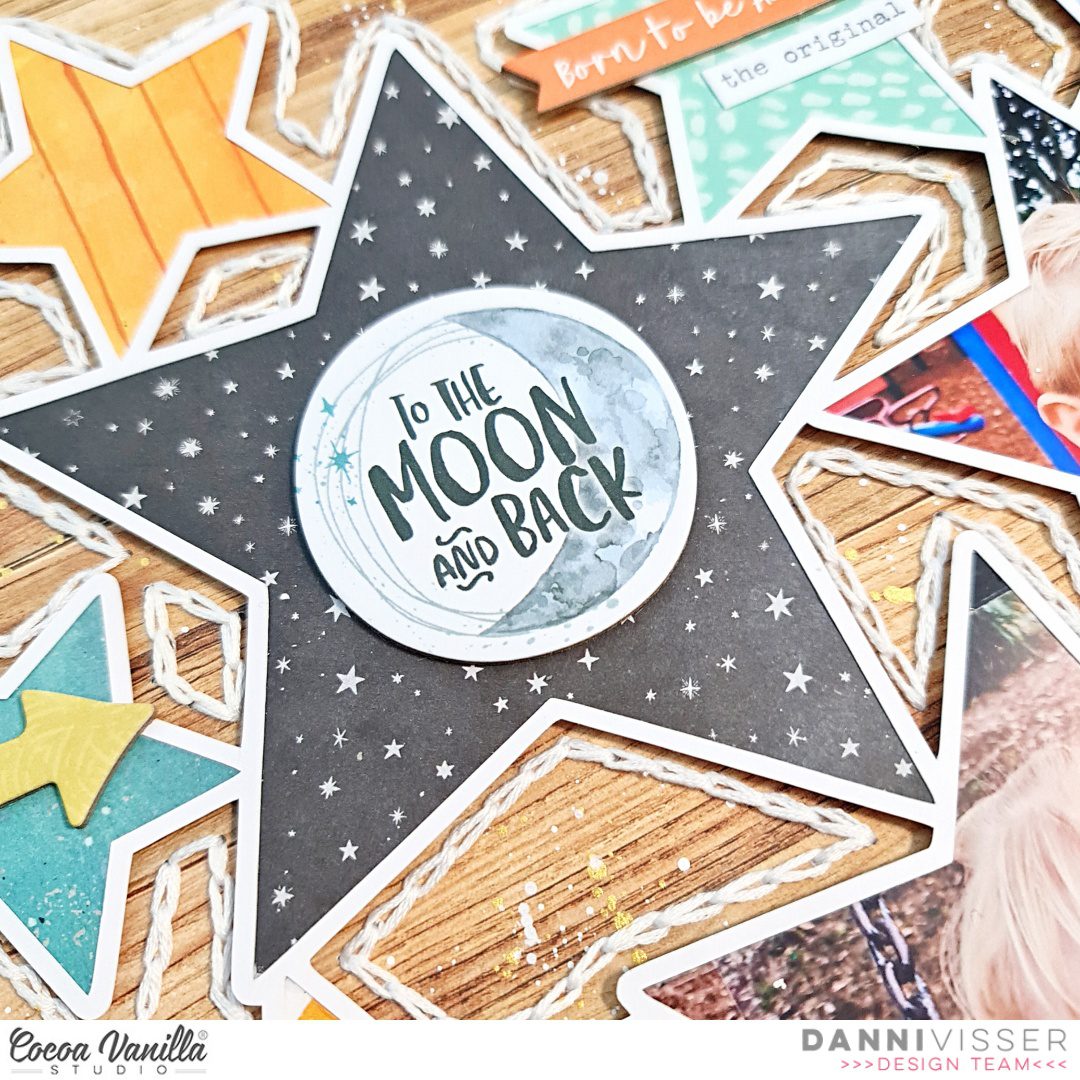
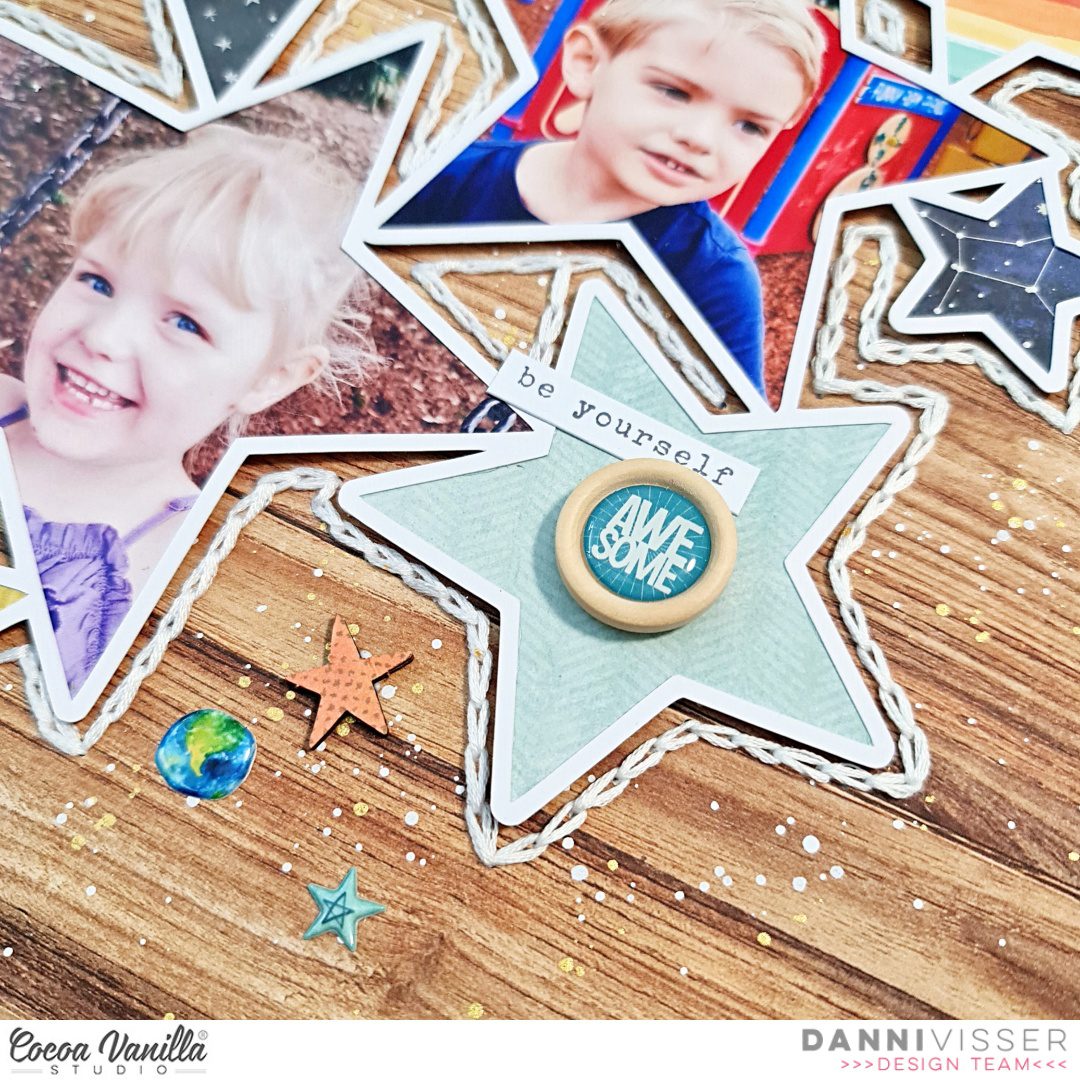
For the title I decided to use the gorgeous ‘To the Moon and Back’ piece from the chipboard stickers and adhere it right in the centre of the largest star. I then did the same with two of the larger epoxy wood buttons and two of the other stars to add some more circular elements. To embellish, I added some more of the smaller chipboard pieces and layered them over the cutfile.
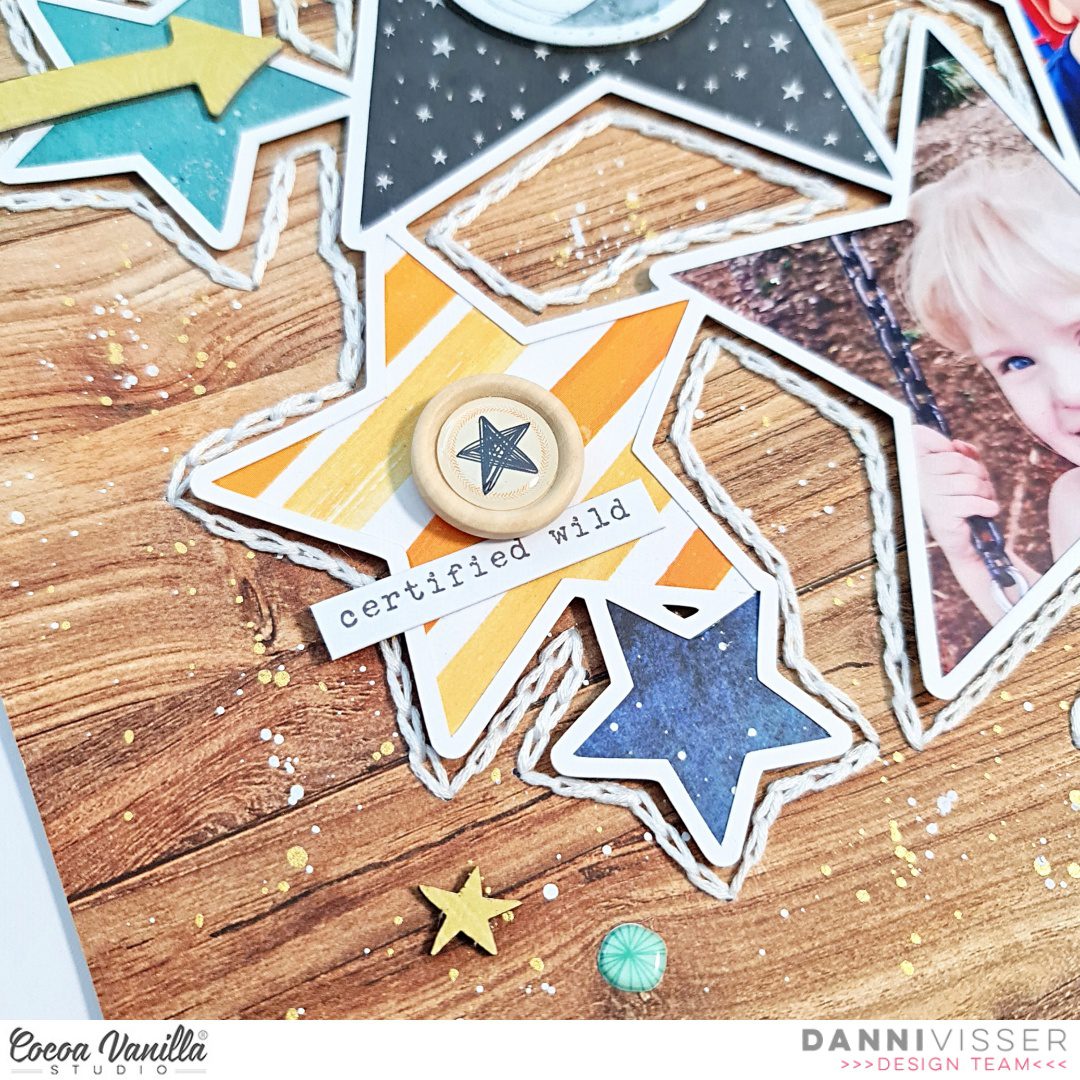
For finishing touches, I added lots of chipboard sticker and puffy sticker stars all around the outside of the layout, followed by three tiny word phrases from the accessory stickers. I love the contrast of the bright colours of this layout against the neutral woodgrain background. I hope you enjoyed joining me for this layout today. Take care and happy scrapping!
Danni x
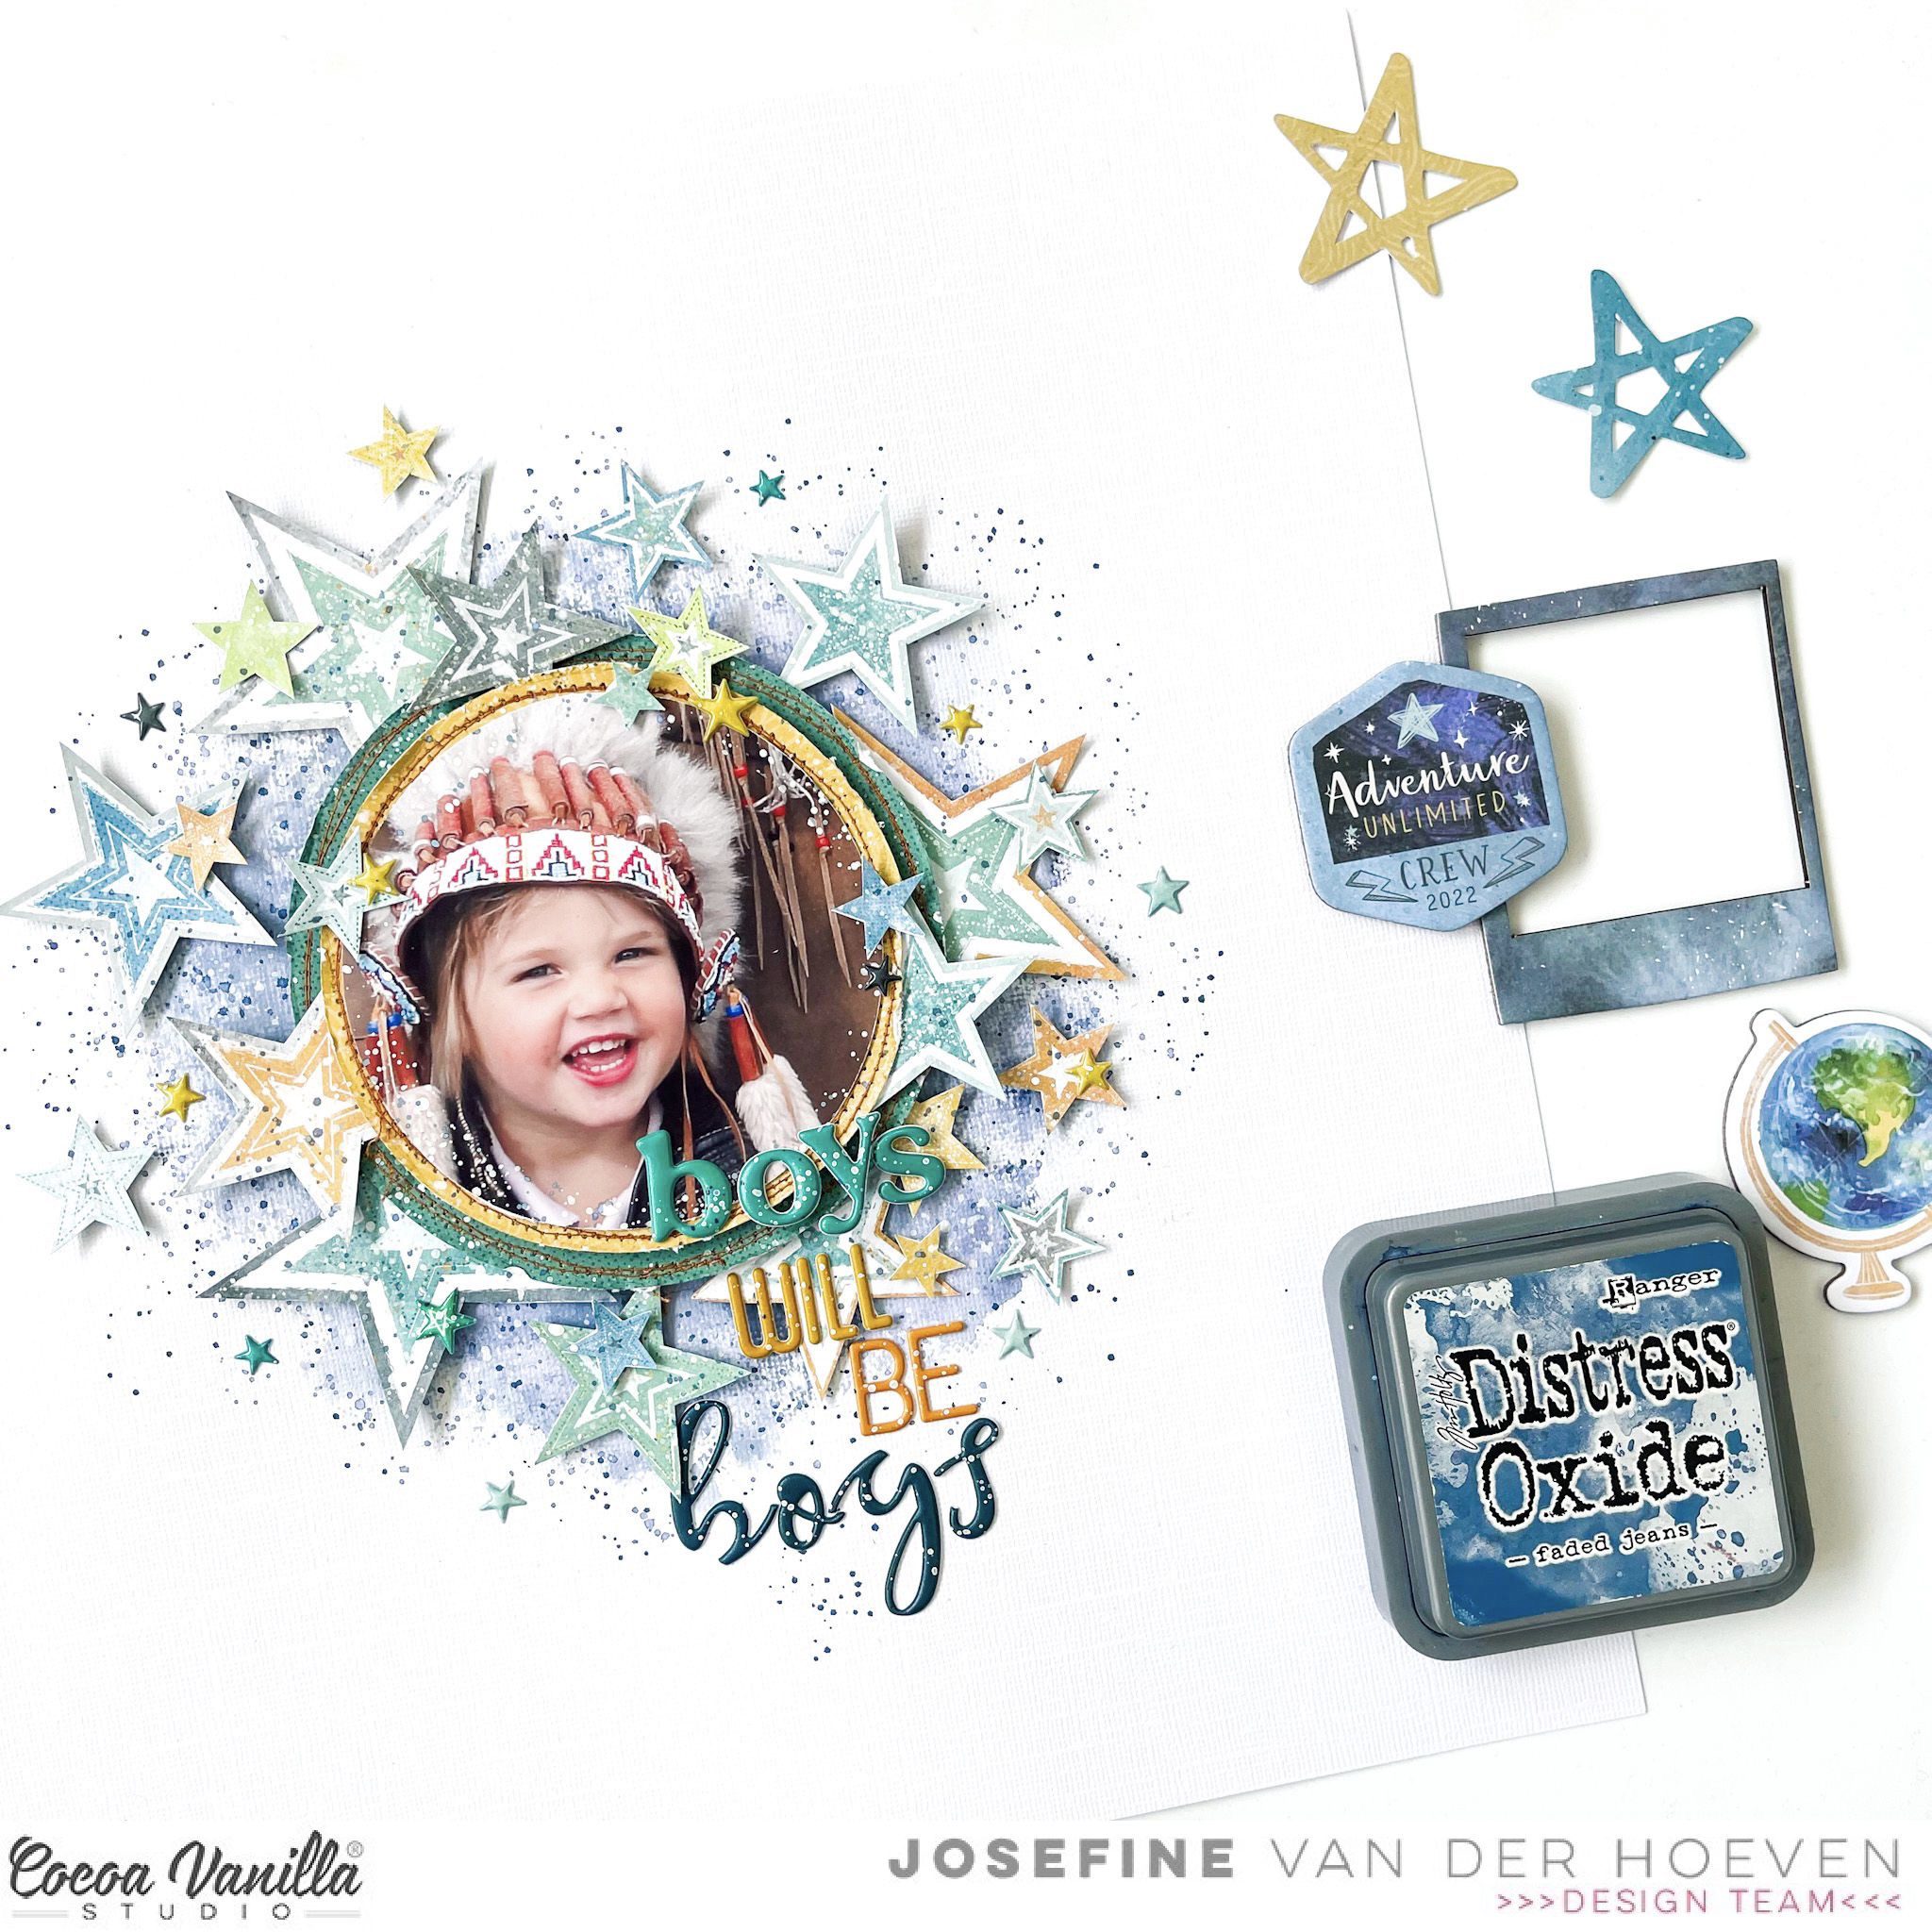
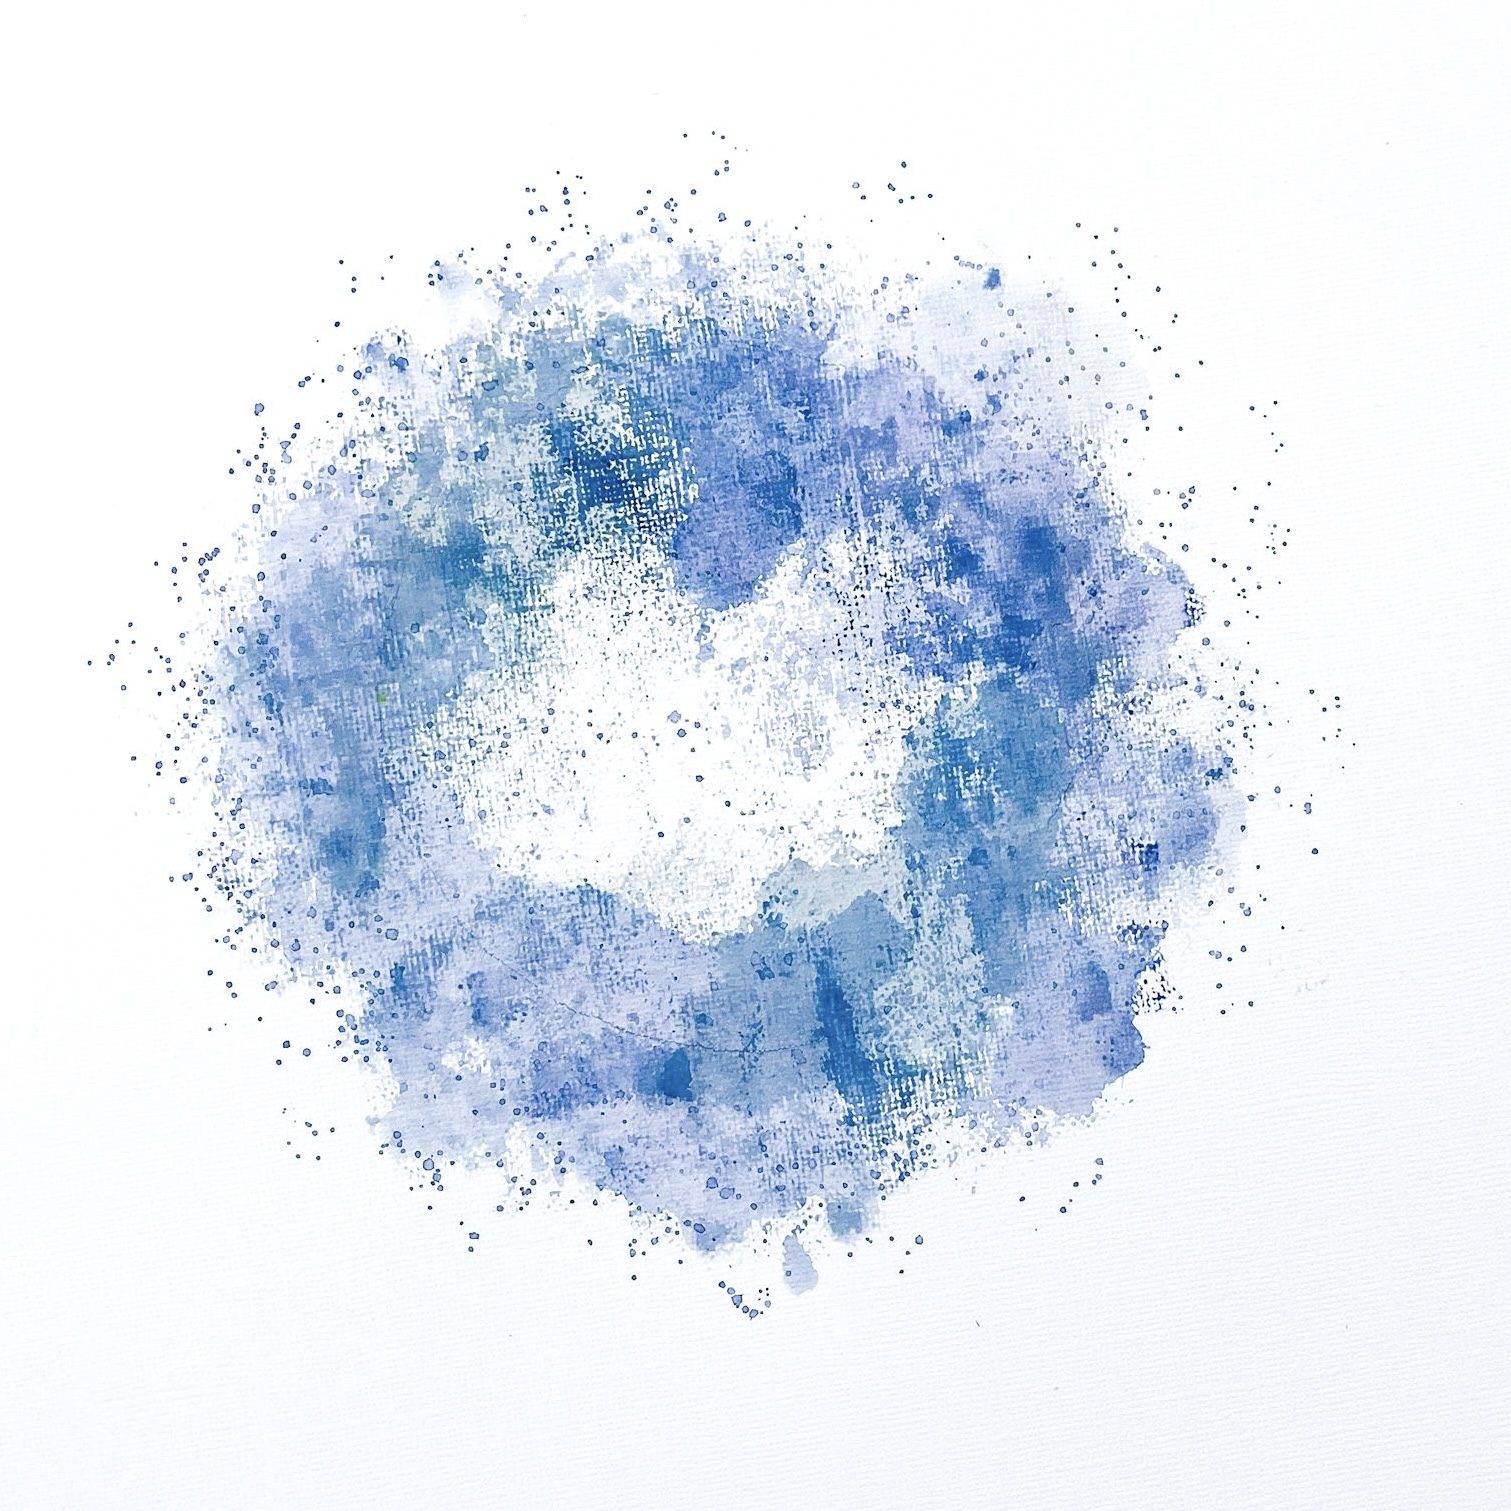
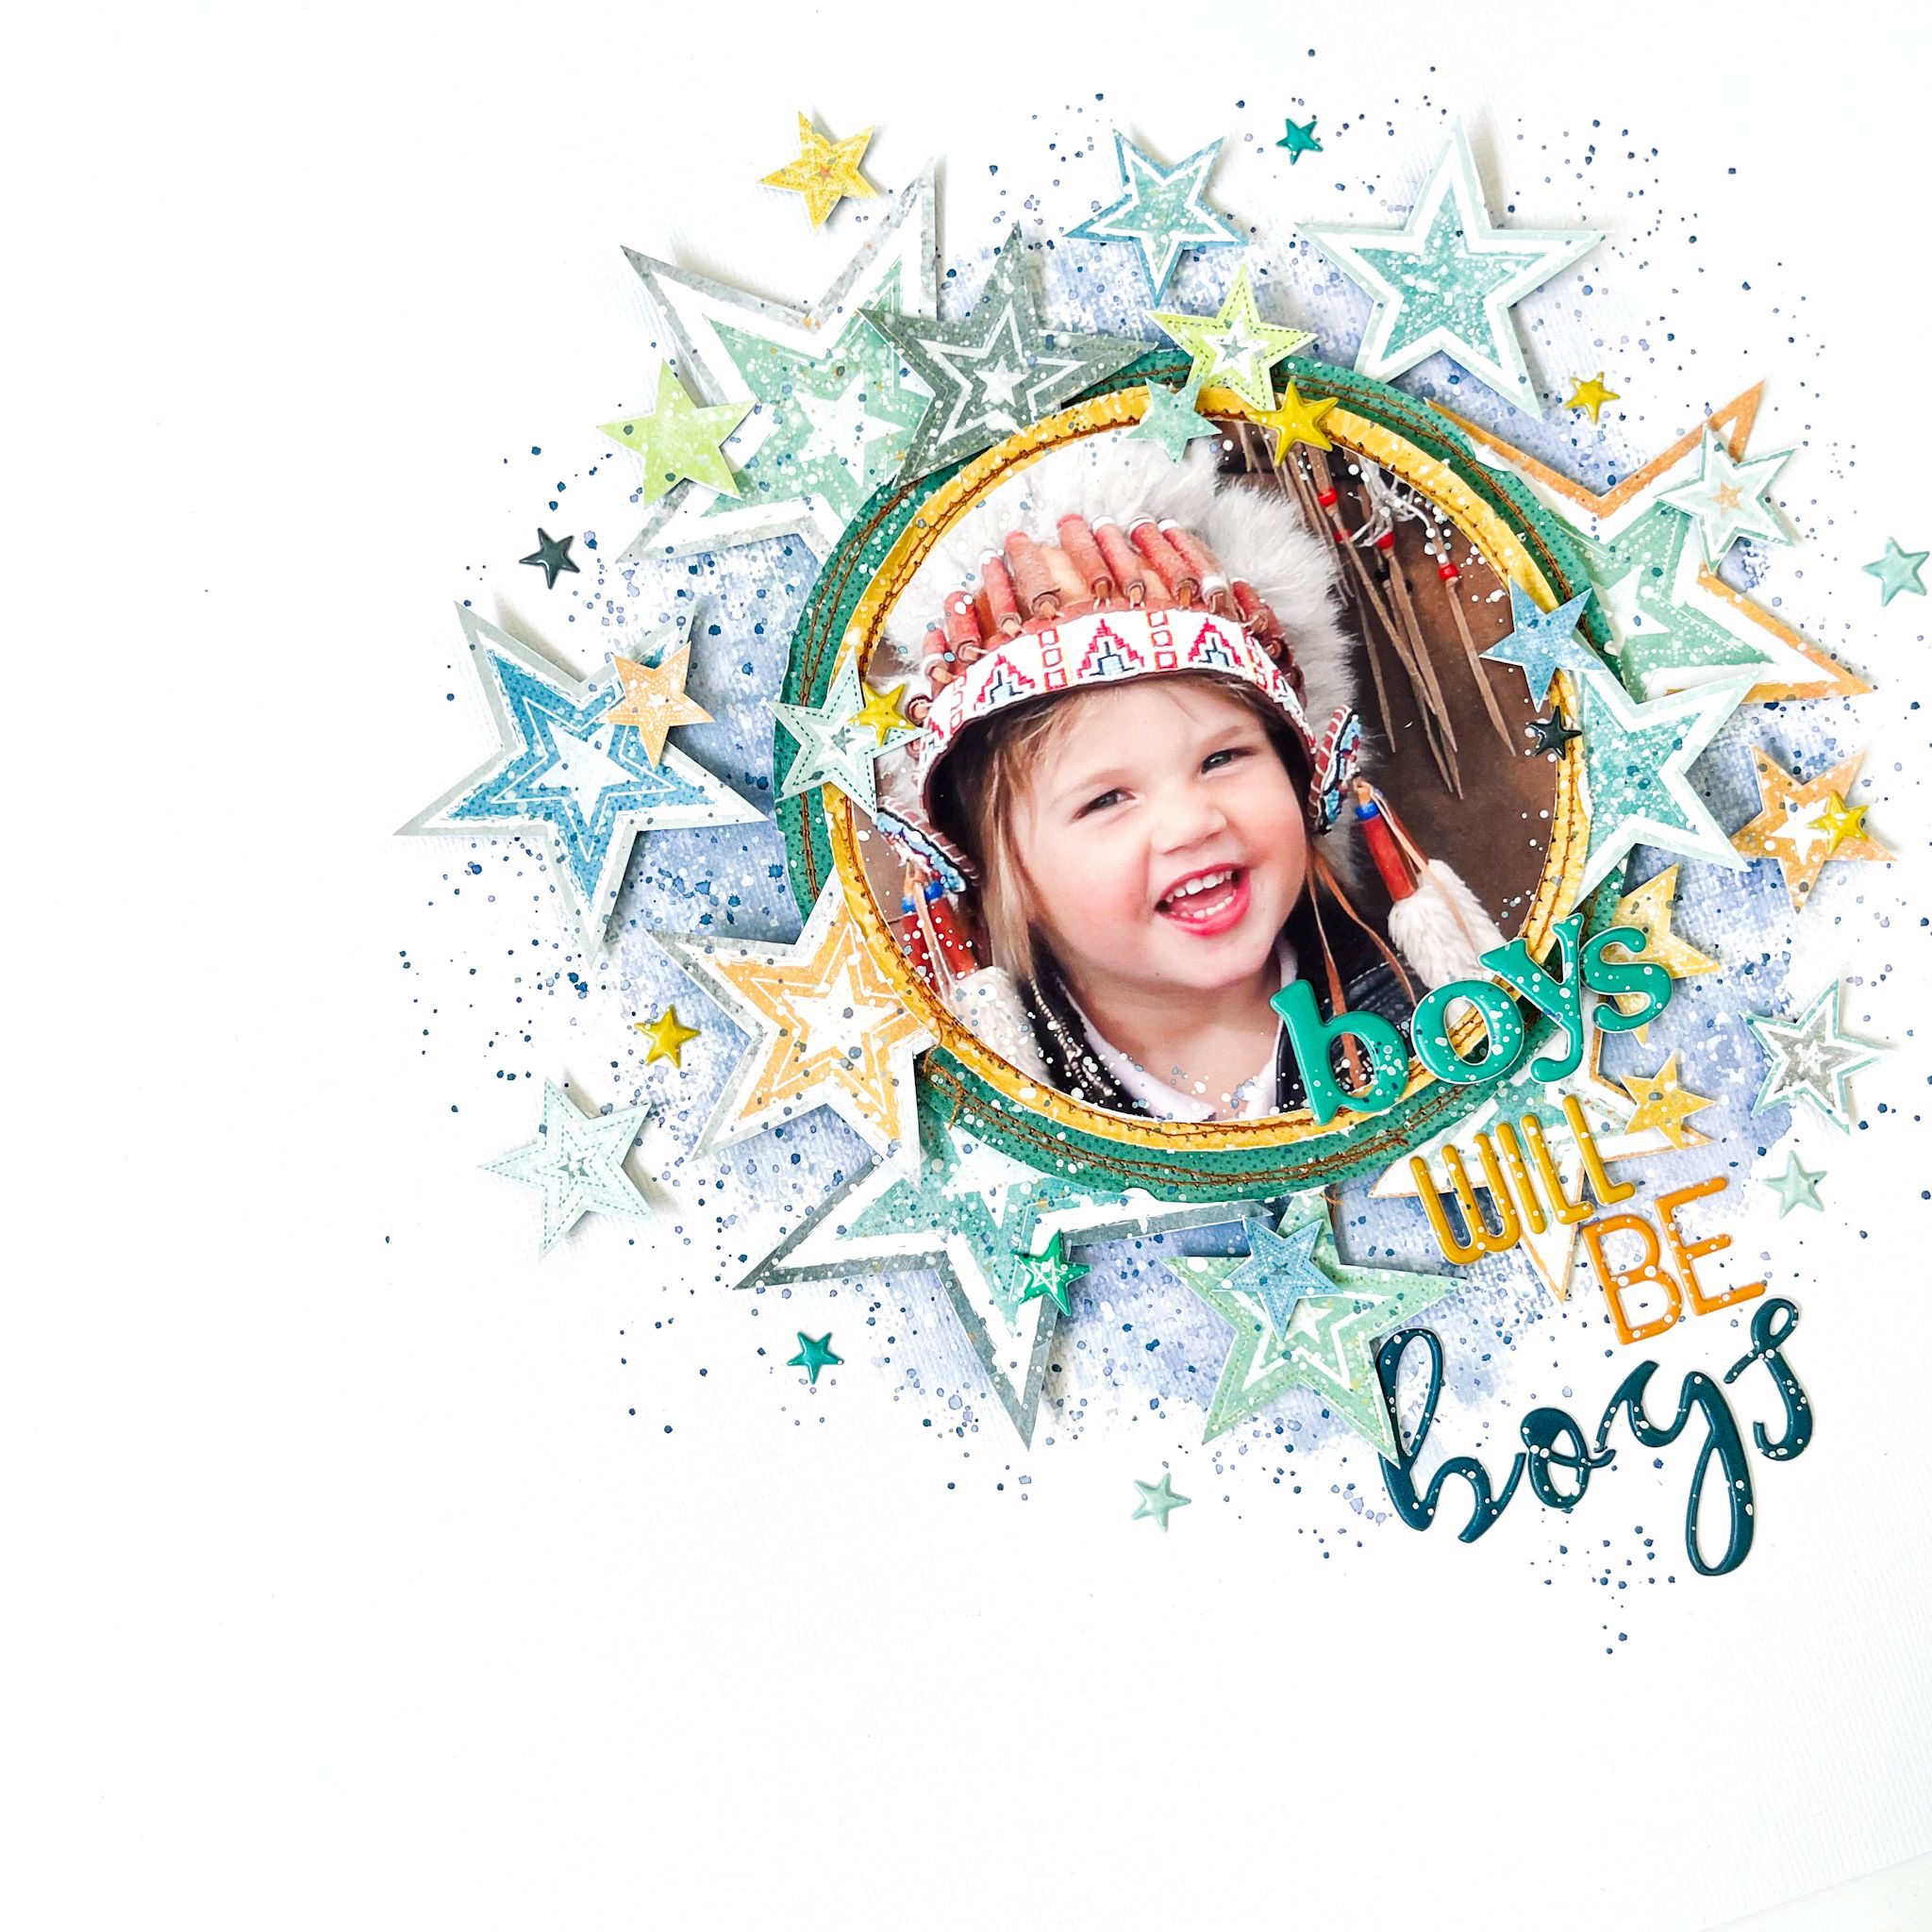
 I fussy cut several stars from the pattern paper “Nebula” from the No Limits collection. I attached the stars with 3D tape. I like the way the stars. stand out a little from the background. I mix the white gesso with water and with a thin brush I make white gesso splatters on my layout. The little puffy stars are adorable and great to combine on this layout.


 For the title of this layout called “You’re Awesome & the best my Sweet Boy” I use the chipboard alphas set and an alphas set from my own stash. I really enjoy using different alphas sets for my scrapbook titles. It really gives a playful effect which I love.

 I hope I was able to inspire you today with this boys layout and I challenge you to also design a layout with the awesome chipboard die-cuts from Cocoa Vanilla! Can’t wait to admire your beautiful inspiration on social! I want to thank you for stopping by the blog today and wish you lots of fun! XoXo Jo.