It’s Sophie with you today with a new layout to share!
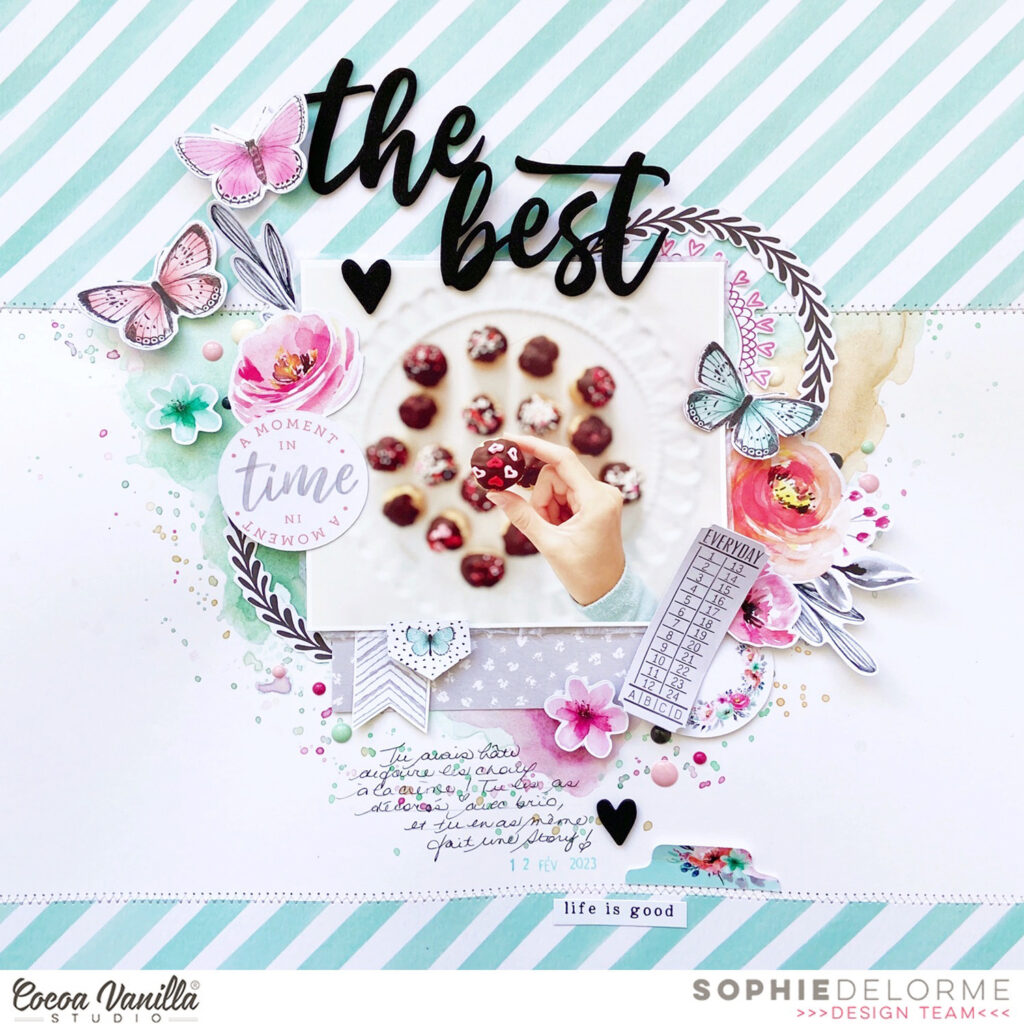
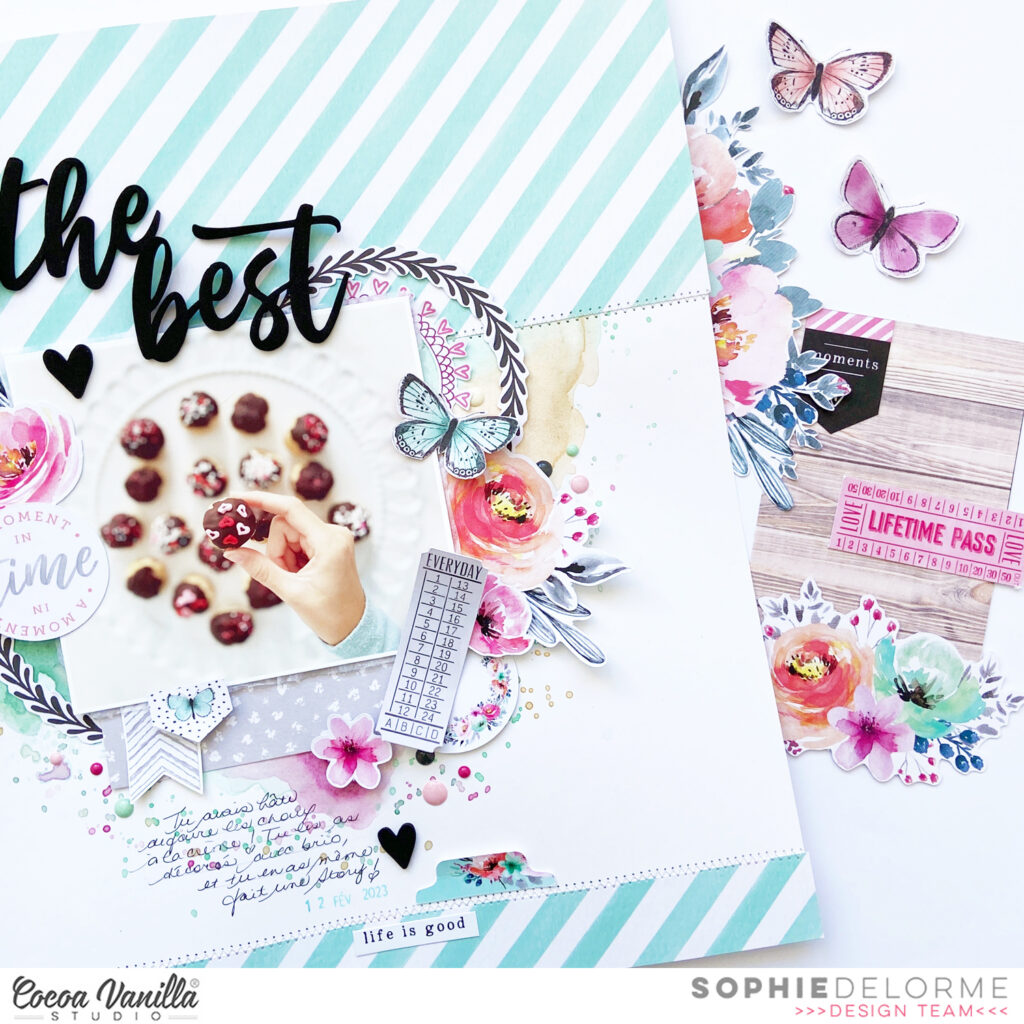
I use the beautiful Unforgettable collection this time. I wanted to highlight a yummy dessert that my sweet Sabrina baked and was so proud of!
I started with a thick white cardstock and used three colors from @Shimmerzpaints to create a little mixed media background.
I cut two pieces of the Sprightly paper and placed them horizontally on the top and bottom of the page. I did a zigzag stitch at their edge.
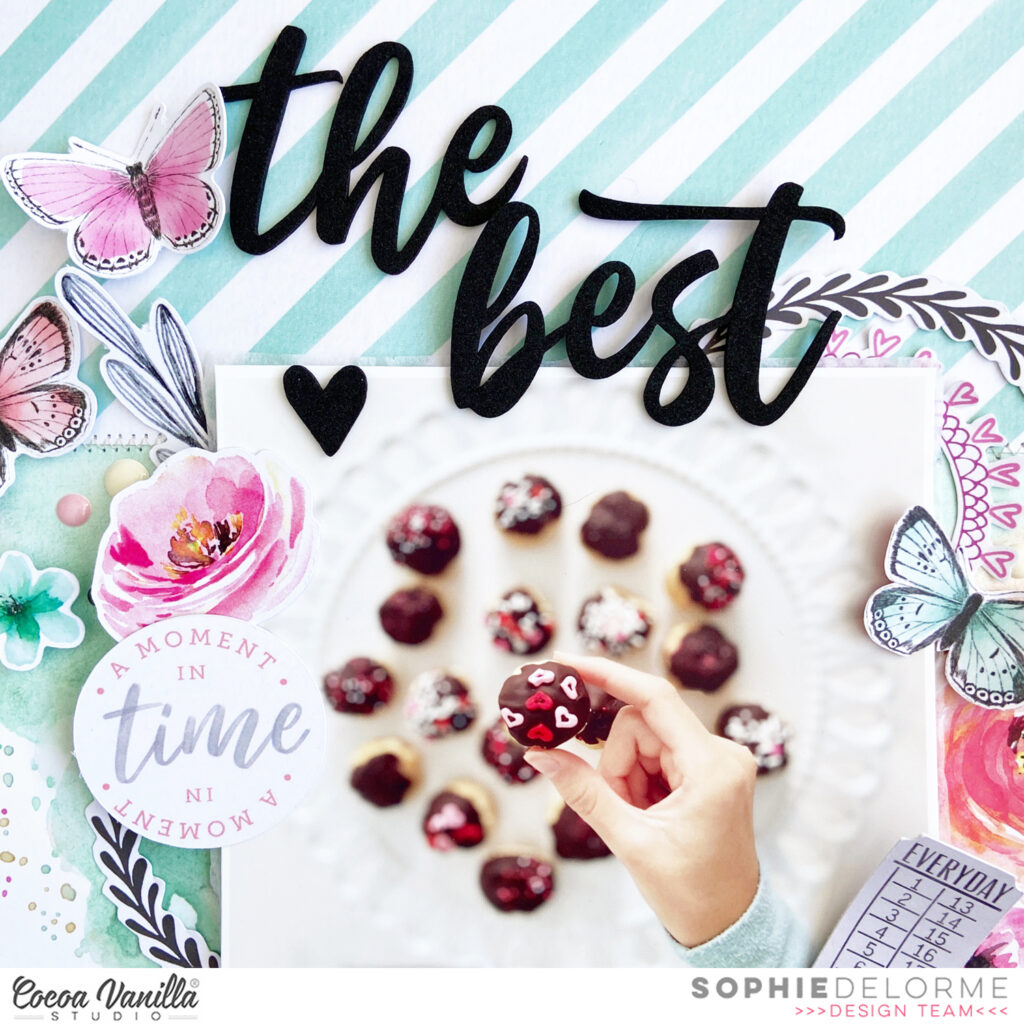
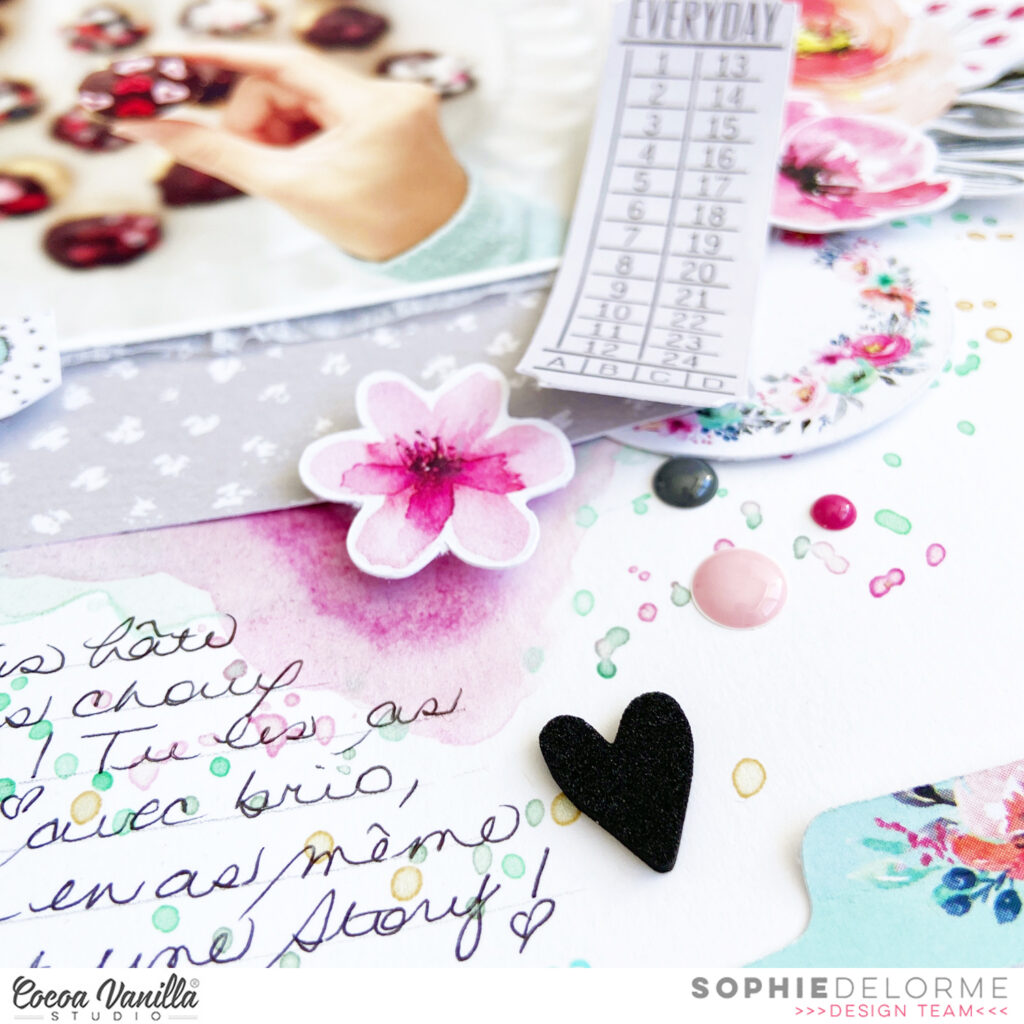
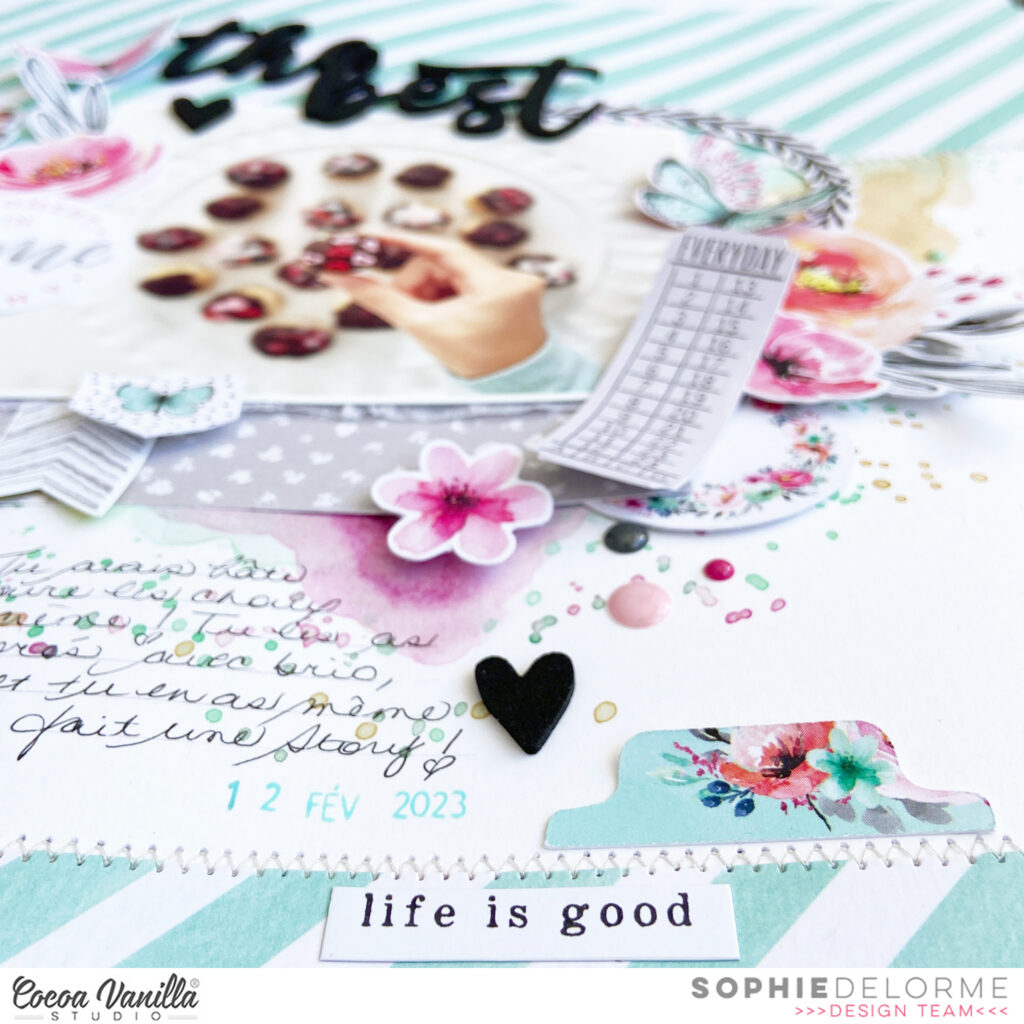
I centered my photo and mounted it on tissue paper and foam adhesive. I decorated in little clusters of embellishments around my photo and used the Foam Title Stickers – my favorites amongst all! – to create my title.
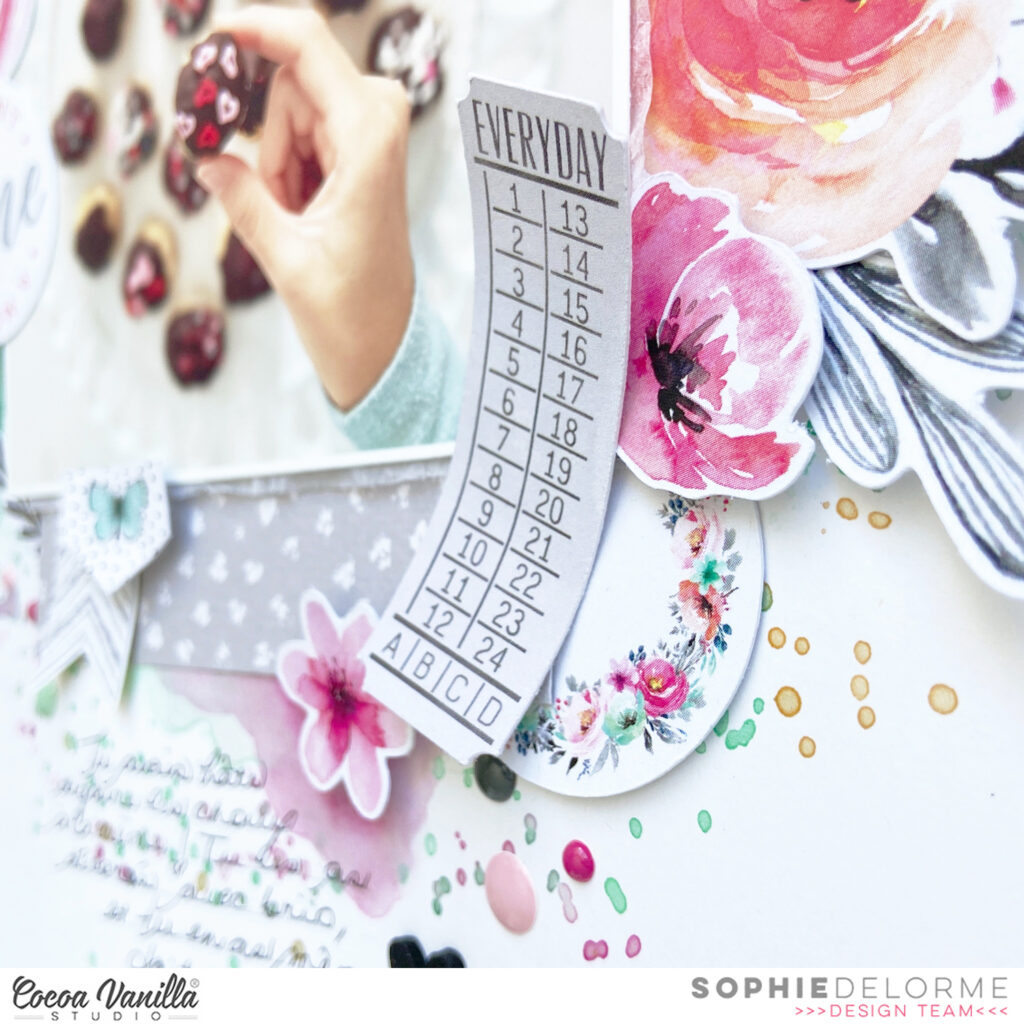
I scattered a few butterflies, handwrote my journaling directly on my background and stamped the date.
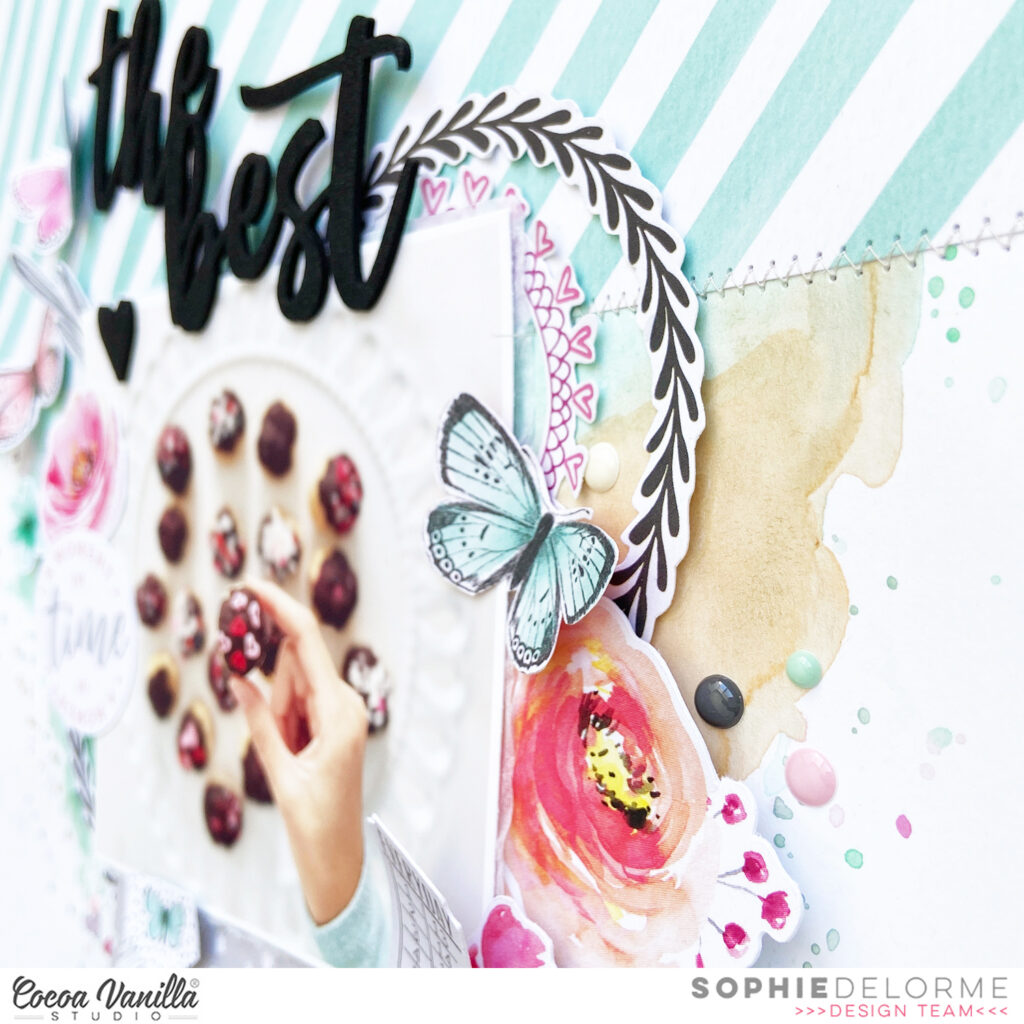
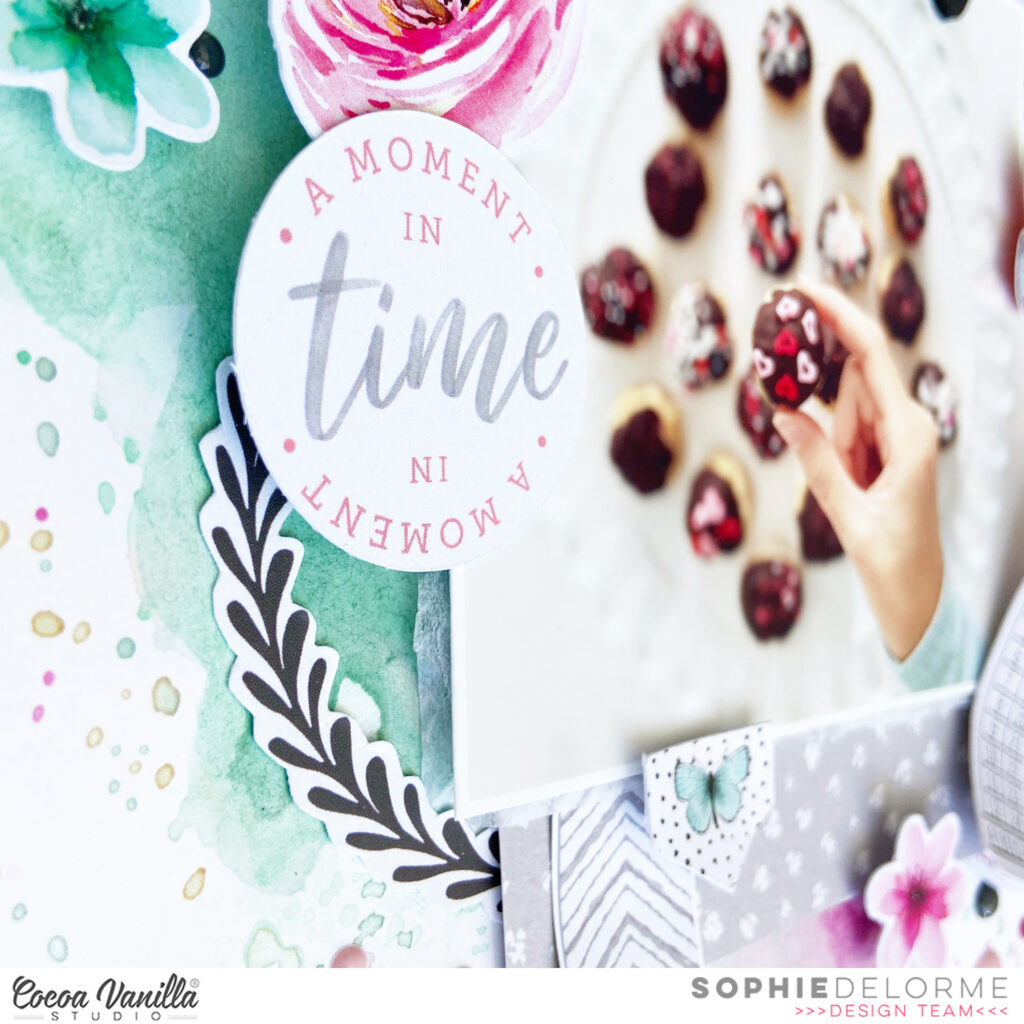
Here are more close-ups:
I am so happy with the result! I only had a few elements from that amazing collection left and tended to hoard them…! I am glad that I used them on this project!
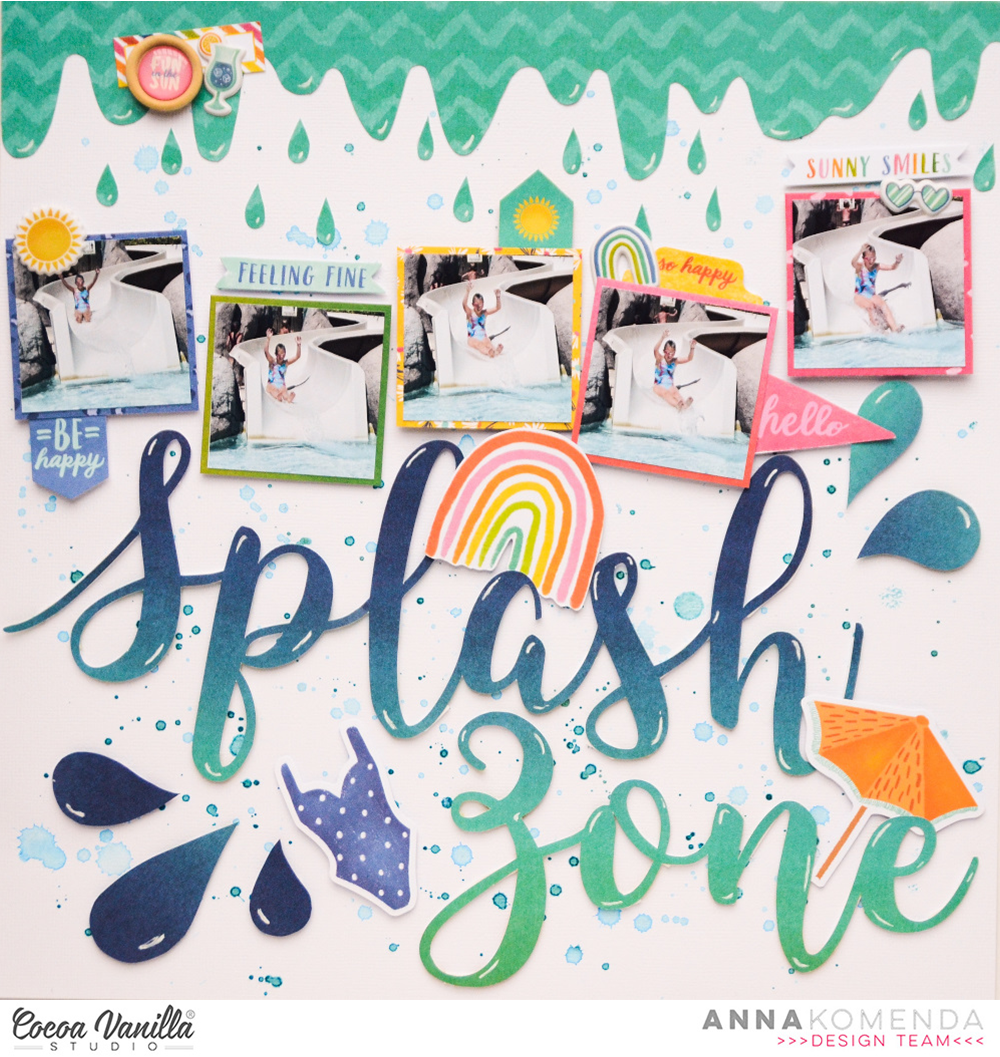
Hello crafty Friends! Welcome on the last day of February. For some of you it means summer is coming to an end and for some more lucky (like me :) ) it means spring is getting closer and closer ending up our winter misery. I so miss the warmth, the sun and the colors and can’t wait for all of this to come. In the meantime I am taking some energy bites by reliving our last year summer adventures. I found this fun series of photos of my younger daughter Maja sliding the slide in waterpark and decided to scrapbook them using my all time favorite “Sunkissed” collection.
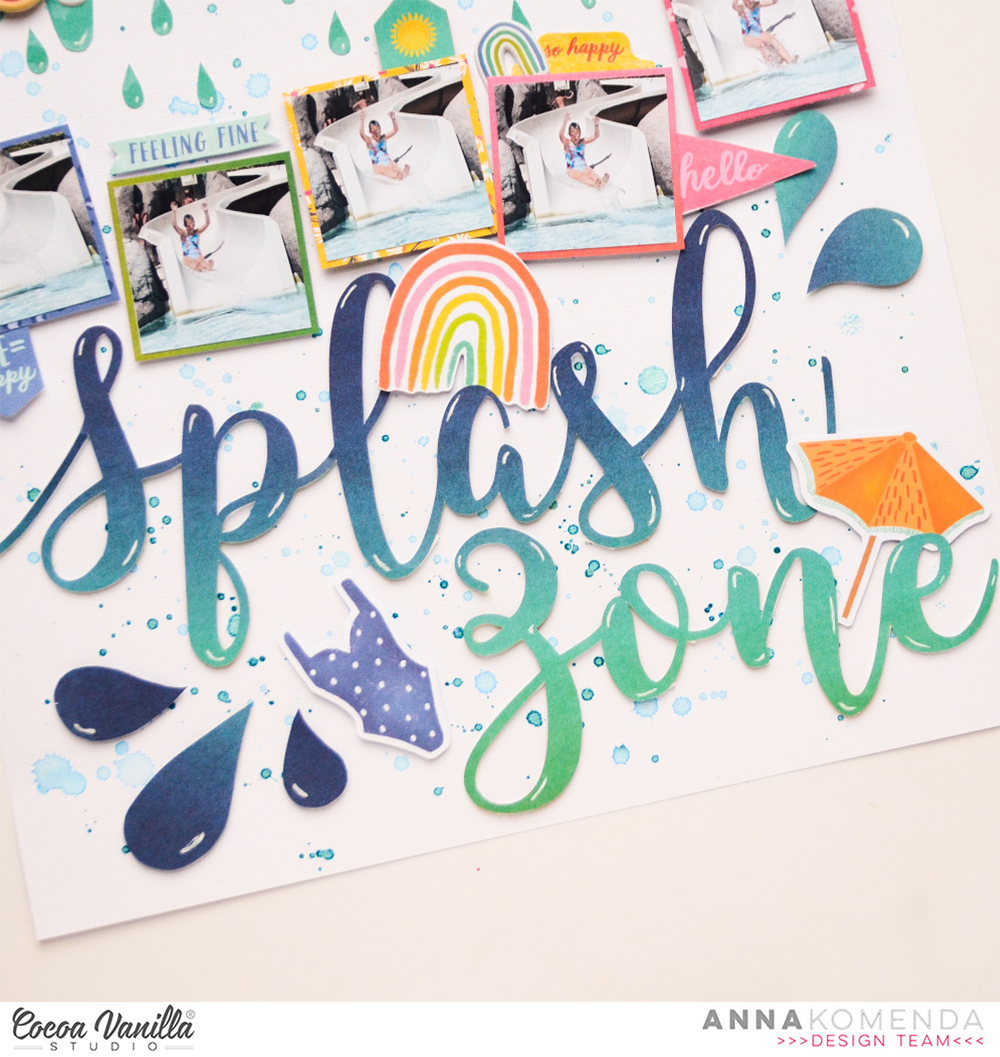
I started with a white background papers and splashed it with two shaded of blue mists. When I was waiting for it to dry, I took one of the pattern papers called “Good vibrations” and cut out my title using digital die cutting machine. When it was done, I added a layer of foam adhesive to make it pop from the background.
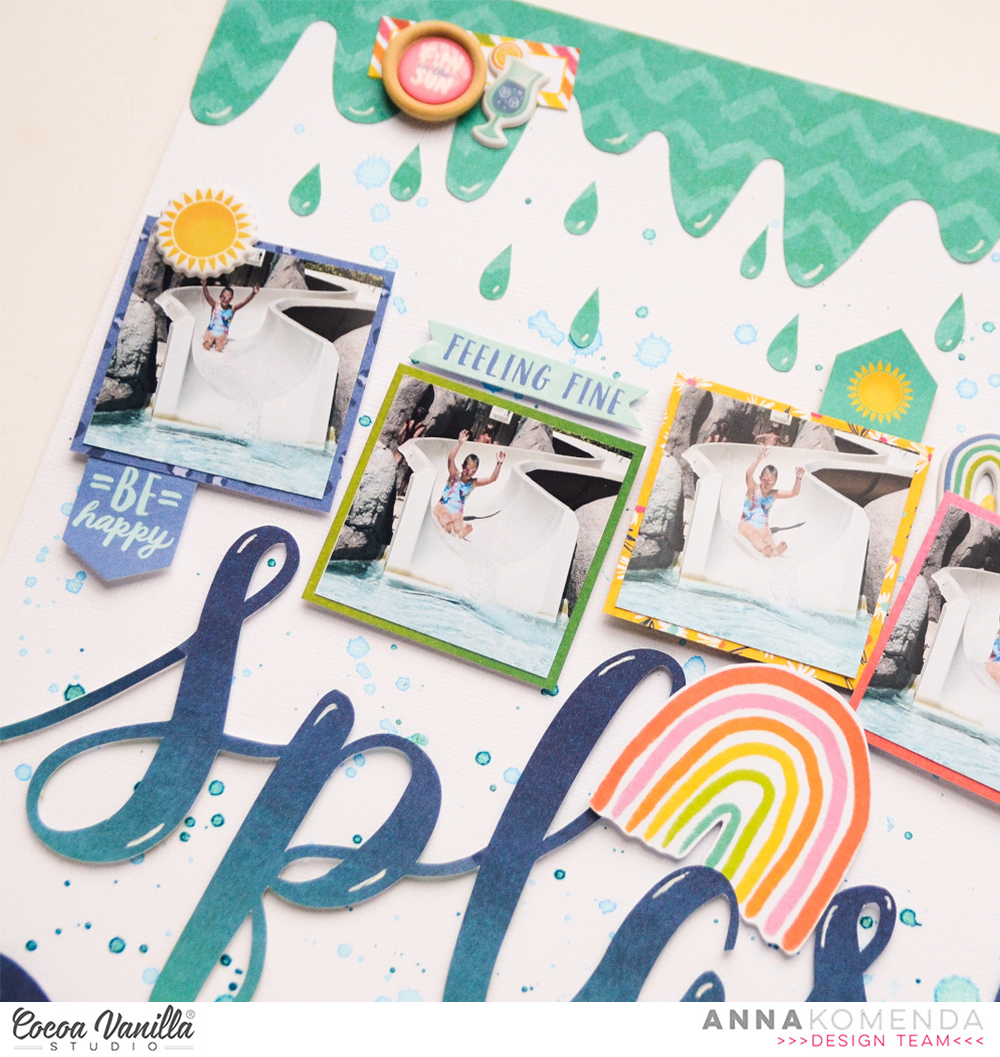
Each of five photos is backed with a different patter paper from A5 Paper Stack. I just love this product as I do not need to cut into whole 12*12 paper to get only a piece of it. What is even better – patterns in A5 Paper Stack are slightly different than in 12*12 Paper Pack! So you have even more colors and patterns to choose from.
After adding title and photos, I started embellishing everything using my leftover Ephemera Pieces (I am running really low on them). I found matching bathing suit, umbrella, rainbow and few word strips. As you can see, I didn’t spend much time on embellishing this page. Big title and multiply photos make it quite busy already.
When I was done with adding embellishments, I noticed that page isn’t balanced well with busy bottom part and empty space on the top. I was wondering what to do, and then idea strucked me. As this page is abour water splashing on the slide, I can add a dripping water! I took “Sunny days” paper and hand cut a row of “water” with tiny little droplets.
I was crossing my fingers it doesn’t look scarry, more like a slime on halloween page, but it turned out OK. I took white gel pen and added a bit of shine to the title and strip of water. The page was done! I am happy how it turned out and that another memory has beed scrapbooked!
That is all for today. Thank you so much for spending your precious time with me and see in in March!
Hello Paperlovers, And welcome to the Cocoa Vanilla blog. Today I have some new scrapbook. inspiration for you with the amazing collections “Daydream” and “These Days” These are the collections that make me love Cocoa Vanilla Studio so much! So beautiful, delicate and sweet.
I started with a piece of white cardstock. I cut the large black and white photo of my daughter into a circle. I choose a patterned paper from the “Daydream” collection and cut it into a slightly larger circle and place it behind the photo. Then I stitch the round border with light blue sewing thread.
For the butterflies, I used an older cutting template from Provocraft. Of course, you can use any butterfly cutting template you have in your stash. You can also use your electronic cutting machine to cut out a view butterflies. I choose different pattern papers from the “Daydream” and the “These Days” collection for the butterflies. (A small detail, I stitch the butterflies in the center with light blue sewing thread.)
I fussy cut several flowers from the patterned paper. Along with the butterflies, I create a two large clusters on each side. I use adhesive tape and 3D foam to create more dimension.Have you spotted the beautiful green fabric heart yet?
I cut a few extra butterflies from the pattern paper from the ” These Days” collection. I placed these cute little butterflies around the punched out butterflies.For the title, I used the mini puffy alphabet (These Days) and the die-cut Ephemera title (Daydream) I place the title between the two clusters below the photo. For an extra touch, I make splatters with white gesso and distress oxide (Saltwater taffy). I mix the white gesso with water and used a water color brush to apply the splatters to my layout.
I want to thank you for visiting the Cocoa Vanilla Studio blog today and I hope I have inspired you with this scrapbook layout. Hope to see you next time and have fun with the beautiful Cocoa Vanilla Studio collections.
XoXo, Jo
Hey Everyone it’s Michelle back with you today to share a super quick layout featuring the amazing Storyteller Collection. I’m still loving this collection with all its bright primary colours, perfect for documenting some first day of school photos that almost didn’t make it to print!
I knew I wanted to create something fast, simple and pretty all at the same time, and as we’re still in the month of ‘love’ I felt it needed to incorporate some kind of large heart design along with groups of pretty florals. The layout ended up being exactly what I was aiming for and will be a well cherished addition to Leila’s childhood albums for years to come.
I started off by finding a generic heart shape through google, and cutting the large shape out in the middle of some white cardstock using my silhouette. I adhered this piece to a second layer of white cardstock using foam sheets to give it some flat dimension.
I knew I’d be adding lots of colours to the layout in the way of floral clusters, so to avoid any pattern/ colour clashing I printed the photos of Leila in Black and White at just a smidge over 3x2inch size. I backed both photos with the woodgrain paper (Cross it Off) from the collection, added a couple of accessory stickers and adhered these pieces to the left of the heart using more foam sheeting to pop them up off the page a little.
The floral clusters came together so nicely but were probably the parts of the layout that took the longest. Fussy cutting is quite therapeutic, yet time consuming. I added a mix of ephemera pieces and accessory stickers to each of the groups to mix them up. The beautiful florals are from a mix of both the 12×12 and A5 version of the SpringFling paper.
I used a mix of adhesives for the clusters, mostly foam tape and glue dots for slight dimension.
There’s also a sneaky enamel heart within each cluster for a finishing touch within each group.
I created a mixed font title using the usual blend of both handwritten text and my beloved white alpha stickers, with the addition of machine stitching for extra detail and to keep them in place.
Here’s a closer look at how sweet these alphas are, lets all keep our fingers and toes crossed that they make an appearance back in the CVS store sometime in the future as they really are the best for creating titles with.
I added the usual gold ink splatters around the layout to finish it all off to, something I do to all layouts to make them feel complete.
Here’s one final look at the entire layout and all its white space goodness!
Well thats all from me today, thank you so much for stopping by to see another of my crafty creations using the StorytellerCollection. I hope you’re all still loving this collection as much as we all are, but I bet you’re all itching to see what the amazing Zoe comes up with next. Be sure to keep an eye on all our Social Media Channels for more scrappy inspiration from all the team here at Cocoa Vanilla Studio.
It’s Tarrah back with you and today I am sharing a new Summer themed layout featuring the gorgeous Sunkissed collection.
Who doesn’t love a cute kid in an even cuter swimming costume right? This photo is of my youngest niece and I just love it! The Sunkissed collection was the perfect collection to document this photo.
I decided on the ‘B’ side of the Bright Side paper for my background, trimmed it down and adhered it to a plain sheet of white cardstock. I then chose a title cut file from CUT to YOU, cut that out from white cardstock and then backed it with the Summer Lights patterned paper. Once the cut file title was backed, I added craft foam to the underside and and then adhered it to the top of the page, I did leave the S and U in the word sun with adhesive though as I knew I wanted to tuck in the sun behind the letters. To do this, I fussy cut out the sun from the Fun in the Sun patterned paper, I tucked it behind the letters and then bent up the edges to add some texture to my page.
On top of the title, I took some of the pretty florals from the Floral Ephemera Pack and adhered them in their corresponding colours, so the pink one is layered on top of the pink section in the patterned paper and the yellow flower is on the yellow paper. I cut out another of the journal cards from the Fun in the Sun patterned papertucking it in behind the photo. I love how this journal card added some colour against the dark background and bought out the colours in the photo a little more. I adhered the photo on top using craft foam to add some dimension nd create some depth and shadows on my page. I also cut out the phrase from the same paper that says ‘Love This’ and layered it over the journal card. I also took one of the gorgeous gold glitter foam titles and placed it above the ‘Love This’ phrase.
On the right hand side of the photo, I took that super cute swimsuit die-cut, added craft foam underneath and adhered it right next to the photo. I took some floral and leaf pieces from the floral ephemera packand tucked a few in here and there to add some extra interest to the page. I also took some of the phrase stickers from the Accessory sticker sheetand placed these around the page to help tell the story. I added a few of the gorgeous puffy hearts and lastly stamped the date stamp and sprinkled some drops of white mist around.
Thank you so much for stopping by the Cocoa Vanilla Studio blog today! I hope you enjoyed reading about how I created my layout as much as I enjoyed creating it.
Hey y’all! Laura Alberts back again with my favorite Cocoa Vanilla collection of all time, Bohemian Dream! Everything about this collection makes me so happy. The mix of my favorite colors and those watercolor florals are just divine! For this layout, I had four 2×3 photos of my daughter exploring digital drawing and I wanted to create a vertical design.
For my title, I used a cut apart piece backed with navy cardstock to help it stand out. This perfectly encapsulates the creativity in our family and especially for my daughter. She is a brilliantly talented little girl and I love encouraging her to embrace it!
Alongside the right of the photos are tags made from cut aparts in the 6×6 paper pad and along the left are a number of vellum florals backed with white cardstock to really help them pop! Love the feathers peeking out from underneath my title to soften the edge of that cut apart piece.
I hope this layout inspires you to dig into your stash and find a collection that you love too! To see how “Embrace” came together, check out the process video below:
It’s Sophie with you on the blog today with this beautiful wintery page to share !
I used the Daydream collection for this layout.
I started with a thick white cardstock for my background and added blue and pink inks from my stash to create a mixed media background that matched my colour scheme.
I centered a lovely photo of Fiona playing in the snow, added tissue paper behind it and foam adhesive. Then, I went crazy with beautiful floral embellishments, both from the floral ephemera pack and some cut out of patterned paper, and created a huge floral cluster at the bottom of the photo. I layered many of them with foam dots to add dimension. I also cut a few leaves out of white textured cardstock with a punch from my stash that I tucked in between the numerous flowers.
I placed a house die cut on the right of the photo with a cute phrase sticker right next to it.
My title comes from the Daydream Die Cut Titles pack. I placed a Flair Button next to it and a few die cut hearts.
Finally, I cut a piece of patterned paper that I put on the top of the page with a label to write down the date.
Here are some close-ups.
I love the result. This Daydream collection is so versatile ! You can use it for every season !!
I hope this was inspiring, thank you for stopping by !
Hi everyone, I know its February already, but this is my first post for this year and I just wanted to say Happy New Year! I hope that 2023 is off to a great start for you! Today I’m sharing a layout that I created with the beautiful Storyteller collection. Every year I create a layout about myself for my word for the year. This year my word is Pursue. I used an alpha cut file from Just Nick Studio, and welded the letters together on Cricut Design Space.
I used used Cross It Off for my background paper and decided to hand stitch around the crosses in white embroidery thread. Love how this adds some subtle texture.
I created backed my title cut file with papers from the A5 Paper Stack. I always love to feature beautiful papers. I used several of the beautiful Chipboard Stickers to embellish around my photo. My background is created with distress oxide ink and the trusty packaging technique.
I love the Die Cut Ephemera in this collection. The little banner with flowers was perfect on the title. I used one the phrases from the Accessory Stickers too.
Hey y’all! Laura Alberts back again with a little bit of wedding inspiration using one of the older Cocoa Vanilla Studio collections in my stash, Midnight! I absolutely love the elegant designs and mix of dark navy with pink and purple in this collection, making it perfect for my wedding photos.
Using a large 6×8 photo on this layout filled most of the page, so I kept my embellishing simple with a long border of florals and chipboard hearts down the right side. Behind the florals, I added a few clear stickers to give a tiny bit of detailing to the layers. I tucked a black and white floral underneath the photo and added a layer of vellum to mat my photo.
On the bottom left, I created a journaling spot with a 3D effect by layering frames, a cut-apart piece and a tag. I love how this blends in beautifully with the floral paper in the background, but still adds a pop of interest to the left side of the page.
For the title, I used a die cut ephemera piece, layered it on top of a chipboard banner, then tucked a mixed media style clear sticker underneath. All of these layers give my title depth and dimension. My favorite part is always the Nuvo trails behind the butterflies!
I hope this layout gives you a little inspiration to use for your next formal event!
It’s Tarrah back with you and today I am sharing a sweet layout featuring the gorgeous Love Always collection!
My assignment for today was to create a project for the Throwback Thursday feature that we sometimes run, I just had to use the Love Always collection for love month!
Documenting a sweet photo of myself and my eldest niece together when she was last visiting. She is always up for a selfie with her Aunty! Love her gorgeous face!
The Love Always collection has such pretty floral ephemera and I knew that I wanted to include a lot of them on this layout. I decided to build some layers of florals below the photo which I made the focus of the page by placing it in the centre of the page. I included both vellum florals and ephemera florals for some different textures on my layout.
Under the photo, I layered a piece of the grey paper with the small white hearts and I tucked in the scalloped border die-cut on the right hand side as well. On top of the photo, I placed one of the cute puffy stickers and a sticker from the accessory sticker sheet.
Also on the right of the photo, I tucked in the die-cut tag and added some twine through the hole in the top of the tag. I stamped the date stamp using black ink on the tag also. On the left I continued the floral layers including some wood veneers this time. Here I also added one of the gorgeous butterfly die-cuts.
For my title, I could not go past the gorgeous wood veneer word, deciding on the word ‘Sweet’ from the wood veneer pack. I did however add the cute puffy banner sticker that says ‘Smile’ too. I added another of the butterfly die-cuts here at the top and also a cute small one down the bottom below the wood veneerleaves.
I trimmed down the patterned paper background that I chose for my layout and matted it to a sheet of plain white cardstock. I then machine stitched around the edge of the entire page to create a border. Some of the last things to finish off my page were to add some more of the phrase and word stickers from the accessory sticker sheet, a few more die-cuts and I also sprinkled some white mist on my page.
Thank you so much for stopping by the Cocoa Vanilla blog today! I hope you enjoyed reading about how I created my layout as much as I enjoyed creating it!