Sweet | More Than Words collection | Anna Blades
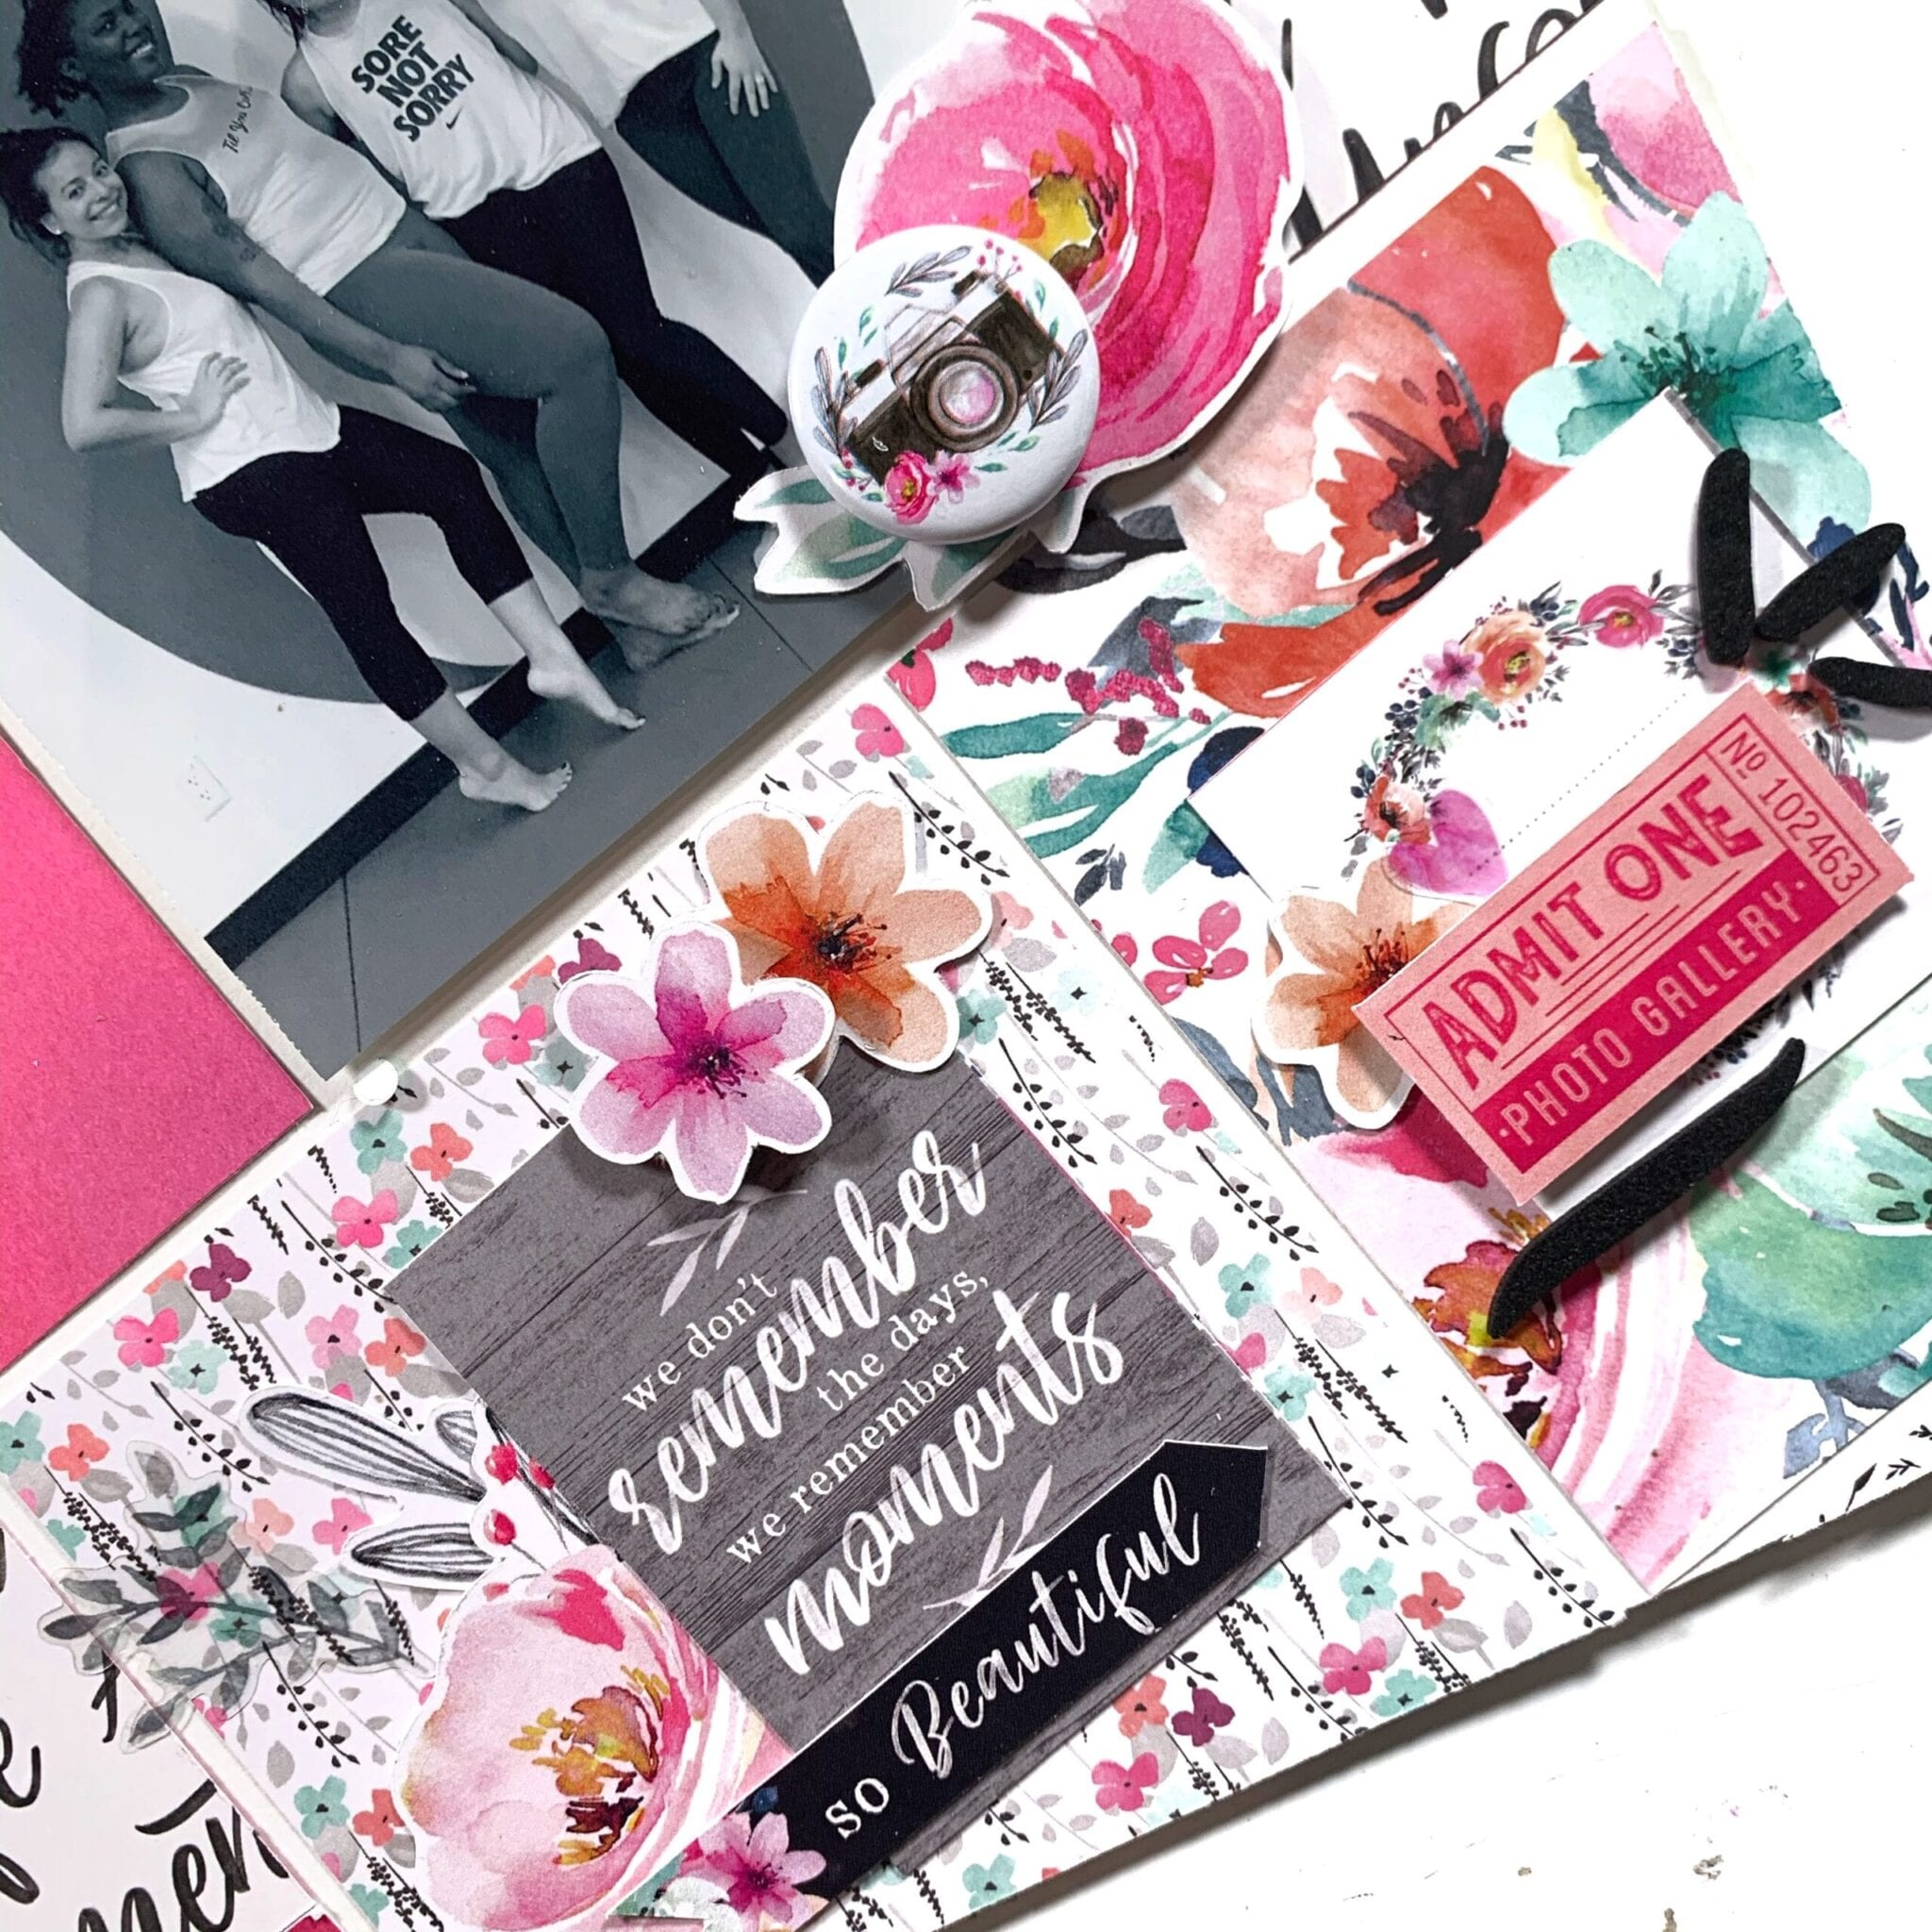
Hi friends! Anna here today with a new layout! One of the things I like the most about spring are the cherry blossoms. I love all these tiny pink flowers. And I was inspired by them to make this page featuring the pretty More than words collection.

I chose the B side from the Effervescent paper for my background. This gray chevron is just perfect. I trimmed half an inch from each side of the paper and backed the layout with a gray card-stock. Then I stitched all around the page with my sewing machine.
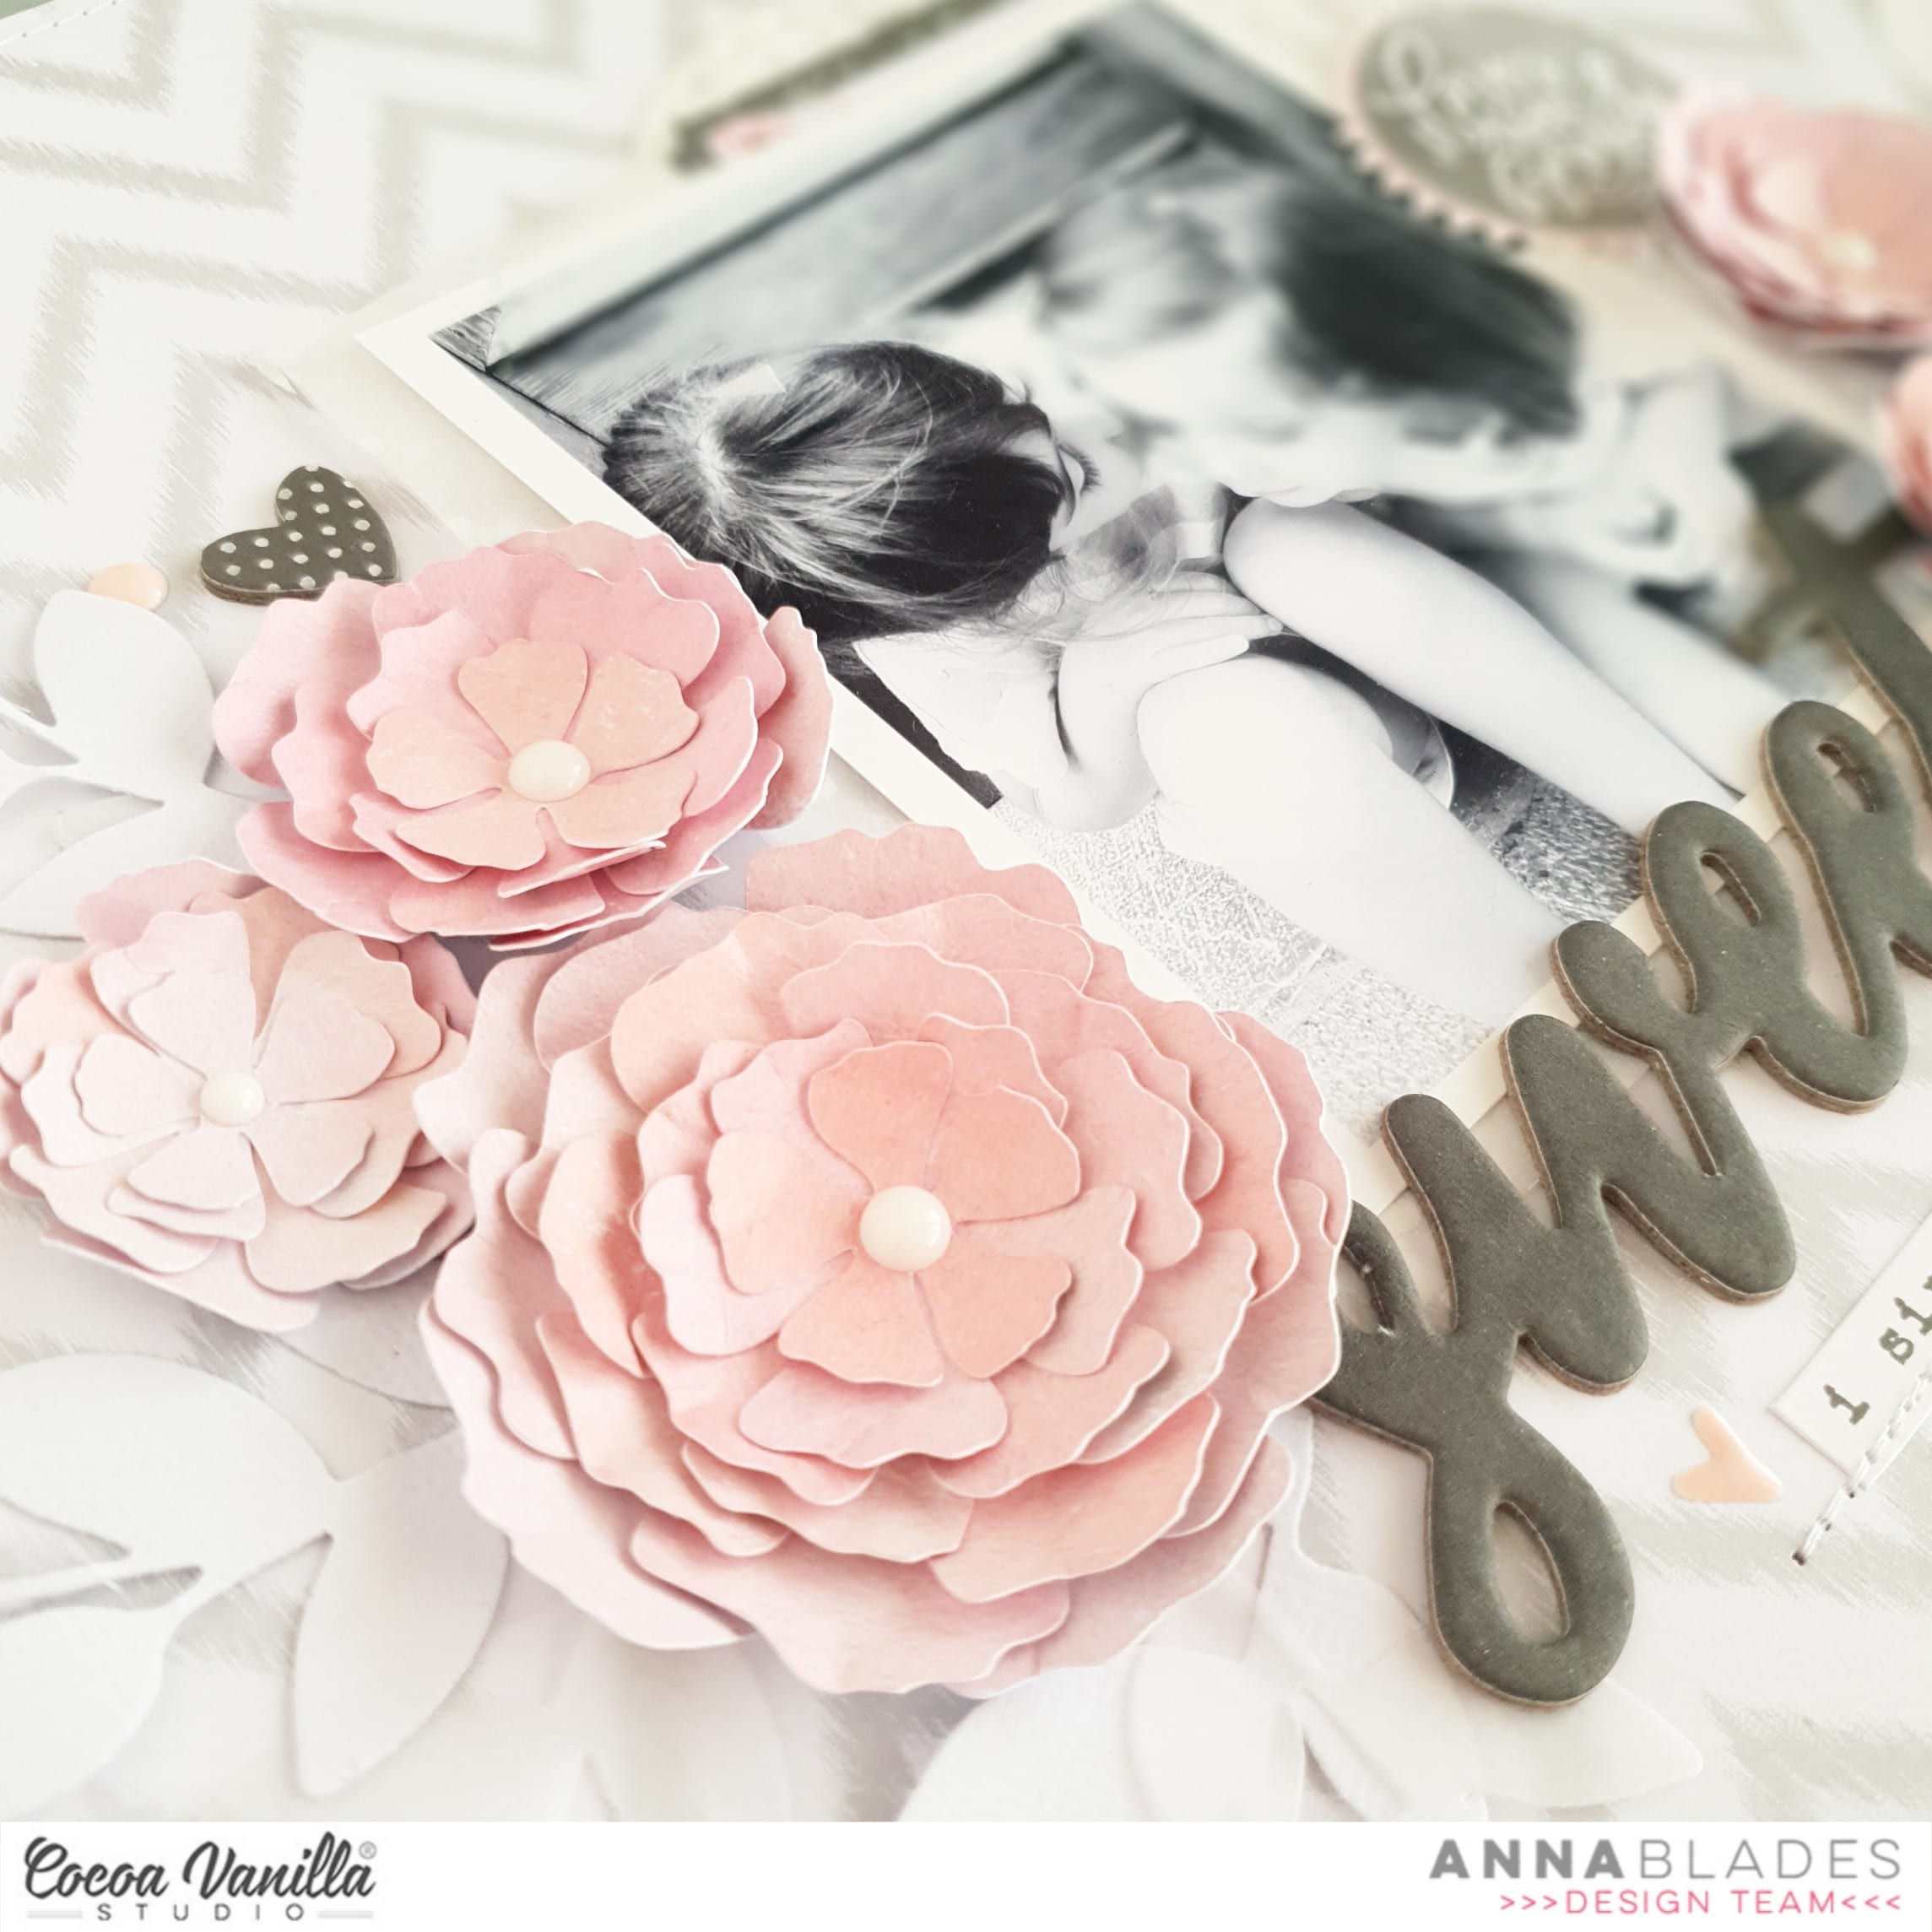
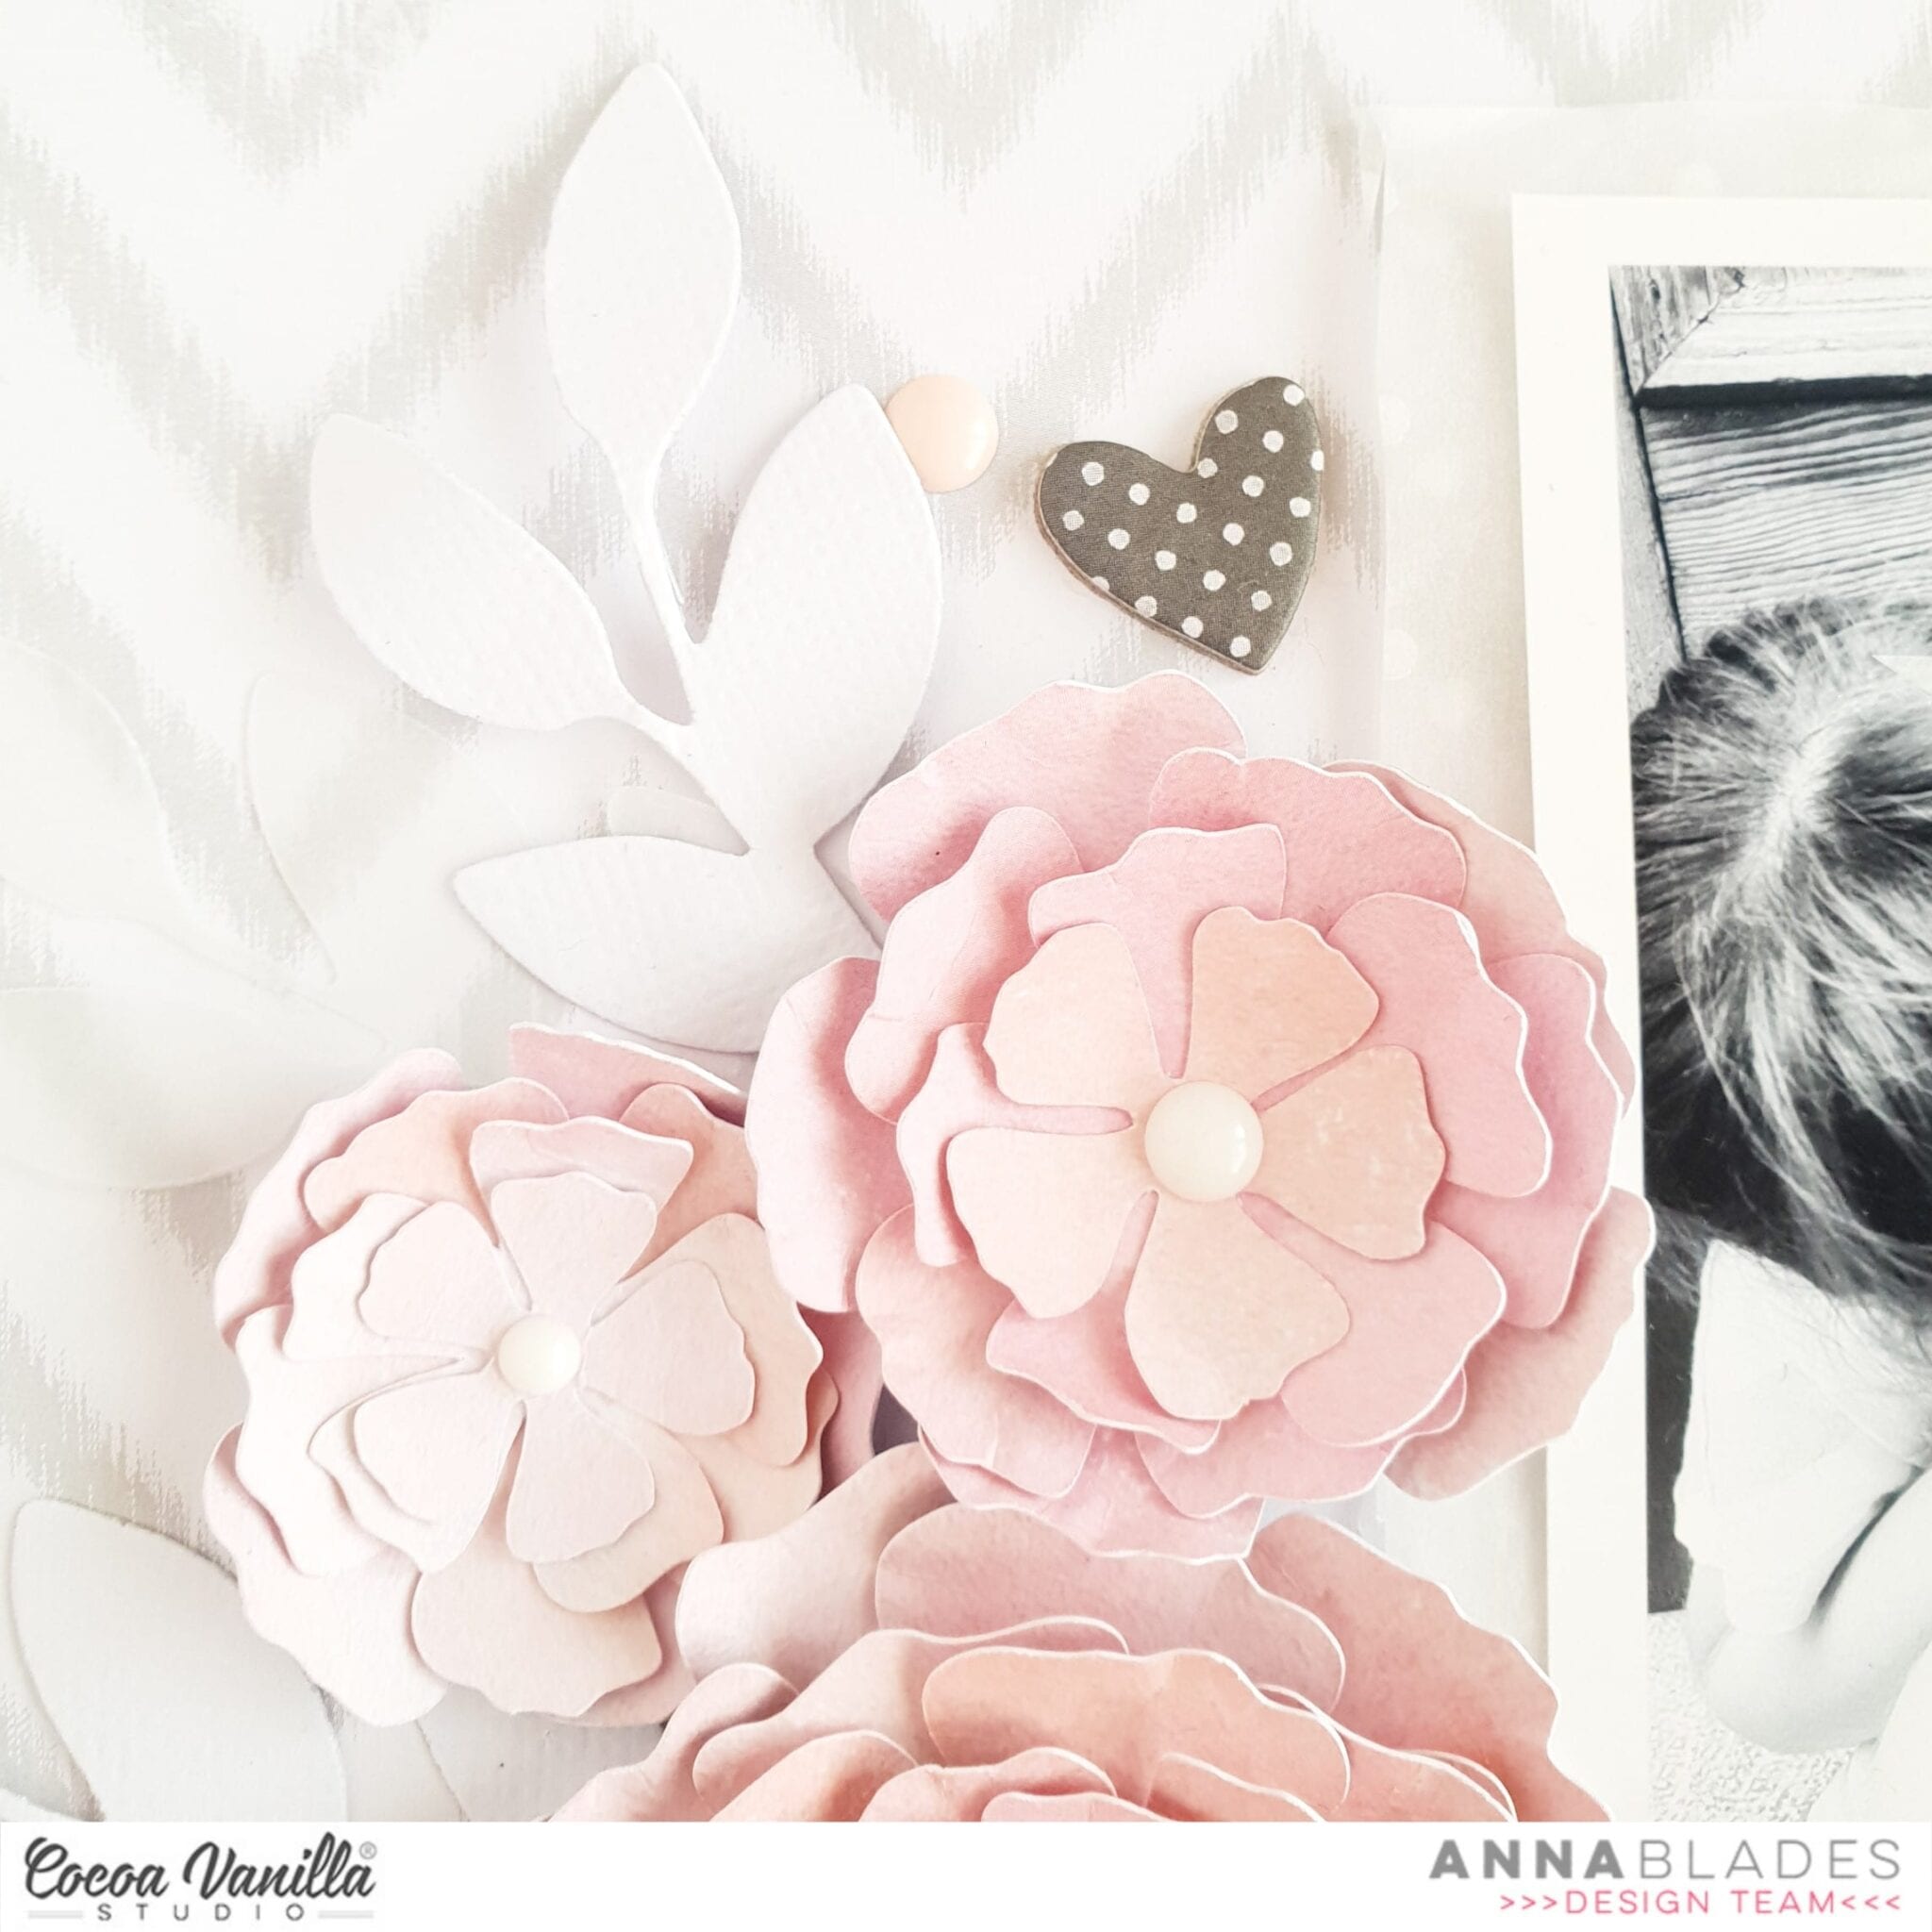
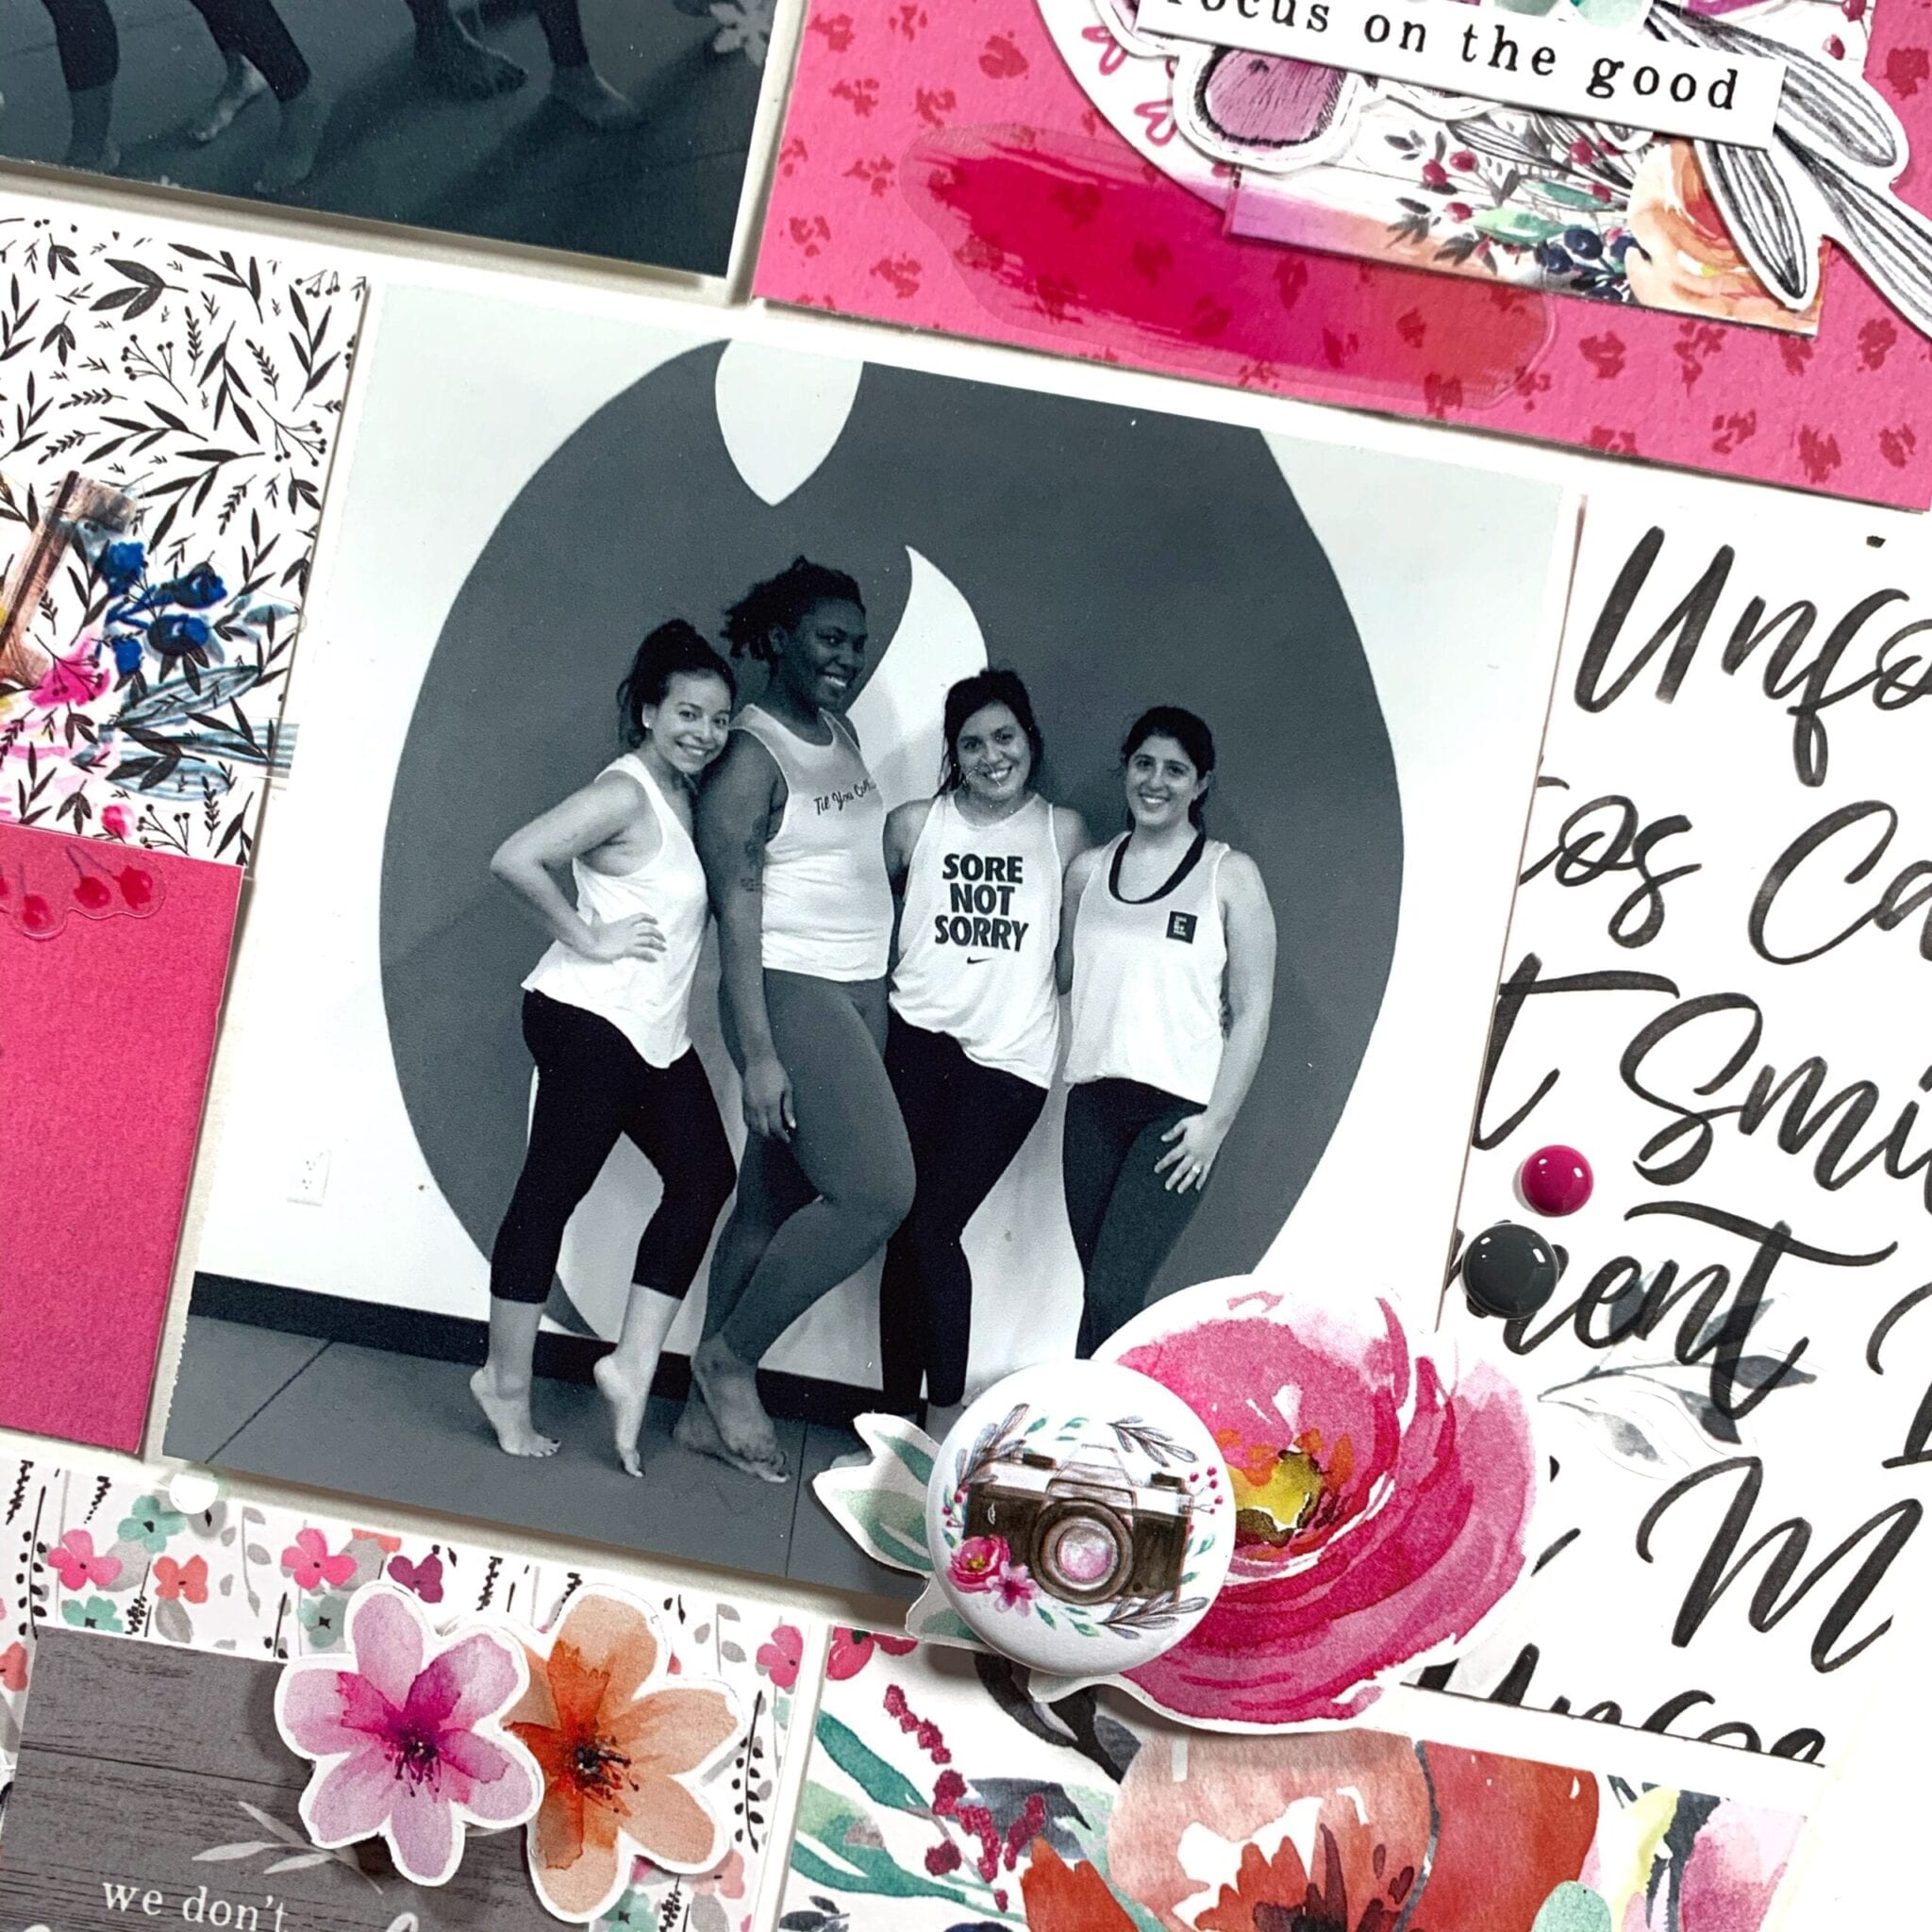
To make the layered flowers I cut the Darling Buds paper with my Silhouette Cameo. They’re a Paige Evan’s design. Once I had all the layers, I raised the tips of the petals to give them more dimension, glued all the layers and put a white enamel in the middle of each flower.
All around the flowers, I placed some leaves that I diecut out of white card stock and vellum. I love how they look peeking from behind the flowers.

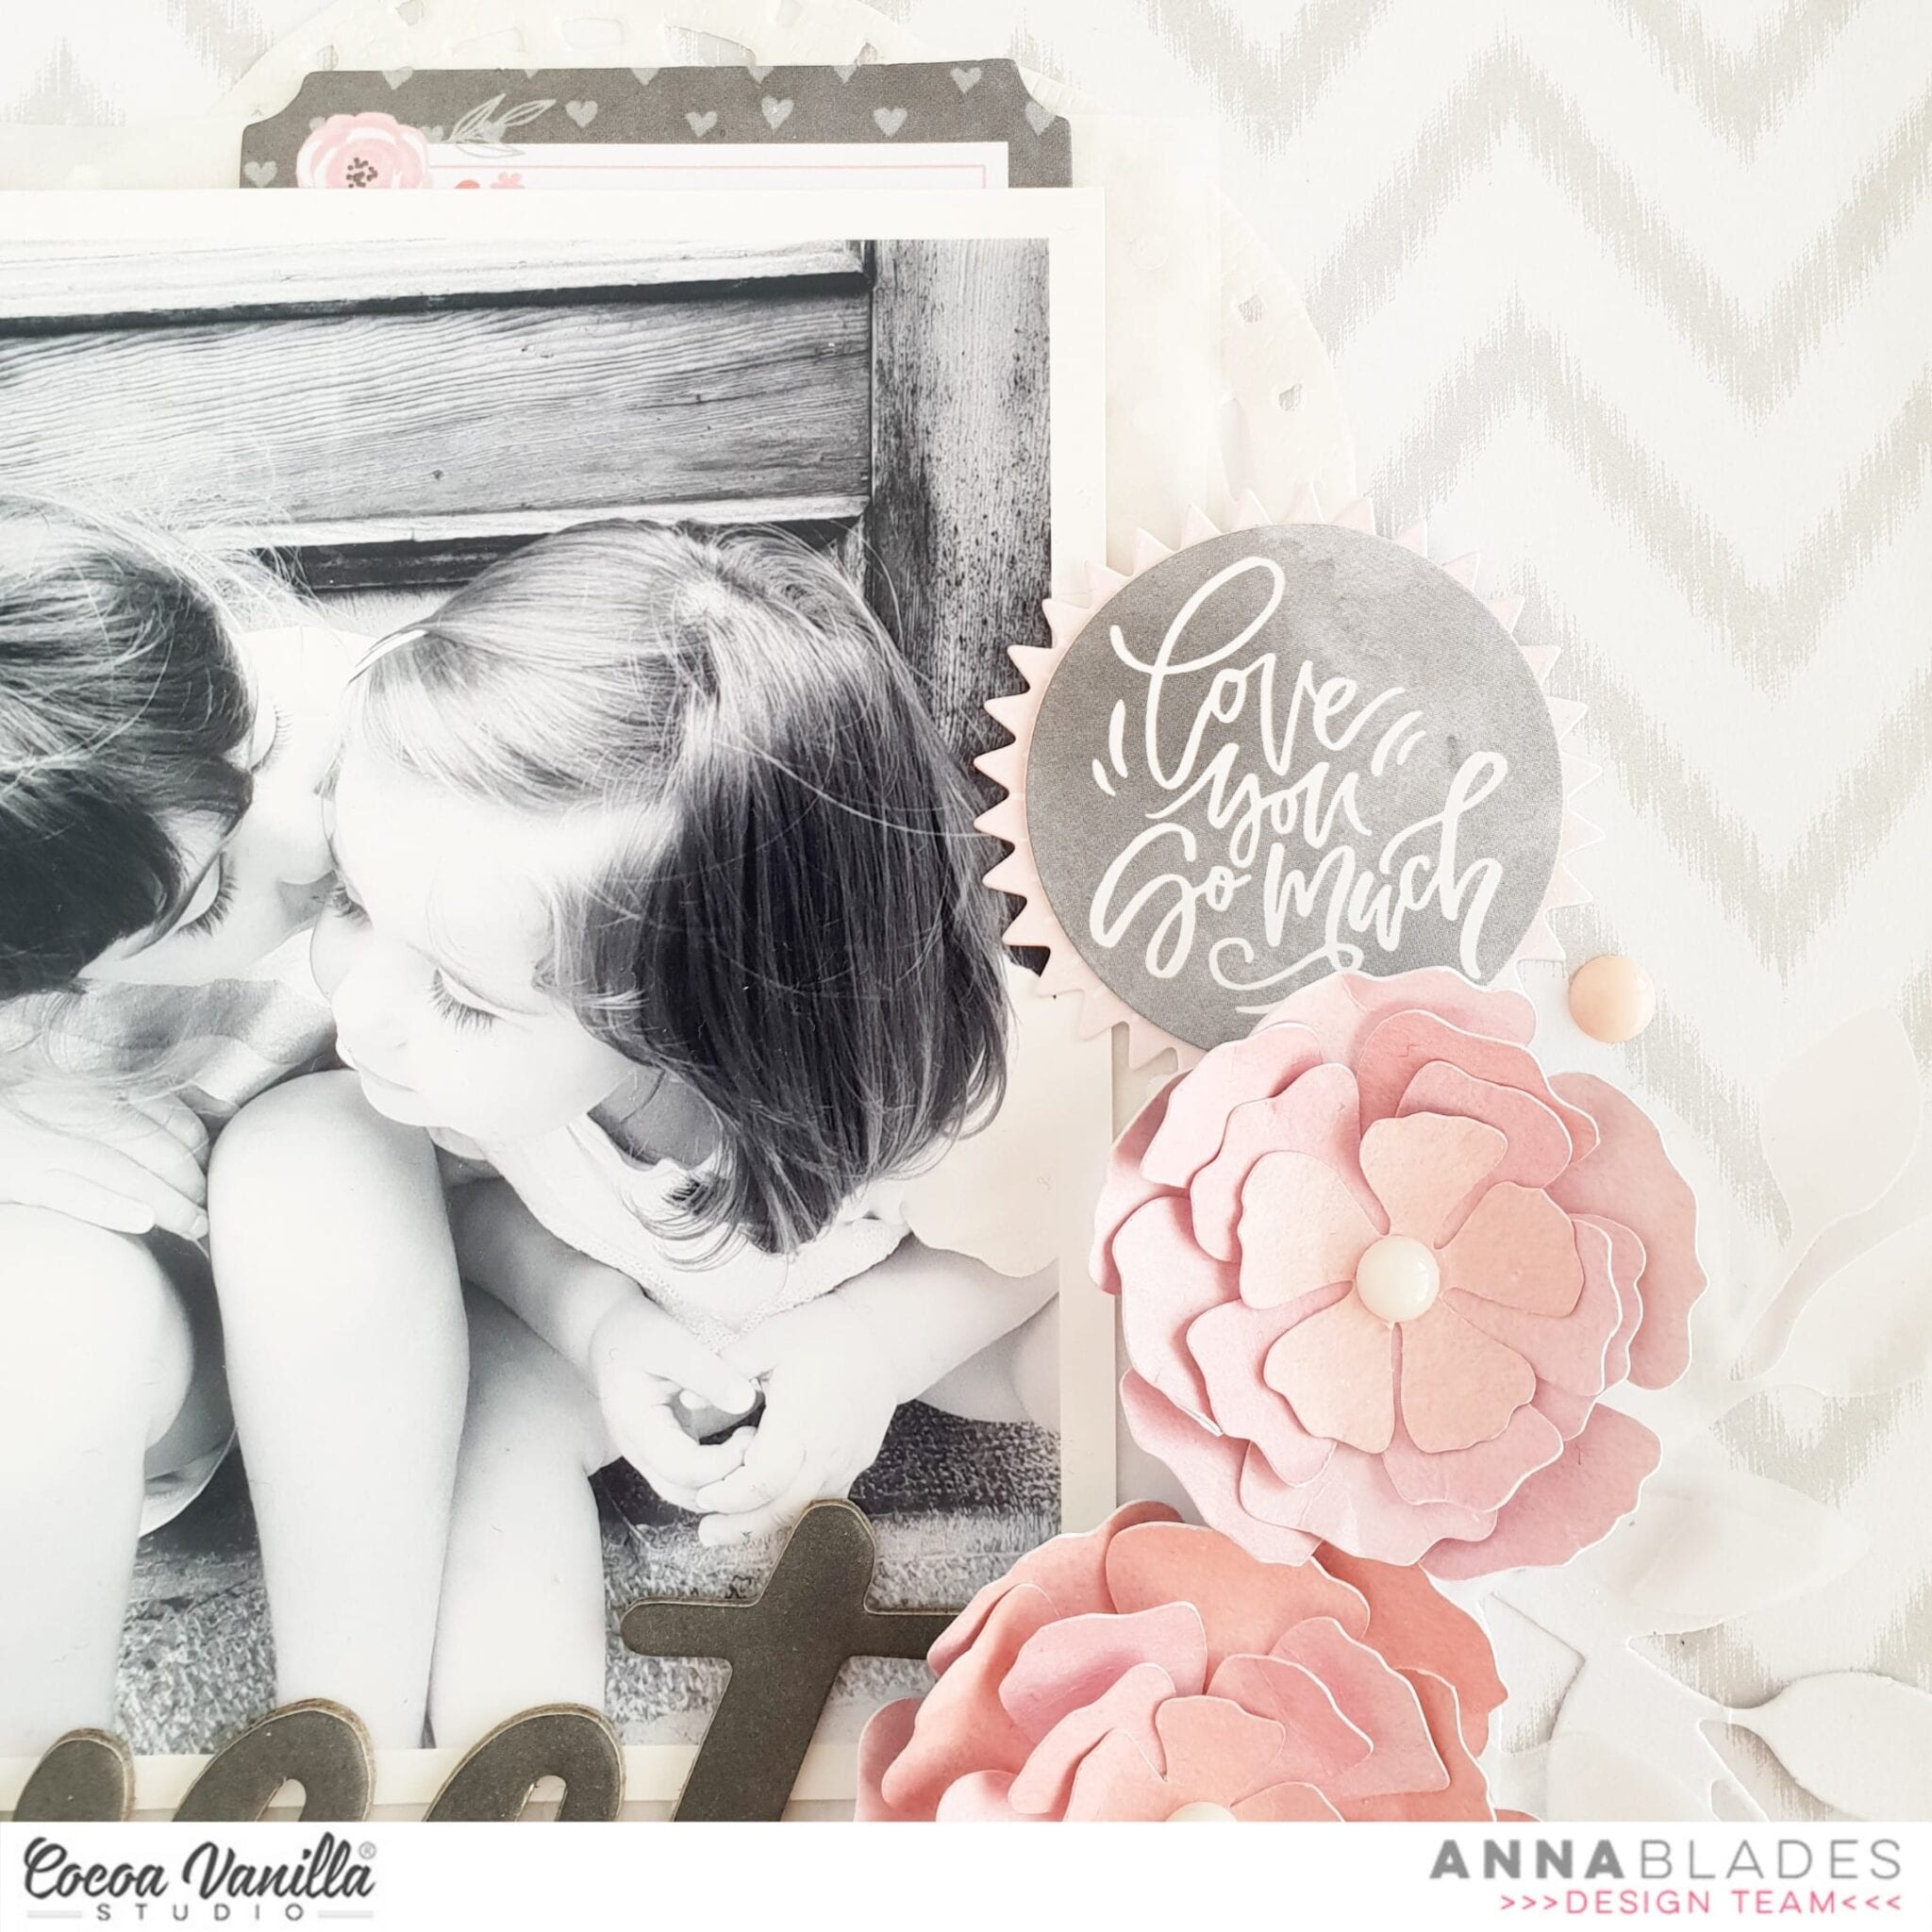
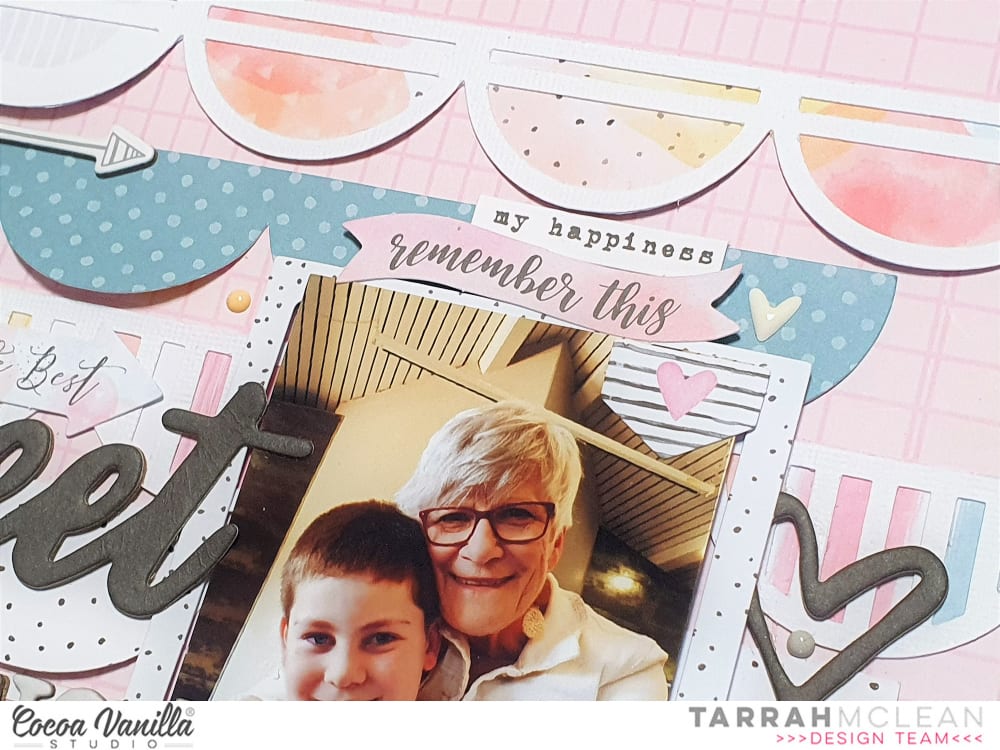
Behind the photo I put tissue paper with white polka dots. You can hardly see it, but I think it’s a nice delicate touch. I also added a doily and a label behind the photo.
On the right side of the picture I stacked two stickers from the sticker sheet, because the colors and the sentiment were perfect for the page.
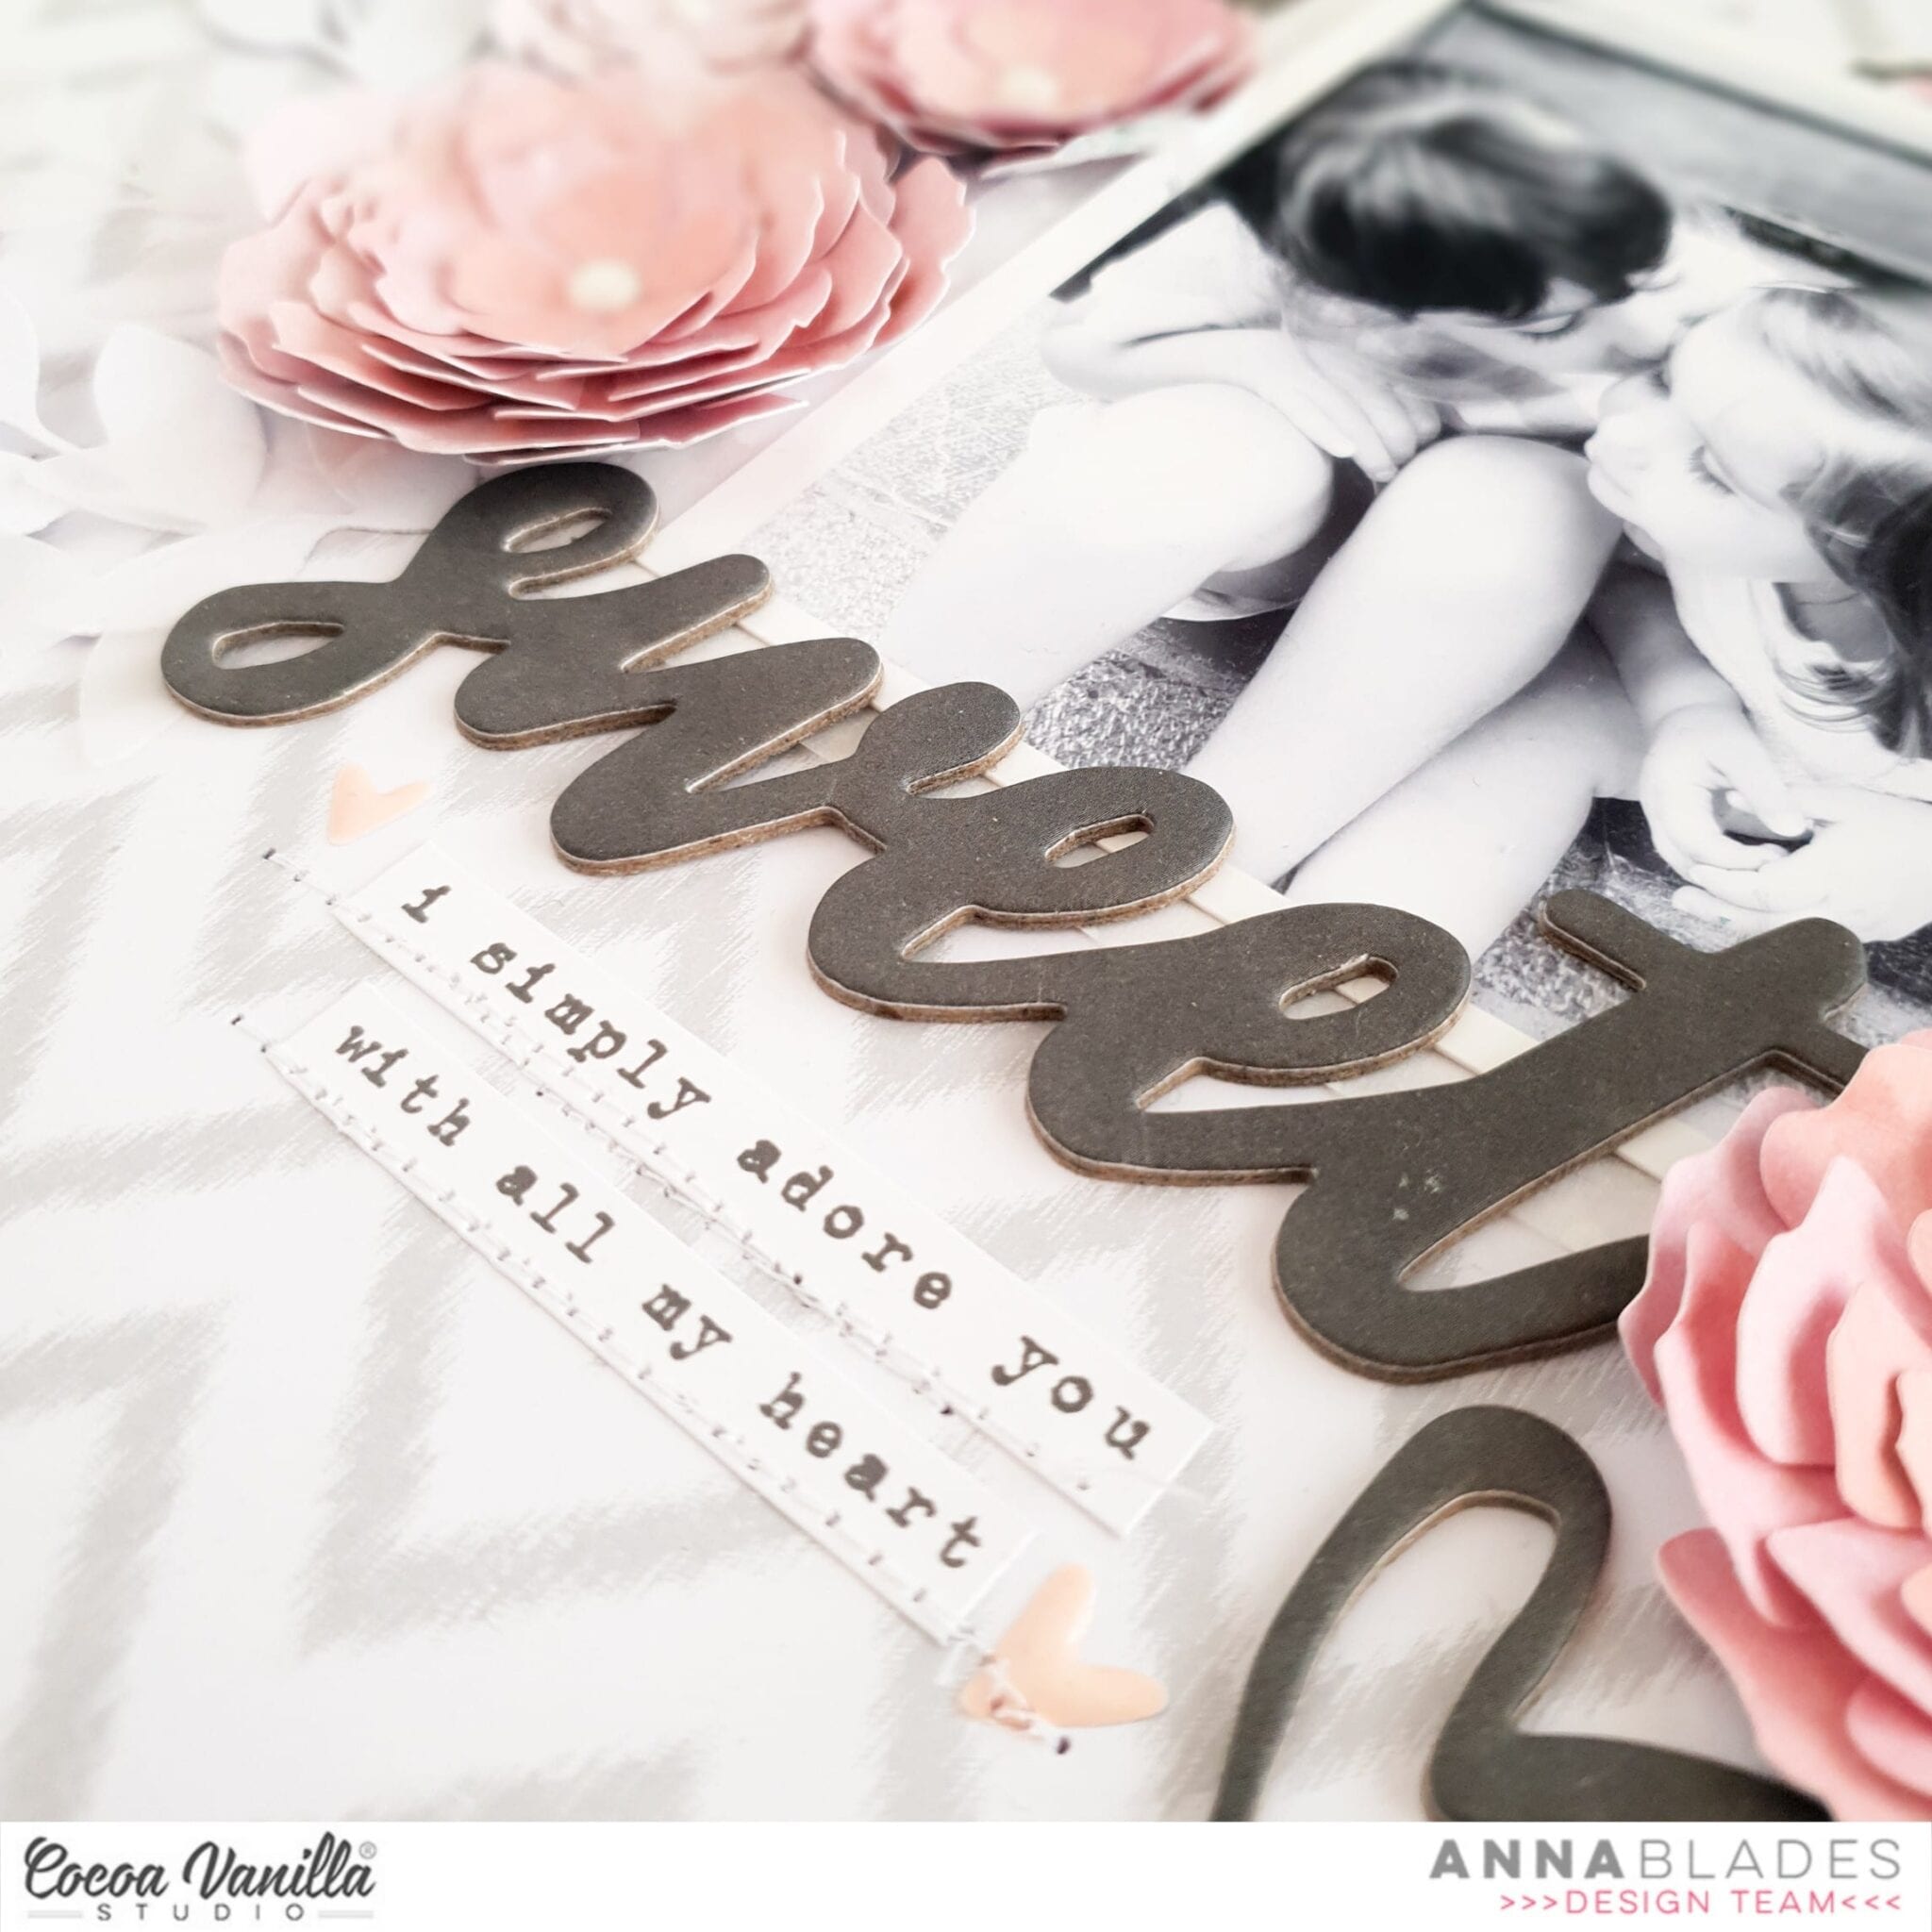
Like I did on my previous layout, I used one of the chipboard words for my title, but this time I chose it in black with the black outlined heart. Instead of journaling, I added two typewritten phrases from the sticker sheet with two heart shaped enamel dots on each side, and stitched them with my sewing machine.
The final touch was an adorable chipboard heart with tiny polka dots and a soft pink enamel dot on the upper left side of the photo.
I really hope you like it and inspires you to create a floral layout, which is always a winner.
Thank you so much for stopping by today! Take care and stay safe!
See you,
Anna
 I chose the
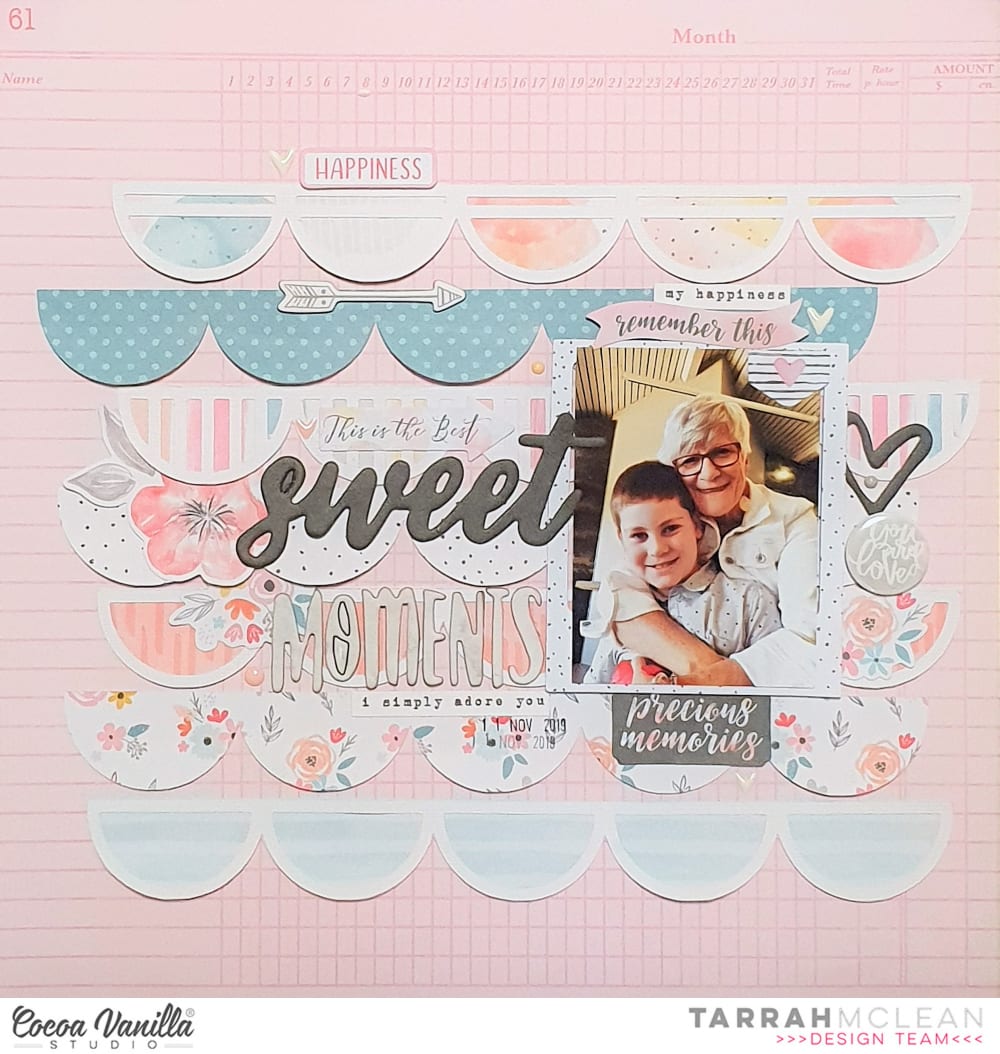
  My title is made up of the chipboard ‘Moments’ word from the chipboard elements pack and also the word ‘Sweet’ from the black chipboard titles pack. I placed both of these on the left of my photo, I like how they look overlapping the scalloped papers underneath. I added some of the floral cluster die-cuts around the page also, I like how they add some more colour and another element to the page.
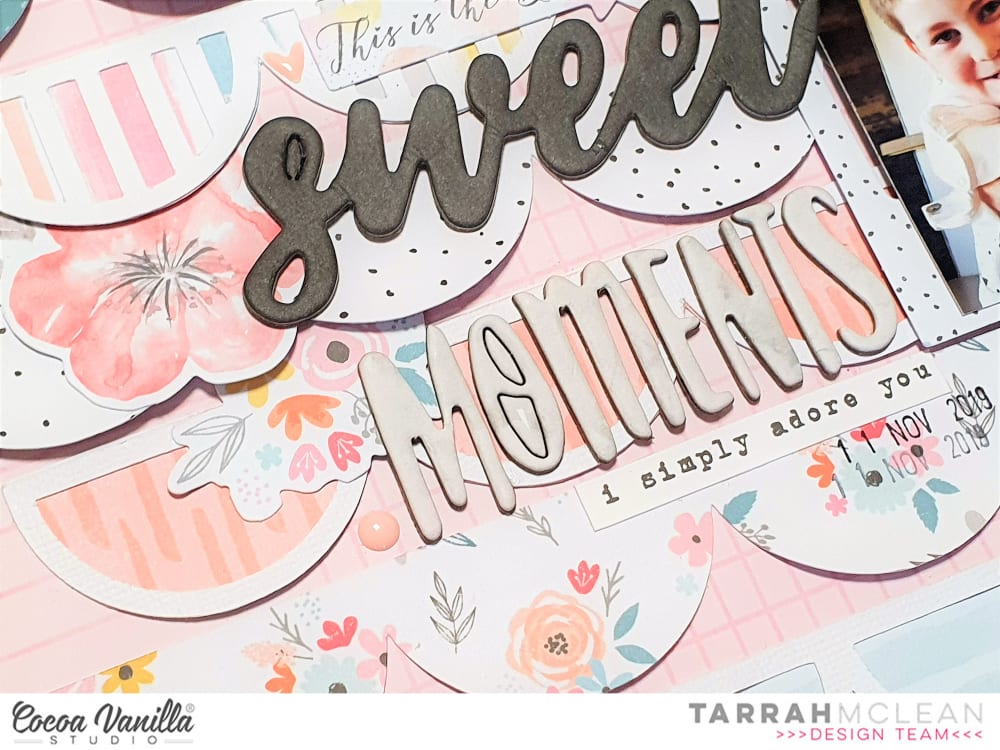


 I love the star die-cuts in the ephemera pack, I added the grey ones in 3 places to create a visual triangle on my page. I like how this takes your eye around the page. In between 2 of the stars I added some of the clear sticker stars, I like how this adds a bit more impact to the die-cut ones.
 Inside the large grey star, I added one of the large circle Authentic die-cuts, I used craft foam underneath it to raise it up, I like how it gives it shadow and dimension. I also added the ‘Epic’ die-cut title below my photo, this became my title for my page. The flairs are awesome in this collection so I added the ‘Let’s Go’ one on this page since the photo is my son getting into the car! I also added the ‘Admit One Adventure Pass’ ticket just above the flair also.


