The Good Life | Unforgettable Collection | Guest Designer Danni Visser
Hi everyone! My name is Danni, and I’m so excited to be here today sharing my first layout as guest designer using the exquisite new Unforgettable collection. For those of you that don’t know me, I have both a son and a daughter that I love to scrap, and while I was immediately drawn to the feminine floral elements, for my first layout I really wanted to highlight the versatility of this collection by creating a layout for my boy.

I’m using a beach photo for this layout, so I began by tearing large sections of the 12×12 papers to create a bit of a beachy scene, using Natural Beauty, Garland and Story Teller for the sky. I tore Garland in small sections to create a ‘wavy’ effect. For some more waves I cut some wavy shapes on my Silhouette, inked the edges with blue ink and machine-stitched them down using some wavy and squiggly lines. I wanted this to feel natural and organic, so I wasn’t trying to make the stitching perfect.

Next, I mixed some coarse texture gel with gold acrylic paint to create a really fun sandy texture and scraped that onto the page in different places along my ‘boardwalk’. I really love the fun texture this provides! To finish off my background I used some turquoise, gold and white liquid inks to splatter all around the page.

I broke into the 6×8 paper stack next, using the black and white type paper and a thin border of the peach floral to add a bit of colour. I popped my photo up on foam to create some dimension, then added my title using the gorgeous foam title stickers.

I went to town with embellishing, using a combination of the embellishment pack, accessory stickers, clear stickers and a flair button, plus a couple of the adorable hearts from the foam titles stickers to create three clusters around my page. I popped a few of the embellishments up on foam to create some visual interest. I wanted another pop of the peach colour, so I hand cut some starfish from the peach paper and added some dots with a white gel pen, then added one to each embellishment cluster.

To finish of the layout, I added my date on a label sticker below the title, journaled below the title with my black gel pen and added a sprinkle of the enamel dots to each embellishment cluster.

I’m in love with this finished page! I really hope you enjoyed joining me today, I can’t wait to create some more beautiful pages using this incredible collection.
Danni x
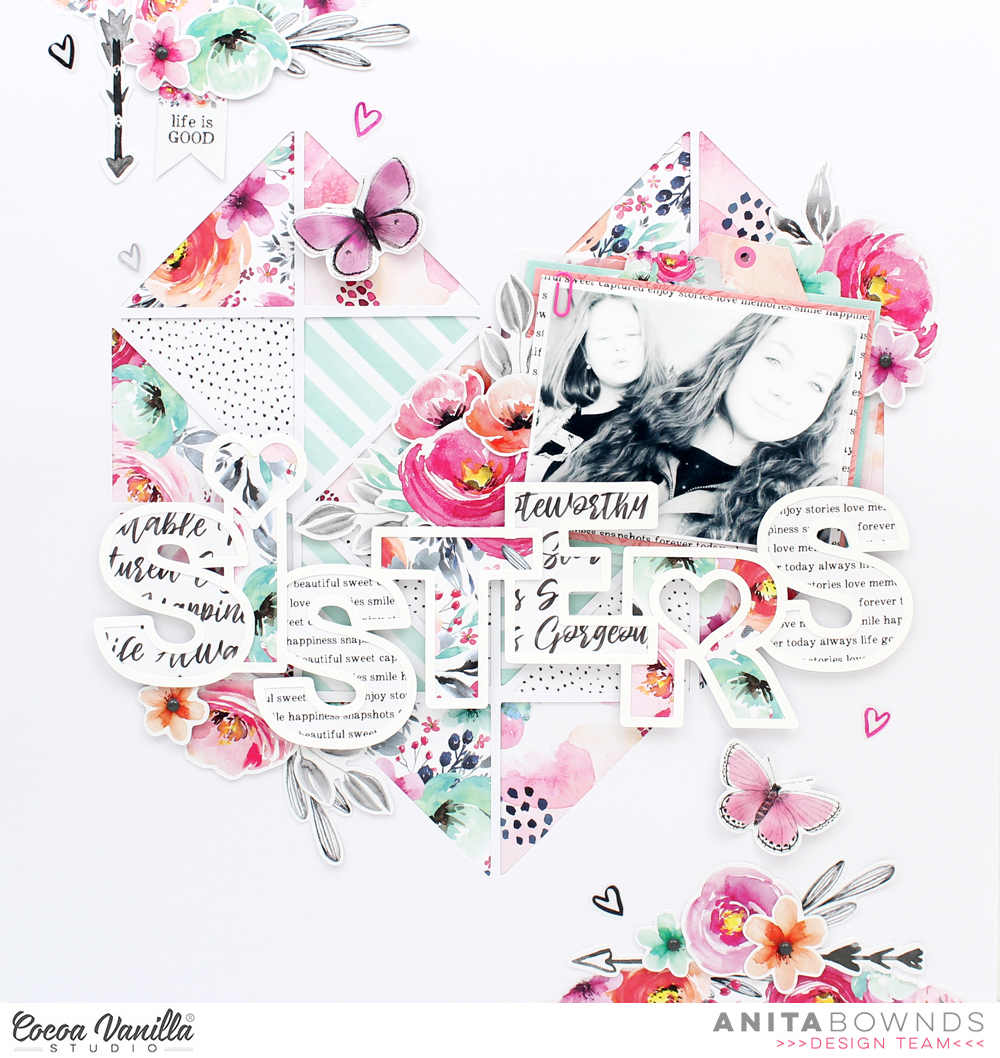


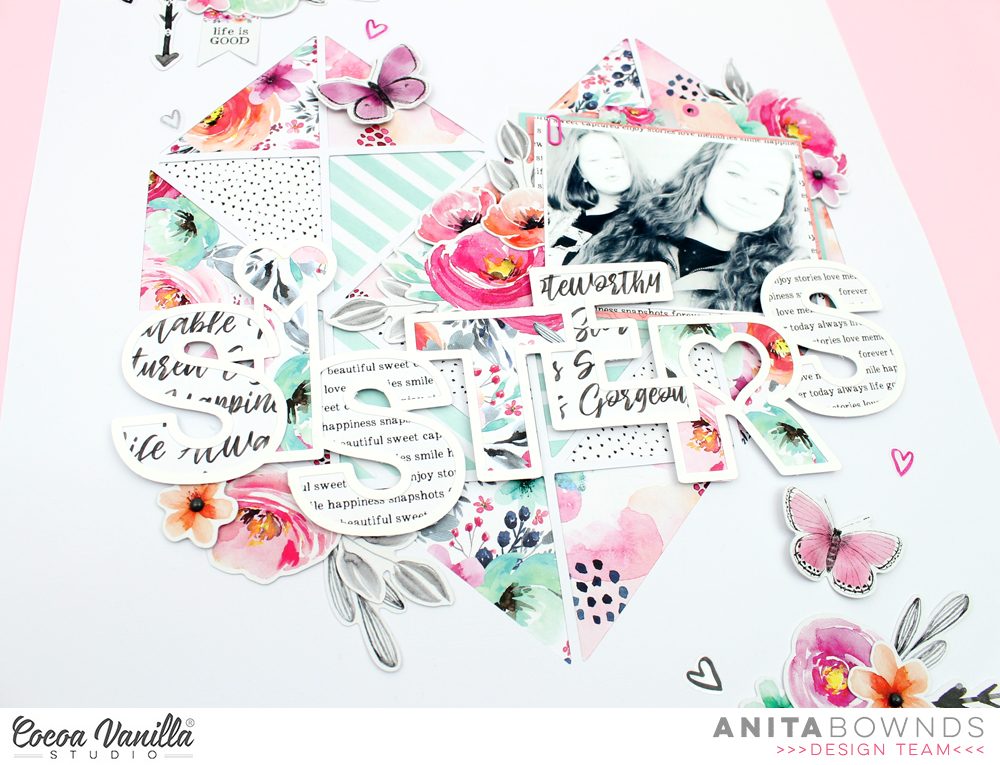
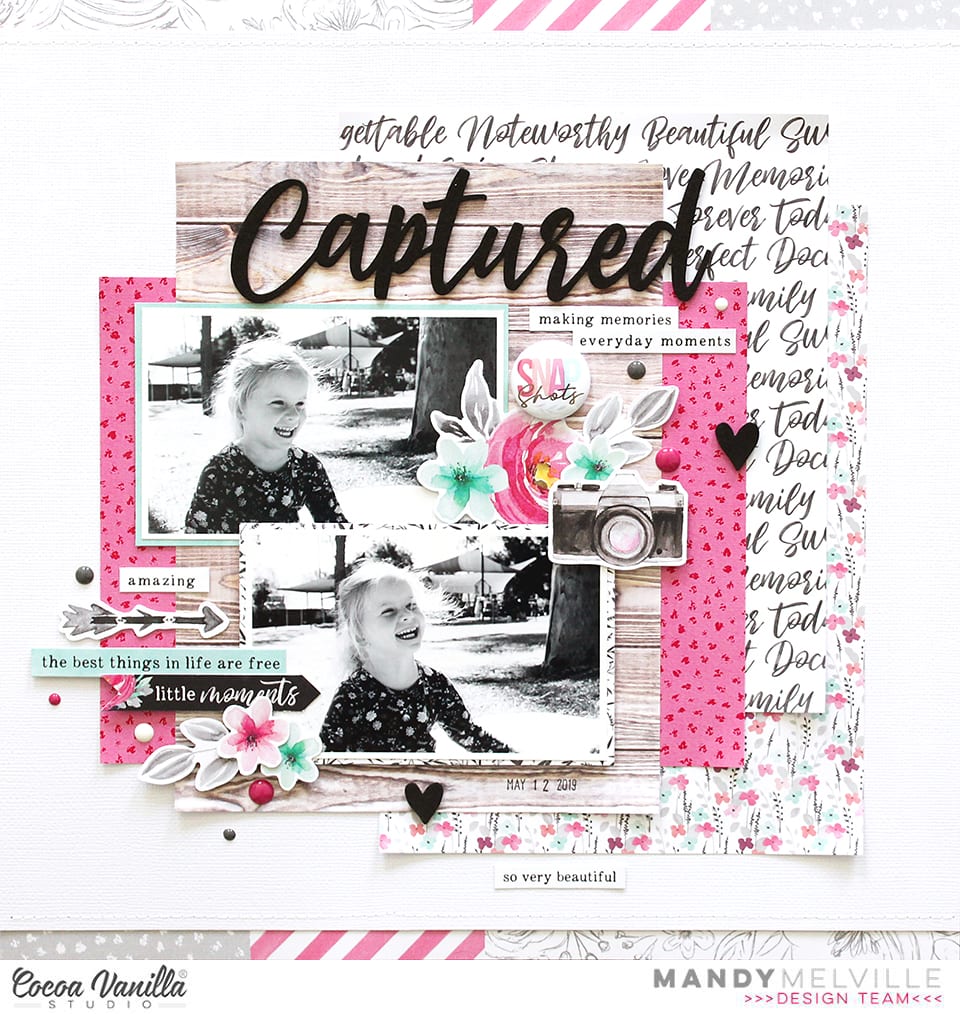


 I decided to cut a strip of the stripe side of the ‘Sprightly’ paper and placed it vertically down a plain white cardstock background. I then trimmed the white cardstock down so that I could use the pink side of the ‘Unscripted’ paper as a border. I added some machine stitching down each side of the vertical strip. I added some layers under my photo including the floral paper from the ‘Pretty Bits’ paper and one of the die-cut frames, I popped these all up using craft foam.
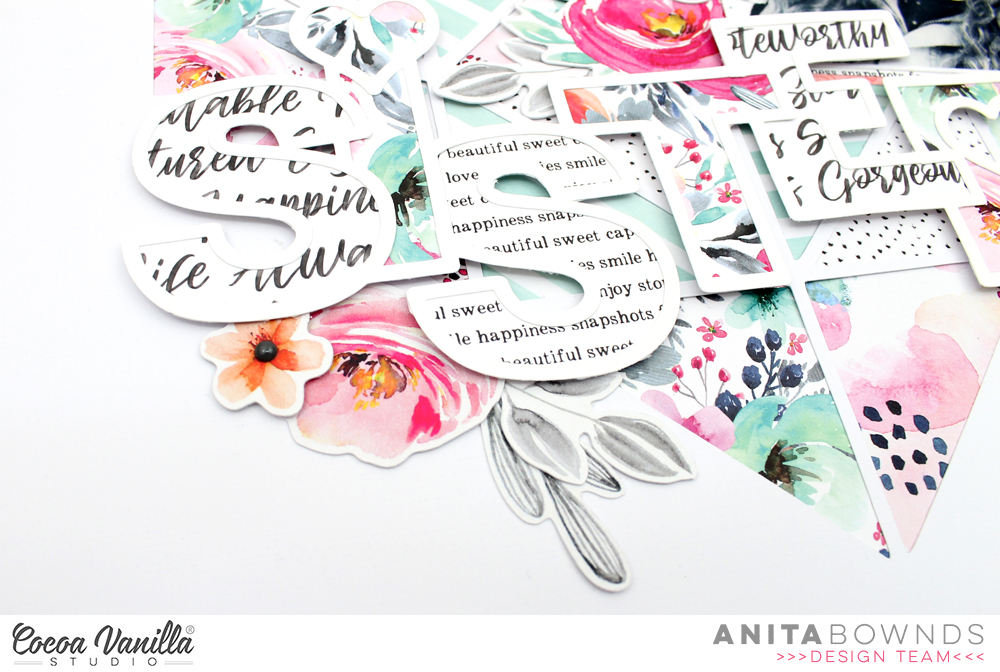
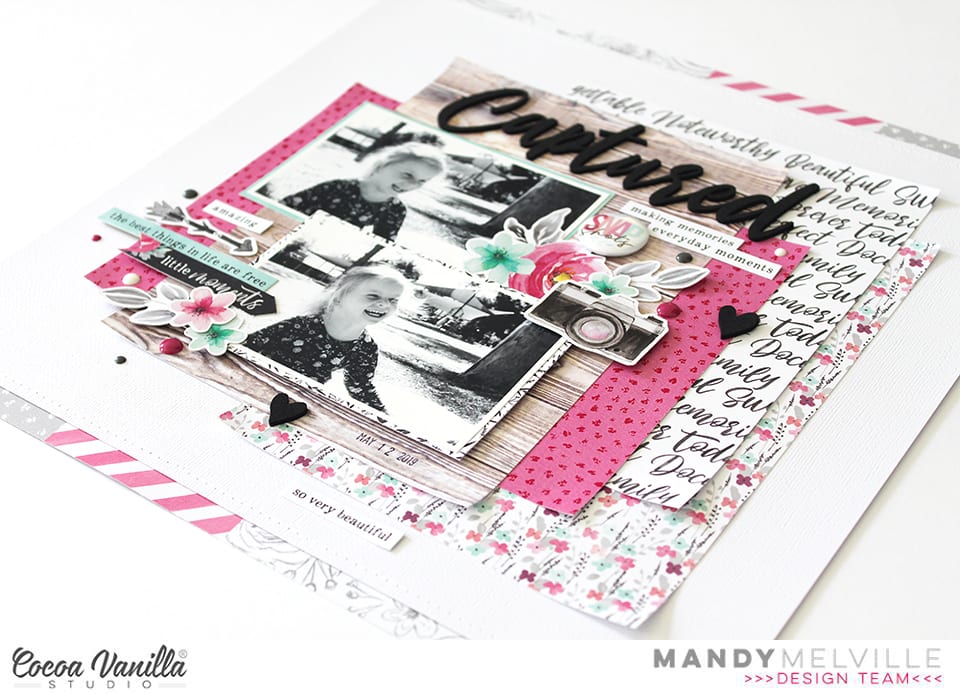
  I tucked in one of the tab stickers both at the top and bottom of my photo from the Accessory sticker sheet. As you can see in the detail photo above, I used some of the gorgeous new foam words as my title! They are gorgeous and aren’t too sticky, perfect if you aren’t sure of placement, they are easily repositionable which is very handy for me! I also added one of the gorgeous bows and a few other embellishments finish off this side of the layout.
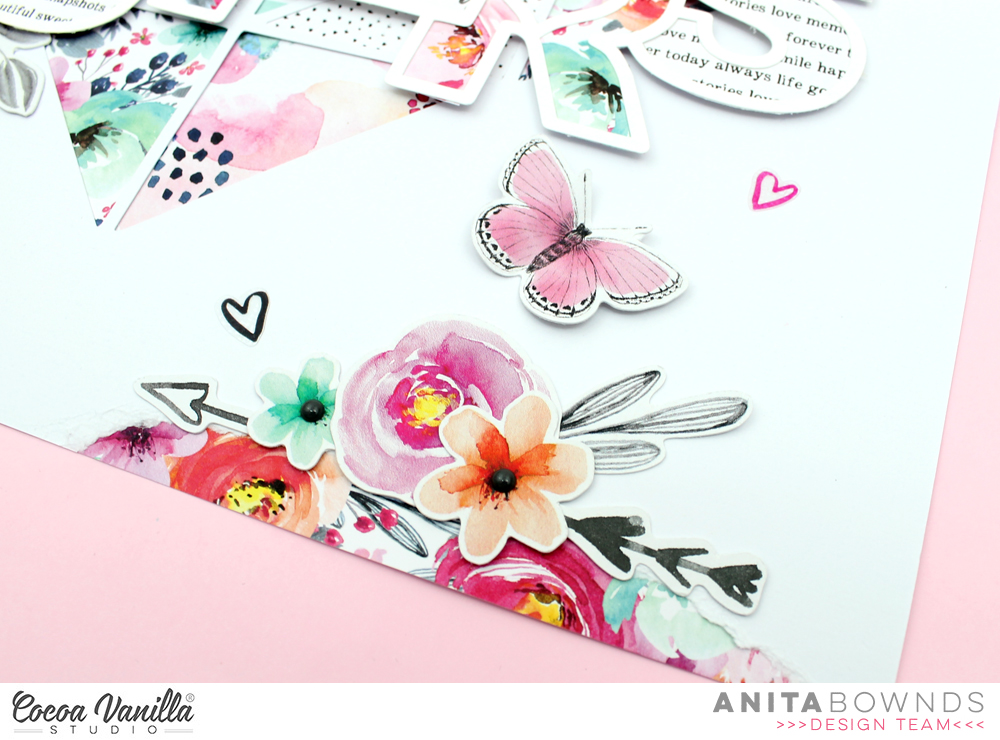
 On the left hand side, I added one of the cute banner stickers and tucked in some of the gorgeous floral die-cuts. I also layered one of the flair buttons to the top of one of the florals. A few other small embellishments like the clear stickers and enamel dots finish off this side. One thing I wanted to point out in the floral die-cuts is that gorgeous texture you can see in the detail photo below. I just love that not only are there beautiful colours in this collection but the texture is awesome too.


