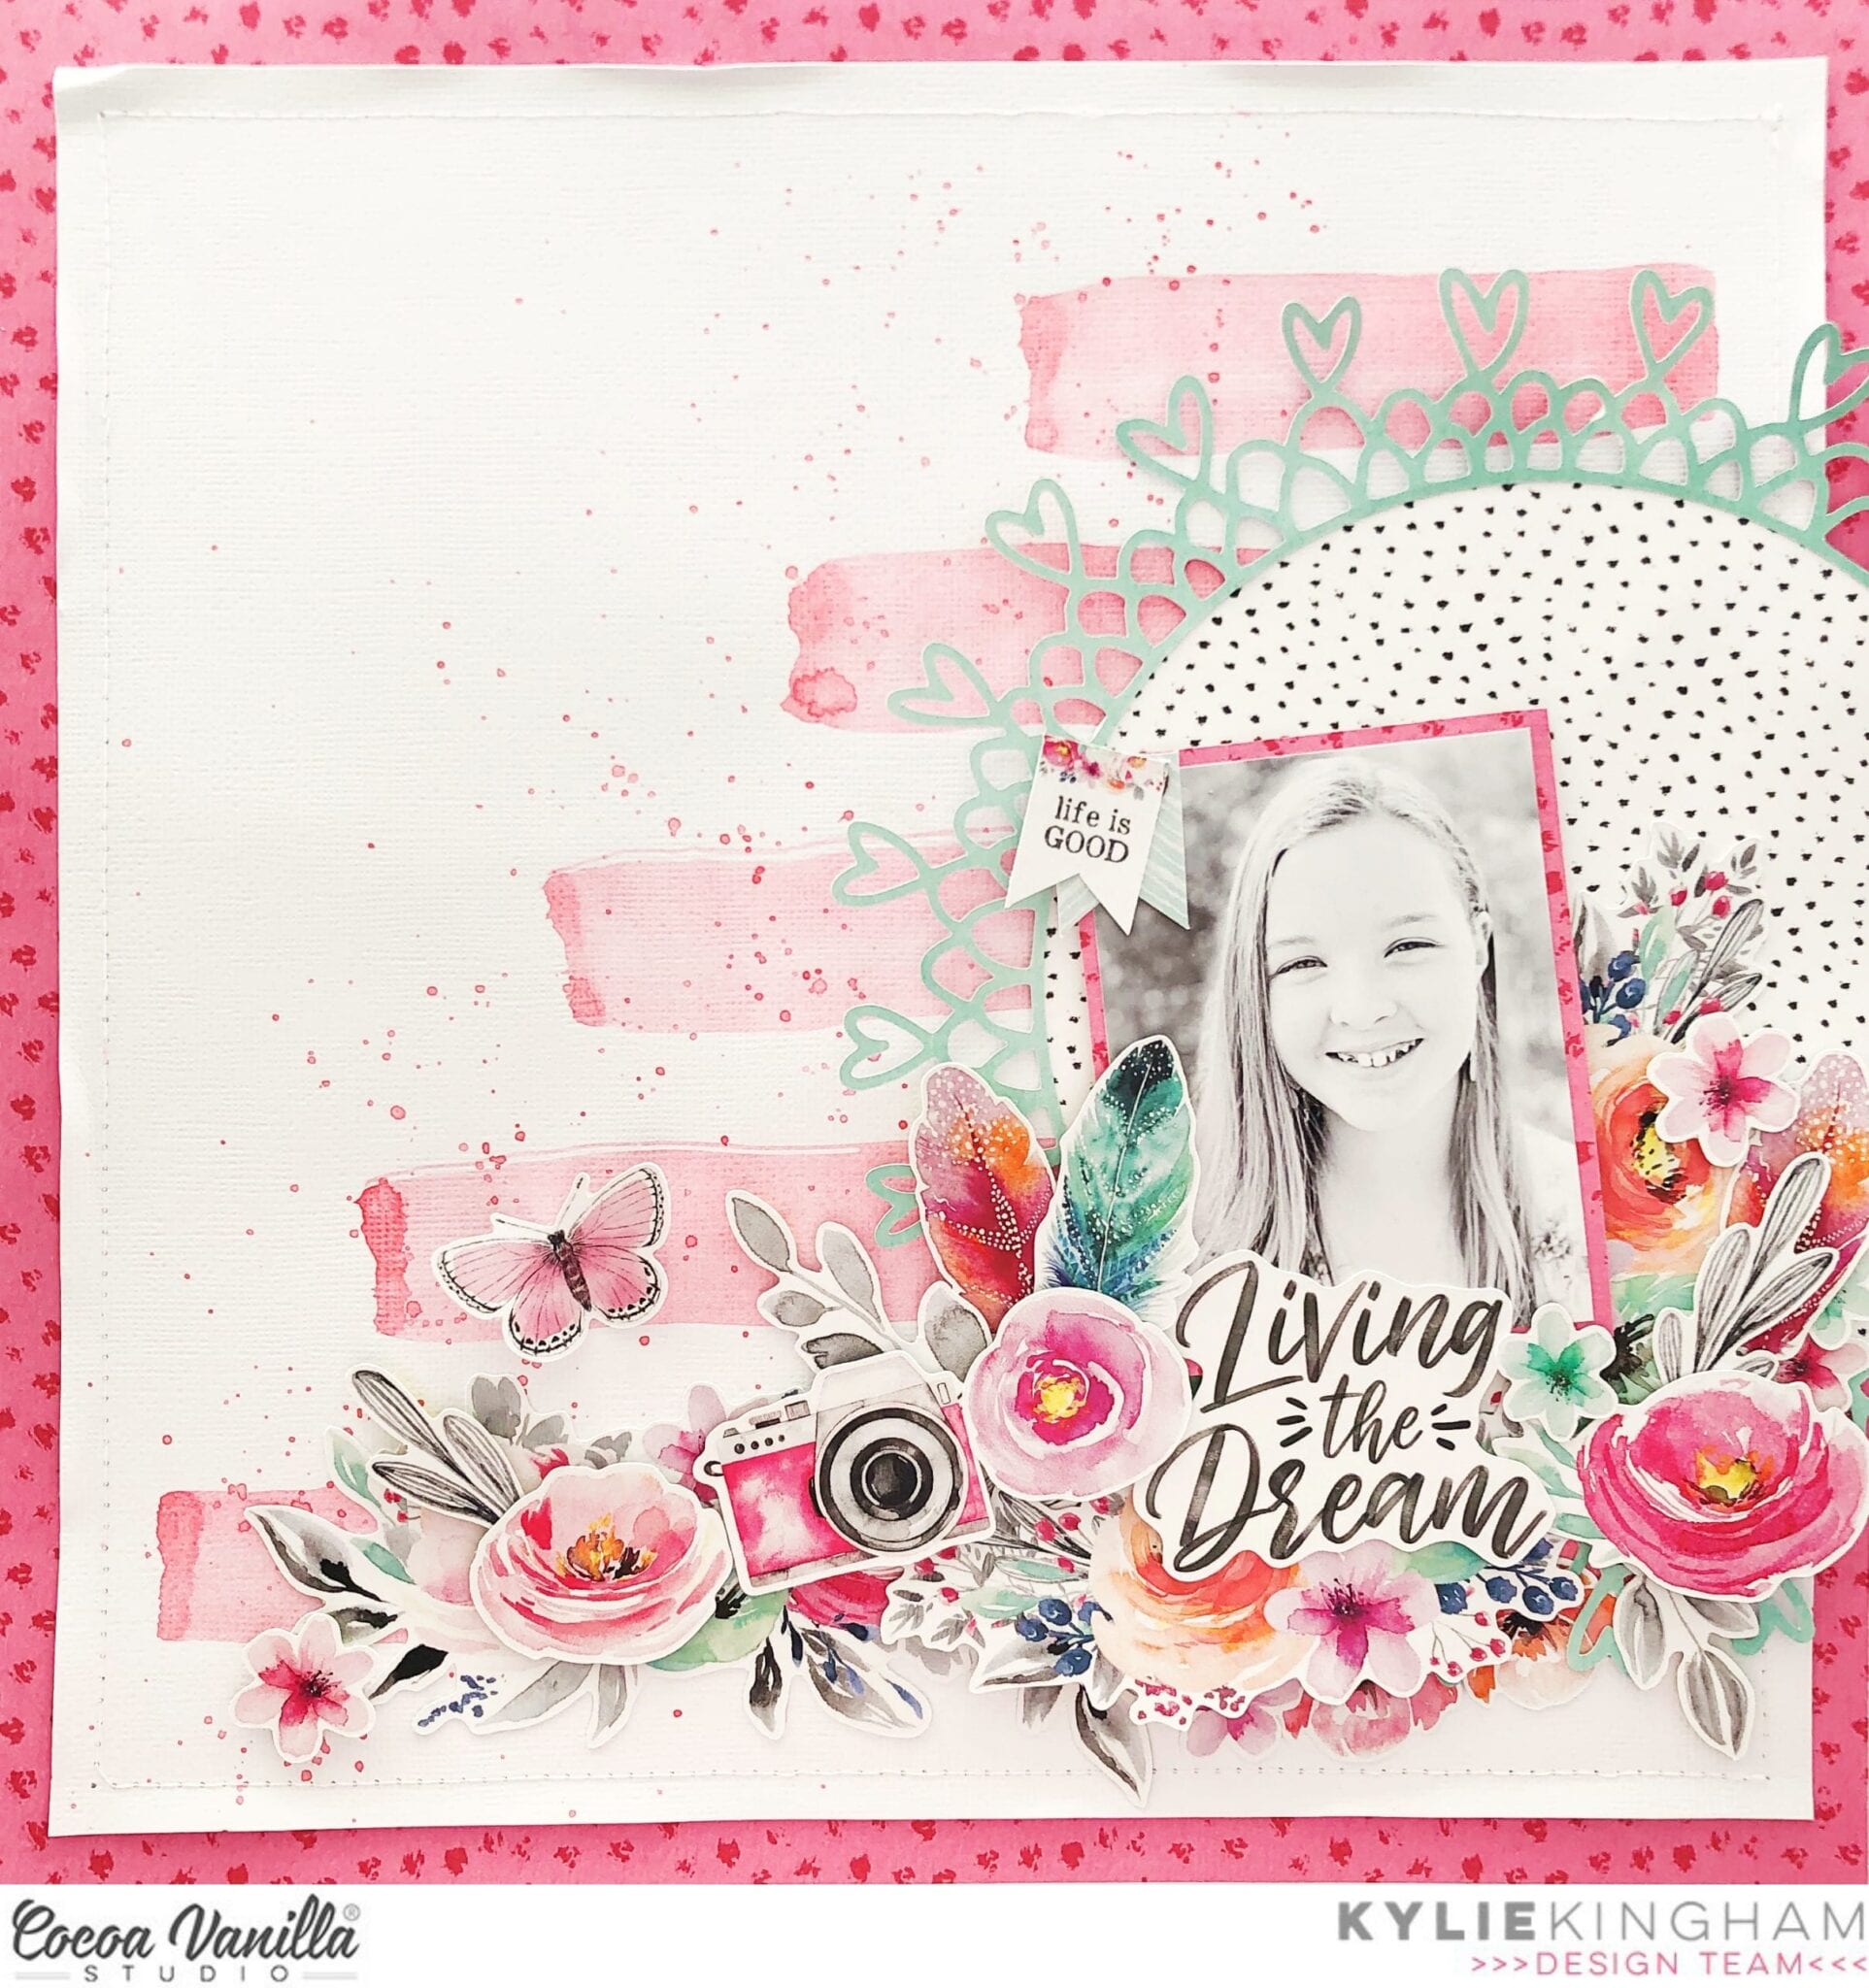
Hey friends! It’s Kylie back with you on the blog today, with a new layout to share! My theme for today’s project was ‘Think Pink’……..um yes please! So with that in mind I couldn’t go past creating with the beautiful ‘Unforgettable’ collection. There are so many pretty pink elements in this range as well as lots of flowers so I had no trouble bringing my completed work together.
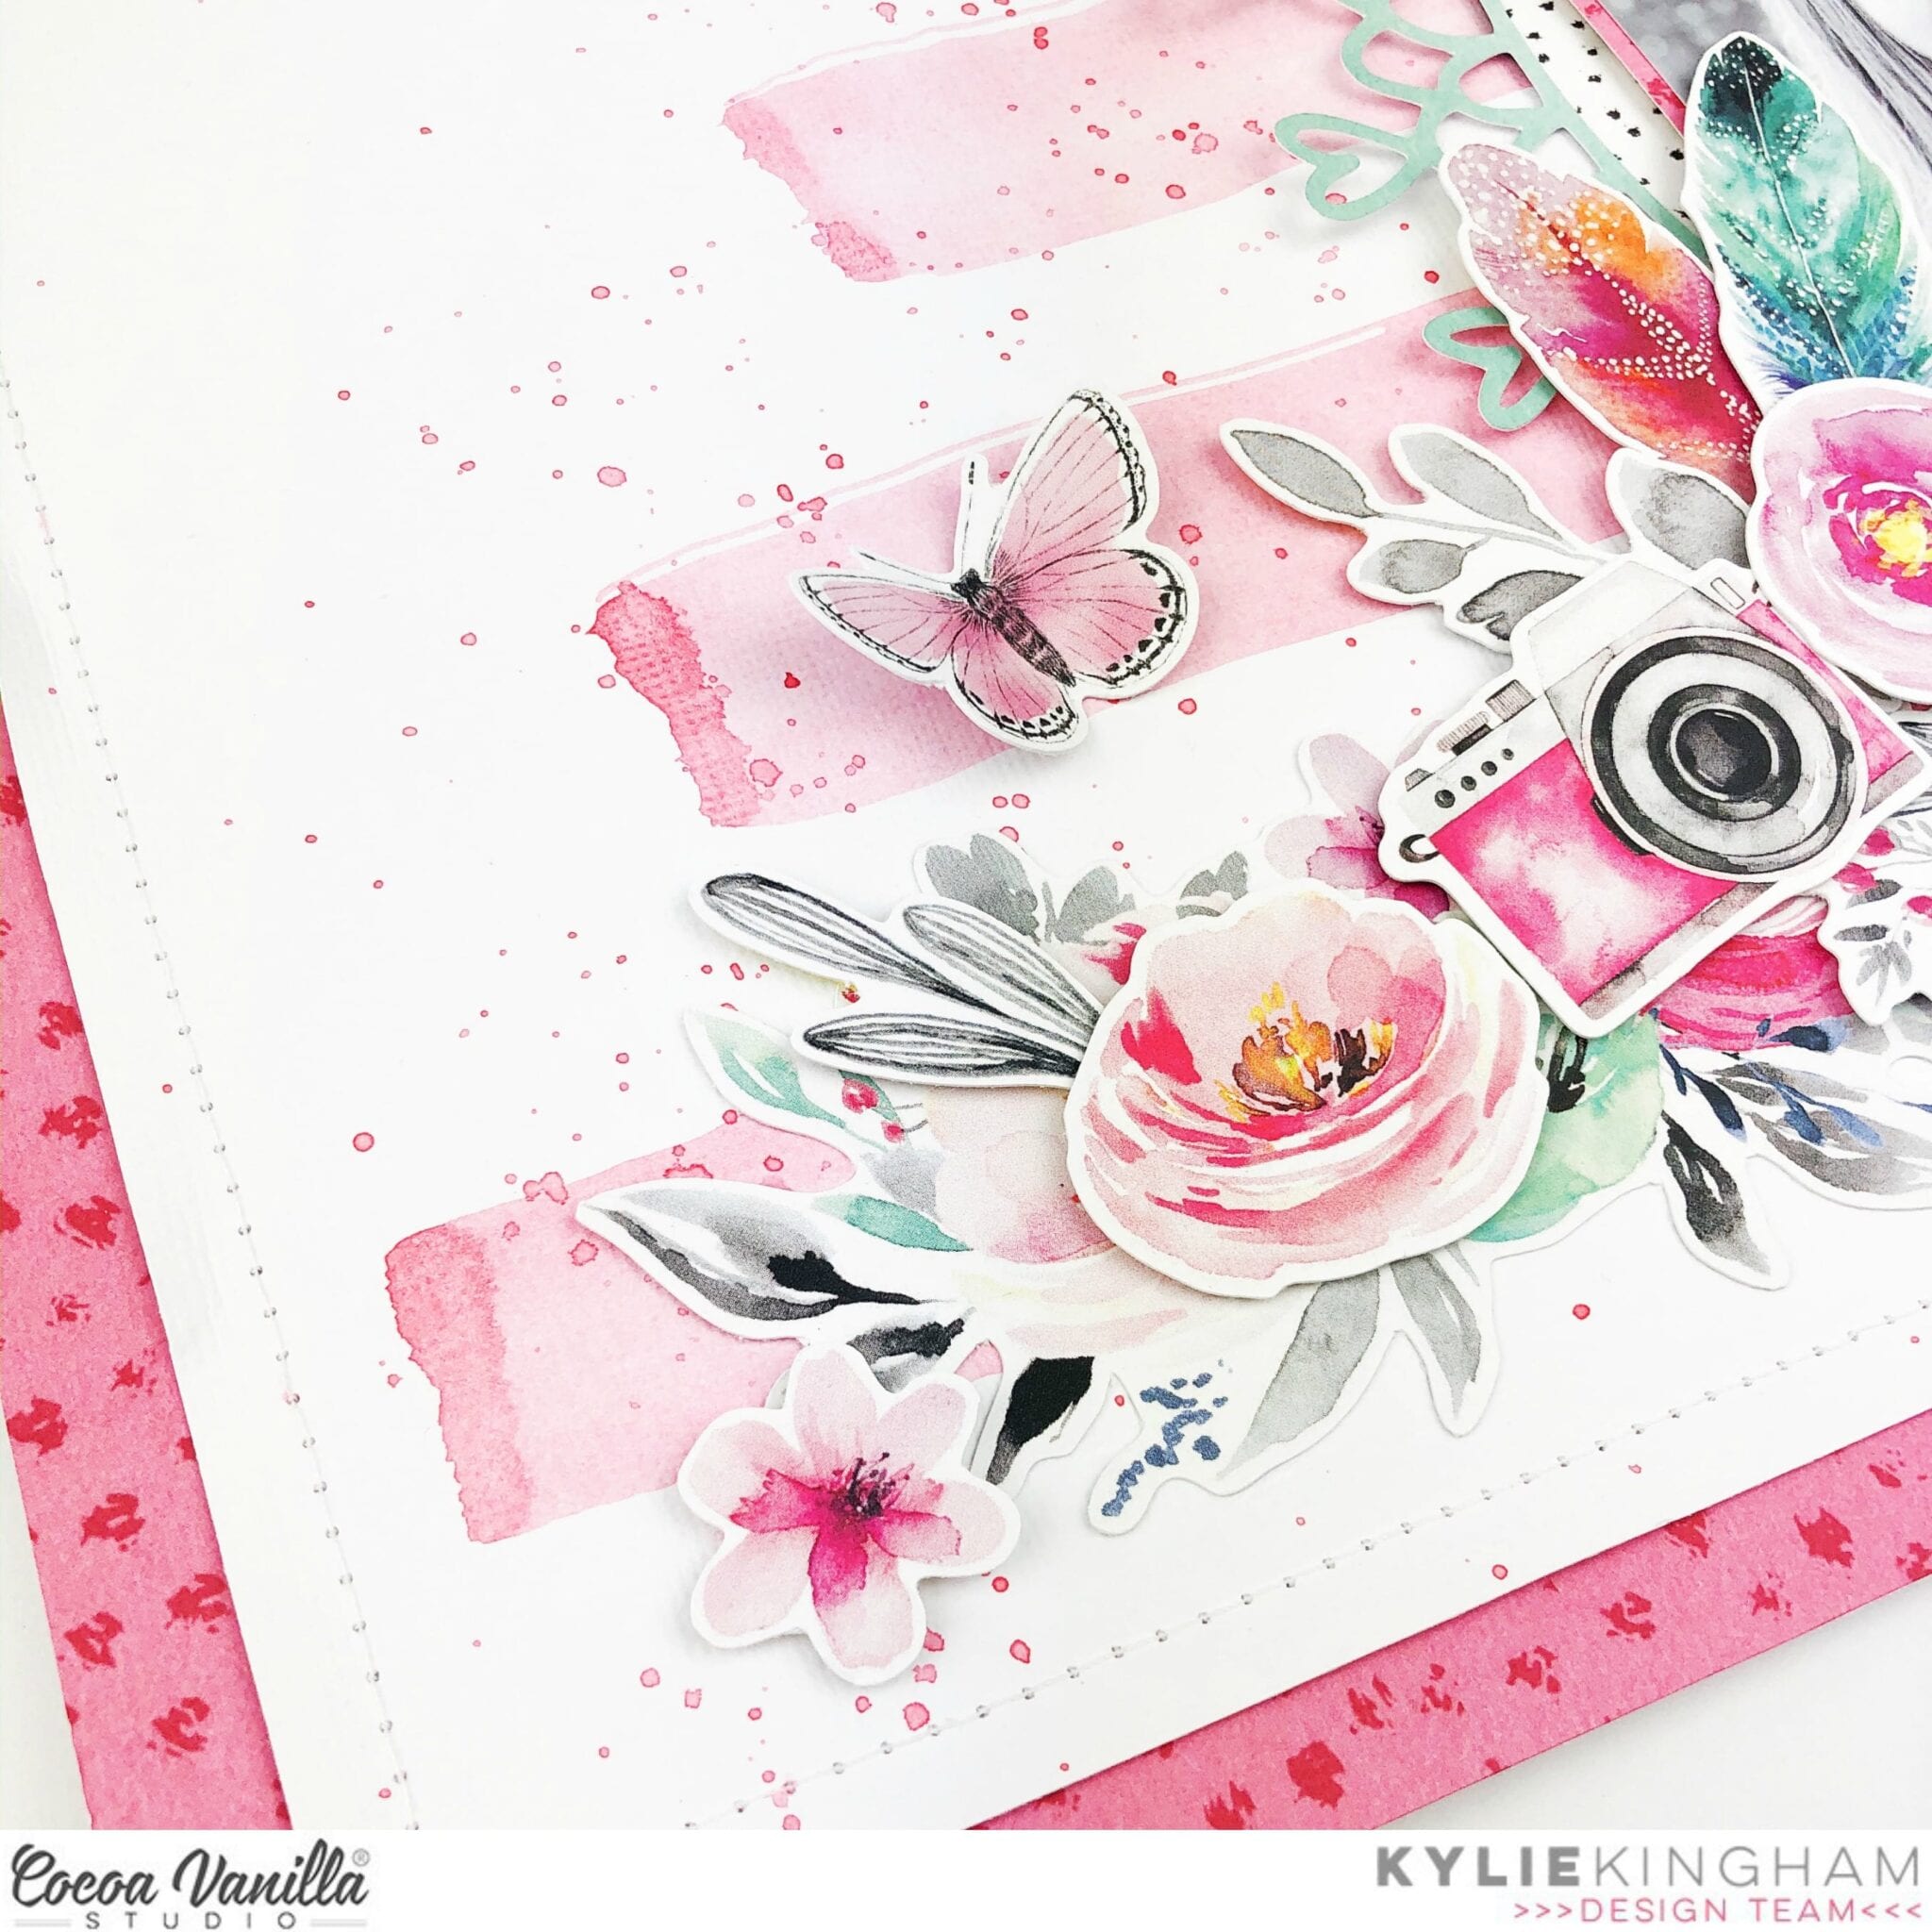
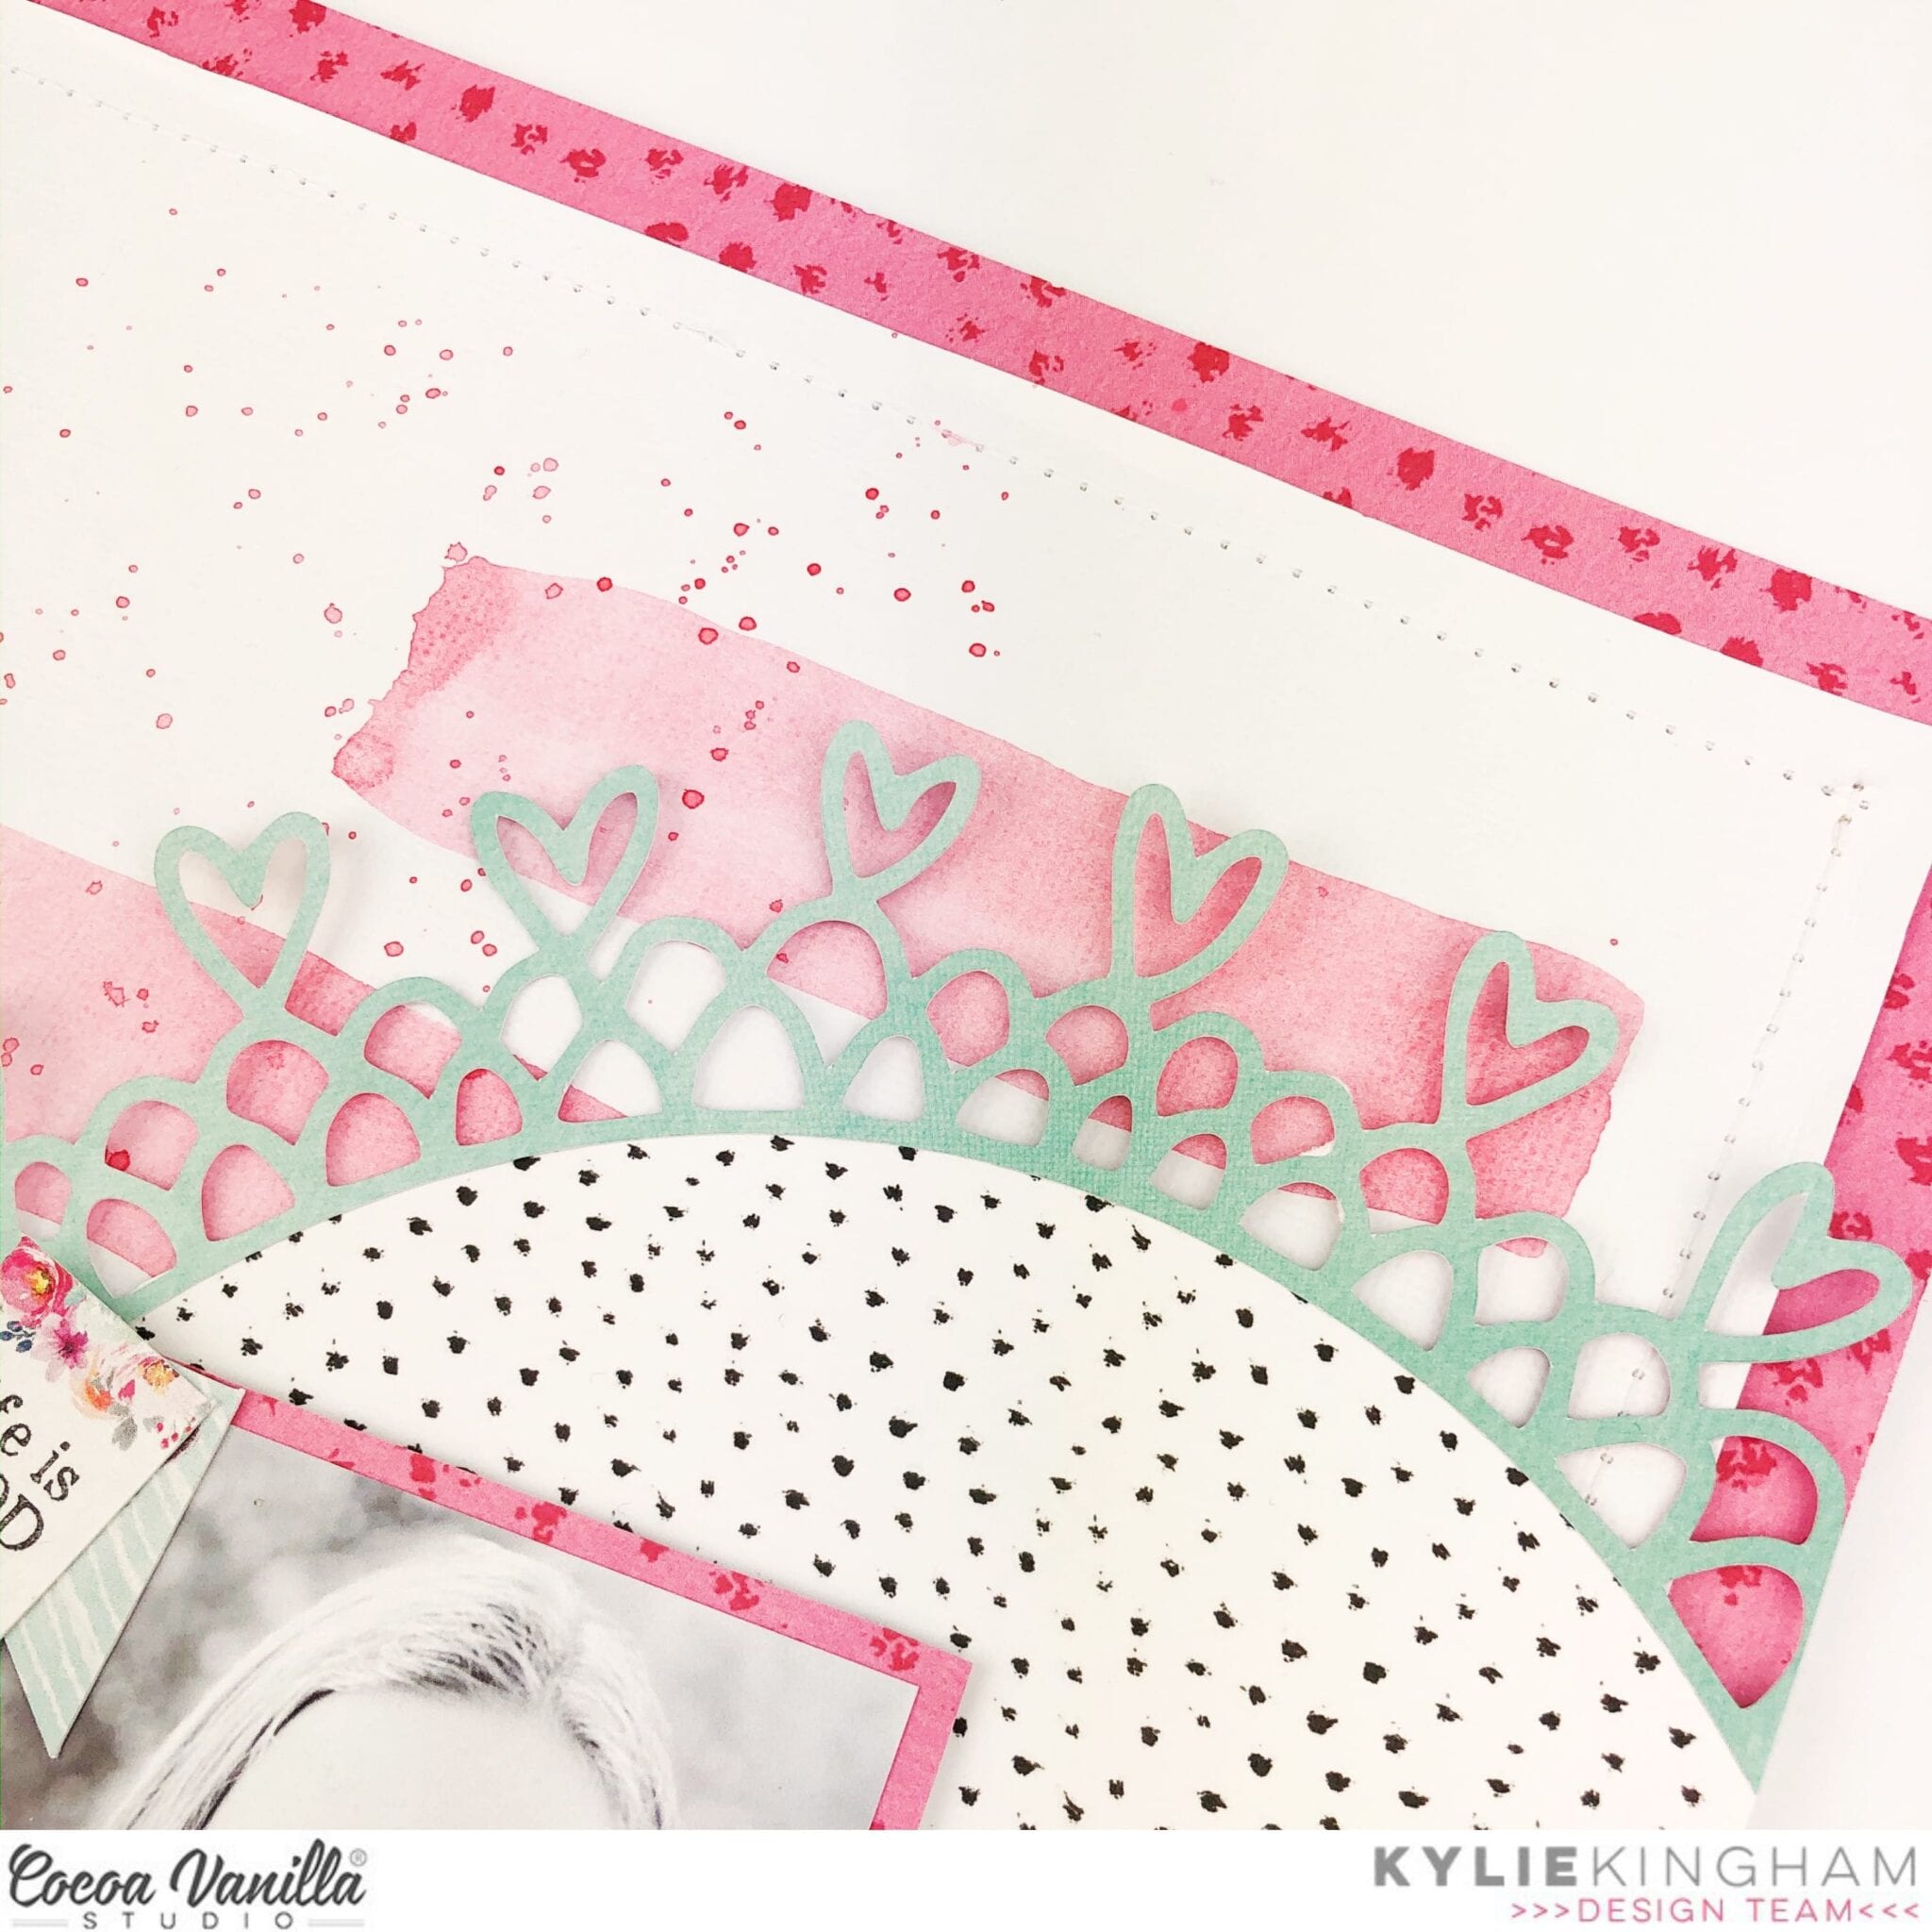
I decided to work with a white background and used the UNSCRIPTED paper as a border piece. Using some paint from my stash I created a simple watercolour background by painting some stripes with a wide paint brush and finishing with some random splatters. Some machine stitching was added around the border for texture as well.
A special feature of my layout is the beautiful heart wreath cut file I used which was designed by Cut To You. You can find these freebie cut files in store HERE. I backed the frame with some of the STORY TELLER paper.
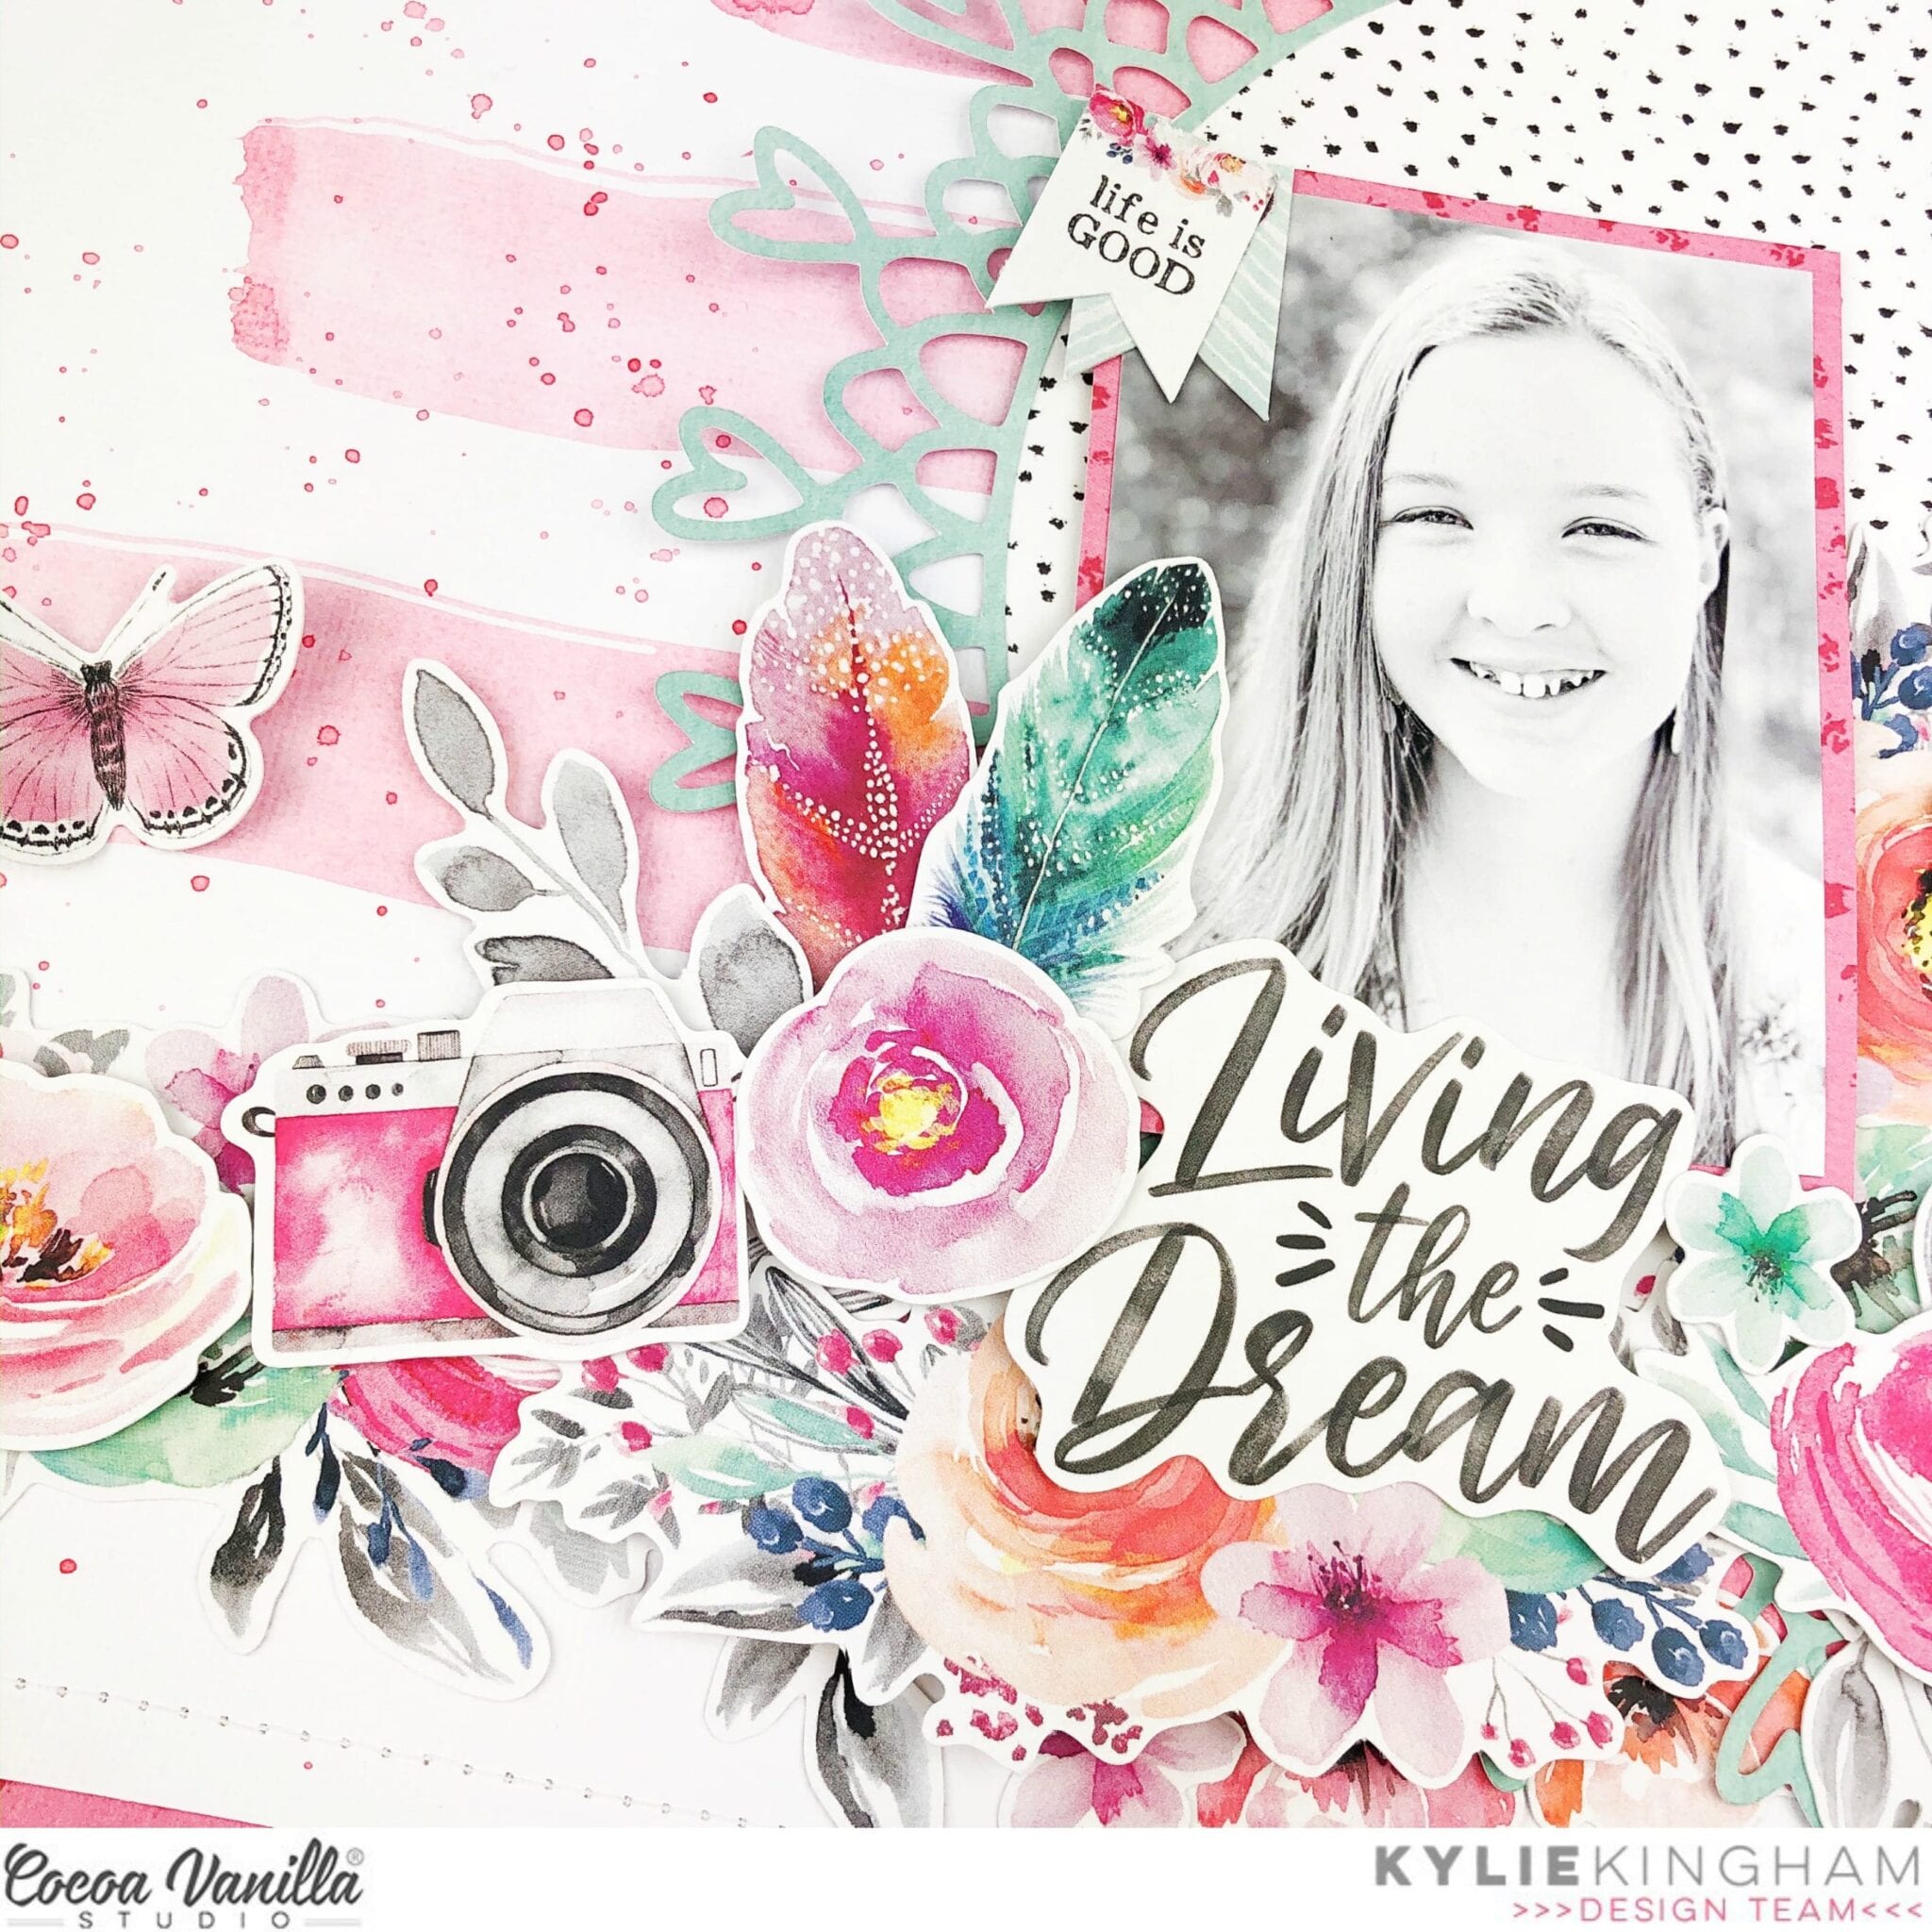
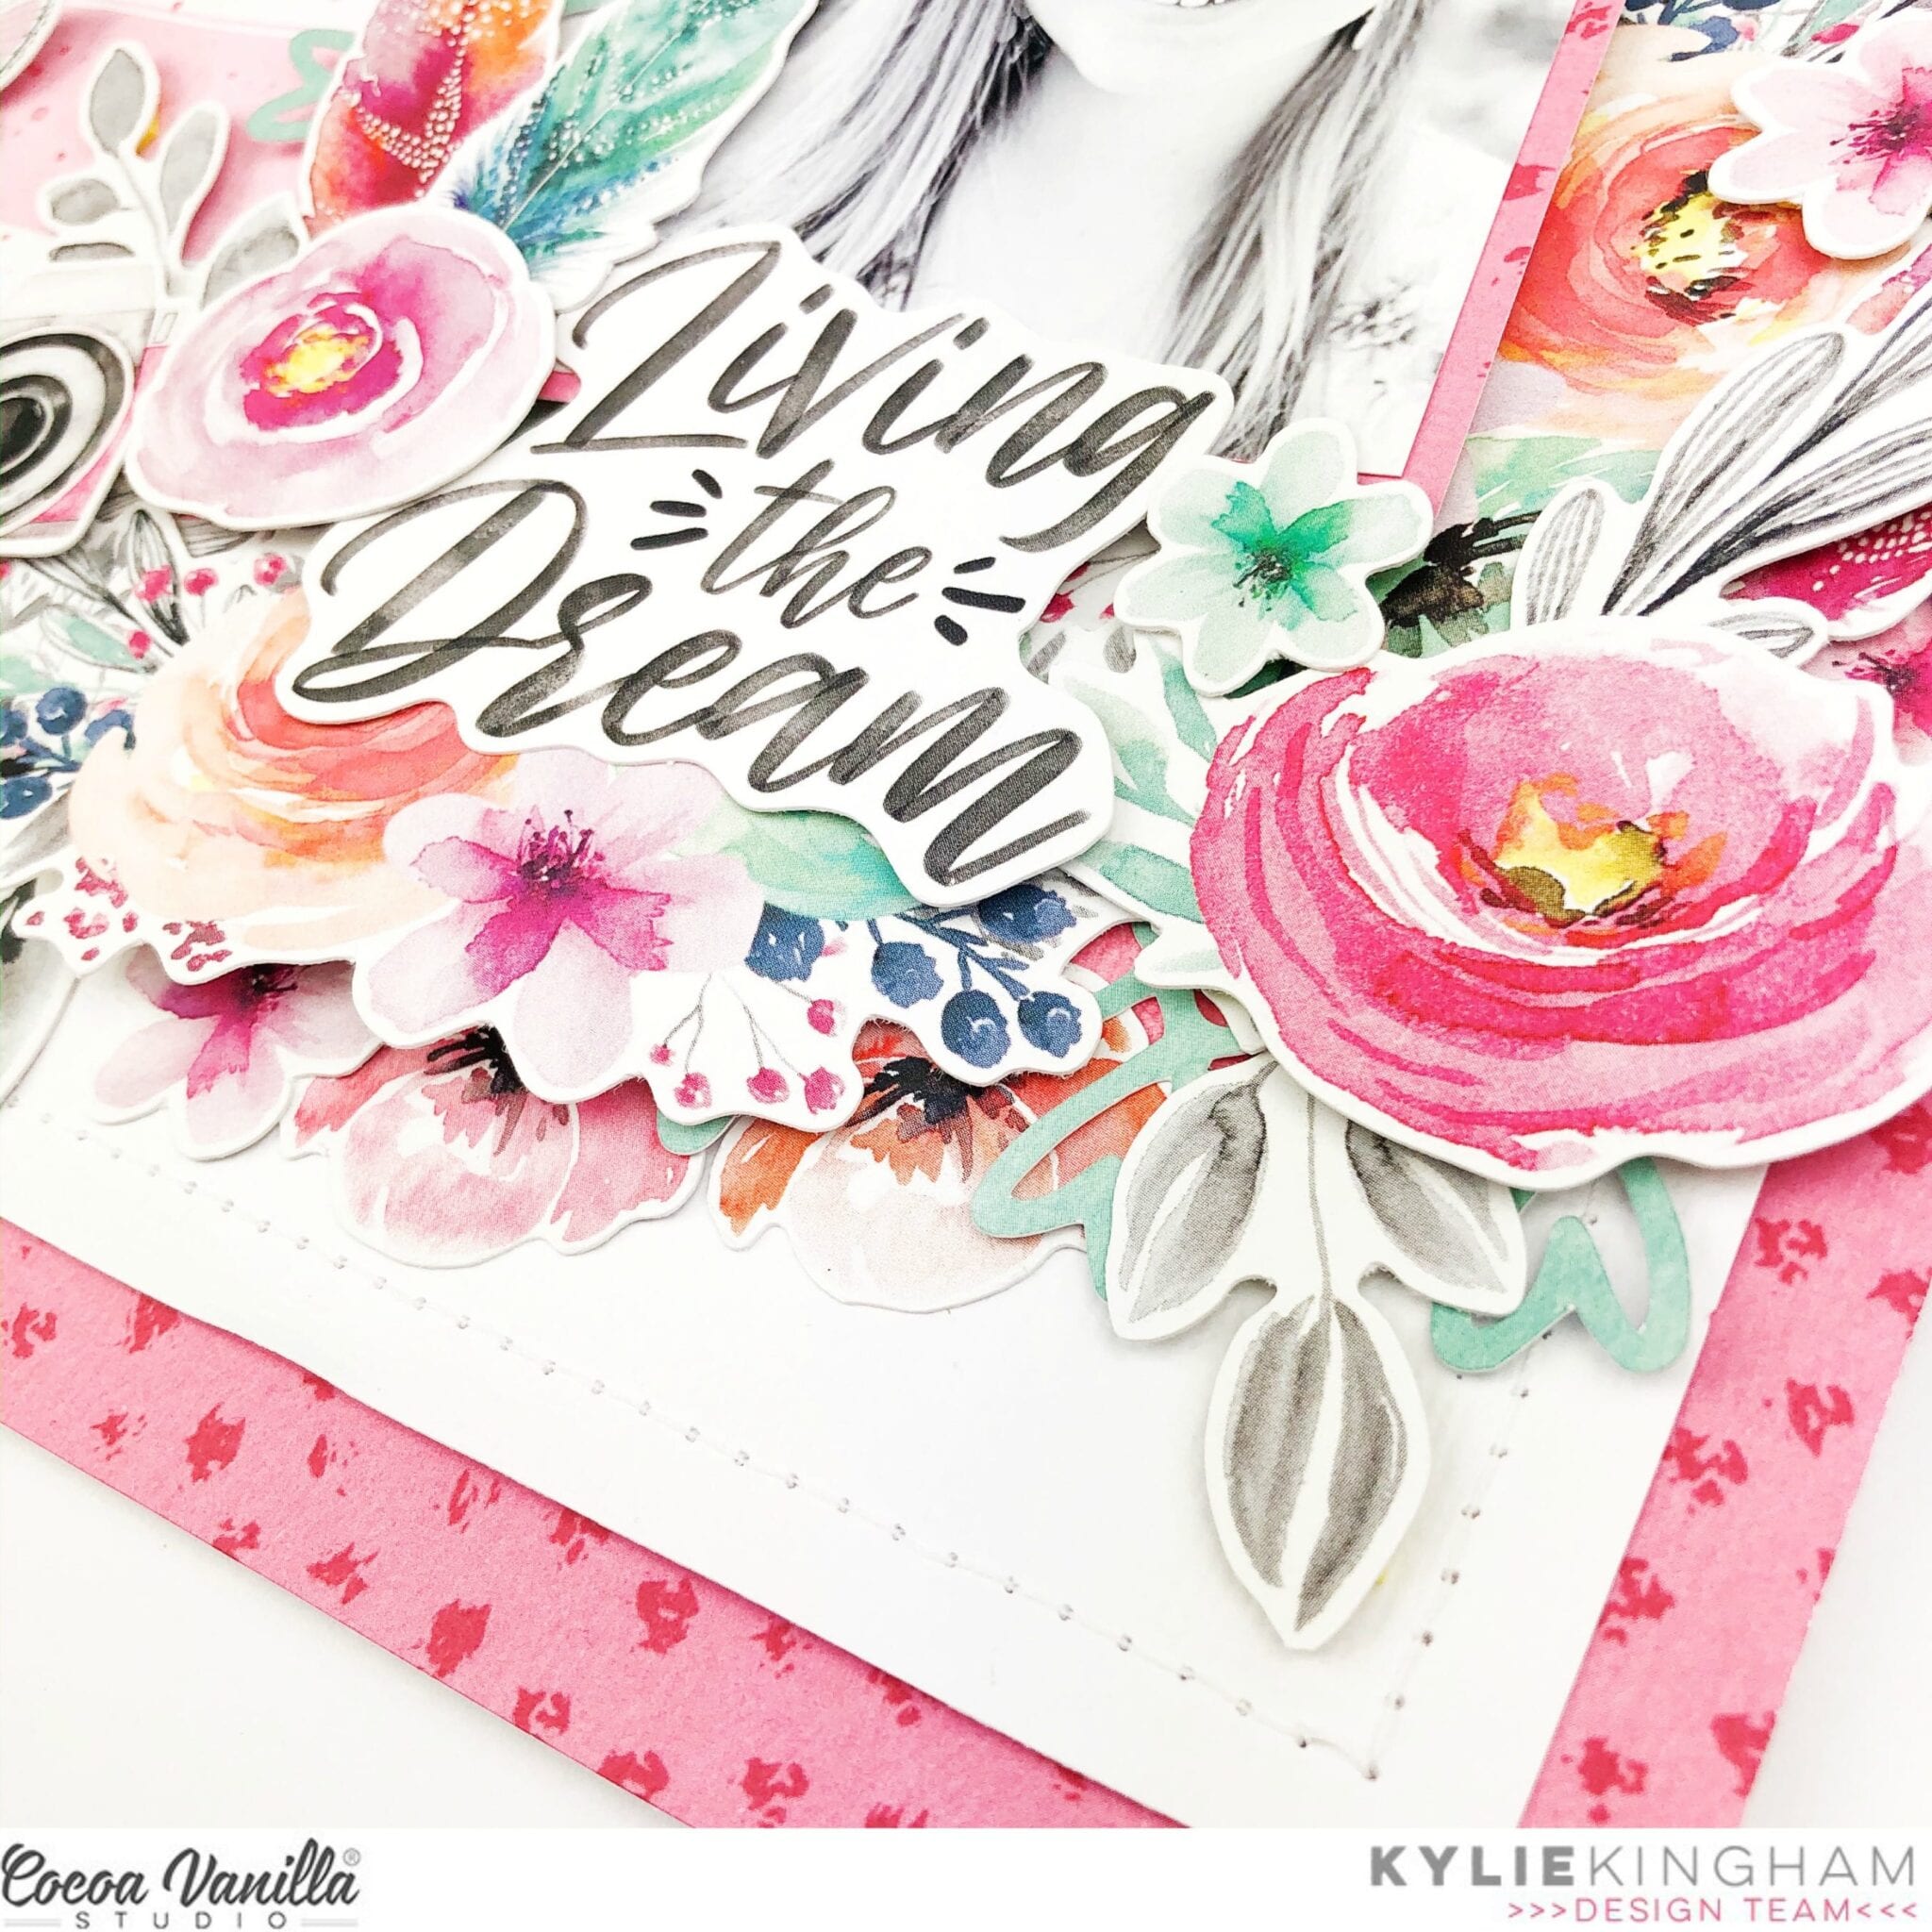
Since I had so much colour going on in my layout my photograph was printed in black and white. I added it to my background with foam tape so that it had some dimension and height. I then proceeded to add lots of the lovely floral die cut elements in and around the base of my layout.
Some die cuts were adhered flat to my background and others with foam tape, again for giving lots of dimension to the overall finished result.
Thanks so much for checking out my layout today! I hope you have enjoyed seeing it and it gives you some inspiration for your own creating.
Hey friends Rachel here. Do you ever create a layout and then your are not sure if you love it! Well I ended up creating two layouts this month because of this (it’s a Virgo thing lol!), anyway I will let you choose which version of my Girl Squad layout you like the most. So here is the first one I created. I wanted it to be soft and very girly and hence went for lots of white, pink and flowers.And here. is version two! I decided to go bold and bright, ensuring my lettering really stood out which I felt it got a little lost in the first version of the layout. The only drawback was I had to convert my photo to black and white, which I think lessens the beauty of the shot.On both layouts I have used Story Teller paper as my base so there was a slight contrast with the black dots instead of a flat white. My second version I have used a turquoise cardstock, cutting the Story Teller paper down to 11×11 inches. I also used the same cardstock to cut Girl Squad cut file. on my Silhouette Cameo, in my first layout I used white to cut the Girl Squad cut file.I used the beautiful Forget Me Not paper to paper piece the Girl Squad cut file, wanting a smaller print so I could use some of the larger floral die cuts without them getting ‘lost’.From the 6×8 inch paper pad I used the Lacewing paper and fussy cut numerous butterflies. I wanted smaller butterflies hence why I used the sheet in the 6×8 inch pad and not the 12×12 paper. I added these with foam tape to create a 3d effect.I chose the largest floral bunch from the die cut ephemera pack and added in a way you could still see the lettering. Again I did this with foam tape to add dimension. I added some of the pink and turquoise enamel dots to flowers and under some of the butterfly wings.Before adding my photo I used some of the paint blotches from the Clear Sticker Sheet (I adore the clear stickers so much!) to ‘frame’ my photo and draw your eye to it. I used foam tape to attach my photo. I finished off adding some phrase stickers from the Accessory Sticker Sheet.
So there you have it, only one difference in papers used but the over all effect if quite different! Thank you for stopping by today and have a wonderful creative week.
Hi everyone! It’s Sue Plumb here continuing on with our focus on traveler’s notebook pages. For today’s post I decided to create my first spread using the recently released, and oh-so-beautiful, ‘Unforgettable’ collection. I had a couple of photos of my sister and I that I printed in black and white, as I thought that despite being two separate pages, that they could work well side by side in my book.
I began with the 6×8″ Paper Stack, as these are the perfect sizes papers for my notebook inserts. I chose the scaled down version of the stunning butterfly Lacewing12×12″ paper for the base of my pages. I trimmed down my sheet into two pieces and placed one either side of the spine.
On the left side I then added a pink and white striped piece of paper cut from the Pretty Bits 12×12″ cut apart paper. I then adhered my photo and journalling on top. I then worked vertically from the top to the bottom to embellish my page.
At the top I used the our little moments sticker from the Accessory Stickers sheet; followed by the captured word cut from the Story Teller paper; the large butterfly fussy cut from the Pretty Bitspaper; and the small heart tab sticker from the Accessory Stickers sheet. I finished along the bottom of the page with the best things in life are free sticker and stamped the date.
I knew I needed to work in a vertical style again on the right page so that the two sides of my spread had cohesion across the design.
I started by adding the every photo has a story quote piece from the 6×8″ Paper Stack; followed by the wood grain piece from the Story Teller paper with my photo and journalling on top. Below that I added the take a photo it will last longer sticker from the Accessory Stickers sheet; then finished off with the cute pink camera from the Die Cut Ephemera pack.
For my second spread, I decided to work with the previously released ‘Happiness’ collection to document some photos of my boys and I on a day out together.
This time I was able to work with the spread as a whole, rather than two separate pages sharing a spread. I started with the 6×8″ Paper Pad, choosing the scaled down version of the Sprinkles paper as the base for my pages. I cut the sheet into two uneven pieces and placed them either side of the spine.
I then added my three photos and my journalling, which I stuck on top of a journal box cut from the Little Things paper. I also added the making memories quote card from the same paper.
Next, I added some floral pieces from the Die Cut Ephemera pack – cutting the largest piece in two and placing in on either side of the spine at the bottom of the page. I also used a couple of single flowers, which I tucked under the edges of my photos.
I then added two small phrase stickers from the Accessory Stickers sheet; and finished off with a few other elements from the ephemera pack – tickets, hearts and the title piece.
That’s all from me today, I hope I have inspired you to try some traveler’s notebook spreads if you haven’t already – it’s such a fun size to work in!
Hello Cocoa Vanilla Family and welcome back to the blog! For my assignment this week, I was given the task of documenting in a traveler’s notebook, and considering this is the medium that made me fall in love with scrapbooking, this happened pretty seamlessly. I decided to play with the Unforgettable collection because it’s so delicious and I needed some floral action in my life. I chose to print my photos in black and white so I could use all the colors on my layouts.
For my first spread, I decided to create a sunburst of sorts using triangles I cut out from the 6×8 paper pad. I cut rectangles, then cut those in half to create the triangles and arranged them across the top half of my layout. That was the hard part. The rest of this came together pretty easily!
I chose to mat my photo on just one patterned paper since there were already so many going on in my background and then I popped the large floral element on foam, stuck it on the bottom left of my photo and added the circle die cut right behind it for dimension and interest.
On the left side of my page, I started with a card from the cut apart sheet since it was the same size as my photo, added a floral die cut and then adhered my title – also from the ephemera pack. With traveler’s notebooks, dimension can get out of hand really quickly so I chose to use a flat ephemera piece as my title as opposed to chipboard or foam. I added a single butterfly to the left side and a blue tab element to the right and called this layout done!
For my second project, I knew I wanted to use these branches that I had left over from a previous layout so I started with the pink cardstock background so the white of the cutfile would pop against the background. Then I printed my photos at 2×3 inches and matted them on three papers from the 6×6 patterned paper stack. I used strips of the same patterns on the right side of the spread to carry over the color and patterns and I added two more branches to the right side to continue the theme.
Now we embellish! I used some small elements from the ephemera pack as well as stickers from the accessory pack to add some texture and interest to the photos.
On the right side, I used a piece that I cut from one of the 6×8 patterned papers, layered it over a tag, flower, and butterfly, and added some additional flowers along the branches to tie the whole layout together. A couple of enamel dots on both sides finished off this spread and I am super happy with how both projects came out this week.
I hope you found inspiration here and are fired up to scrap small and make something beautiful today in a traveler’s notebook today. Till next time, keep it crafty friends and have a great day.
It’s Shannah Bartle here, and I’m so excited to be a Guest Designer with the fabulous Cocoa Vanilla Design Team! I’ve created three cards for you today, using the gorgeous new ‘Unforgettable’ collection. This is such a beautiful range, with a fantastic variety of paper patterns and fun coordinating elements.
For my first card I wanted to create an easel card and thought the cute polaroid frame from the Die Cut Ephemera pack the was just perfect for the pop-up piece! When the card is folded flat the polaroid feature is framed by the stunning floral 6×8” papers…
… And once opened the polaroid frame, backed with aqua paper, sits up nicely showing off the Accessory Stickers and Die Cut Elements.
The inside of the card is covered with wood panel paper, and I’ve used a strip of crochet lace and two heart Foam Title Stickers as a ‘stopper’. I heat embossed a sentiment from Uniquely Creative’s All Occasions stamp set onto aqua paper and framed it with more of the floral paper.
I finished it with a sprinkling of sweet Unforgettable Enamel Dots.
For my second card, I was inspired by the “Shine” Foam Title Sticker to make a glitzy shaker card!
I used lots of the gorgeous 6×8” papers for the card base and shaker element and filled it with gold sequins for the ‘shine’.
I arranged lots of Die Cut Elements around the card and finished with a butterfly in the top corner.
For my last card I chose two of the beautiful 6×8” papers which I cut into a square, then divided in half diagonally.
I layered one of each pattern on a slightly larger square of black cardstock, then trimmed the remaining diagonal pieces smaller and layered onto another black square, then onto the centre of the card.
I chose a third patterned paper, again matt with black cardstock, then added it to the centre of the card using 3D foam for dimension. I adhered the “hello” Foam Title Sticker and several Die Cut Elements and finished with a few Enamel Dots.
Here are all three cards together… hope they inspire you to get creative!
I absolutely LOVED playing with the Cocoa Vanilla Unforgettable collection… and you can check out my Quick Makes feature using this range in Issue 5 of Love Cardmaking International magazine soon!
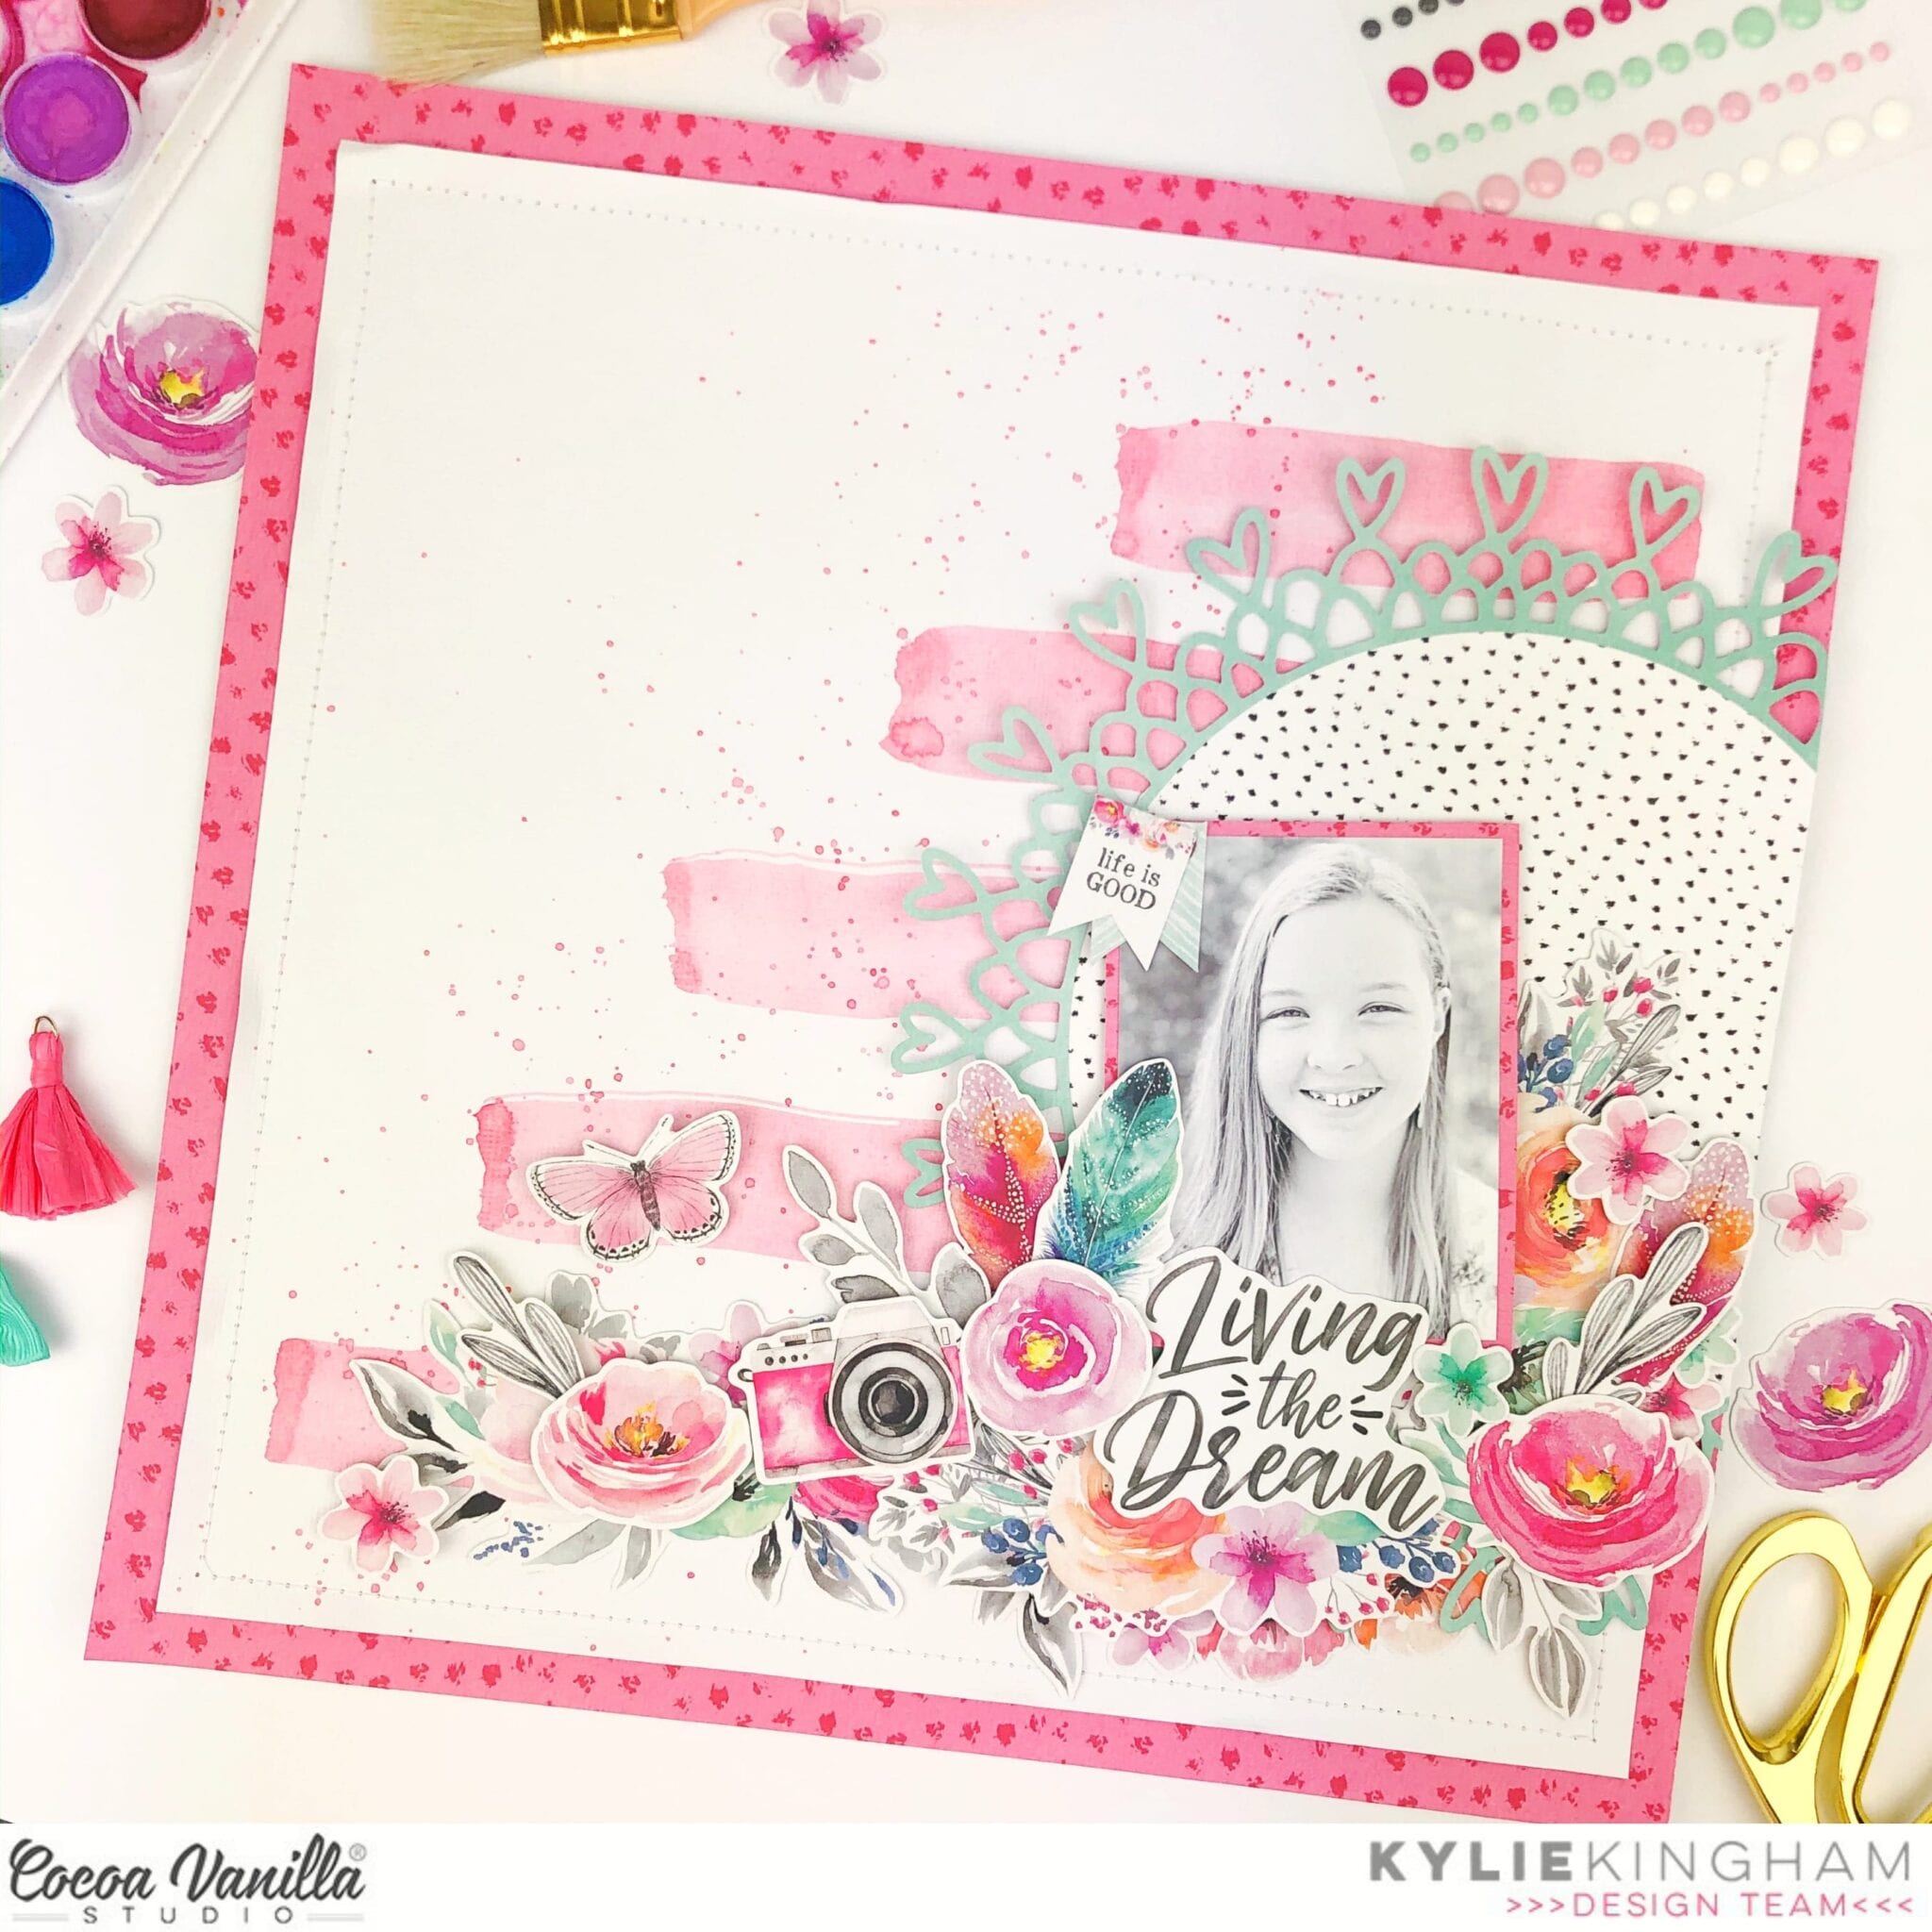
Gwen with you on the blog today, I hope you are all well! I’m back today with a new share using the stunning ‘Unforgettable’ collection. This is the fourth page I’ve made with this collection and the more I use it, the more I just love it! My page features a photo of my daughter the day before heading off to her first school camp. We were both super nervous about the adventure ahead and I had been speaking with her about enjoying the little moments at camp and remembering that these are moments she will look back on and truly treasure, even though right now it didn’t seem that way.
I started the page with the idea of creating a central paper stack for my photo and working outward from there. For this, I’ve used the butterfly quad element from the ‘Pretty Bits’ pattern paper. I’ve teamed this with the ‘Sprightly’ paper which I’ve used as an edge for my layout as well as a double mat for my photo. **TIP – If you want a double mat for your photo and aren’t sure which two papers to use, go with an A and B side of the same paper, they were made for each other :)
With my photo mat sorted, I positioned it overlapping the butterfly quad element (making sure to fussy cut out the two butterflies that were not showing for later) and centered everything onto a plain white card stock background. Now, I could go through all of the pretty elements of the collection to fill out my page.
I find it is always best to work with larger elements first and then move onto the smaller ones, so started with the pretty floral die cut from the ‘Die Cut Ephemera’ pack. I’ve used one of the largest pieces here and then added smaller pieces on top using foam tape for a layered effect.
Next, I’ve added in the Orange fussy cut butterfly that I had saved and a smaller one from the ‘Die Cut Ephemera pack’. There is still another Grey butterfly that I had fussy cut, that one will be added to a new project. I’ve also added in here a large sticker from the ‘Accessory Sticker Sheet’ and a medium-sized die-cut Camera. I’ve grabbed a flair button and added that here as well.
I was really happy with the ‘bones’ of my page now so it was time to move onto smaller embellishments. I’ve pulled out several stickers from the ‘Accessory Sticker Sheet’ and positioned them on my page. There were quite a few that really suited the sentiment for this layout and I loved how the colours matched perfectly. Lastly, I went about adding a cute bow from the ‘Tassles and Bows’ pack as well as some Enamel dots and the page was complete.
Thanks for popping by today to see my latest project, I hope it inspires you to get creating with this beautiful collection.
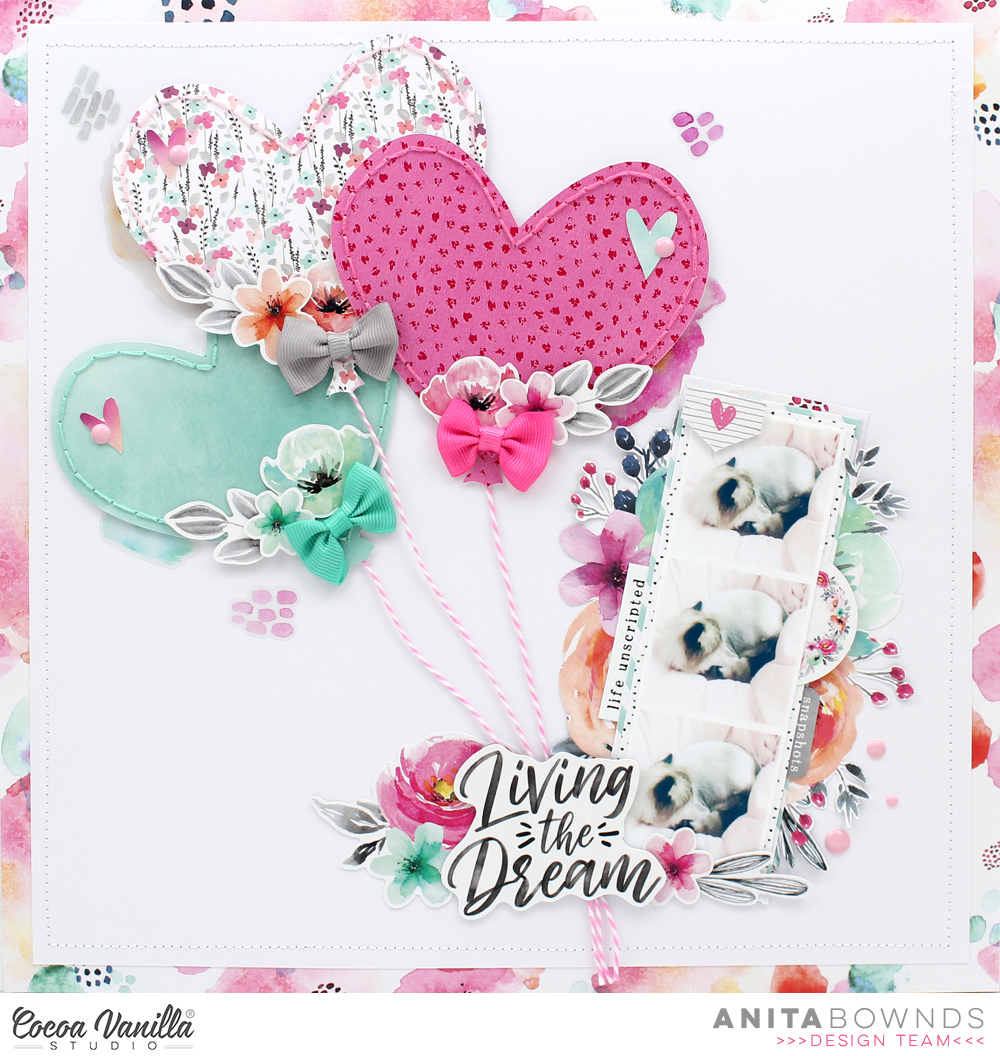
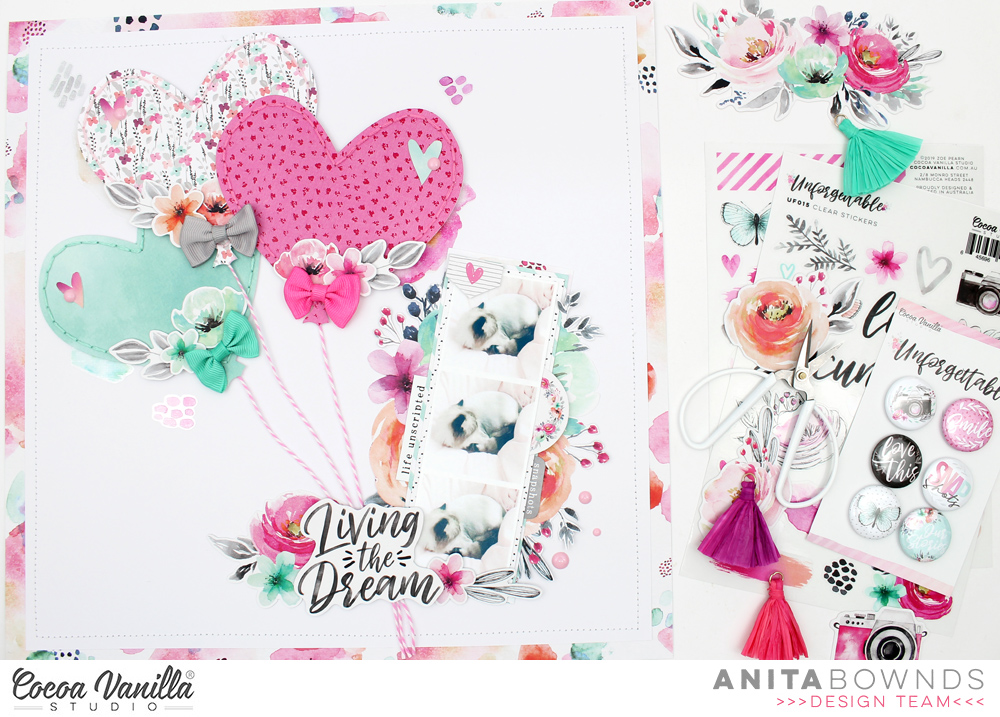
Hi crafty friends, Anita here with you today sharing a sweet layout using the beautiful unforgettable collection
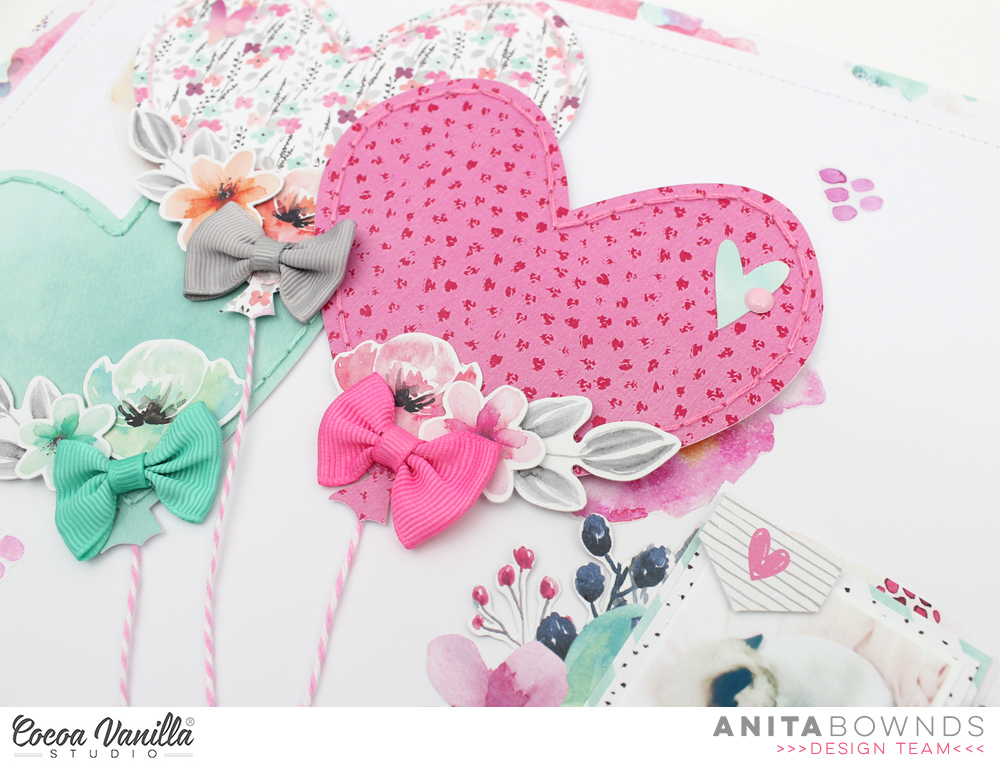
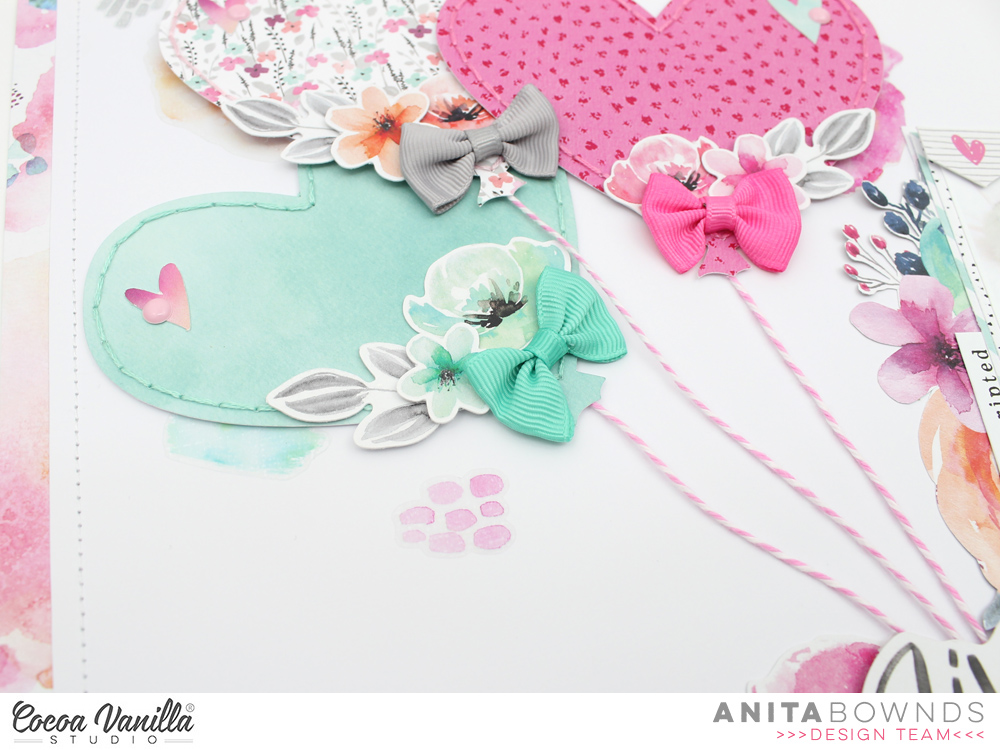
The layout is all about my kitty Kushan who thinks Eve’s beanbag is one of his beds…I’m sure he probably thinks he’s on a big pink cloud. So Today I had to include the bows and tassels on my layout I decided on the bows As I had a idea of floating heart balloons in the air.
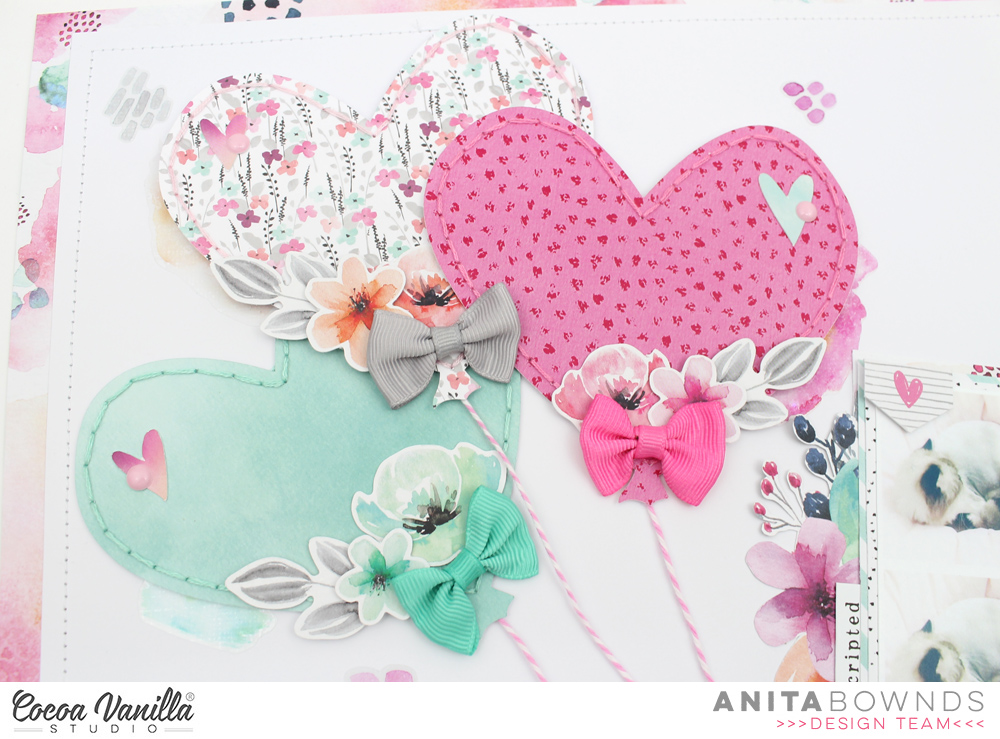
I started by selecting 3 pattern papers from the 6×8 paper pad and using a cut file from the silhouette design store and cut 3 heart balloons out then I hand stitched around each balloon using a matching colour thread then I added some twine to the back and double sided foam tape to pop it of the page then I layered them onto my trimmed white cardstock on a angle.
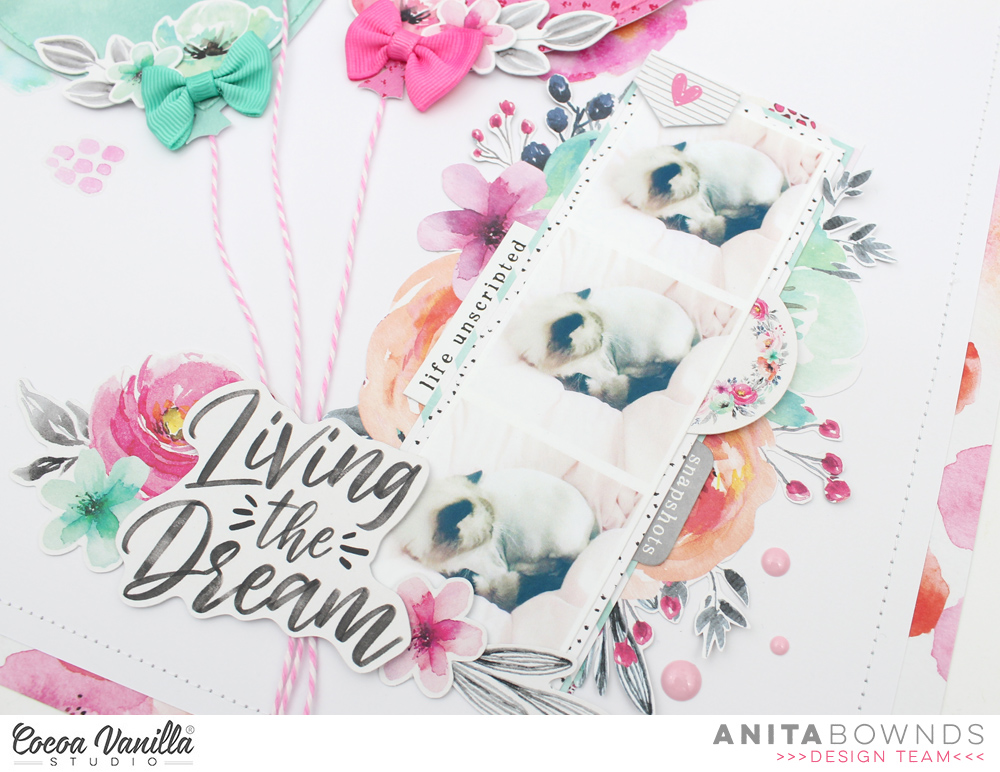
Then I matted my white on pattered paper sprightly and machine stitched around the border of the white cardstock then using more patterned paper from the 6×8 paper pad I matted my photo on 2 different papers .
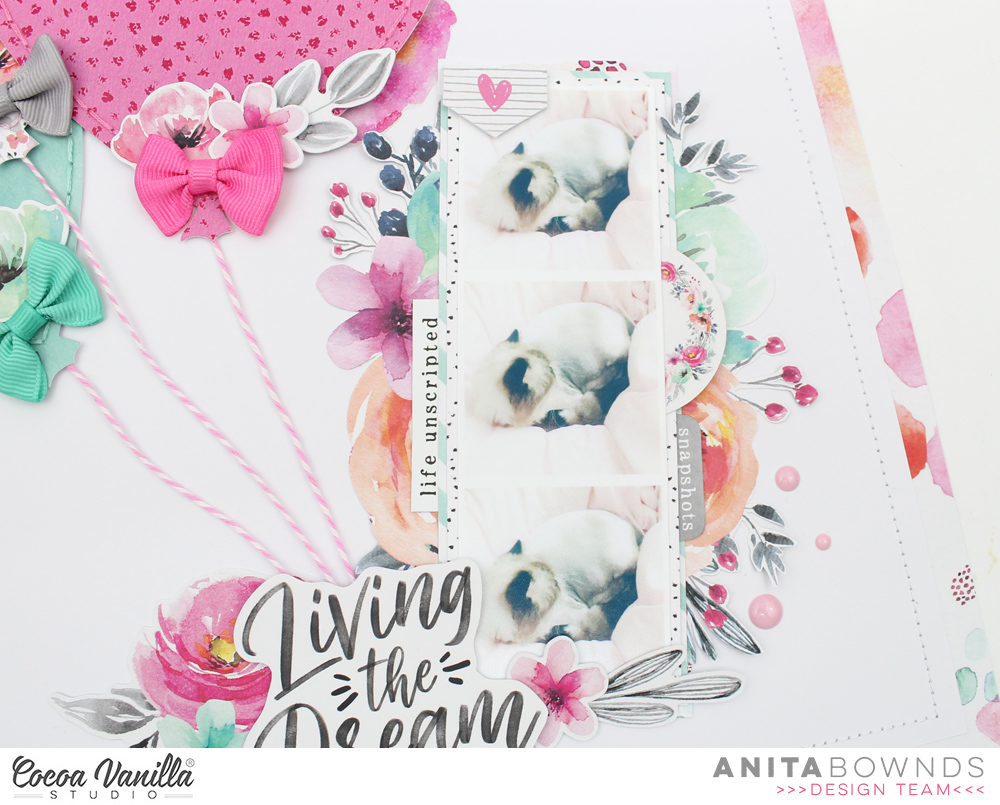
Then I added fussy cut flowers from paper glorious on each side of my photo
Then I pulled the twine down straight to the bottom of my photo and adhered my title from the ephemera pieces then I added accessory stickers and ephemera around the photo
Then I use 3 of the bows from the bows and tassels to add on each of my balloons then tucking flowers from the ephemera pack around the bows to add a extra pop of colour and to finish of the layout I added clear stickers and enamel dots
Hi lovelies! It’s Danni here today sharing another guest designer layout with you. This time I was very keen to get playing with the freebie cutfiles that match the new Unforgettable collection.
I first cut a large section of the heart wreath cutfile on my Silhouette machine using white cardstock – I just love the way white pops on the gorgeous papers in the collection. I went ahead and backed some of the cutfile with different papers from the 6×8 paper stack, making sure to leave some open spaces to keep it light and airy.
For my background paper I chose Lacewing for that gorgeous peach floral B side, then I tore strips from Natural Beauty and Story Teller (my two favourite papers from this collection so far, I can’t stop using them!).
I layered the strips to the left side of the page and added a crepe paper ruffle underneath for extra texture. I made sure to curl the edges of the torn paper strips up a little, then slipped the cutfile under the edge of the ruffle, creating a half-wreath peeking out from beneath the layers. This created the perfect spot for my pics to go.
I added some layers behind my pics with the 6×8 paper stack and tissue paper, added a little dimensional foam and placed my photos overlapping each other slightly. I then embellished my photos using some ephemera, a flair button, tiny word stickers and one of the adorable bow embellies.
At the top right of my page I created a small cluster with a label sticker for the date. I also added some floral embellishments peeking out from between the paper layers to the left of the page.
My title fits perfectly in the space between, with the foam title words again making the most perfect addition to the page. I can’t get enough of these gorgeous script titles! For finishing touches I sprinkled some enamel dots around the page in groups of three, splattered some white ink and added my journaling inside the circle of the wreath cutfile using a white gel pen.
I love how perfectly this layout represents my photos of my husband and I enjoying the sunshine in the garden, and how perfectly the colours match the peachy coral dress I wore.
I hope you like this layout as much as I do! Thank you so much for joining me today. Happy scrapping!
Hello CVS fans. It’s Anna here with my newest layout featuring new product in Cocoa Vanilla family. “Unforgettable” collection – the newest line designed by Zoe – features two new products. One of them is a set of foam words and second it a pretty package of bows and tassels. And this is what I will be focusing on today.
My favorite way of using any tassels is to add them to the mini albums covers creating dimensional embellishments hanging freely on the side. I also like to create garlands with paper elements and real tassels on the pages. I decided to use this second idea on my layout.
I cut out two big tags from papers with wooden pattern (did I mentioned how much I love wooden patterns?) and added stitching around them. Next step was to put a colorful string through the holes of the tags adding all four tassels from the packaging. I created kind of a lose loops and glues the string to the base paper. I wanted to use this pretty white paper with black words for a while and it was a perfect occasion.
To make the garland more complex I added two smaller tags – one from ephemera pack and one from sticker sheet. I finished the composition by adding pretty flowers here and there plus some smaller elements from ephemera pack. I also fussy cut a lot of butterflies from one of the pattern papers.
Two bows closing the composition from top and the bottom were added at the end as my final touch. I am so in love with this new “Unforgettable” line. I feel so inspired by the patterns, flowers and cute embellishments.
Thank you for stopping by and see you in two weeks with some other projects. I have in mind something different than a layout.
Amanda here, & this week the design team are shining the spotlight on the gorgeous UNFORGETTABLE TASSELS & BOWS.
I know, what a fun assignment! I couldn’t wait to get creating, and I even made a process video of this layout too!
Here’s what I came up with….
“Living The Dream”
Swoooooon!!! The UNFORGETTABLE collection has my heart!
Such a precious & beautiful layout for my two darlings! Living the dream indeed!
And nothing says ‘dream’ quite like a dreamcatcher, right? I couldn’t resist suspending the TASSELS and feather DIE CUT EPHEMERA pieces from that delicate cut file. So super pretty!
** Note: Cut file is called: Boho Dreamcatcher by Lilium Pixel SVG from the Silhouette Store **
Here’s a better look at my layout….
So very beautiful!
I started this page with a white cardstock base which I trimmed a one inch length off the left hand side. You’ll spy that I machine stitched half an inch of the beautiful woodrgrain pattern paper, CV-UF008 NATURAL BEAUTY to this side. Next, I fussy cut that darker based floral, 4″ x 6″ note card, from pattern paper, CV-004 PRETTY BITS. I trimmed this 4″ x 6″ note card so that I could butt the 6″ lengths together to create the appearance of a 12″ floral paper & then attached it to the back of the woodgrain trim. SO pretty! I love how effective this looks!
Before I adhered the Boho Dreamcatcher cut file to the page, I layered two of the larger DIE CUT EPHEMERA floral swags to the base, so that they would peek out beneath the dreamcatcher. I also removed some of the cut file feathers so that I could thread the tassels onto the cut file ‘strings’, and then covered the remaining cut file feathers with those amazing DIE CUT EPHEMERA feathers.
With the cut file prepared, I glued it onto the white cardstock base, but was careful not to glue the ‘strings’ down. By leaving the strings loose, I created a sense of realism as the TASSELS, and feathers, dangled from the dreamcatcher. This also created flow and movement, as well as soft dimension and texture! What a fabulous way to incorporate those darling TASSELS into my design! Here’s a closer look at those pretties….
They really are somethin’, aren’t they?!! And those feathers are just divine!
I embellished the rim of the dreamcatcher hoop with more pretty DIE CUT EPHEMERA florals, as well as a few fussy cut butterflies from pattern paper, CV-UF005 LACEWING. The larger butterfly is also fussy cut, but this time from pattern paper, CV-UF004 PRETTY BITS. I layered my DIE CUT EPHEMERA title, Living The Dream, over this larger butterfly & then embellished with a few of the CLEAR STICKERS too!
I framed my precious photo with one of the circular frames included in the DIE CUT EPHEMERA pack, and then foam mounted it to the center of the dreamcatcher. I love how the pattern on the circular frame reminds me of a mandala or, yes, you guessed it, the dreamcatcher! I just love repetition in design!
For finishing touches, I covered the ‘beads’ on the dreamcatcher cut file with those pretty ENAMEL DOTS, and added a tiny spot of journaling with the ACCESSORY STICKERS.
Simple. Beautiful. Amazing!!!
I hope you’ve enjoyed seeing my layout! Clearly, it was TASSELS for the win today!
You can see more in my process video for this pretty page HERE!
 And here. is version two! I decided to go bold and bright, ensuring my lettering really stood out which I felt it got a little lost in the first version of the layout. The only drawback was I had to convert my photo to black and white, which I think lessens the beauty of the shot.
 On both layouts I have used Story Teller paper as my base so there was a slight contrast with the black dots instead of a flat white. My second version I have used a turquoise cardstock, cutting the Story Teller paper down to 11×11 inches. I also used the same cardstock to cut Girl Squad cut file. on my Silhouette Cameo, in my first layout I used white to cut the Girl Squad cut file.
 I used the beautiful Forget Me Not paper to paper piece the Girl Squad cut file, wanting a smaller print so I could use some of the larger floral die cuts without them getting ‘lost’.
 From the 6×8 inch paper pad I used the Lacewing paper and fussy cut numerous butterflies. I wanted smaller butterflies hence why I used the sheet in the 6×8 inch pad and not the 12×12 paper. I added these with foam tape to create a 3d effect.
 I chose the largest floral bunch from the die cut ephemera pack and added in a way you could still see the lettering. Again I did this with foam tape to add dimension. I added some of the pink and turquoise enamel dots to flowers and under some of the butterfly wings.
 Before adding my photo I used some of the paint blotches from the Clear Sticker Sheet (I adore the clear stickers so much!) to ‘frame’ my photo and draw your eye to it. I used foam tape to attach my photo. I finished off adding some phrase stickers from the Accessory Sticker Sheet.