Unique Kid or Legend | Mixed Boy Collections | Laura Alberts
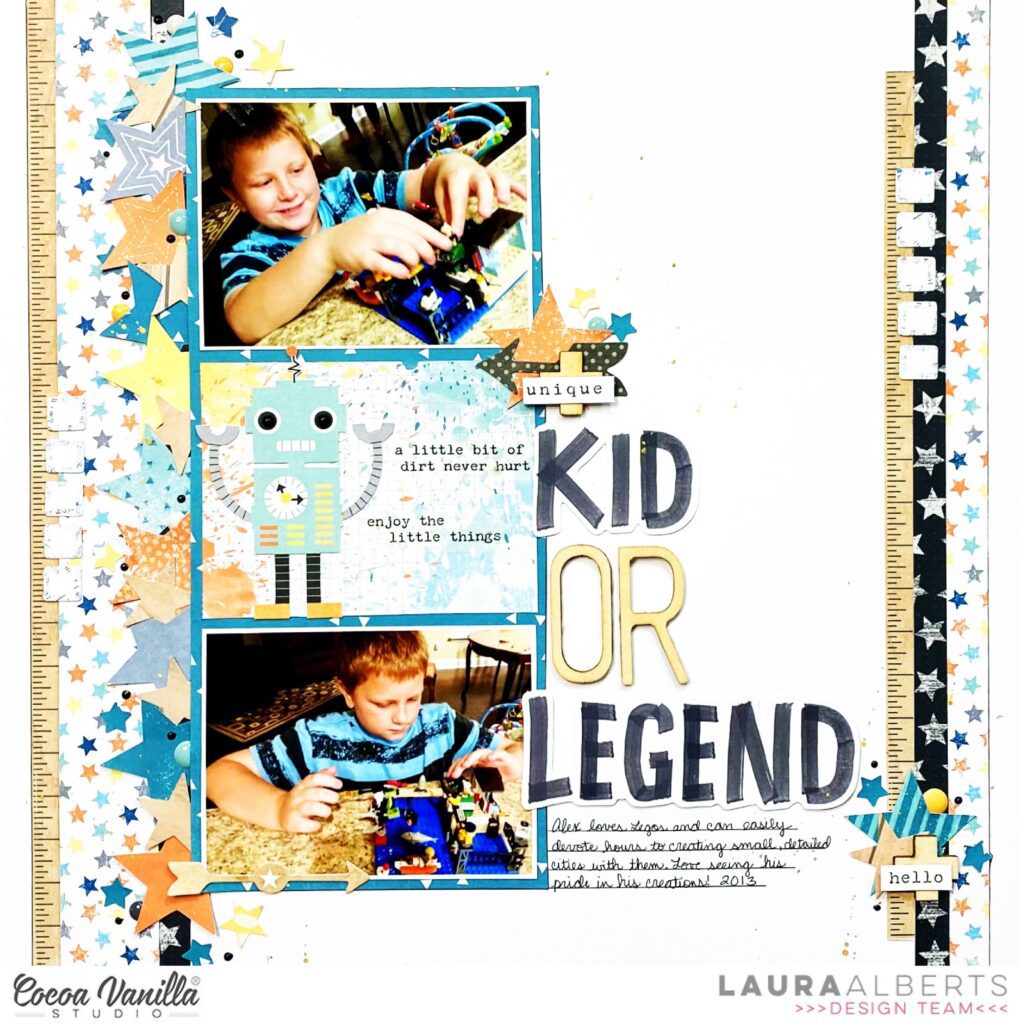
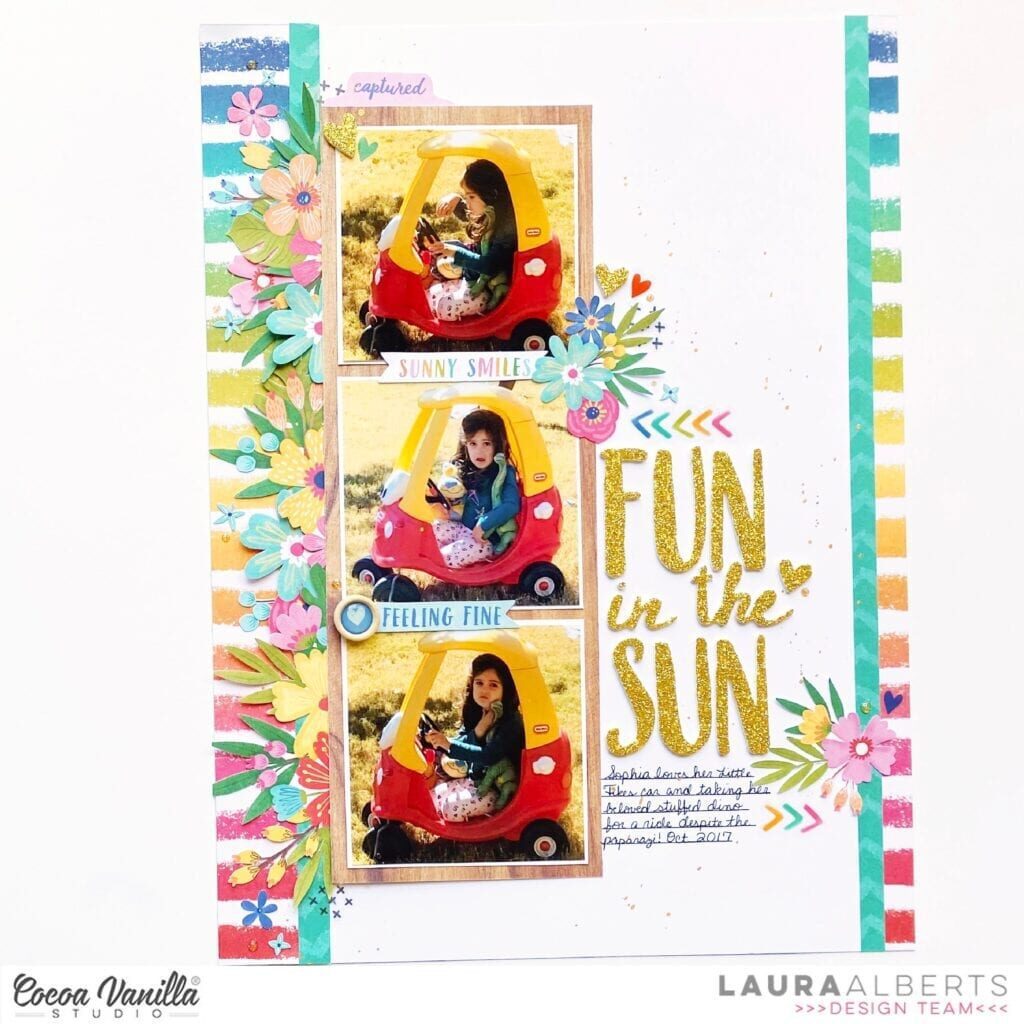
Hey y’all! Laura Alberts back again with a fun boy layout! This month we were challenged to scraplift ourselves and I immediately knew which layout I wanted to lift! This super fun Sunkissed layout featuring my youngest daughter has such a fun vertical design that I definitely wanted to convert to a more masculine style! Using the You Rock collection mixed with a little bit of Legendary, I scrapped these fun photos of my oldest son and his Lego city. He adored Legos for ages and I love finding these gems in my albums!
Like the original layout, I started with strips of paper down the left and right side of this layout. The original was a 9×12, so I’d just used two fairly small strips, but to match the scale of a 12×12, I added a third strip on both sides. The stars are a mix of fussy cut stars from the Starshine patterned paper and punched scraps left over from previous layouts. Since this layout only had two photos, instead of three, I added a decorative cut apart piece in the middle, adding washi strip phrases and the last robot ephemera piece from the Totally Rad collection.

For my title, I used a mix of wood veneer pieces from the You Rock Collection and die-cut titles from Legendary. I’ve tied in these wood veneer pieces with two plus signs that I added to each of my small clusters on the page. These small clusters add a little bit of whimsy to the page, breaking up the heavy linear design with a bit of fun.

A fun detail on this page are the rows of tiny rectangles along each set of borders. These are actually the punched out leftover pieces from an ephemera piece in the You Rock collection that looked like a viewfinder reel! They made a great vertical embellishment on this page. The stars that border the left side of my photos vary in sizes and colors, mimicking the floral clusters along the original layout.

I hope you enjoyed this look at how I scraplifted myself, changing not only the color scheme and theme, but also the size! Such a fun challenge! To see how this layout came together, check out the process video below!


 I took inspiration from the skull and cross bones design in the image and also the colours. I cut out a skull and cross bone design from black cardstock using my Silhouette Cameo and used is one of the main focal points on my layout. I popped up the skull using craft foam and adhered the cross bones flat to the page. In the eyes of the skull, I backed one of them with one of the paper s from the
  The Totally Rad collection has lots of pieces with the skull and crossbones so I pulled out what I had left and used them as embellishments. The large white and black skull and cross bones was fussy cut from the
 To finish off, I added the chippie crown in the chipboard pieces pack from the