FUN ADVENTURE | LEGENDARY | GWEN WRUCK
Hey Creative friends, Gwen back on the blog today and I’m super excited to be sharing my first scrapbook page using their new collection ‘Legendary’!
Whilst you’ll all know I’m not normally a ‘boy’ scrapper, I love these opportunities to create pages featuring my husband. Cocoa Vanilla Studios really is the only masculine products I’ll use; I just love how Zoe puts her boy collections together. This one is going to be great for all things ‘boy’ and ‘adventure’ so if you haven’t seen it yet, be sure to check it out!
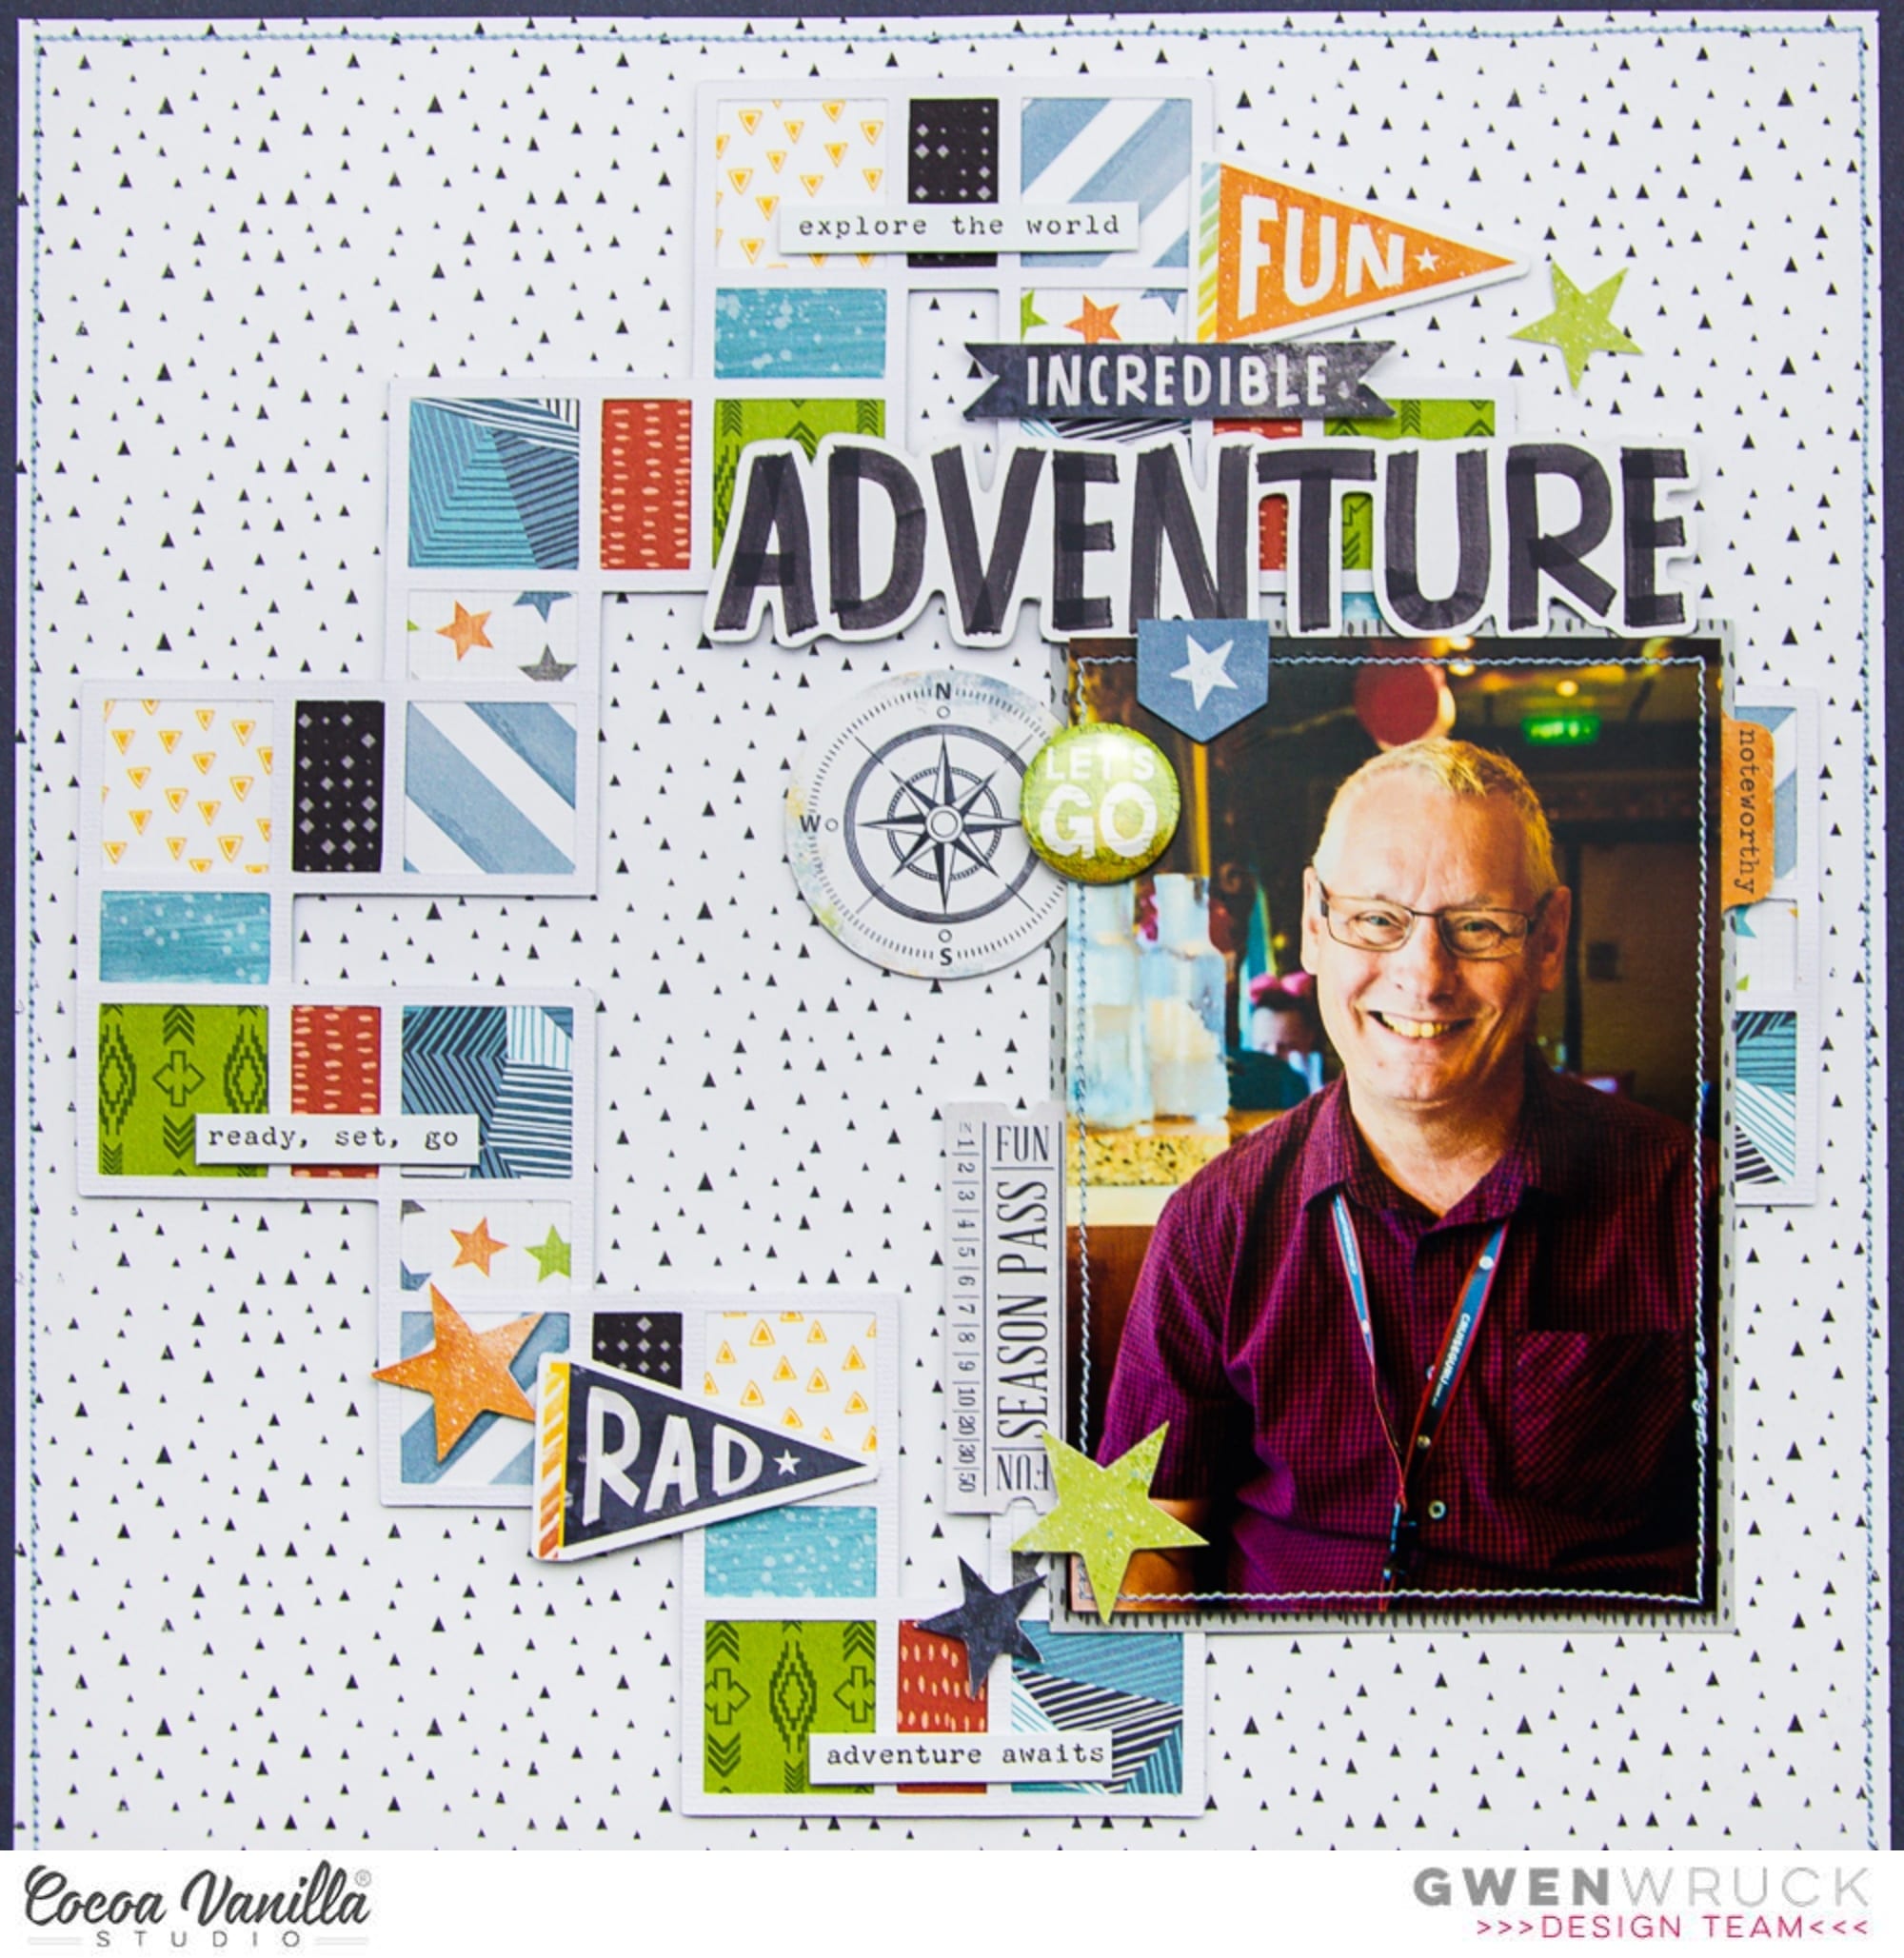
So, the idea for the layout started with my photo. This one was taken a few years back on a family cruising holiday. As it was my first page with the collection, I was keen to dive into all the patterns and papers, but not really sure where to start… you know, that ‘first cut’ anxiety? I suffer from that A LOT! To combat that, I’ve started with the ‘Total Legend’ paper. It’s a fab sheet of patterns that can easily be cut apart. I’ve used these to back a cut file, this one from CUT to YOU.

Working around the cut file, I’ve just backed each of the squares with a different pattern paper, making sure to put contrasting designs side by side. I’ve then placed this onto the ‘Epic Tales’ pattern paper for my background. I usually use a white background, but I just love how this paper is subtle enough to use but has those fun arrows for interest.

I’ve also mounted my background onto the ‘Explorer’ pattern paper. I like that bold deep blue to frame my layout. I made sure to keep the inner section of this one, and plan to fussy cut out the design and use on another page. Next, I’ve added a photo mat using the ‘All Star’ pattern paper and then some stitching for added detail.

I’ve positioned my photo and mat onto the page adding in some foam for dimension. Now the design for the layout was locked in, I can get to adding my embellishments and finishing touches.

I’ve started with the ‘Die Cut Ephemera’ pack, there are over 50 pieces in this one, all really great to add to your layouts. I’ve used fun flags, sentiment banners and stars. I also love the compass element, which is a nod to the fact that my photo was on a cruise ship. I’ve also pulled out the flair that says ‘Let’s Go’. It helps the other circle element to fit in with all the other square elements and it helps tell my travel adventure story.

I’ve also added in some of the tiny word stickers from the ‘Accessory Stickers Sheet’, (this collection really has a lot of Adventure and Travel themed elements) as well as the tab that says ‘noteworthy’ down the right-hand side of my photo. My title ‘Adventure’ is from the ‘Die Cut Titles’ pack, these are a ‘must grab’… so versatile and you get so many in the pack!

Thanks for popping by today to see my latest project, I hope it inspires you to grab this collection and get making! As always, be sure to pop into the Cocoa Vanilla Studio Facebook group to share your pages, I love seeing what you make.
Until next time,
Gwen
xo
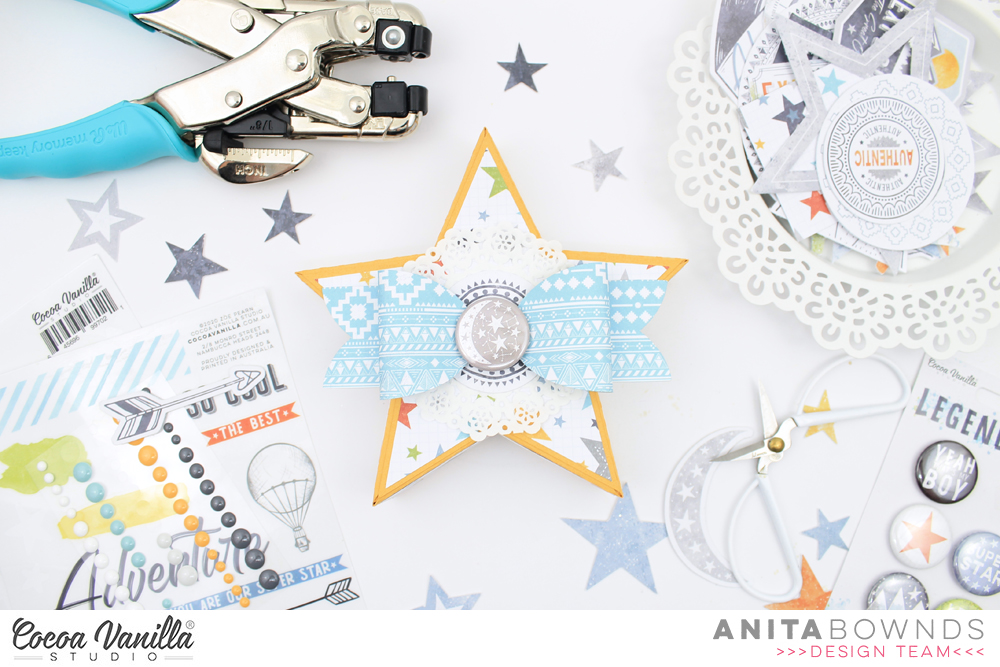


 One of my favourite papers from the collection is the rainbow one called ‘Wild One’, I love how it is in a diagonal design! I trimmed it down slightly and added it to the ‘Explorer’ paper, I like the navy as a mat for the page. I then cut out a diagonal triangle cut file design from The Cut Shoppe from white cardstock and placed it over the top of the paper. I love how the white breaks up some of the rainbow paper. I machine stitched around the outside edge of the layout.
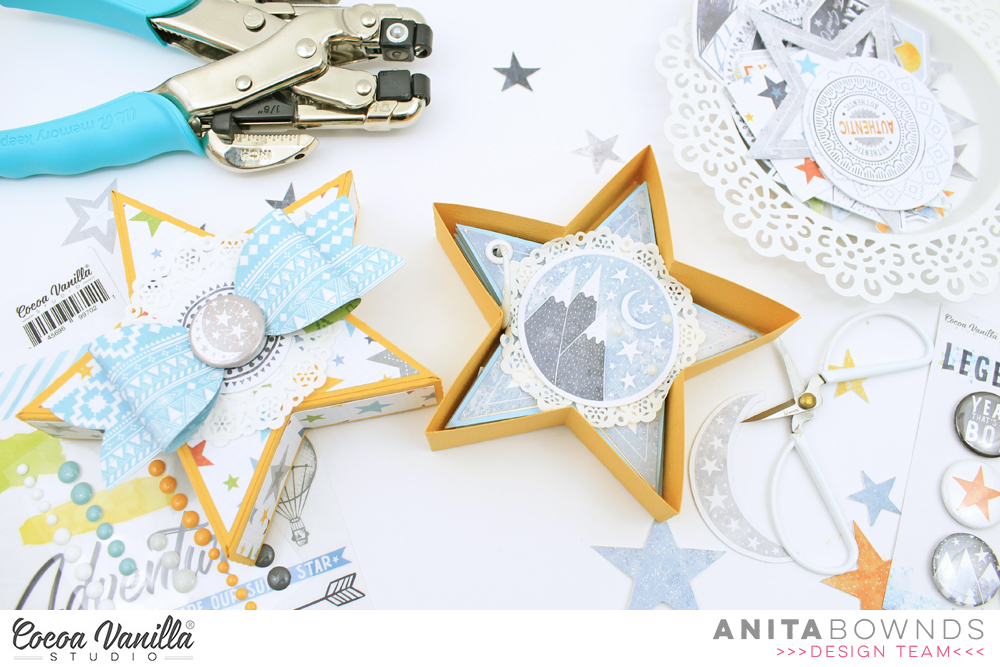
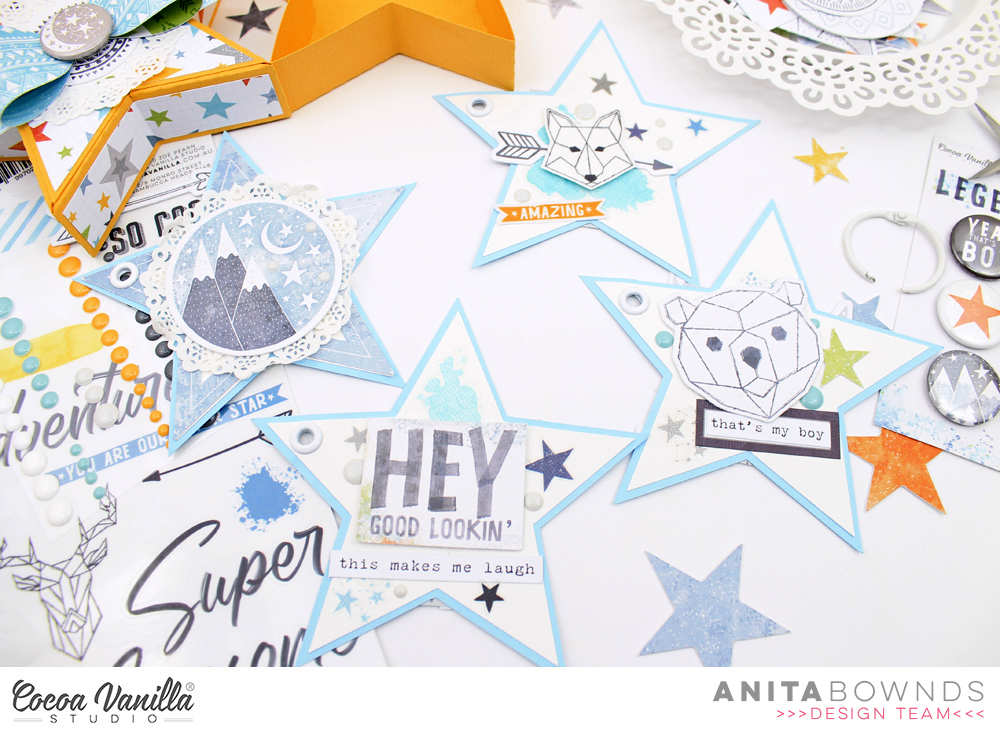
 The large stars in the ephemera pack have a line drawn on them so they were perfect to machine stitch, see the detail on 2 of the larger stars in the photo below. I matted my photo using the wood grain frame die-cut and one of the small cut out papers from the ‘Total Legend’ paper, I also stapled one of banner die-cuts to the top left corner of my photo. I adhered the largest star in the top left corner and the smaller one in the bottom right corner and then adhered my photo over the top.
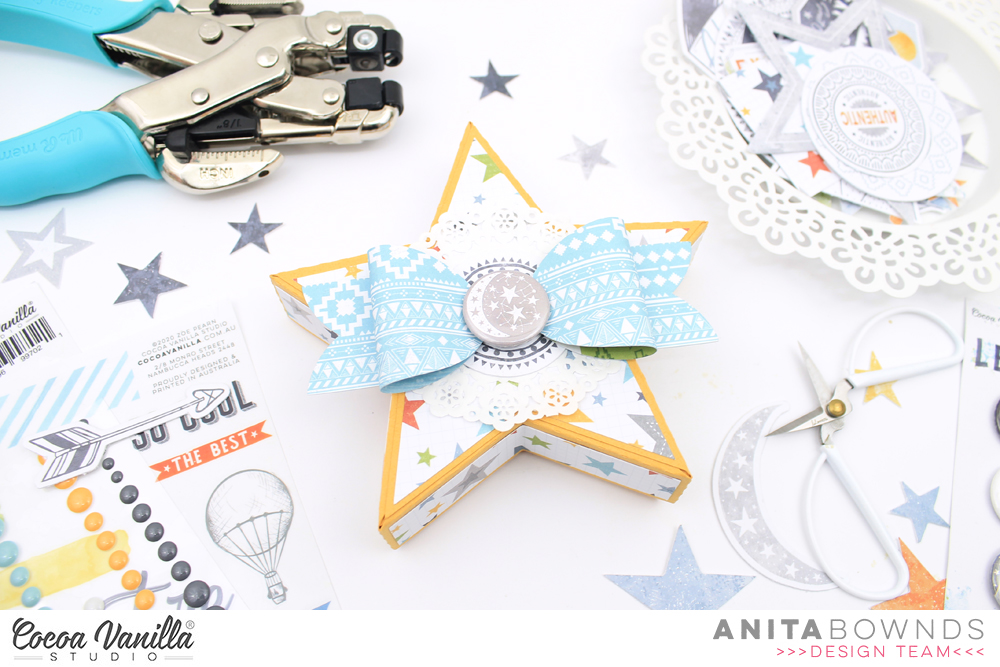
 The Die-Cut title pack are awesome and I love the font of these! I chose the words ‘Cool Dude’ for my title and popped it up with pop dots underneath and placed to the right of my photo. I took lots of the coloured stars from the die-cut pack and popped them up in rainbow fashion like the paper. I love the height and shadows this creates! I also added one of the awesome flair buttons with the star on it to the right of the ‘Cool’ word in my title. Lastly I added a few of the clear stickers, accessory stickers and enamel dots to finish my layout.

