Hey Kid | Legendary Collection | Melissa Vining
Hello friends!! Its Melissa here and I’m back again today with another layout made with the stunning Legendary collection – I really can’t stop creating with it! I was given the task of focusing on the Die Cut Titles, so I decided to go all out! Go big or go home right?!
I took this photo of my newly turned 13 teenager (and only son) Sam on his first day ever of high school earlier this year. He looked so smart in his tie and blazer, and I knew I just had to use the gorgeous map patterned paper, which is the B side to Outdoors Type, with a border of the blue and white stripe cut apart from the B side of Total Legend.
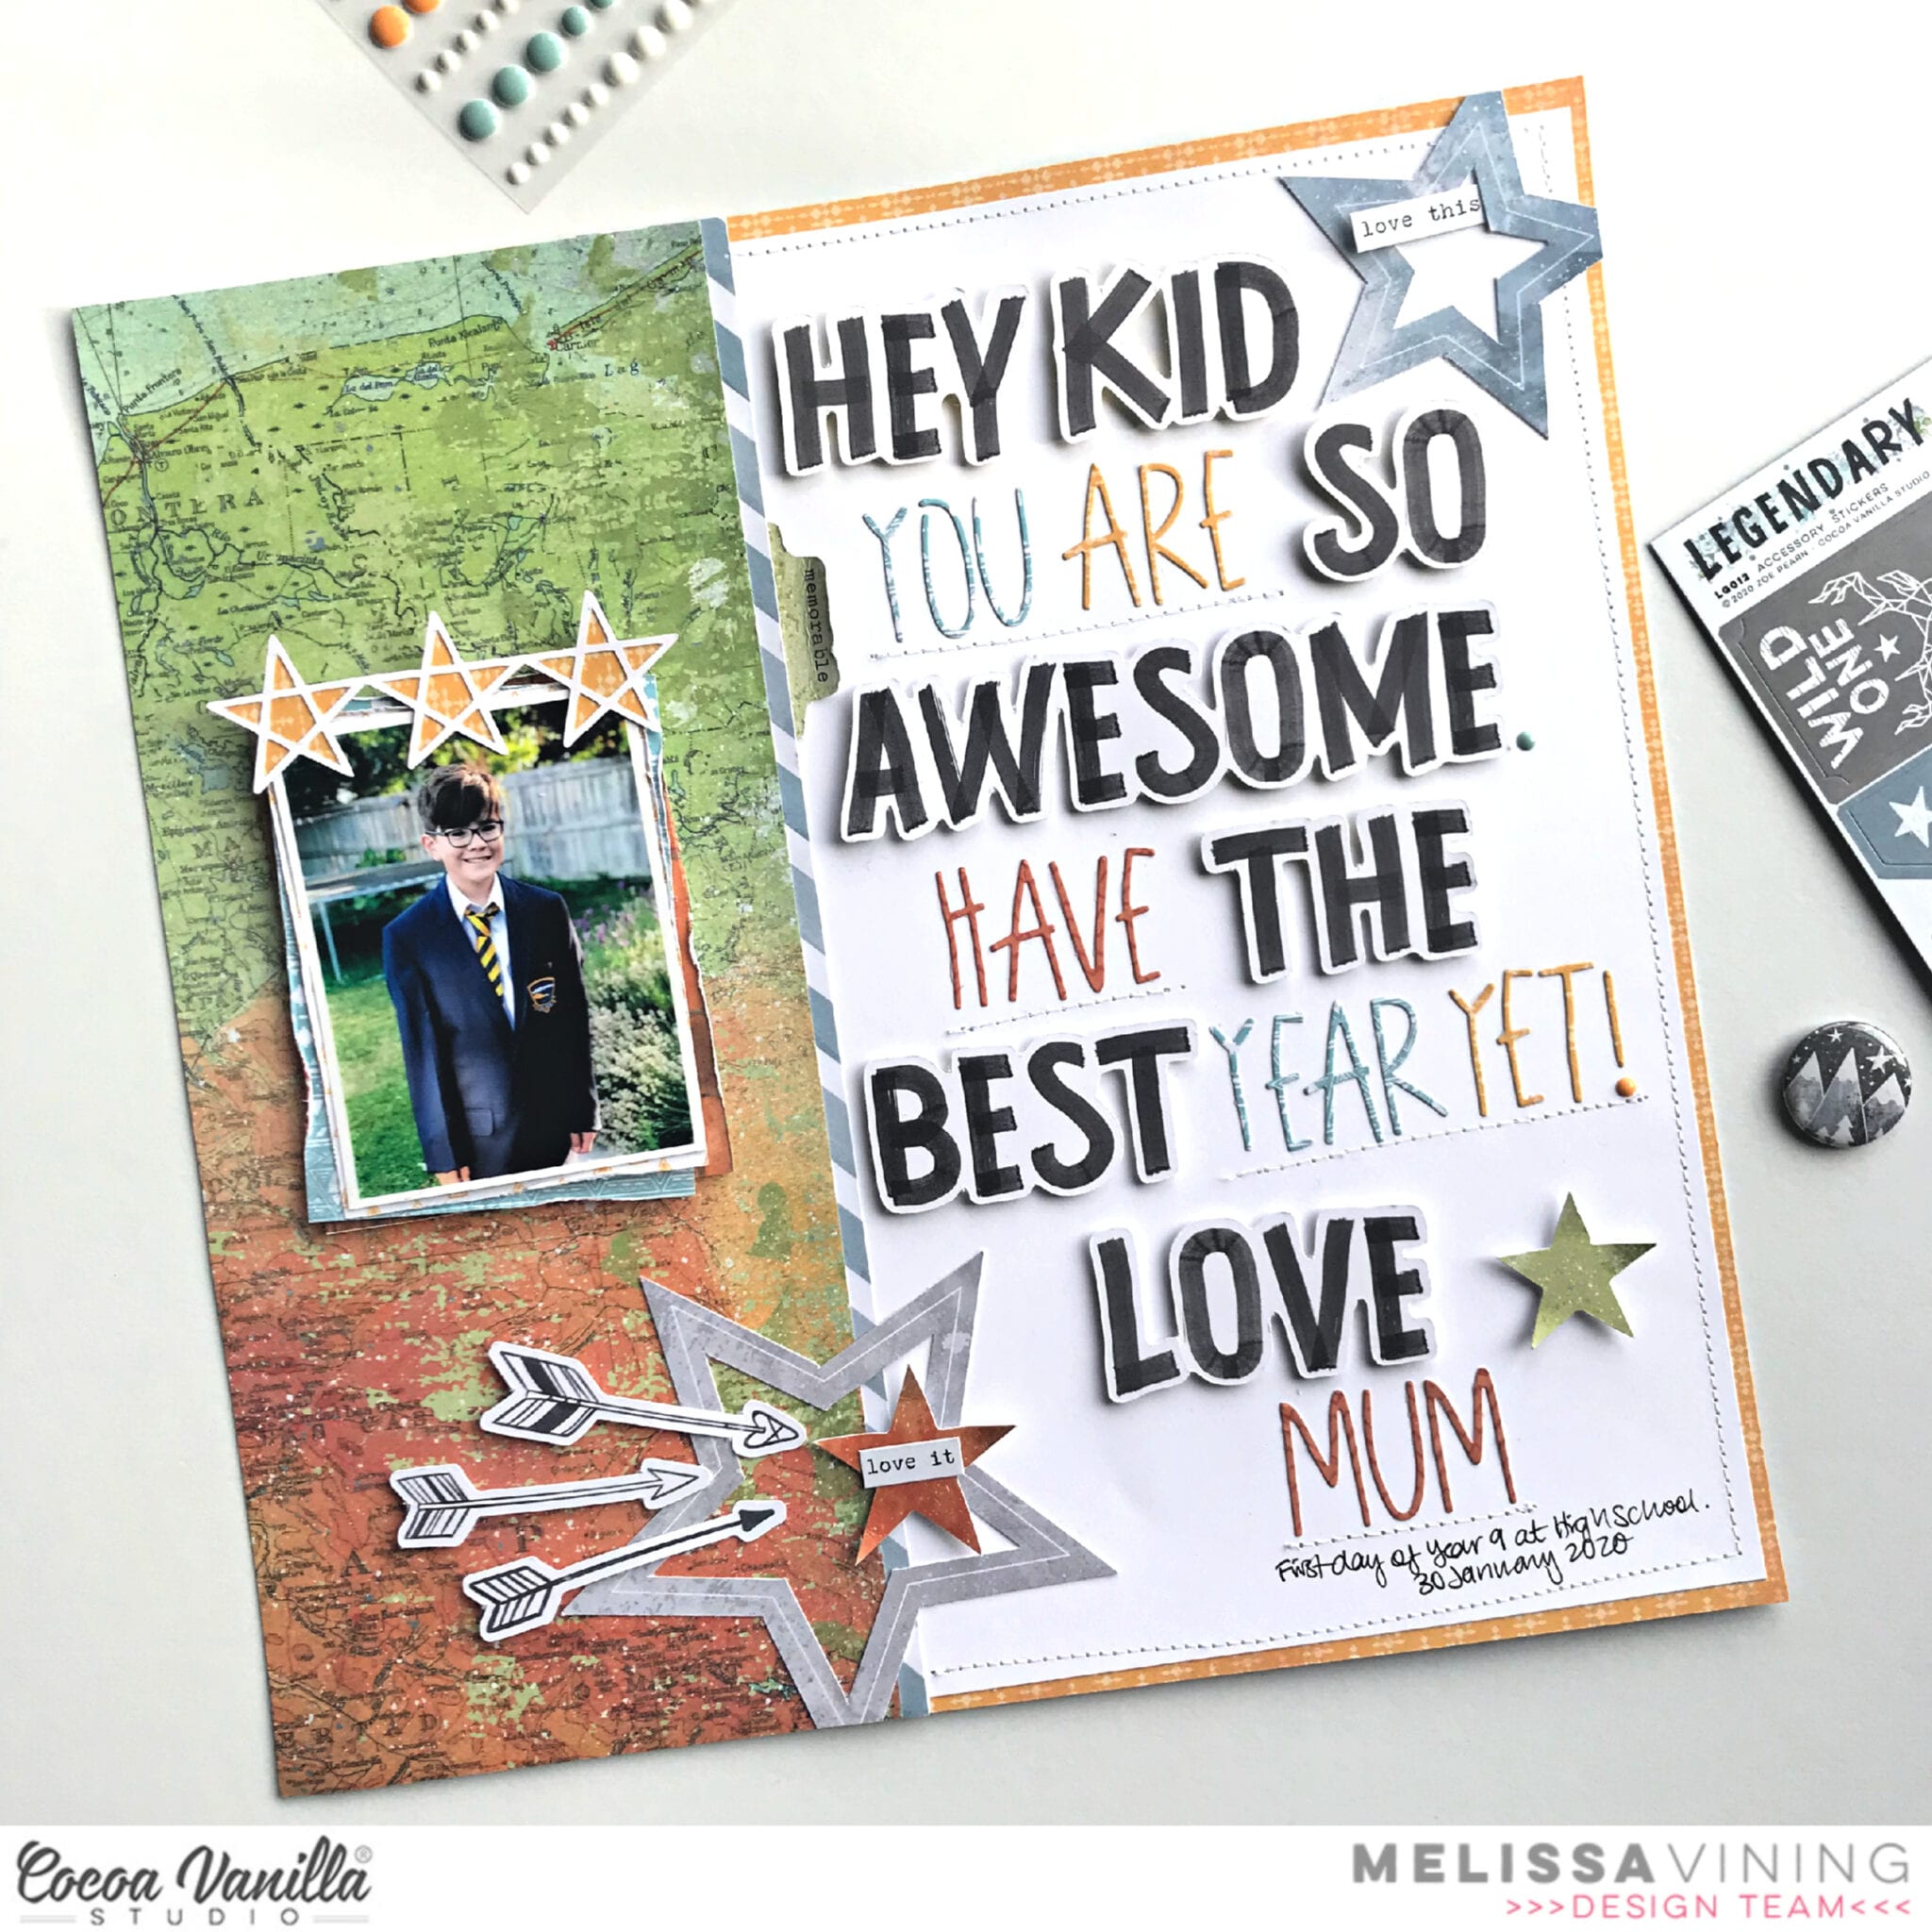
I decided to incorporate several of the Die Cut Titles into a letter to Sam, and I used a manual die for the remaining words (cut from Total Legend, One Way, and Wild One). I used my sewing machine to add lines underneath the manual die words for extra texture and interest, and used Enamel Dots for punctuation.

For my photo I layered up some of the same papers, and then simply embellished with the star cut file which Gwen designed to accompany Legendary. I backed the stars with Wild Once, and I love how it brings out the yellow in his tie.

Carrying on with the star theme, which works really well for both boys and back-to-school layouts, I used a couple of the gorgeous stars from the Die Cut Ephemera pack and placed them off the page for interest. I embellished them with arrows from the ephemera pack and phrases from the Accessory Stickers.

A little ephemera tab with the word “memorable” was perfect tucked under my layers.

I made a process video which you can watch here.
I’m so happy with this layout, and most importantly so is my son!! It means a lot when they are teenagers and still appreciate layouts that we mums make!
Thanks so much for looking!
Melissa xx


 Instead of my go to white cardstock I used the beautiful and subtle grey white washed wood grain paper Artisan. I wanted a real pop of colour so used the bright pink paper
  I added my photo off centre with foam tape and finished off with a bow from
  I have used two different cut files from the Silhouette Design store to create my layered flowers but for those who do not have a cutting machine use a hand punch, punching at least 3 and then layer with foam tape. If you want to recreate these centres, they are super easy! Cut a 12 inch strip at 1/2 an inch. fringe cut with a pair of scissors and then roll as you would any rolled flowers. Once the glue has dried then push outwards all the way around, then glue to the centre of your flowers. I have used
  You will see that I then tucked in-between the flowers fussy cut butterflies, some die cut leaves and a sentiment from the accessory stickers.
 I then created my title using
  I love using word and phrase sentiments from the Accessory Stickers sheets and you can see I added some more under my photo and under my large title.
 And there you have it, I love how this turned out! A great colour palette even though I have used several different collections. Don’t be put off because of the flowers on this layout, you can make. beautiful one’s too, time to blow the dust off those punches!


