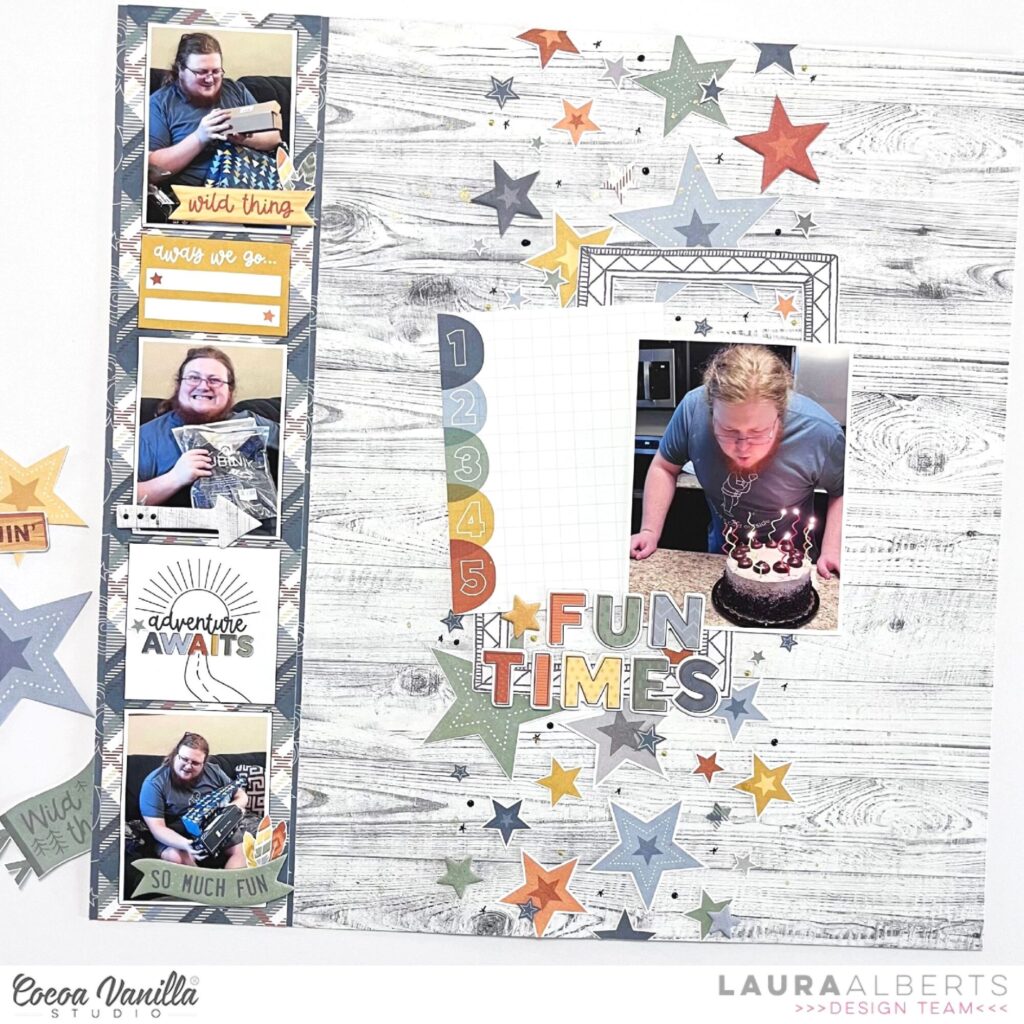
Hey y’all! Laura Alberts back again with another Great Escape layout, but this time it’s a birthday page. Four photos and a shower of stars is the recipe for creating a layout bursting with celebratory vibes! The colors were too perfect not to step outside the theme of this collection for a fun spin a column design.
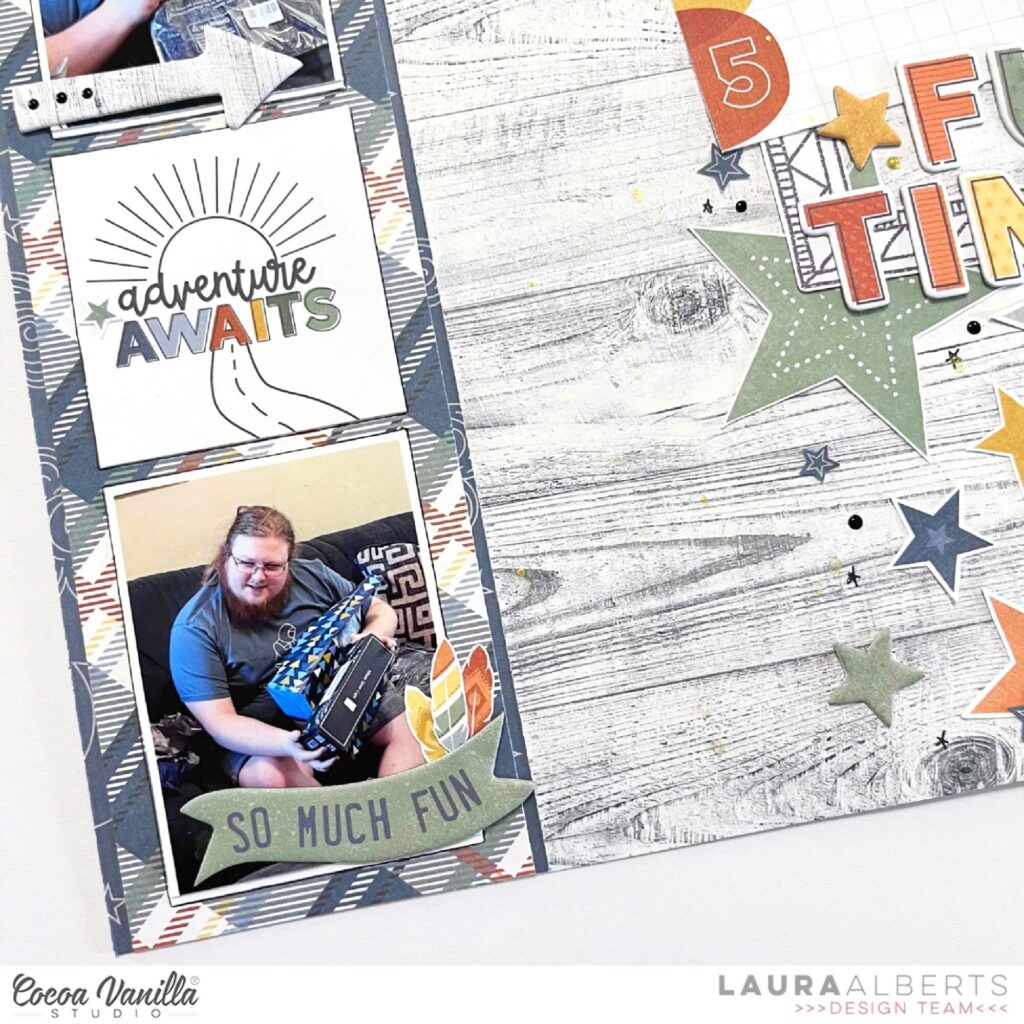
I started with a strip of the stunning plaid on the Star Gazing patterned paper, layered it with thin strips of the navy, then attached it to the beautiful gray woodgrain of the Starry Night to build my background. I lined up my three smaller photos and a few cut aparts from the Wild Life paper to fill in my column.
On the right side, I scattered fussy cut stars from the Star Gazing patterned paper to create a second column, then added my 3×4 focal image and a journaling spot on top! The chipboard stickers were perfect to embellish both columns and add a title with a 3D pop!
I hope this layout inspires you to try stepping outside the theme! If you’d like to see how this layout came together, check out the process video below:
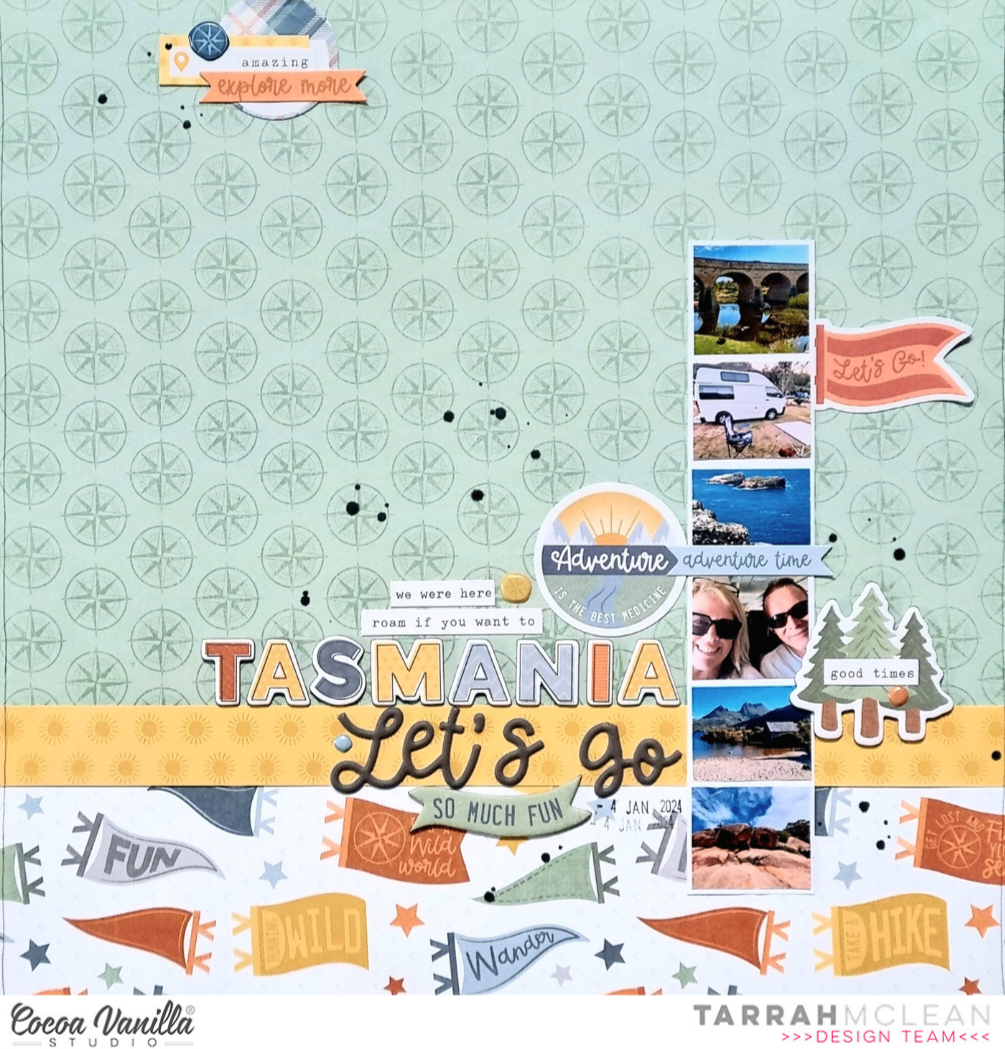
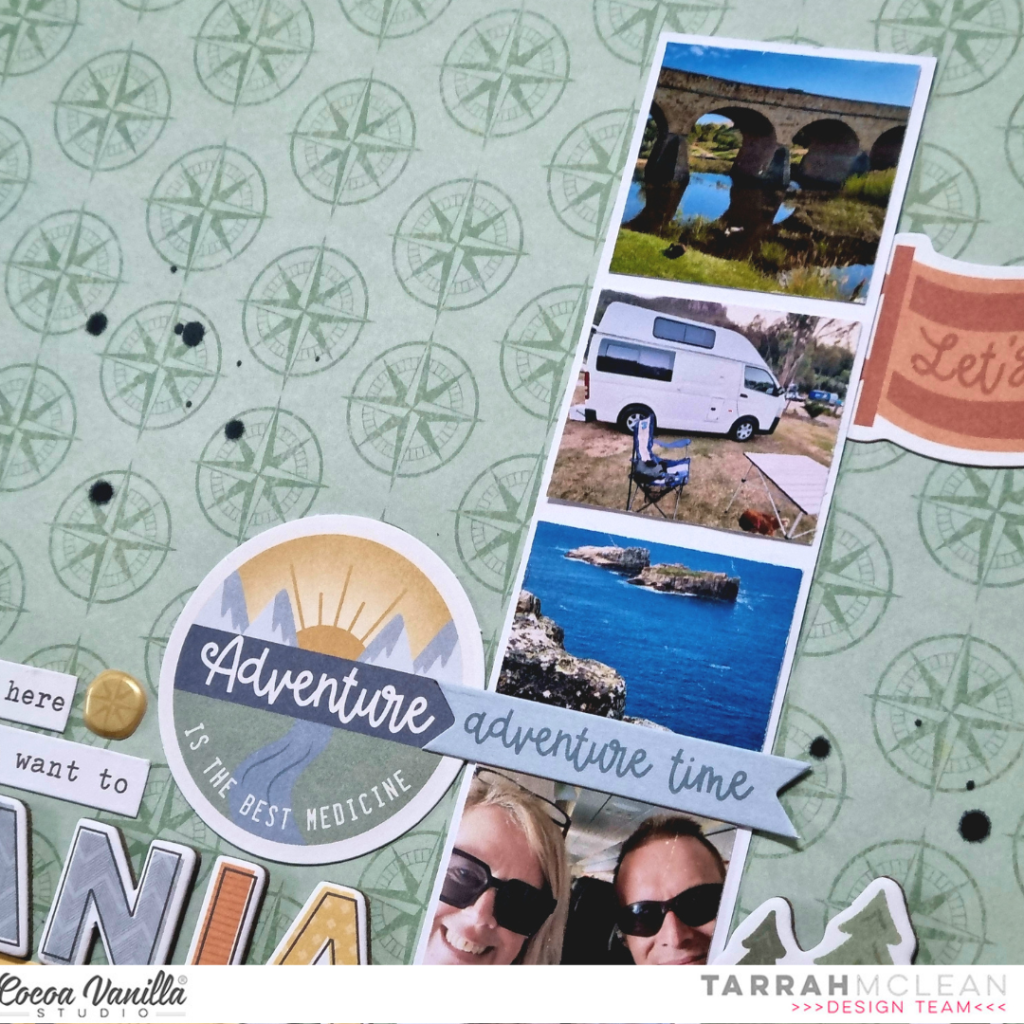
It’s Tarrah back with you and today I am sharing a new travel layout featuring the new Great Escape collection. I decided to document our recent trip to Tasmania, printing a total of 6 favourite photos all in a small format to create a vertical filmstrip look.
I chose 3 patterned papers to use for the background of my layout. I turned the Direction patterned paper over to show the green side, the Happy Camper patterned paper was left with the flags showing and I also turned the Horizon patterned paper to reveal the yellow suns. Once the papers were arranged and adhered, I placed the photo strip over to the right side of the layout.
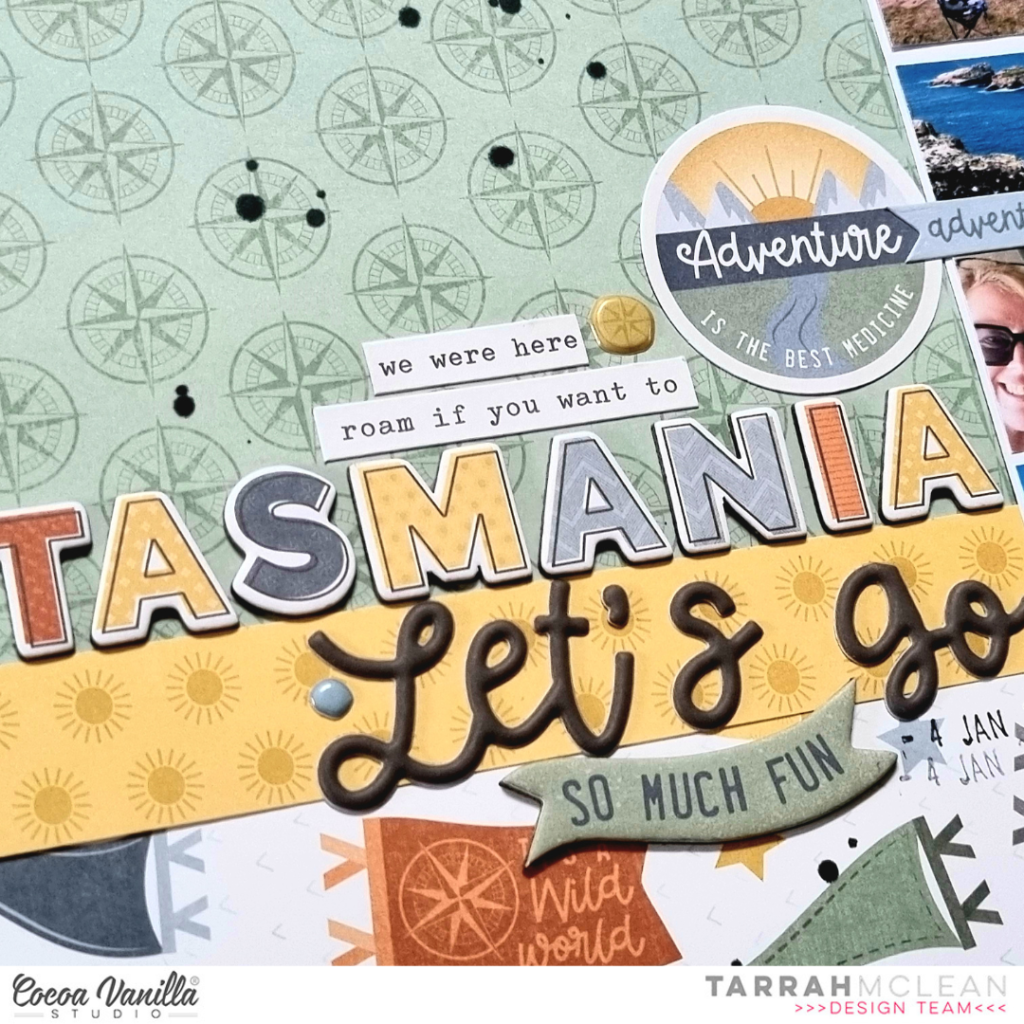
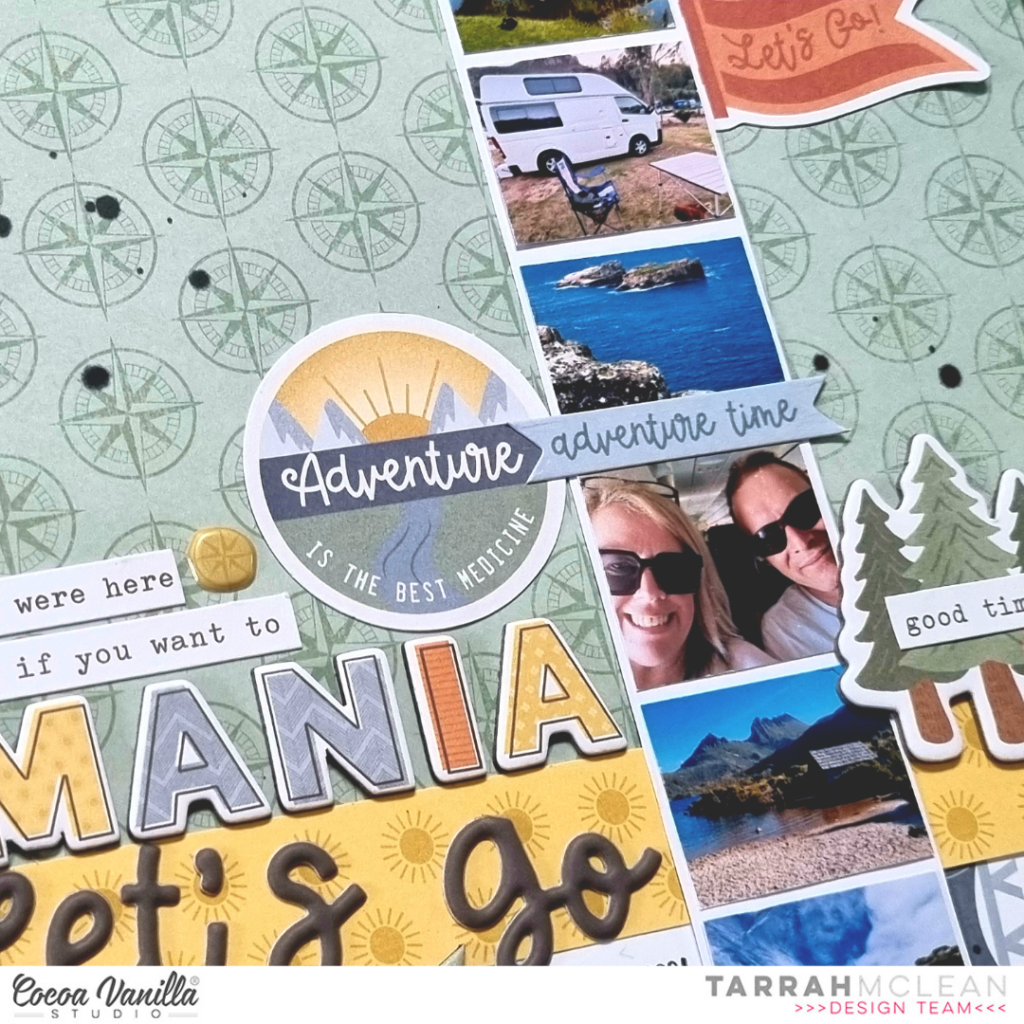
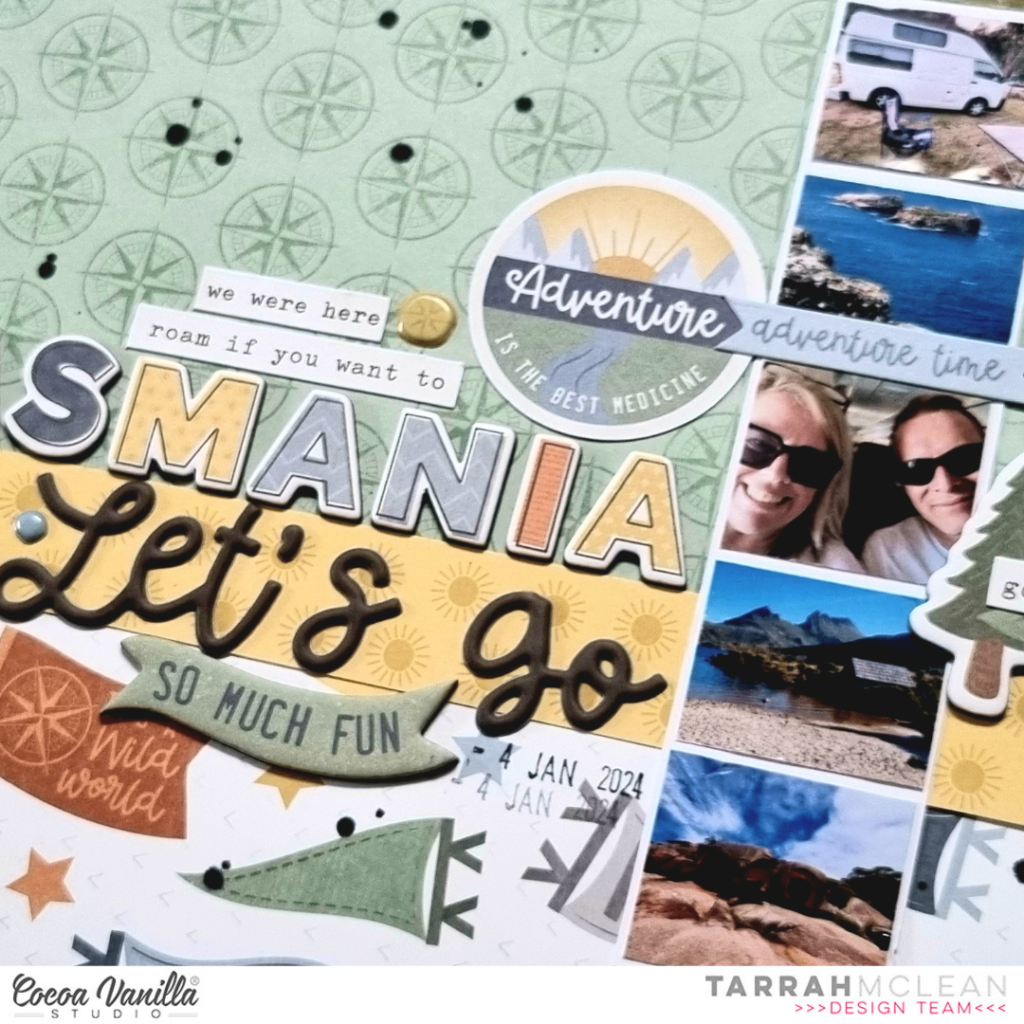
For my title, I decided to spell the word Tasmania using the ‘Fun Times Ahead’ chipboard title. As I was spelling the word Tasmania in my head, I thought all of the letters were there in the 1 packet of chipboard except Tasmania has 3 A’s so I did have to open a new packet of the chipboard elements and steal one of the A’s from that pack! I placed the title along the top line of the Horizons paper and I also added one of the puffy titles under the chipboard title too.
Just above the Tasmania title, I placed one of the round die-cuts and also placed one of the banner stickers from the Accessory stickers through the centre of the photo strip. On the right of the photos at the top, I added the Let’s Go flag die-cut and bent up the edges slightly to add some texture. To the direct right of the photos at the bottom, I added the tree chipboard and layered one of the phrase stickers from the Accessory sticker sheetover the top. I also added more of the phrase stickers above the Tasmania title.
Once the larger elements were added to my page, I added some of the smaller elements including one of the banner chipboard pieces below the Let’s Go title and I created a cluster of embellishments at the very top of the page using stickers from the Accessory sticker sheet and a puffy sticker too. I added a couple more puffy stickers and finished by freehand drawing a border around the outside using my journal pen, stamping the date stamp and sprinkling some black mist to finish.
Thank you so much for stopping by the Cocoa Vanilla blogtoday! I hope you are inspired by my layout and got some ideas for your next project!
Make sure to keep checking back here on the blog for all the other gorgeous creative projects from our design team!
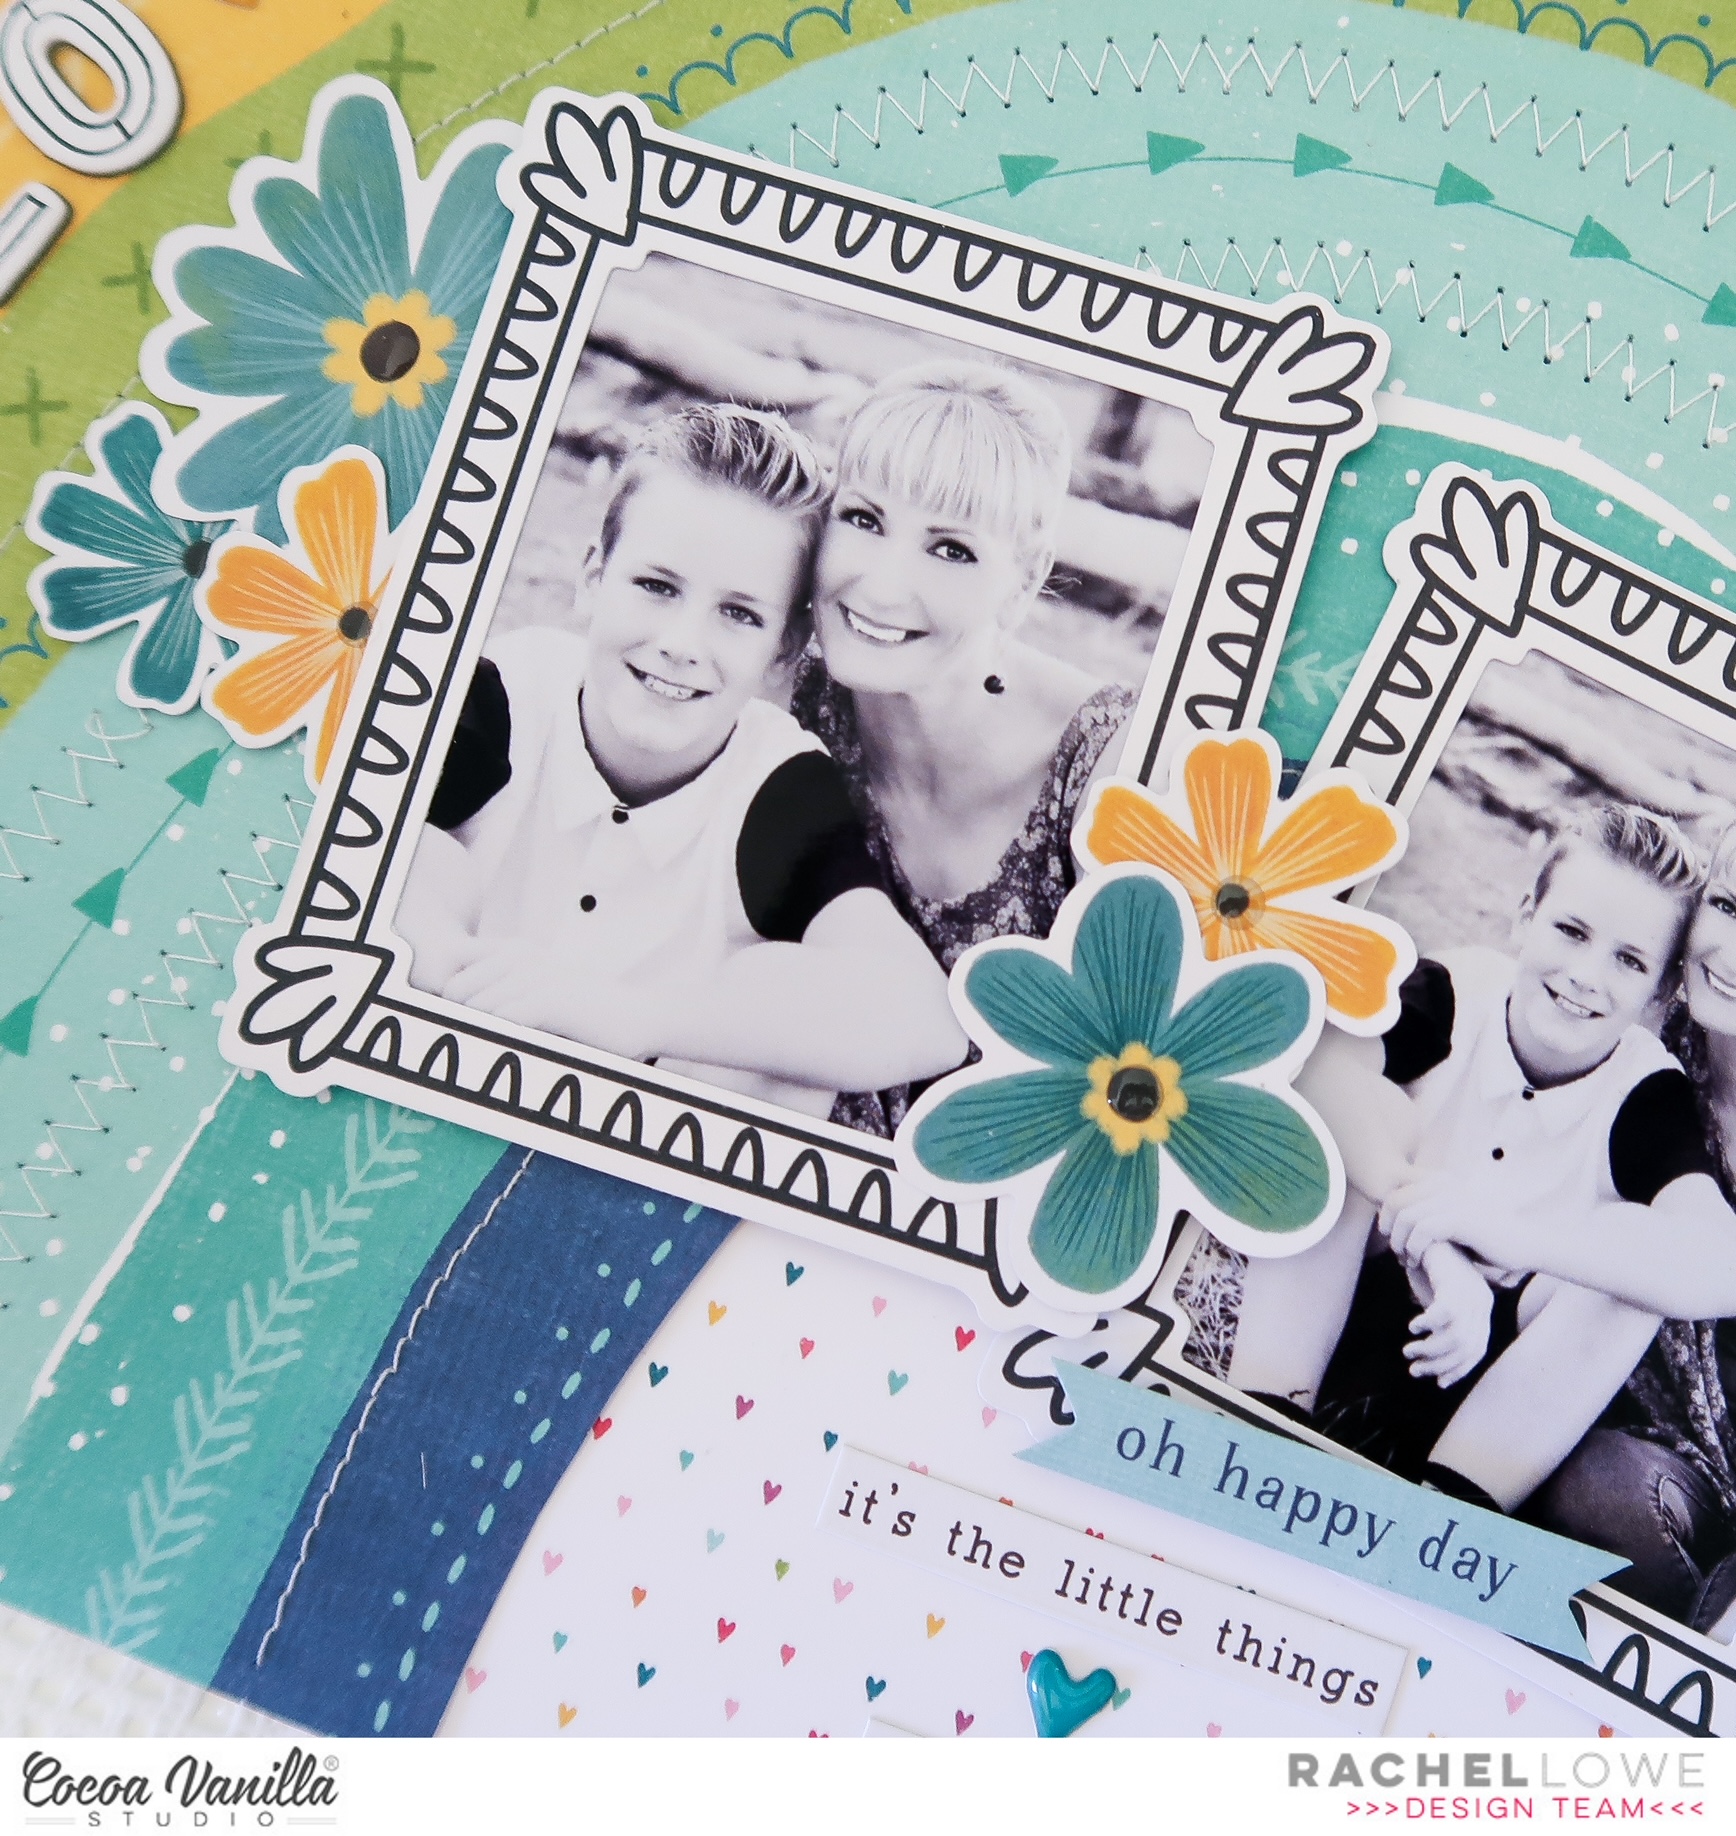
Today is throwback Thursday! I have used the bright and beautiful Happy Days collection.
I wanted to scrap this photo of my youngest boy and I and therefore aimed for a colour palette more boy than girl!
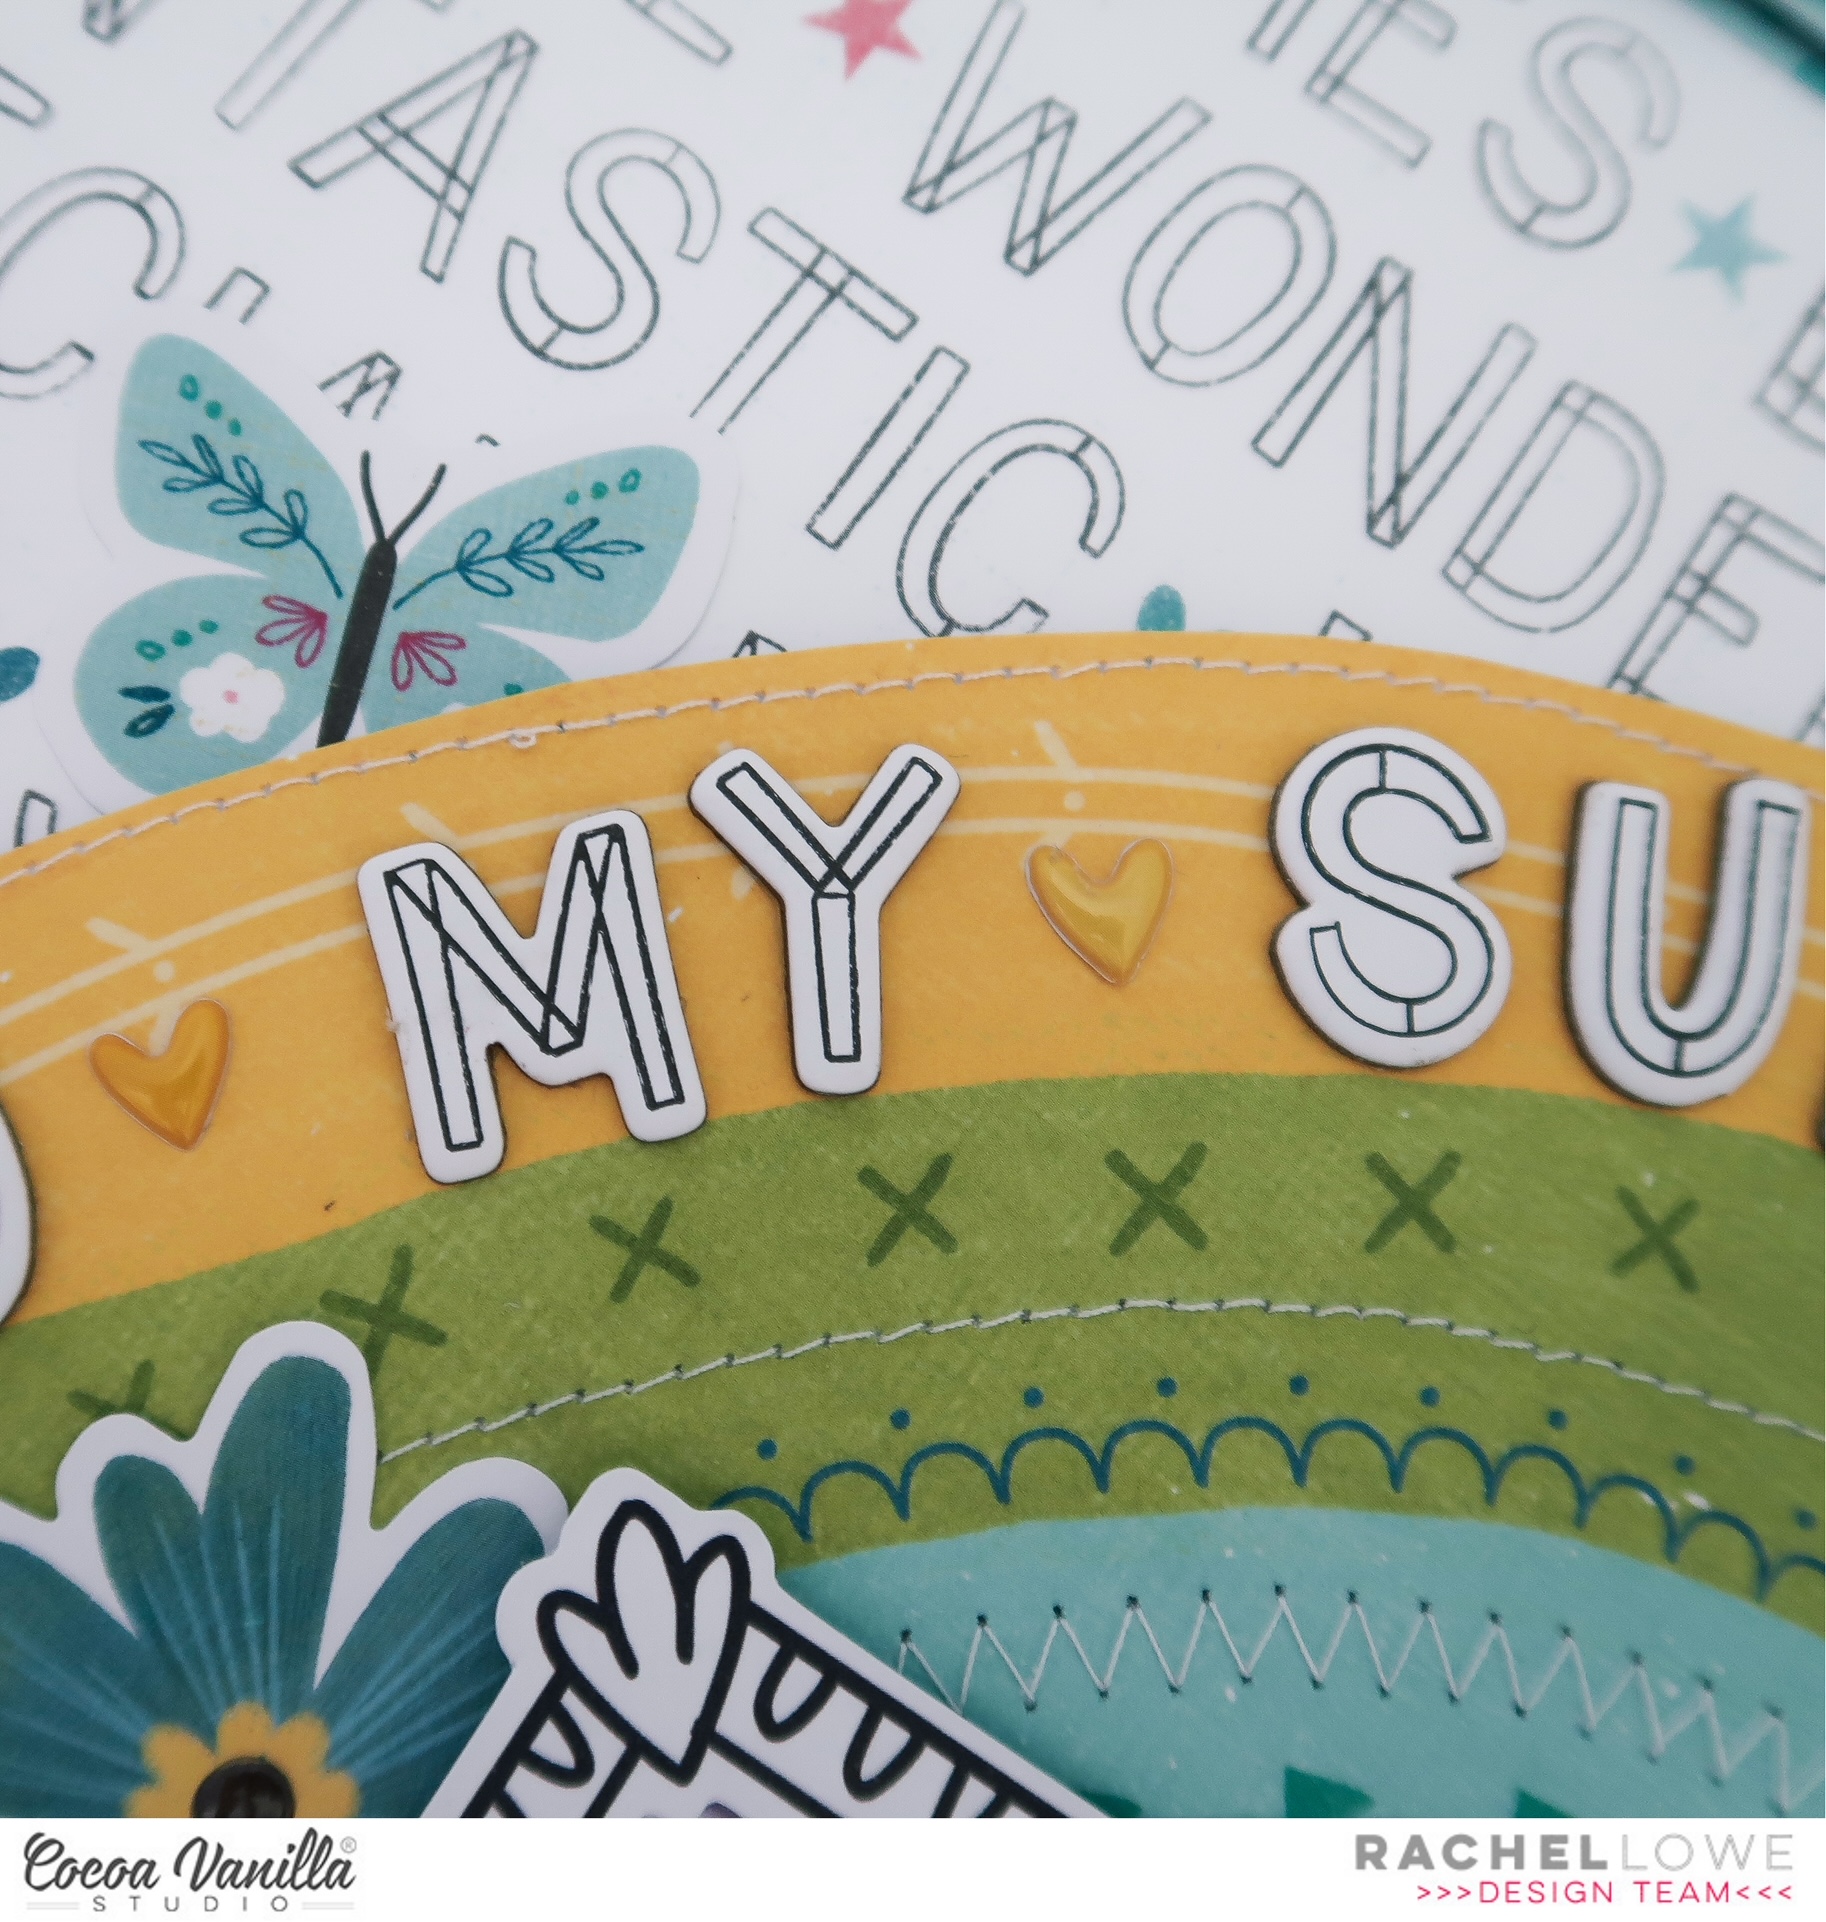
I used Definitive paper as my background page and then cut the Rainbow Bright paper rainbow taking out the pinks. I added machine stitching to add texture to it.
I used two frames from the die cut ephemera pack for my photo, one which I cropped to a close up. I added these with foam tape so I could add elements under the frames. I added flowers from the floral ephemera pack focusing again on blues and yellows to match my rainbow. I then added glossy accents to the centres of the flowers.
I added journalling using the phrase sentiments from the accessory sticker sheet under my photo.
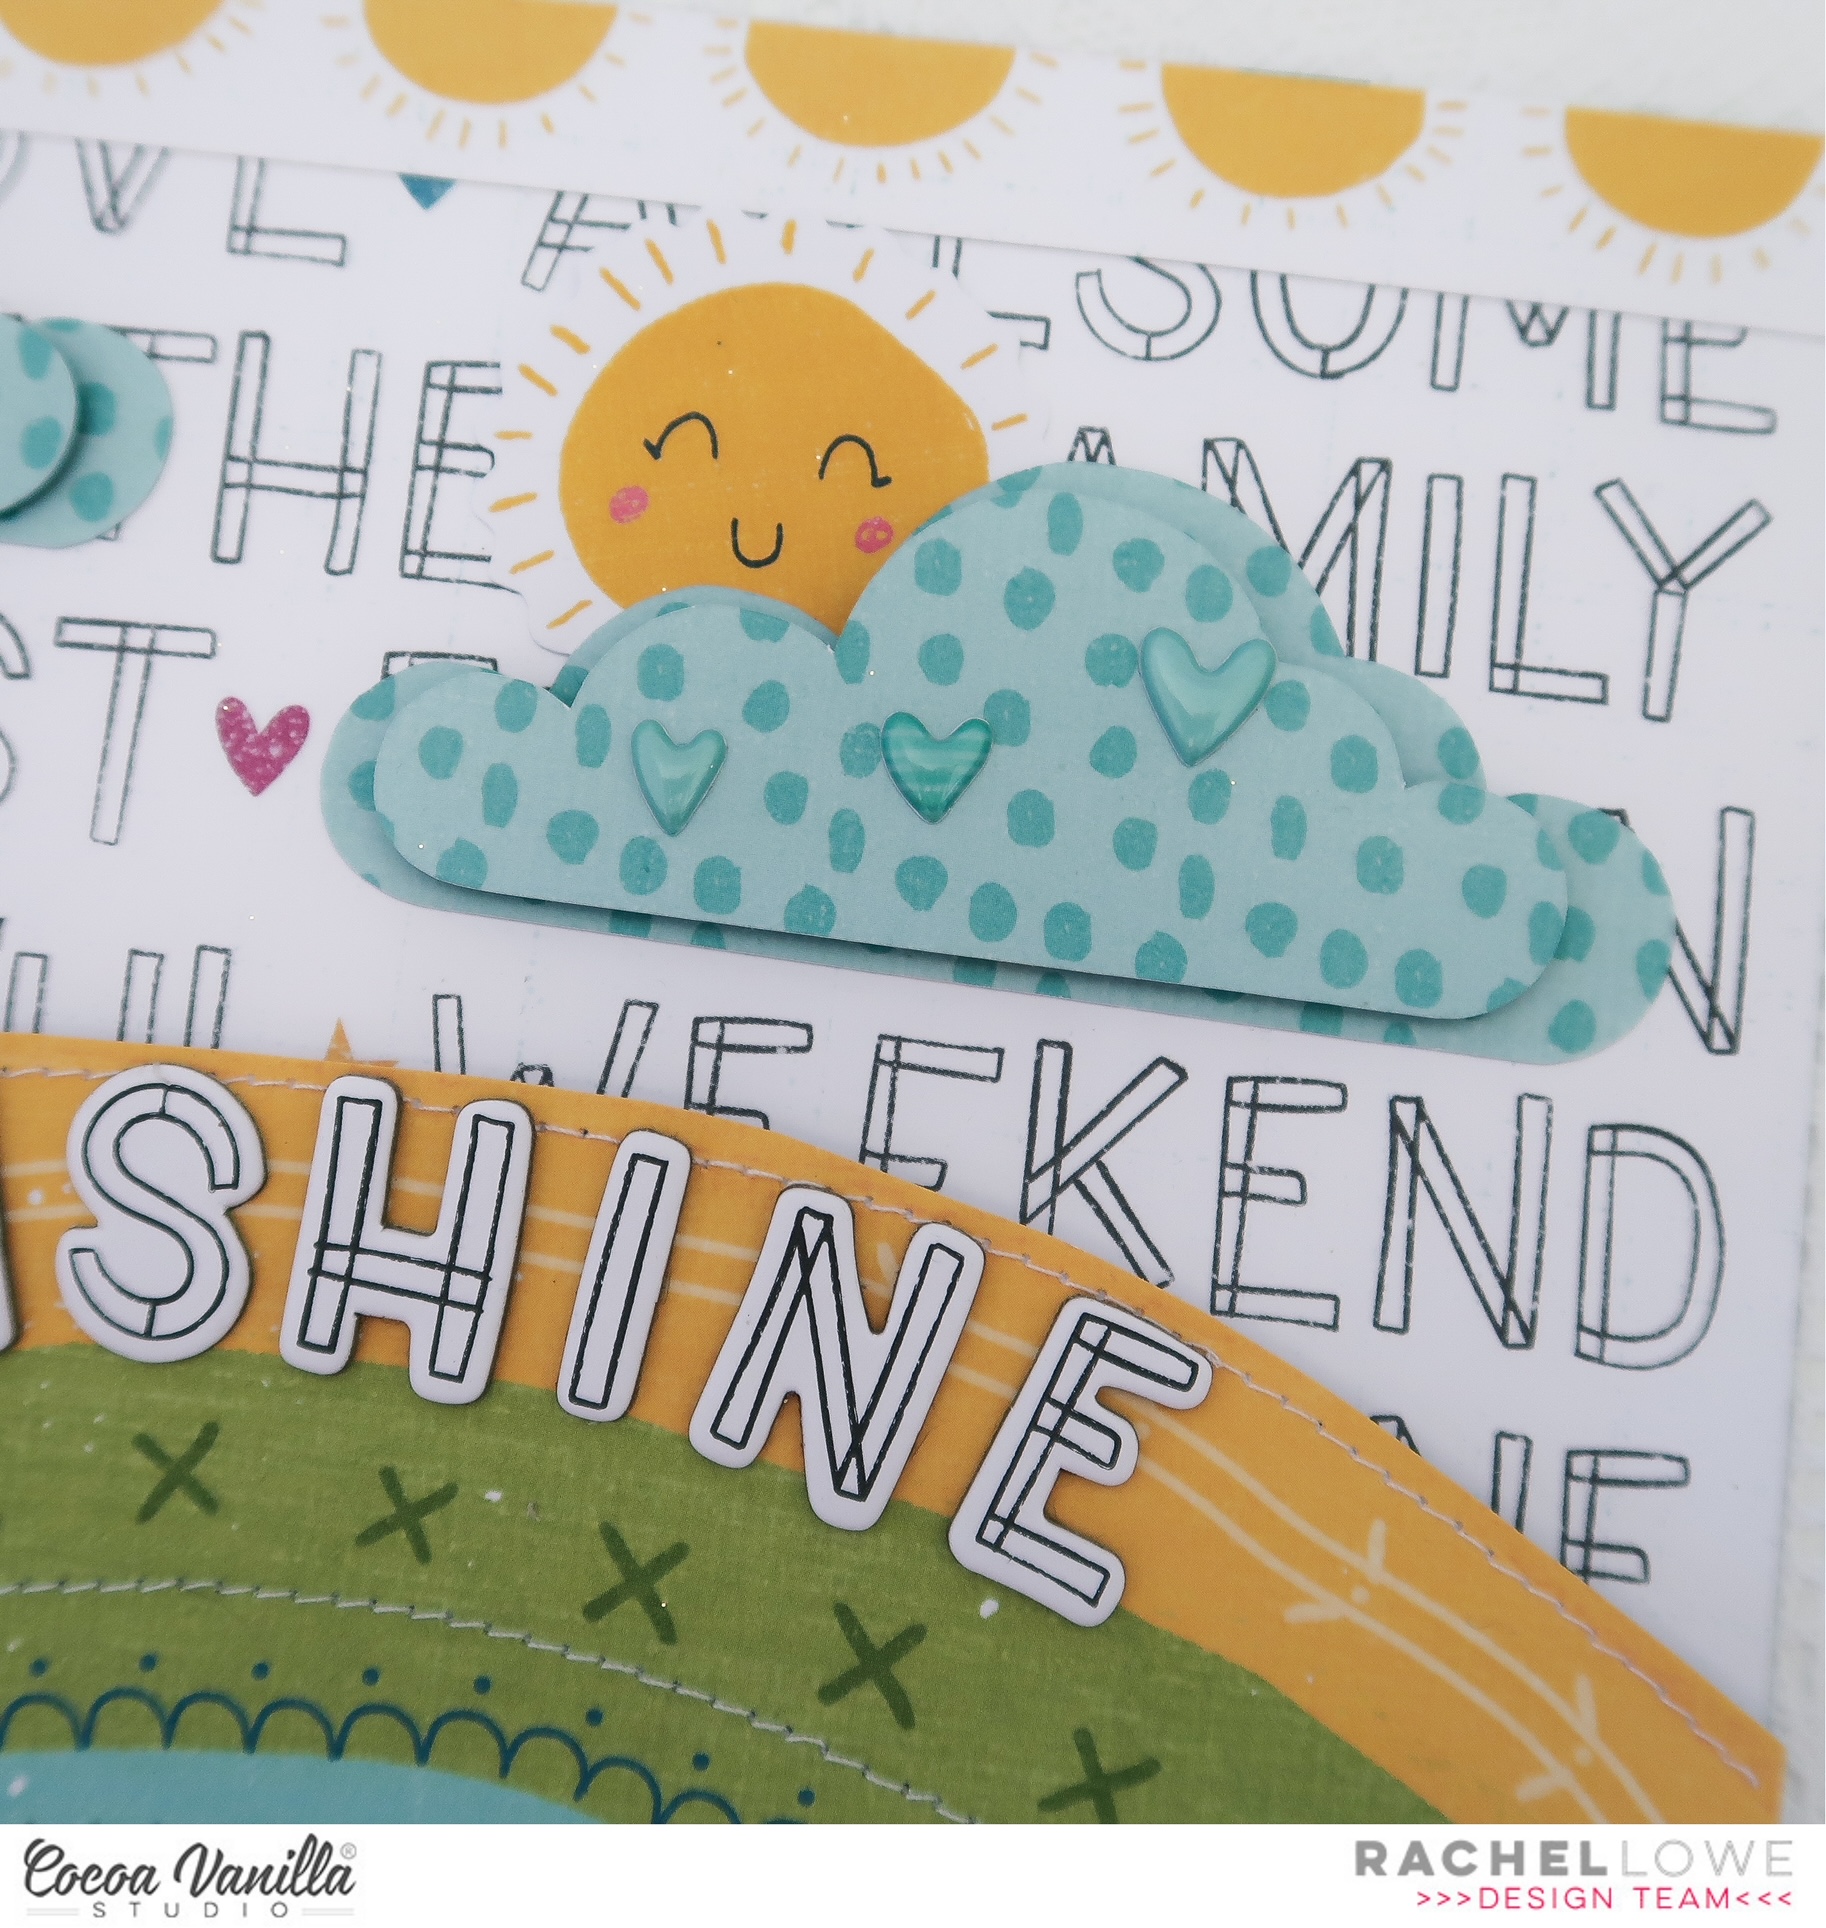
I next created a sky by cutting some clouds and layering them using the paper from the A5 paper stack. I added hearts from the puffy sticker sheet.
I used the curve of the rainbow and added my title using the chipboard title stickers
I added a butterfly and some heart puffy stickers to add more contrast and dimension.
The colours of this layout against a black and white background are so striking, this layout is giving me all the happy vibes!
Thank you for stopping by today! Throwback Thursday is always a good excuse to get out those older collections and create something beautiful.
Hi everyone, it’s Sue Plumb here to share another design team project with you. Today I am sharing a mixed media family themed layout I created using the beautiful ‘Heart & Home’ collection. I decided to document this photo of my hubby and kids from Father’s Day a few years ago and feature the blue / green tones of the range.
I decided to keep this layout relatively clean and simple, so began with a white cardstock base and some mixed media. I first added some stencilling using a Distress Oxide and script stencil; then some light stamping over the top using a ledger stamp and grey ink. These three points formed my “visual triangle” to help define my placement for my photo.
I chose a mix of patterned papers to use for my page that included the B sides of the Bountiful, Harvest and Framed papers. I added torn pieces of the green and wood grain patterns along the bottom edge of my page, using my fingertip to ruffle the edges for extra texture. I then mirrored the same paper pieces on a smaller scale along the top edge of my page. The mixed media on the background helps to connect these pieces to the main area of the layout.
For the focal area of my design I used a mix of all three patterned papers and tucked a grey paper doily into the layers. I also added some frayed gauze for texture before mounting my photo on top, and then began adding my embellishments. I started with the sweet little heart banner in the corner of the photo from the Accessory Sticker sheet. I love adding embellishments directly onto my photos, as not only can you use this trick to cover unsightly things in the background or fill negative space, but I find it also helps to connect the photo to the rest of the elements on the page.
I wanted to build floral clusters on this page, so I rifled through the Floral Ephemera pack and pulled out pieces that worked with my colour scheme. Then it was simply a matter of shuffling the pieces around until I was happy with the arrangement. I made sure to tuck the pieces over and under each other, as well as other elements on the page, to help create depth. I also bent the edges up or used foam tape to add dimension to some of them. To the left of my photo I added a handmade felt arrow from my stash.
I chose the word together from the Gold Foil Titles pack as my page title, and then a few phrases from the Accessory Sticker sheet for some additional text. (I always try to ensure a balance between images / text and other elements on my page – it makes it more interesting for the viewer to have a mix of things to look at.) I finished off with some scattered dots and hearts from the Puffy Stickers pack and some tiny black ink splatters.
Thanks so much for joining me today, I hope I have inspired you. Why not pull out some of those stencils or stamps from your own stash to add some subtle mixed media to your next project? Remember – you don’t need to cover the whole page and sometimes a little can go a long way!
It’s Sophie with you today and I am excited to share my very first layout with the new Great Escape collection!
As soon as I saw it, I knew exactly which photo to document with it!!
I started with a white background and the Starry Night paper to place my photo and embellishments.
I mounted the photo on tissue paper, adhesive foam and a few layers of patterned papers from the A5 Paper Stack.
I placed the photo on the right side of the page, and added white gesso on the left side where I was about to build a little scenery.
I selected a few embellishments from the Die Cut Ephemera pack like the trees, signage and tent to support the theme of the layout, and scattered numerous stars around the photo and title (Foam Title Stickers).
I completed the page with a few stickers from the Accessory Stickers sheet, and handwrote my journaling directly on the white background.
Here are more close-ups:
Oh how I LOVE this collection!! It’s just perfect for outdoors memories!!!
Hi Cocoa Vanilla friends and welcome back to the blog.
It’s Kel here today and I am sharing my take on the Scrap Lift challenge that is running this month. Have you had a chance to enter the comp? There are 3 different pages to choose from…or you could lift all 3! I decided to scrap lift this layout from design team member Michelle Stokes….
For my page, I am using the brand new The Great Escape collection..here is my page..
I changed the design by not using squares, instead using elongated hexagons. I mounted a smaller hexagon on top and added hand stitching to give them texture.
I have used 2 photos like Michelle, applying them slightly offset, and mounted them onto black cardstock to help them pop off the page, then embellished on a diagonal through the photos.
To the top left of the page I have used a piece from the die cut ephemerawith a hand cut star and a black star that I cut from cardstock, to add a pop of black to the top of the page..
Next I used a sticker above my photo from the Accessory Sticker Sheet and a chipboard banner from the Chipboard Stickerswhich I added onto my photo. Under the photo I used a label from the A5 paper stack to add my place and date.
To the bottom right of my photos is where I added my title. I used the Chipboard Stickers for “Fun Times Ahead’.. I love how they pop off the page… and of course I had to add some of the signature Cocoa Vanilla stars that Zoe adds to her more masculine collections..
Under the title I used some of the phrases from the Accessory Sticker Sheet. I always find these easy to use..
I hope you have enjoyed seeing how I scrap lifted Michelles gorgeous page today and I look forward to seeing your pages in the Cocoa Vanilla Facebook group.
Hey everyone, this is Niki (@nikiclairecreates) with my first layout and process video using the new Great Escape Collection! I had a little story to tell about my little boy, and the paper with the mountain skyline was just perfect so I went straight for that!
I trimmed the paper down and placed it on a white background. I framed it with two dark blue strips that I cut from the A5 Paper Stack, this was to give that middle piece some definition against the white background.
I added my photo together with some mountain ephemera from the Die Cut Ephemera pack and a cute little journaling card from the A5 Paper Stack. I added some Chipboard Stickers and some more ephemera: a star and a compass.
On the other side, I made another large cluster using a small piece of paper, several Accessory Stickers, some Chipboard Stickers and more pieces from the Die Cut Ephemera. I stapled some ribbon onto the tag sticker and this was initially where I thought I could write my journaling. I actually ended up adding small embellishments and the date and writing my journaling below the title instead.
I added ‘let’s explore’ title from the Puffy Titles pack – how awesome are these! And I handwrote my journaling below this. I wanted to add my own title to this layout which went with my story, so I reached for the Mini Puffy Alphabet stickers from the Heart & Home collection. The colours match really well and I was able add my ‘Mr Lava Lava’ title!
My mountain skyline was looking a little flat, so after I’d stuck everything down, I decided to attempt to give them some dimension! I managed to lift up the paper, slide my cutting mat underneath and carefully cut along the mountains. I then added foam pads – I love how this turned out!
Finally I added some splatters of black paint and some sequins!
I loved using the Great Escape collection and have made loads more layouts with it since so keep checking back for those!
Happy scrapping
Niki xx
and welcome to the Cocoa Vanilla Studio blog! We’re happy to have you here looking for fresh scrapbook inspiration and curious to explore the fantastic new collection called “Great Escape.” My family and I are mountain lovers, always on the lookout for new adventures through long climbing hikes. This collection fits perfectly with our cherished memories from Austria and Switzerland. The photo featuring my daughter and me was taken in the picturesque town of Hallstatt, Austria.
To kick off this creative journey, I started by cutting a large circle out from white cardstock. Opting for a light blue patterned paper, I filled the circle and added a touch of detail by stitching the edges with green thread by using my Cricut cutting machine. I cut three different trees from green and gray cardstock. The cut files are from the Cricut store. The choice of green and gray provided a beautiful contrast that complements the colors of the new collection. To add depth and dimension, I attached the trees with 3D foam, for a lovely stand out.
Next, I sized the photo and added a dark blue border by cutting the pattern paper to fit and placing it behind the photo. I placed the photo with patterned paper halfway onto the trees. Creating a focal point on the right side of the photo, I selected die-cuts to make a large cluster. Adding a green stitching detail to some of the die-cuts.
Underneath the cluster, I finished with two word strips that complement the theme. For a playful touch, I scattered puffy stars across my layout as confetti, bringing joy to the overall design. Lastly, I created my title using the beautiful word titles. The font of these word titles is truly amazing, and I chose “Let’s go explore” as the title. To finish, I added splatters of white gesso and green and blue Distress Oxide using a brush.
I hope this outdoor layout has inspired you to embark on your own creative journey. I’m thoroughly enjoying working with this beautiful collection and can’t wait to create another layout. Until next time, happy crafting!
Hooley Dooley its February already! Michelle here with you today, sharing something a little different for me using the new Great Escape Collection.
The minute I laid eyes on this awesome collection I immediately thought of all the travel inspired layouts and creations I could make, then I remembered that travel for us has well and truly been on the back burner for quite some time. So why not create a mini book ready for when we are ready to.
I created this mini album in 6×8 size using so many of the fun pattern papers from this collection, with plenty of space to add photos, write down memories and keep all the things we can collect along the way. Think maps, tickets and tags of all kinds. Theres pockets, fold outs and extra clear pages for all the extra photos I’m sure we will add. I’ll add a list of all materials used at the end of the post for those who may want to recreate for your own travel photos.
Once all the pages and pieces were complete, I bound it all together using my Cinch tool ready for our next family adventure.
Be warned, this is a very photo heavy post as it was just too hard to choose a few photos to share.
First up is a pocket with hidden tag for photos, bits n pieces or even a little journalling. Then when you flip the page you come across space for larger photos or even postcards collected along the journey
I added in pieces of notepaper scattered throughout the book to give space for journalling all about the adventures being had
I created a large pocket perfect to hold larger items like folded maps and brochures. This was super easy to create by joining 2 pieces of pattern paper together and sewing along the top and bottom. No need to sew along the edge that needed to be closed as the binding coils help to enclose that end.
I added another clear pocket over the page for another larger photo, which can be moved like all the pages in this album, by opening up the coil and rearranging.
Another funky pocket created by cutting into the paper in line with the design and sewed onto the backing paper using my sewing machine
One of my favourite ways to mix things up in these mini books is by creating different types of pages, this one is a double sided tag with ribbon, reminiscent of a luggage tag
Another fun piece is this flip out page that opens up to showcase multiple photos and journalling together, which would be perfect for extra special moments within the journey
Further into the book theres yet another pocket with some pull out pieces for hidden photos/journalling/ephemera, with the pocket sewn straight onto the pattern paper this time with an opening to the side.
Flipping through theres more places for photos, including a space for some film strip type photos and more journalling.
1 last pocket for the book with a top opening and plenty of space for extra photos/tickets or even receipts from along the journey
Lastly a space on the final page for last thoughts, future trip ideas, extra photos you name it
And a cute little something on the back of the book ready to fill out once its filled up with memories.
Well thats all from me today, thanks so much for stopping by and persevering through the enormous amount of photos I had to share of this fun mini book. If you happen to make your own version, please be sure to share it with us in the Cocoa Vanilla Studio Facebook Community Group as I’d love to see it. Hopefully yours might contain the memories its made for and not sitting patiently waiting for that trip to be booked lol
Until next time, Happy crafting! Michelle x
PS. Heres whats left of the products I used, with a few extra paper scraps not shown.
Materials & Tools Great Escape Collection – 12×12 papers – 1 of each pattern – A5 paper stack – 4 patterns, 1 of each – Die Cut Ephemera Pack – Accessory Sticker sheet – Foam Title Stickers – Puffy Stickers
Cinch Machine with Blue binding coil Sewing Machine with white thread 6×8 clear pocket pages cut in half White ribbon Tiny Attacher Glue Dots Double sided foam adhesive
Hey y’all! Laura Alberts here again with another Great Escape layout featuring a ton of camping photos from our trip to Cumberland Falls! The waterfalls at this campground were stunning, so I wanted to squeeze as many photos on this layout as possible. In the end, there are two 3×4 inch photos and four 2×3 inch photos documenting the sights and my kids exploring the area.
I started with a few paper strips, two from the cut-apart Wild Life patterned paper and the others are off-cuts from Starry Night and Journey. In addition, I fussy cut a ton of stars from Star Gazing and the feathers from Direction. I love the patterned papers that have designs perfect for fussy cutting!
In addition to the vertical and horizontal strips that I used as a base for my design, I added an little shelf in the center to hold my main focal images. The fussy cut stars added a nice detail to the rainbows along the vertical strip, while the rainbow stripe reflected the same color scheme along the bottom and on the shelf, creating continuity between the three clusters of photos.
I hope this layout inspires you to expand your use of paper strips to think outside of the box! If you’d like to see “Explore” come together, check out this process video below: