Fun Happy Days Together | Happy Days collection | Tarrah McLean
Hi creative friends!
It’s Tarrah back with you and today I am sharing a new scrapbook layout with you featuring the GORGEOUS Happy Days collection!
For this layout, I am documenting a recent photo of myself and my 2 sons. It is not very often that we get a photo together so when we were together recently, I took the opportunity to snap a photo! I did print the photo in colour however as we are all mostly wearing black it goes with the Happy Days collection perfectly!
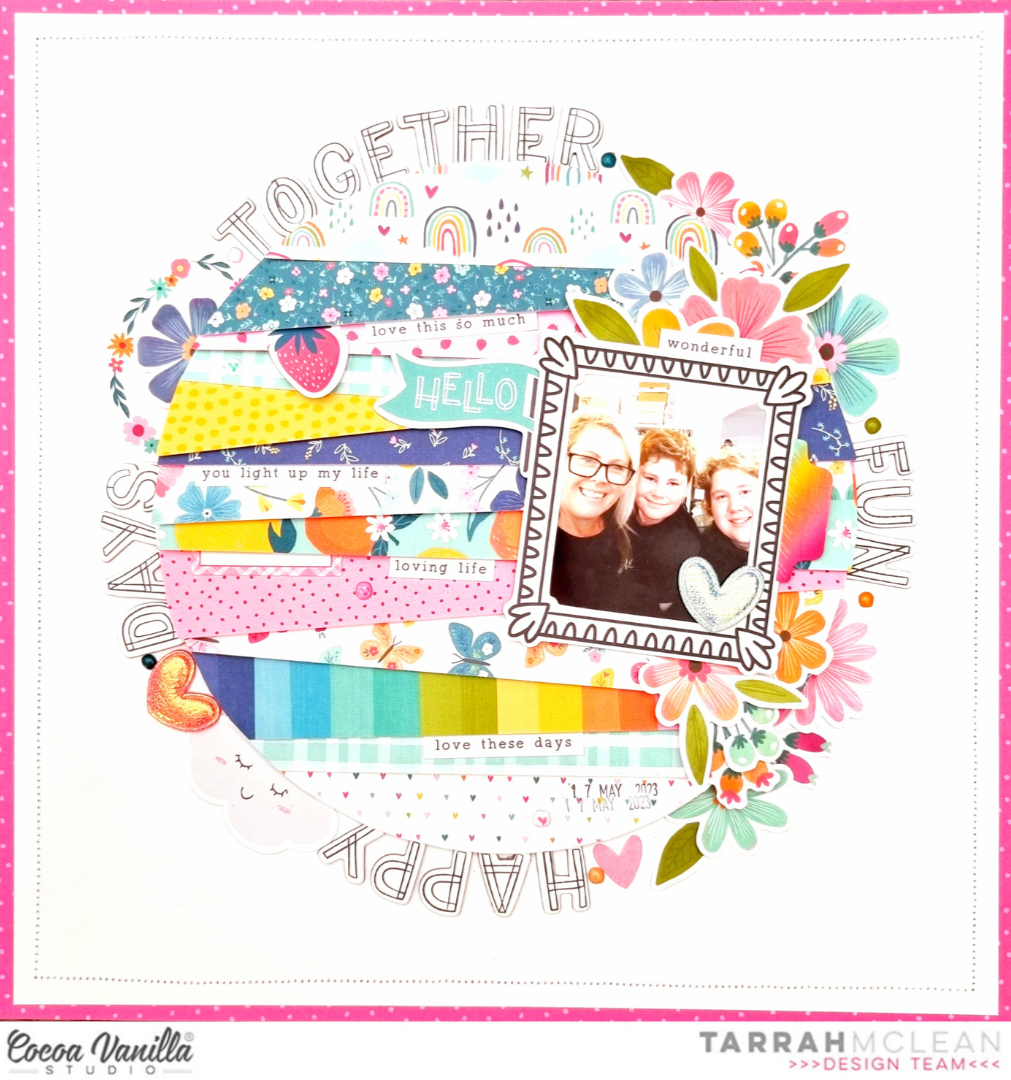
I started with a plain white cardstock background, as I often do and trimmed it down to 11′ x 11′ inches, adhering it to the ‘B’ side of the Flutterby paper. I then machine stitched a border around the outside of the layout to add some texture. Next I traced a dinner plate onto some cheap cardstock and free hand cut around the circle. I did not bother too much with how the circle was cut out as I knew that I would be covering it with lots of different patterned papers.
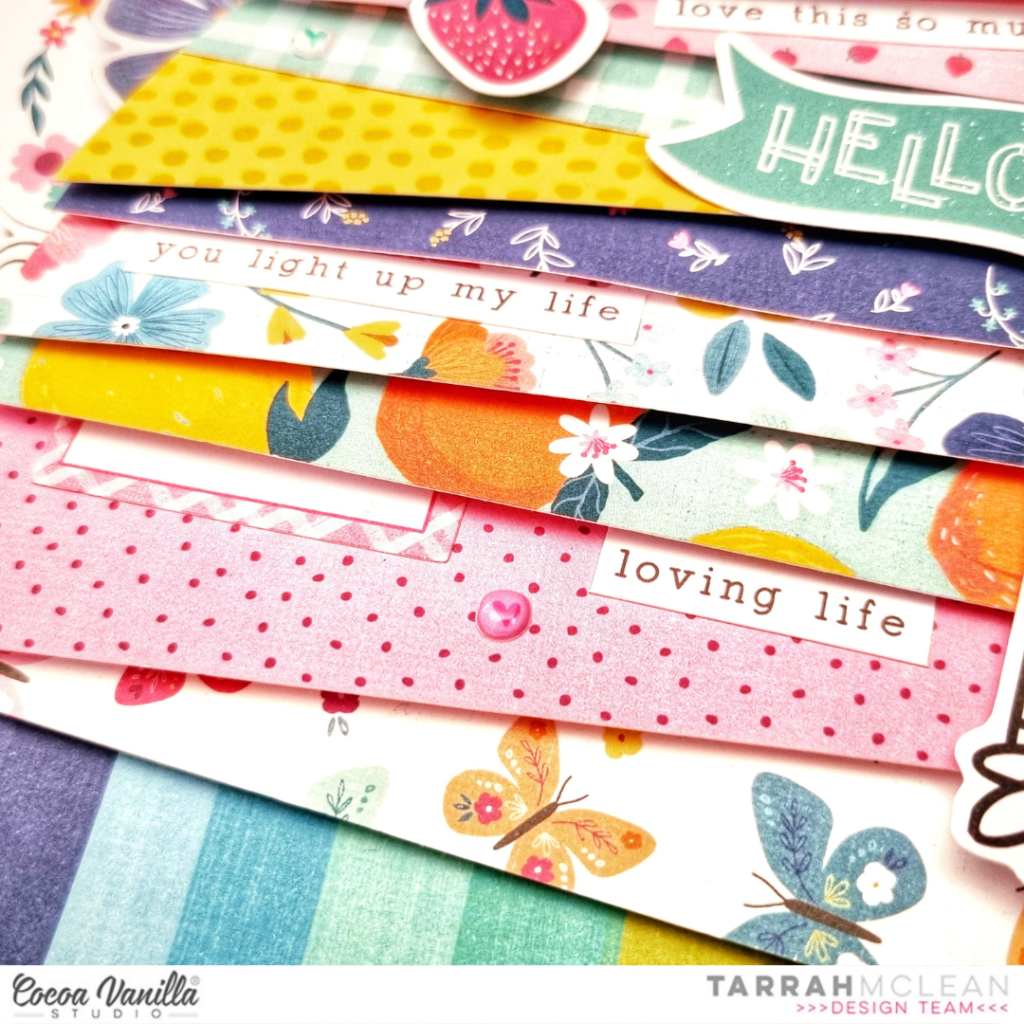
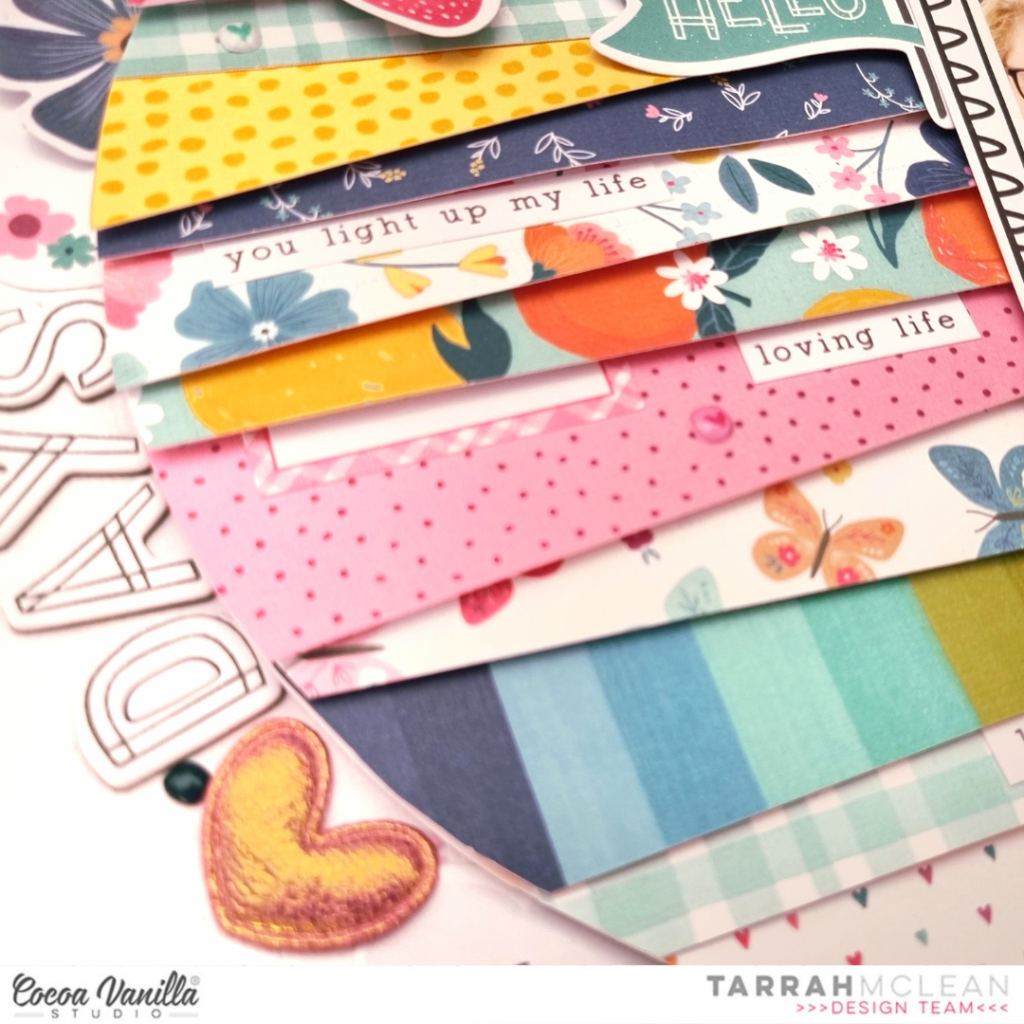
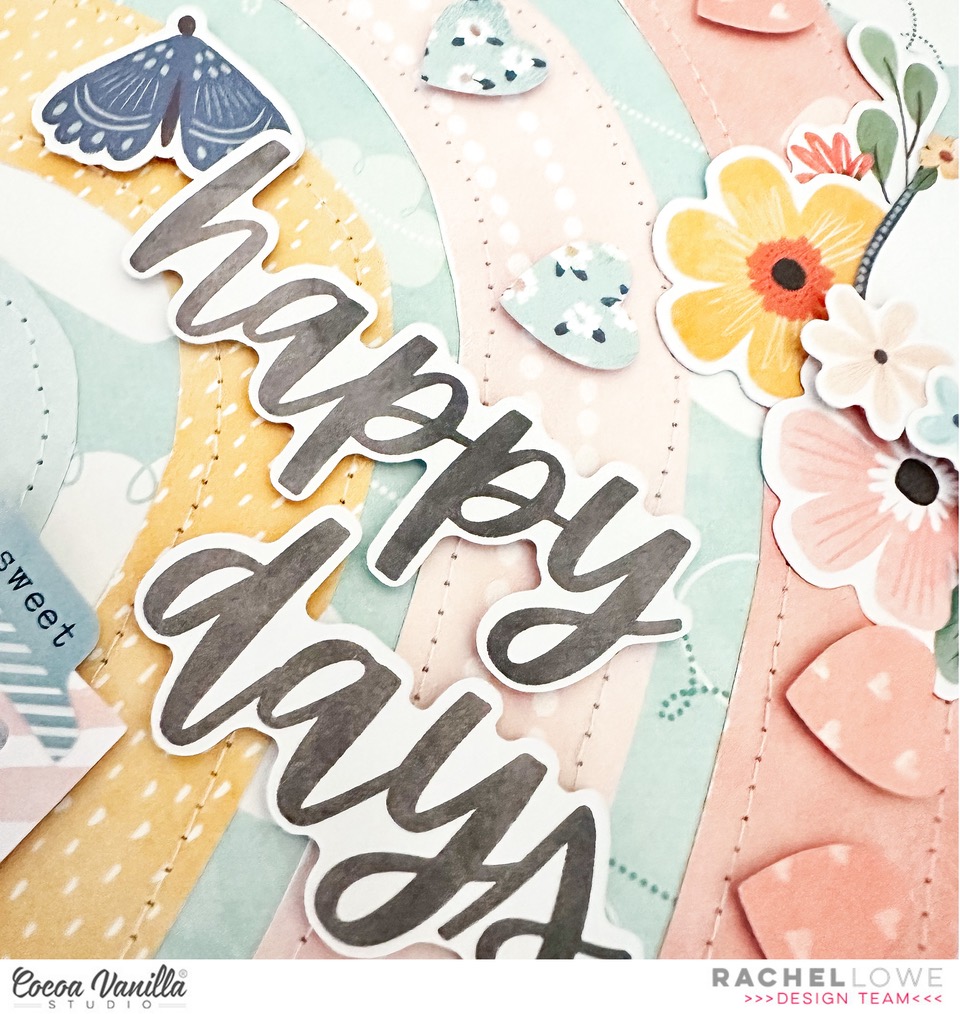
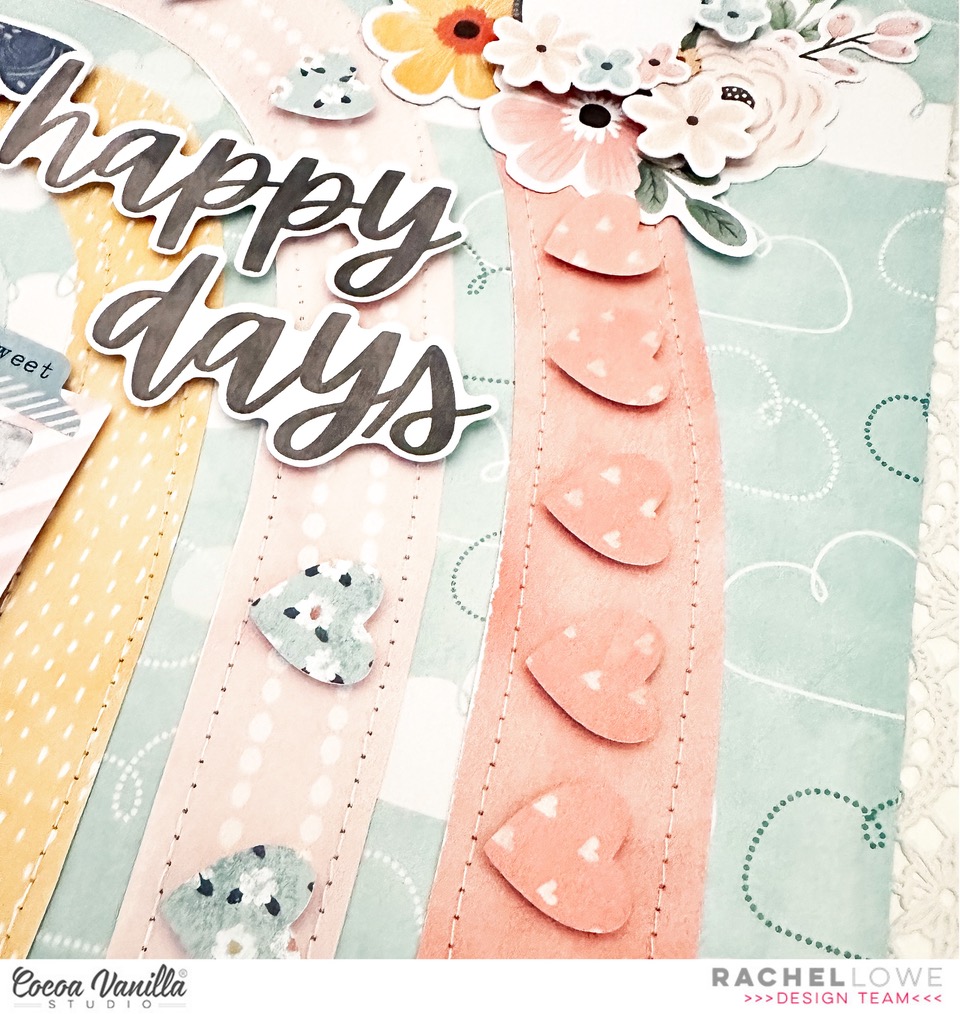
I took out the A5 paper stack and chose all of the different papers to include on the circle. I cut them into strips of different sizes and layered them over and under each other to create a shadows and dimensions on the circle. I adhered them all horizontally but changed the angles on many to create the eye catching look to the circle. I used craft foam and regular adhesive to create different heights and looks to the circle. Once I had completed the circle I added craft foam underneath the circle and adhered it to the centre of the white cardstock background. I love creating lots of dimension on my layouts!
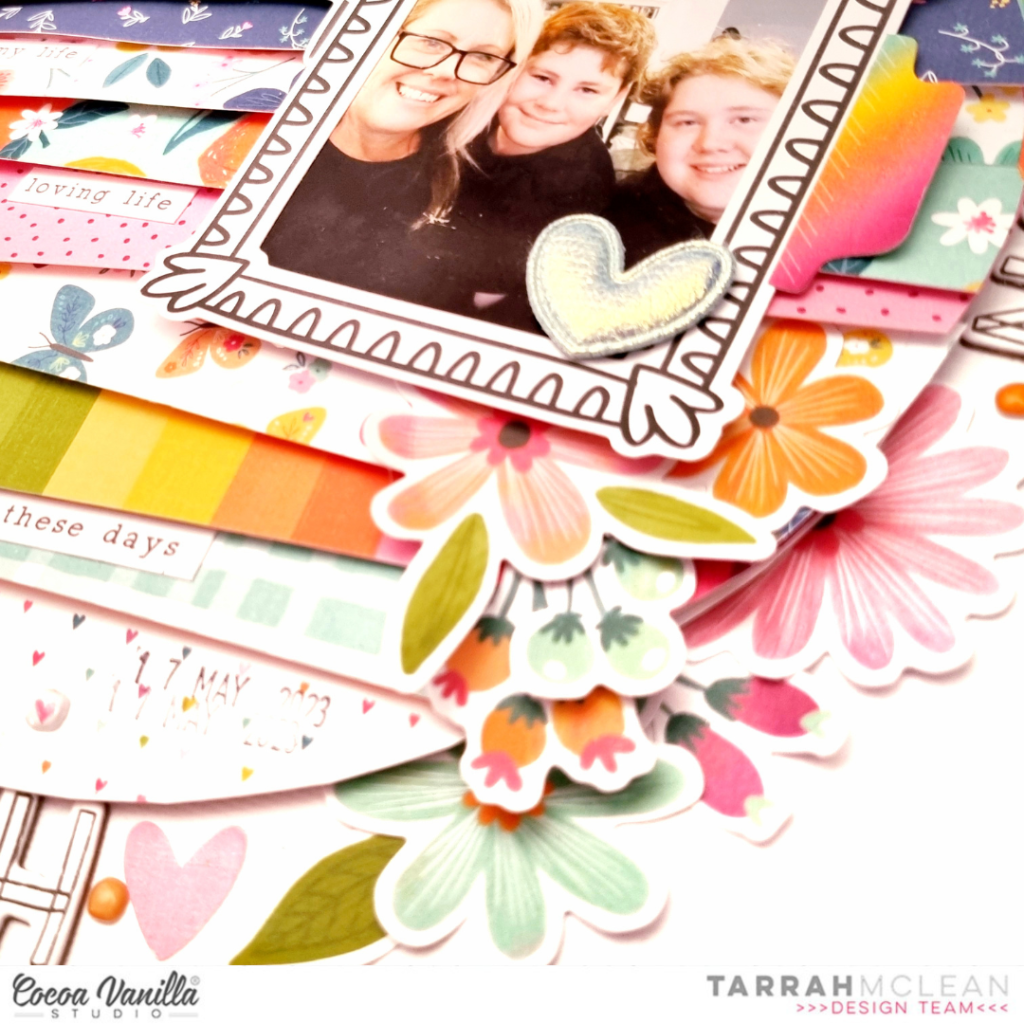
I adhered my photo to the right hand side of the circle and also adhered the black and white doodled frame from the Ephemera pack to the outside of my photo. I love how the black in the frame helps to draw your eye to the photo amongst the busyness of the patterned papers. Next I decided to further enhance the photo by adding some of the gorgeous florals from the Floral Ephemera Pack. I added these tucked in and around the photo, using both foam tapes and regular tapes to adhere them. I also added one of the super cute Puffy Hearts to the bottom right corner and placed a tab sticker from the Accessory Sticker Sheet to the right side of the photo also. On the left hand side of the photo, I adhered the Hello banner flag from the Ephemera pack.
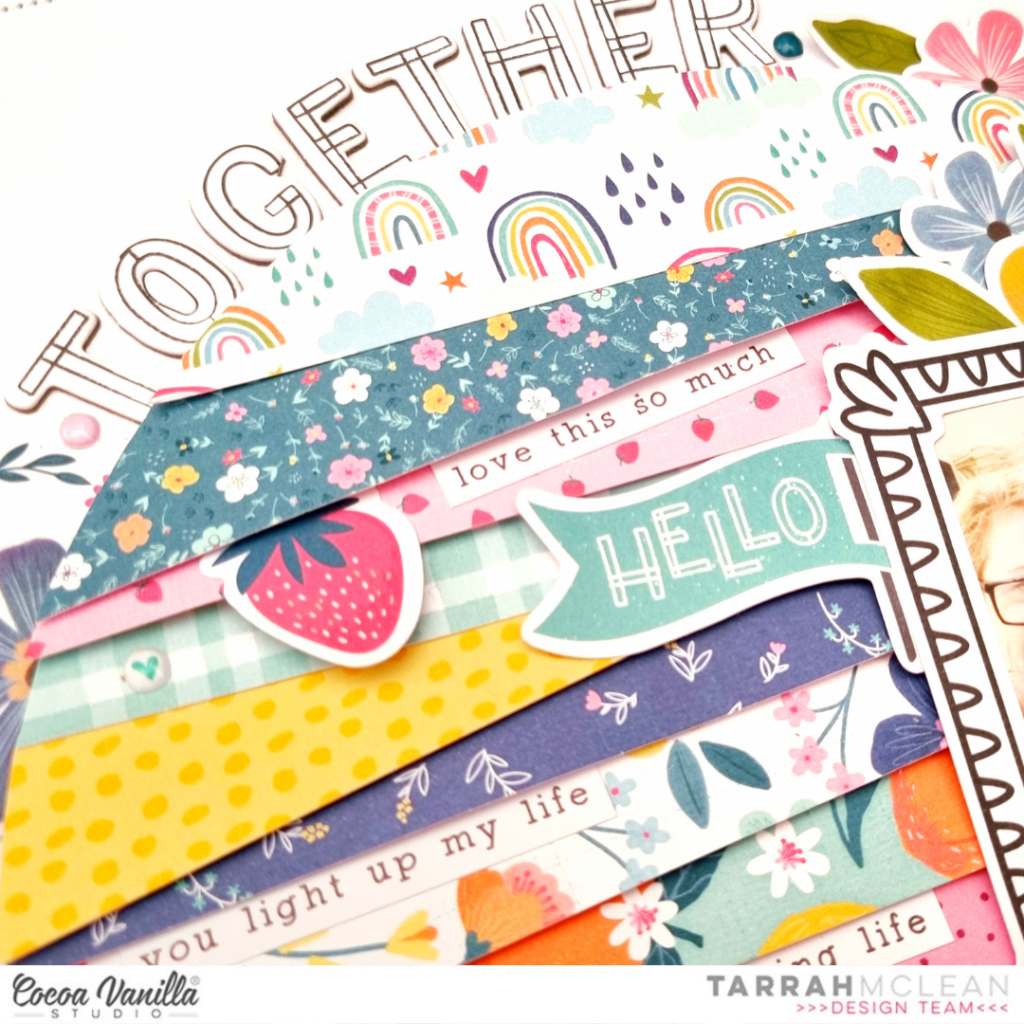
Whenever I create a circular design, I like to be able to add embellishments and my title around the outside so I did this again using the Chipboard Alphabet Stickers to add my title. I spaced out the words so that you have to read around the circle which helps to draw the eye around the layout. In between the spaces I added Die-cuts, Puffy Hearts, Puffy Stickers, more Florals, and Accessory Stickers. On the actual circle, in between the paper layers, I placed some of the phrase stickers from the Accessory Sticker Sheet, these help to tell the story about the photo I am documenting on my layout, more Puffy Stickers and some Die-cuts here also.
I absolutely LOVE how my layout turned out and hope you like it too?! I hope you can find some inspiration from my layout and create a similar page to mine using your Happy Days collection!
Thank you so much for stopping by the Cocoa Vanilla Studio blog today!
Happy creating!
Tarrah x
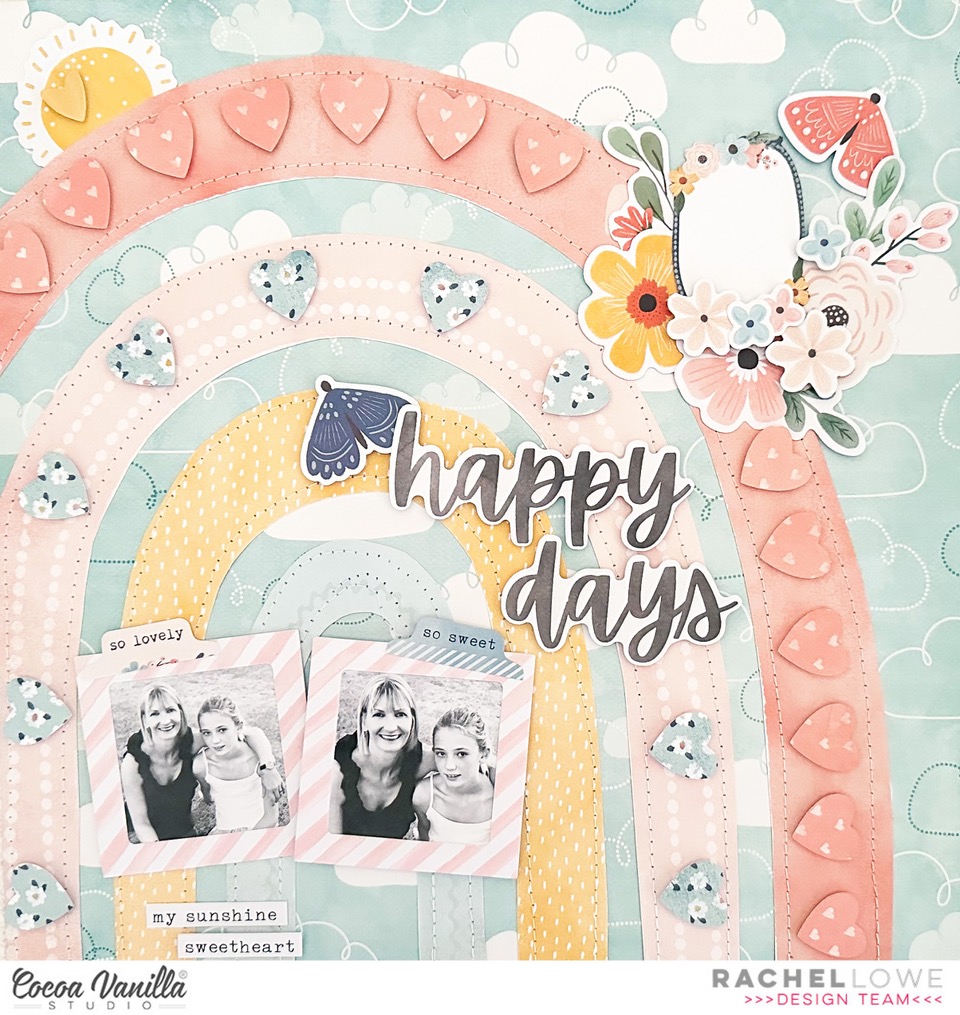

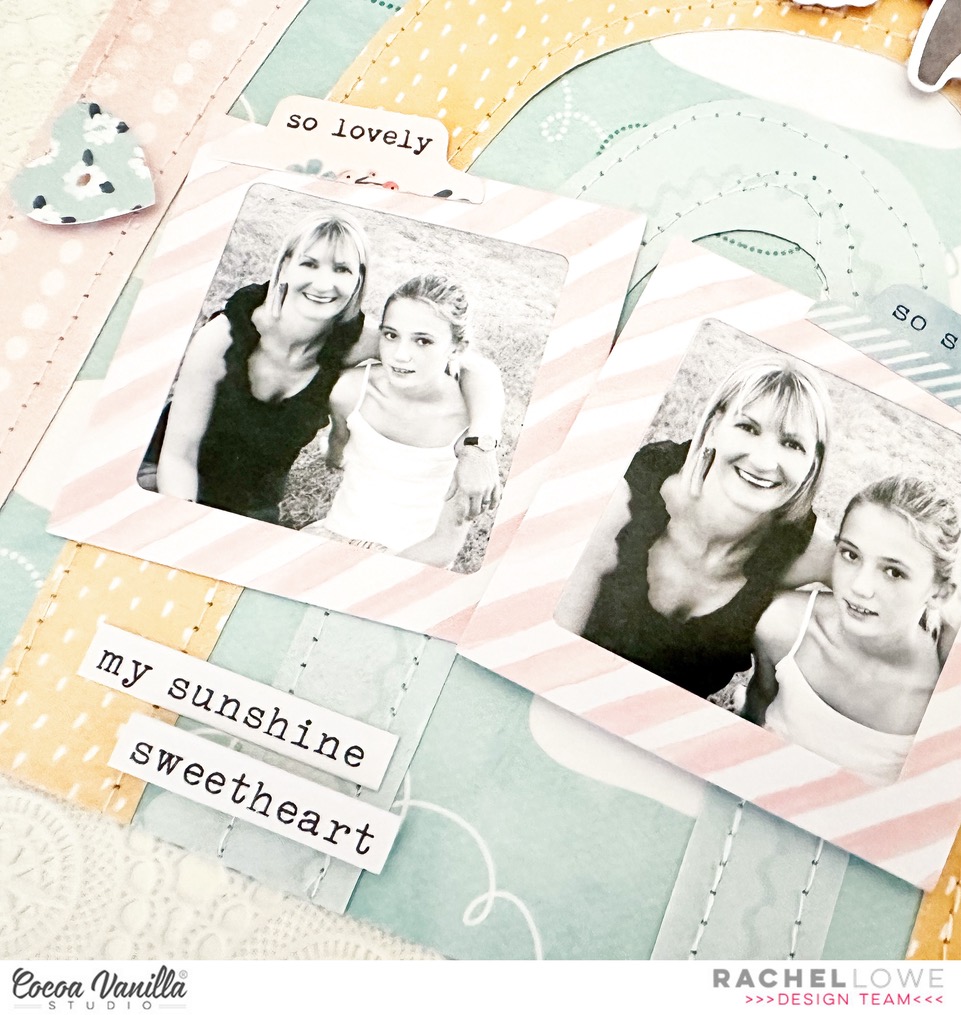


 The Rainbow Bright paper made such a gorgeous background for this photo and really brought the layout to life! Once I had decided on this paper, I then matted my photo with one of the papers from the A5 Paper Stack. I adhered it to the page using craft foam in order to give it some nice dimension and to help it stand out against all of the bright colours in the background.
 For my embellishing I decided to keep it mostly tone-on-tone. So on the pink section of the rainbow I added pink embellishments, on the yellow I added yellow embellishments, and so on. I started with a fun little cluster on the bottom right hand corner of the photo. As this was on the blue and purple section, those were the colours that I chose for this cluster. I included some florals from the Floral Ephemera pack, as well as some that I fussy cut out of the Lush Blooms paper. I also added a couple of Die Cuts to the cluster.
 Moving over to the left hand side of photo, I added another embellishment cluster using similar items that I used in the first. I tucked some of the flowers under the edge of the photo and some on top to give the cluster some dimension. How gorgeous are the Puffy Hearts?! I couldn’t resist adding one to each of my floral clusters!


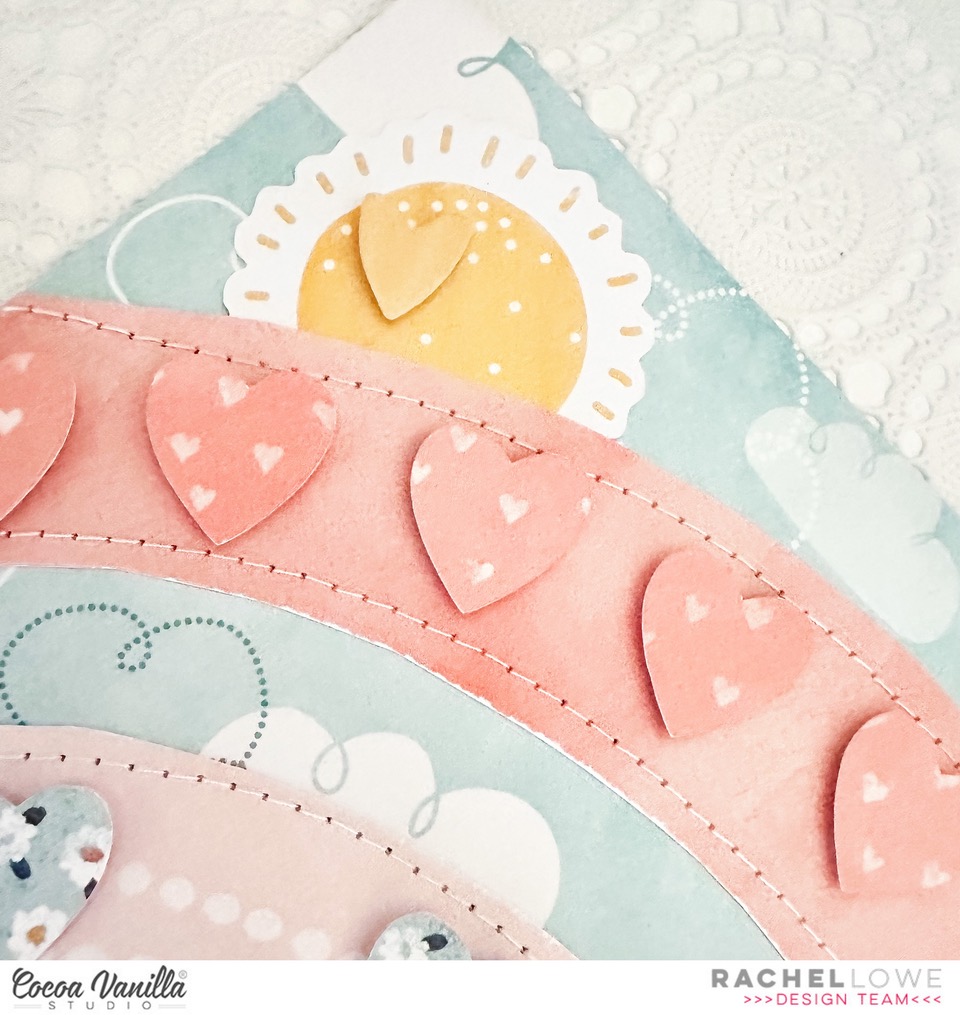
 To set the foundation for my scrapbook layout, I decided to create a mixed media background using distress oxide ink. The color I use for this layout was “faded jeans.” With its subtle blue tones, it perfectly complemented the overall theme of my layout. The distressed effect added depth and texture to the background, setting the stage for the focal points of my design.


