Love This | Midnight | Amanda Baldwin
Hi Cocoa Vanilla Studio Friends!
Amanda here, and today I am sharing my take on this week’s design team theme post using the divine MIDNIGHT collection. The theme this week is….
creations that “put a ring on it”.
Think rings, wreaths, circles, dots – basically include any round element! Such a fun theme!
Here’s what I came up with….
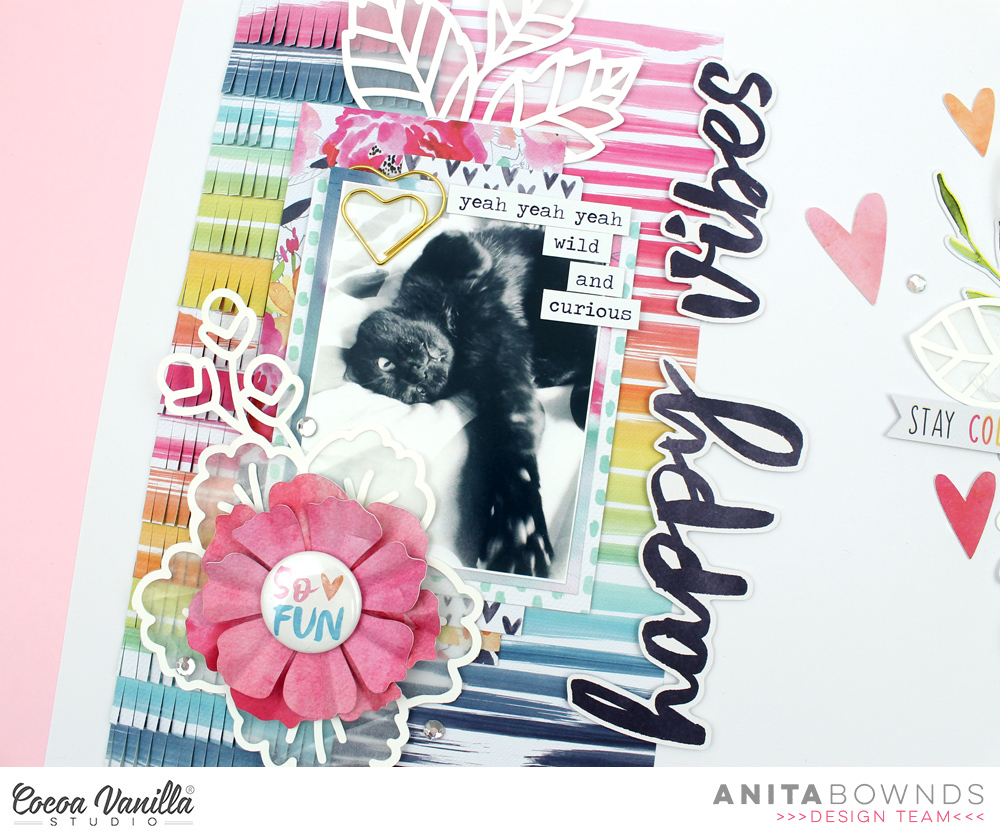
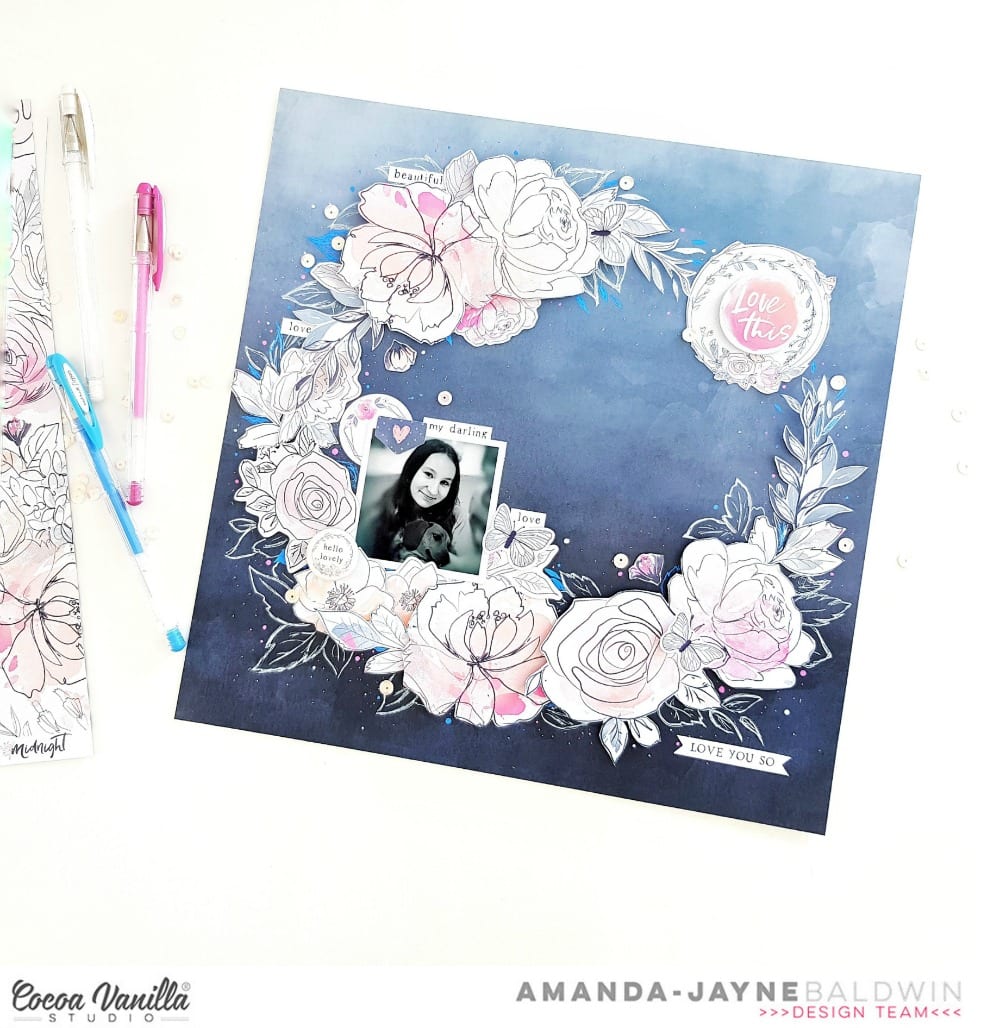
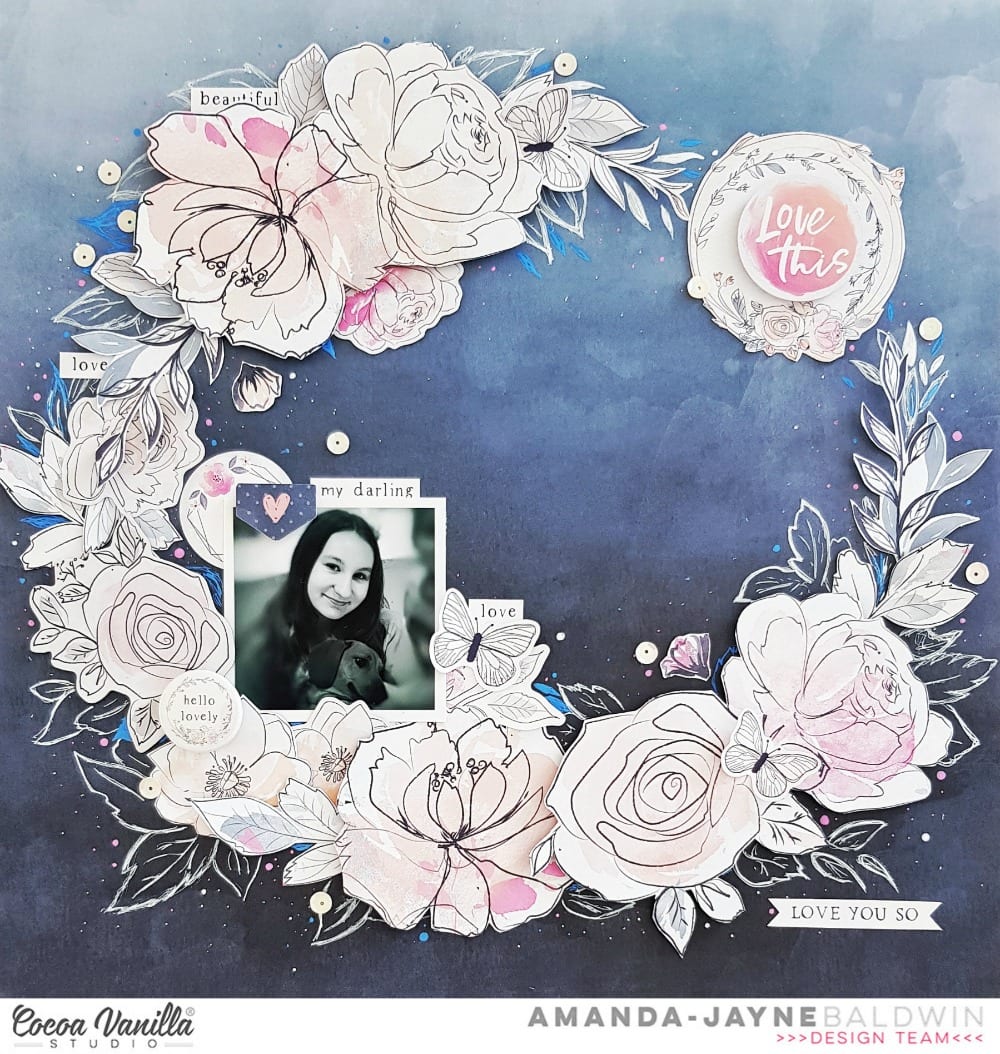
“Love This”
Oh.my.heart!!! So dreamy & divine!
The MIDNIGHT collection is so elegant & beautiful! It’s the perfect collection for documenting stories of my sweet girl!
Here’s a closer look for you….
So incredibly beautiful!
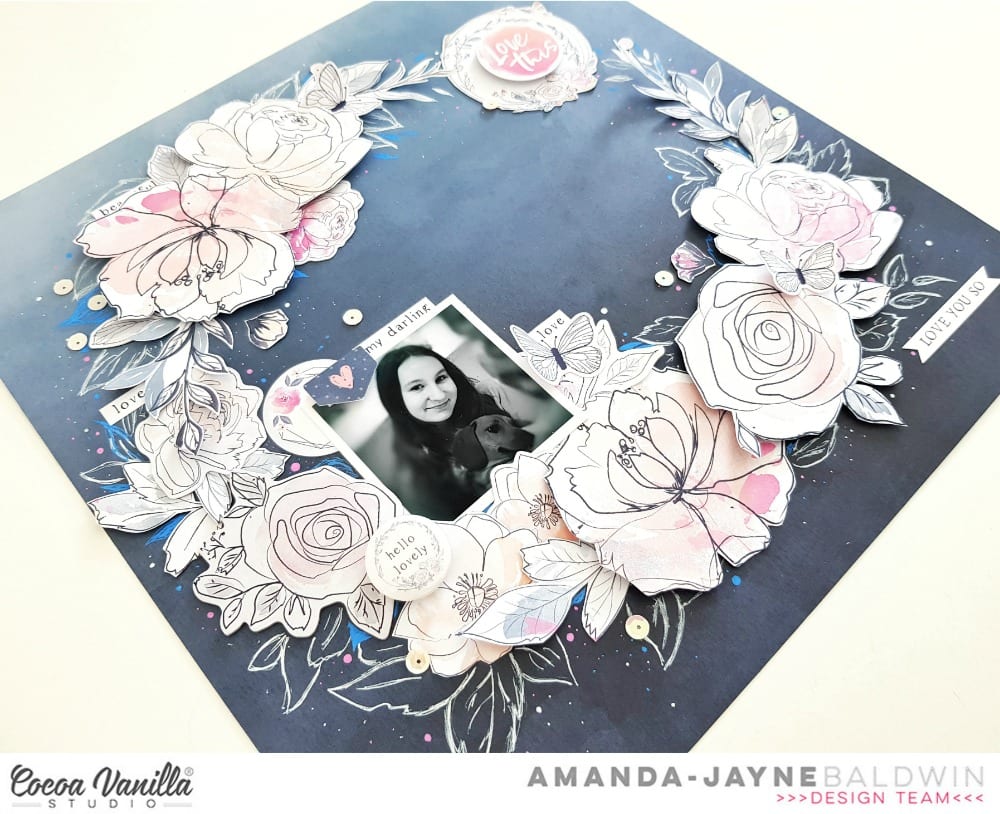
I start this layout with pattern paper, CV-MN007 INKY DEPTHS – it’s the perfect base! Such a stunning background paper & I just love how it reminds me of the night sky and clouds. To this paper, I trace a circle shape to create a guideline for my wreath (ring) design.
To form the wreath, I fussy cut pattern paper CV-MN001 BLOOM &GROW. I arrange these larger blooms over the traced circle, and adhere with a mix of double sided tape and foam mounting tape. This adds a sense of dimension, soft texture, and brings interest to the design.
I also fussy cut the wreath icon from the CV-MN006 ALL THE THINGS pattern paper, and adhere it to the opening of my ring design (top right corner). Here’s a close up for you…

SO pretty!!!
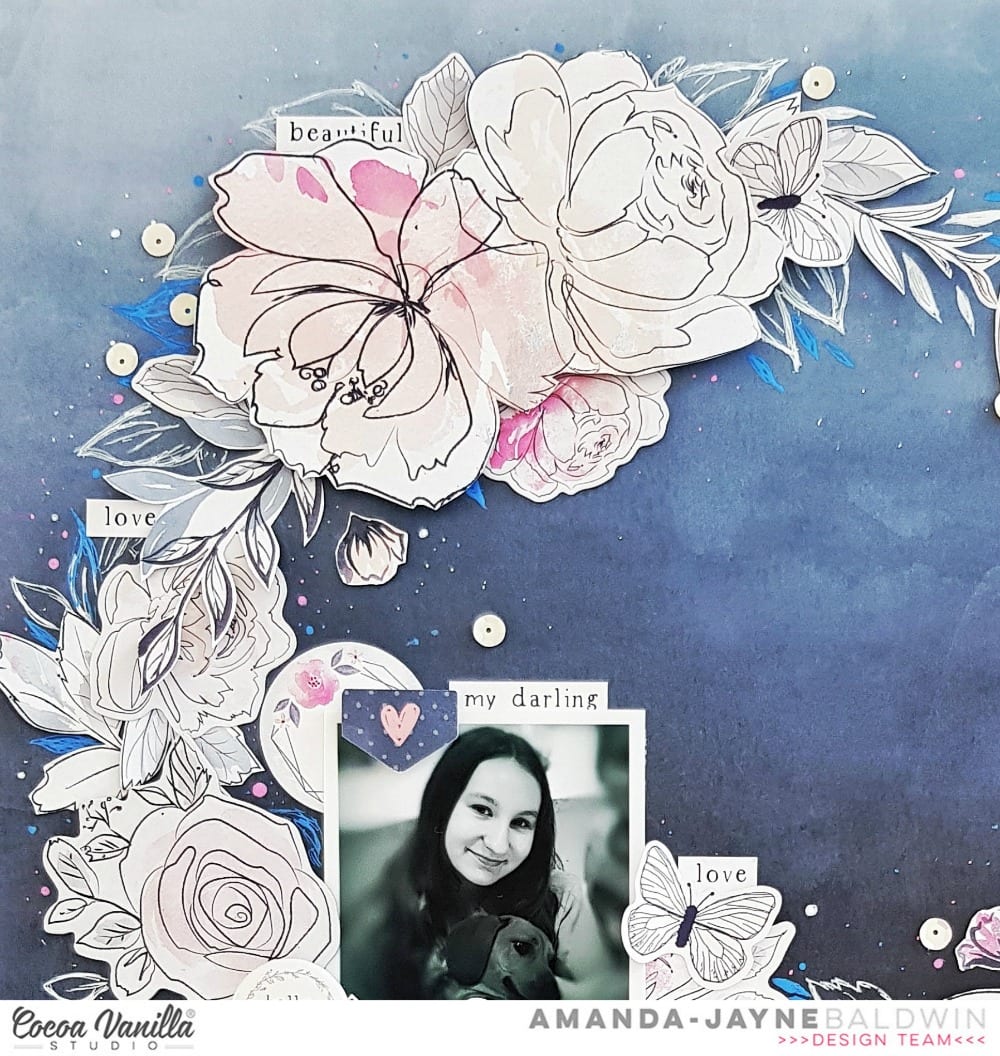
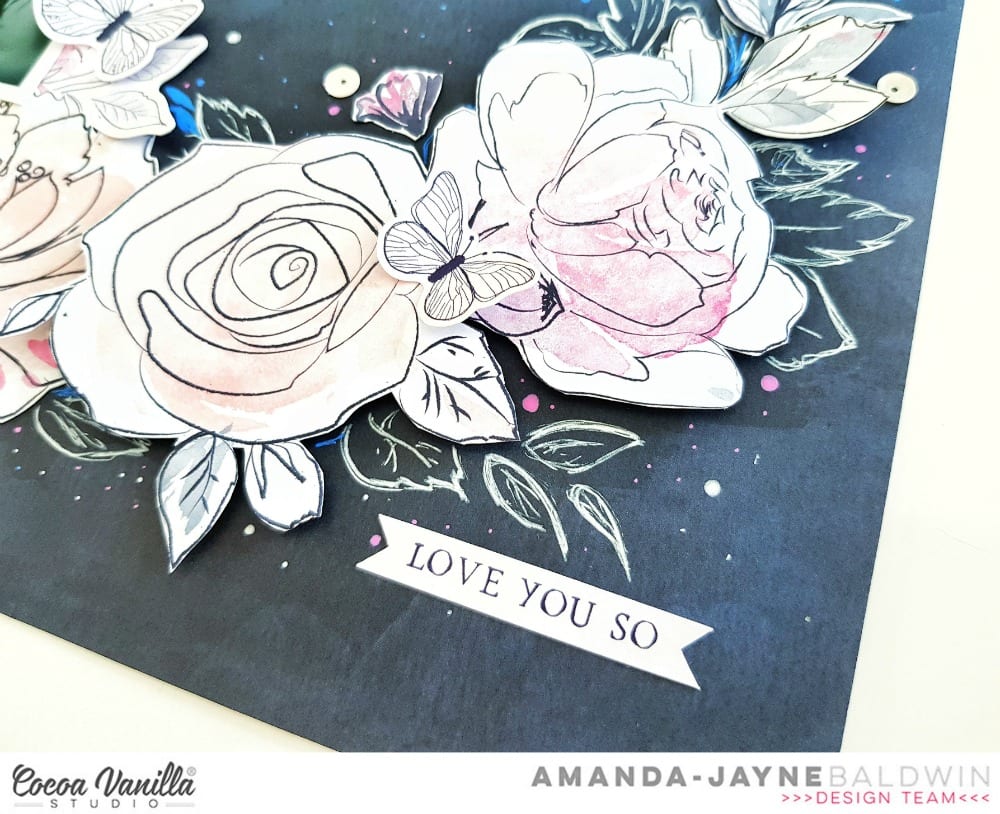
Next, I pull out my gel pens, and draw a mix of sketchy leaves that are not dissimilar to that of the BLOOM & GROW pattern paper. The white gel pen is super striking on the INKY DEPTHS paper!
The scribbled leaves serve two purposes – they add a new design element (& visual stimulus) to the layout, plus they also ‘build up’ the wreath so that it looks full and attractive. In keeping with the whimsical feeling of the page, I add lots of tiny dots in both white, pink & blue pen.
I just LOVE how effective the gel pen looks!
Design Tip: If you like this look, but are nervous about drawing on your layouts, you could always achieve the same look using stamps and white embossing powder.
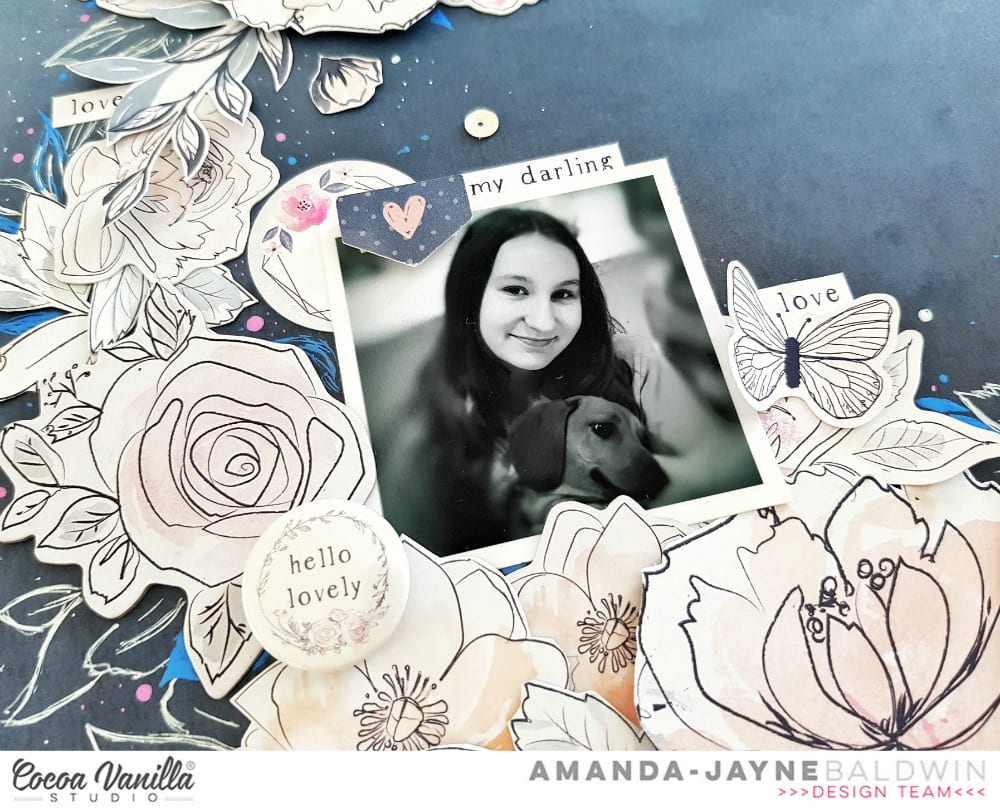
Next, I tuck my photo into the left hand side of the wreath and decorate around it with a few ACCESSORY STICKERS. I also embellish with that fabulous FLAIR BUTTON (which also features a pretty wreath on it!). Lots of rings and wreaths and pretties on this sweet page!
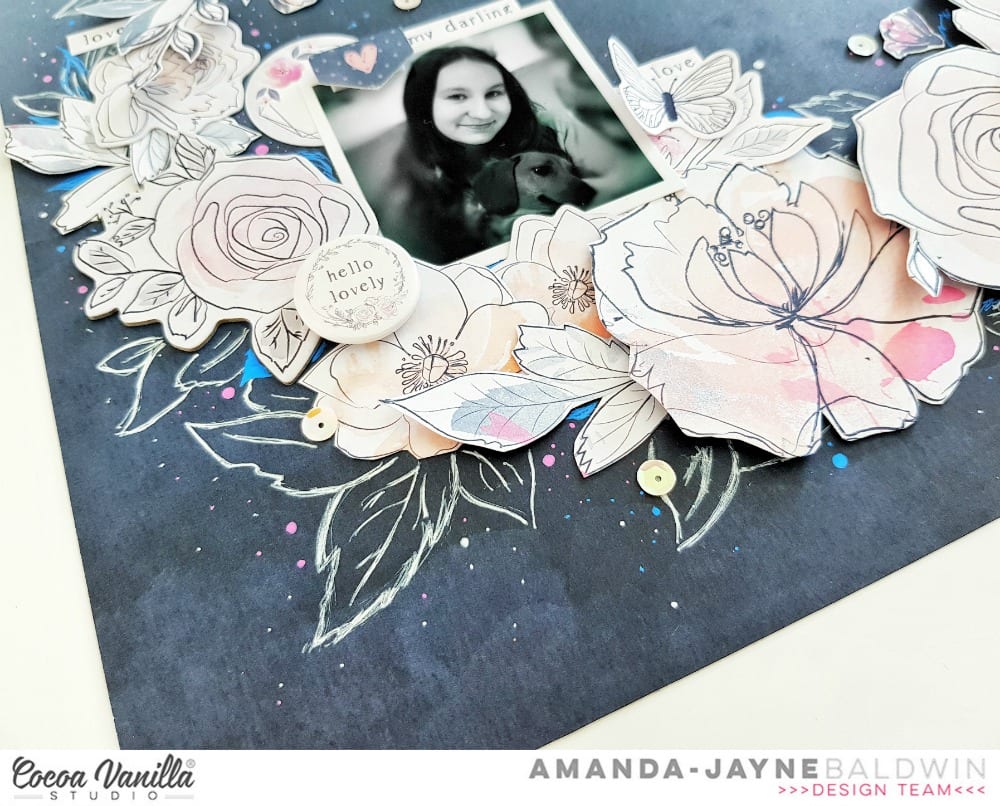
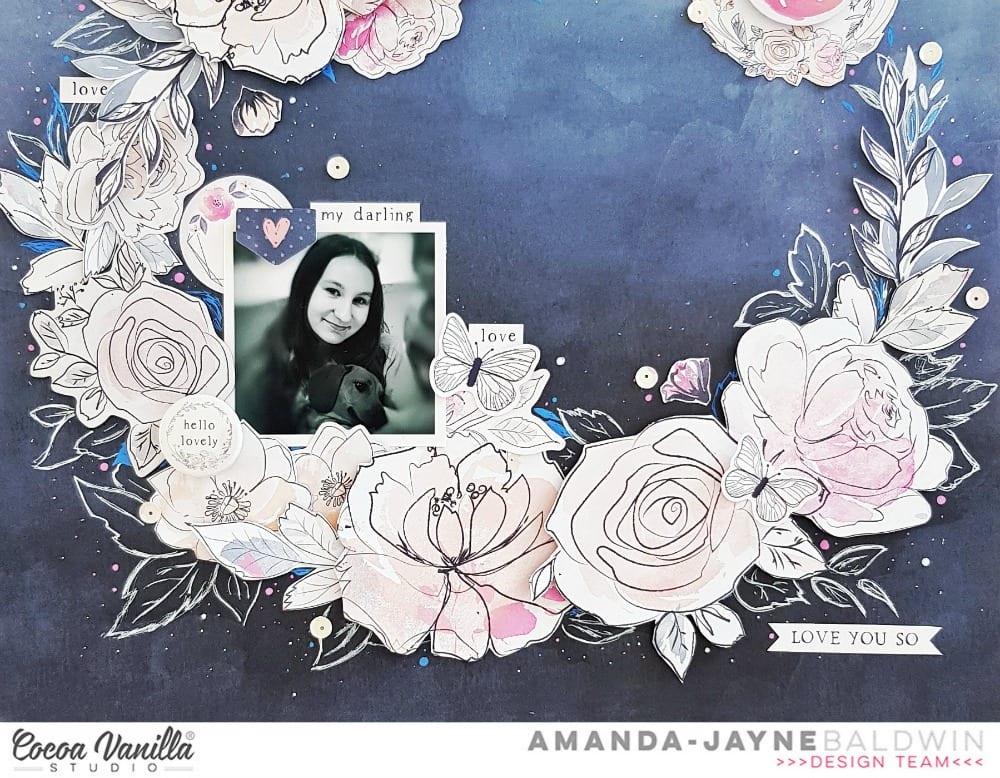
With the ACCESSORY STICKERS handy, I also add some butterflies to the wreath and add a subtitle to the bottom right corner, Love you so….
For finishing touches I foam mount the Love this DIE CUT EPHEMERA title to the fussy cut ALL THE THINGS wreath, and sprinkle a few HELLO LOVELY sequins!
Voila! Beautiful creating in a matter of minutes!
Wanna see more of how this pretty page came together? Please watch my process video below…
Thanks so much for joining me today!
I really hope that I have inspired you to not only ‘put a ring on it’,
but also to make some marks & get doodling on your memory keeping projects!
Til next time,


 To begin my layout, I chose a fun cut file design from The Cut Shoppe and cut it out from yellow cardstock. I then adhered the cut file to plain white cardstock. I love the contrast of the bright yellow against the white cardstock, reminds me so much of summer! For the very centre of the design of layout, I picked the ‘In the Summer Time’ sticker from the accessory sheet and popped it up on foam dots and placed it in the centre of my page.
 Like I said earlier, I matted my photo using just the one piece of patterned paper, this photo is a very recent one of my sister and her eldest daughter in the waters of the Jurassic Coast in England! How gorgeous is that archway and water?! So inviting! I popped my photo up to create some dimension and shadows and then the next step was to embellish.
  I chose some of the die-cuts from the ephemera pack including the coloured star strip, the iceblock rectangle piece and the journal tab. These 3 pieces I tucked it below the photo and to the right side of the photo. I created a focal point towards the centre of the page by adding a cute flair button, a wood veneer heart and another sticker. I also had to add that Sunshine puffy sticker, I just love the puffy stickers from this collection!
 Lastly I added some of the super cute enamel shape stars around the edges of the sun to add some colour and interest. I also splattered a few splats of black mist and added the date stamp to finish off my Summer page!