Love This | Day Dream | Anita Bownds
Hey lovely’s ! Anita here with you today sharing a sweet floral layout using the daydream collection and this months Mood board with all the sweet dreamy colours to choose from so I pulled out the Kraft cardstock to match the coffee and the rest of the colours from around the mood board and of cause I added a photo of my cute fluffy boy sleeping ..

So I started with Kraft cardstock and a paw print stencil and used white ink and just used a blender to add the ink. Then I added some light pink paint by just quickly brushing across the cardstock trying not to put it on too thickly then I used a light blue to flick around the cardstock along with some white and rose gold..

Then I matted my photo on sweet serenity to layer behind then I tucked a few bits of ephemera , doily and a few accessory stickers around my photo and my chipboard title from (bohemian dream ) I think …..
I wanted to add the title before I started adding my title so everything would fit in place.

Then using happy place I add a strip down the left hand side then tucked a doily and little strip from sweet serenity that I punched a little decorative punch and a little piece from the ephemera.
Then I pulled out a few dies and used happy place, daisy days, sun shower , all a flutter to make a bunch of flowers big and small and a few leaves.
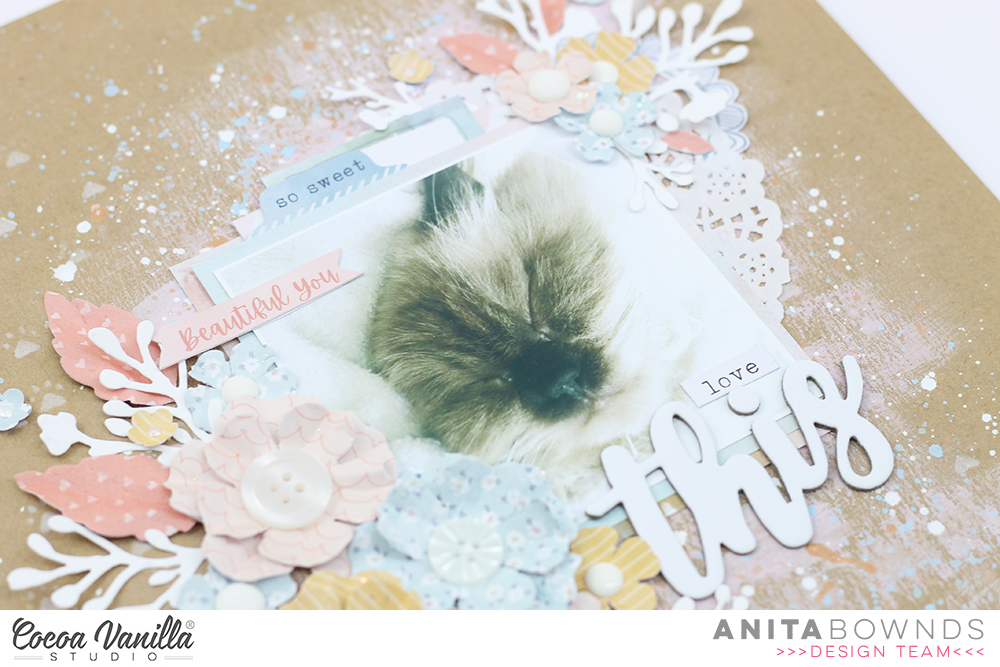
And to add more white in the background I die cut sprigs and tucked them in underneath and around the flowers and leaves ,
For the center’s I use enamel dots and buttons all in white to add that shabby look and just placed them diagonally across the page in 3 clusters to draw the eye across the page …

I finished the page off with some glitter gel painted on the flowers just to add some shimmer..


I hope you have enjoyed my mood board inspiration today
Happy crafting..


 I chose to pull similar colours from the journal card and use these throughout my layout, the orange, blue and grey colours really spoke to me for this page. I added some subtle grey mixed media to a sheet of plain white cardstock and then began to arrange the elements how I felt they looked best. The
 Once I had most of the larger elements adhered to my page it was time to add some smaller embellishments like some


 The cut file on this layout is a school themed file from the Cut to You store. I was able to use a variety of patterns from the paper pad to back the sections within the file. I love how it turned out!
 I created three main clusters of embellishments on this layout. The image below shared the largest cluster in the bottom left of the page and to the left of the photo. I used mainly ephemera for this cluster but made sure to include a variety of foam adhesives to play around with the dimension I create on the page.


