Fun | Sunkissed collection | Guest designer – Josefine van der Hoeven
Hello creative Paperlovers,
Welcome to the Cocoa Vanilla Studio blog for a new share! So glad to see you! It’s Josefine here to show you a new scrapbook layout that I created as a guest designer for Cocoa Vanilla Studio with the beautiful summer collection “SunKissed”. I can’t get enough of these beautiful designs. This collection from Cocoa Vanilla screams for the summer! Everything you create it gets a great summer look.
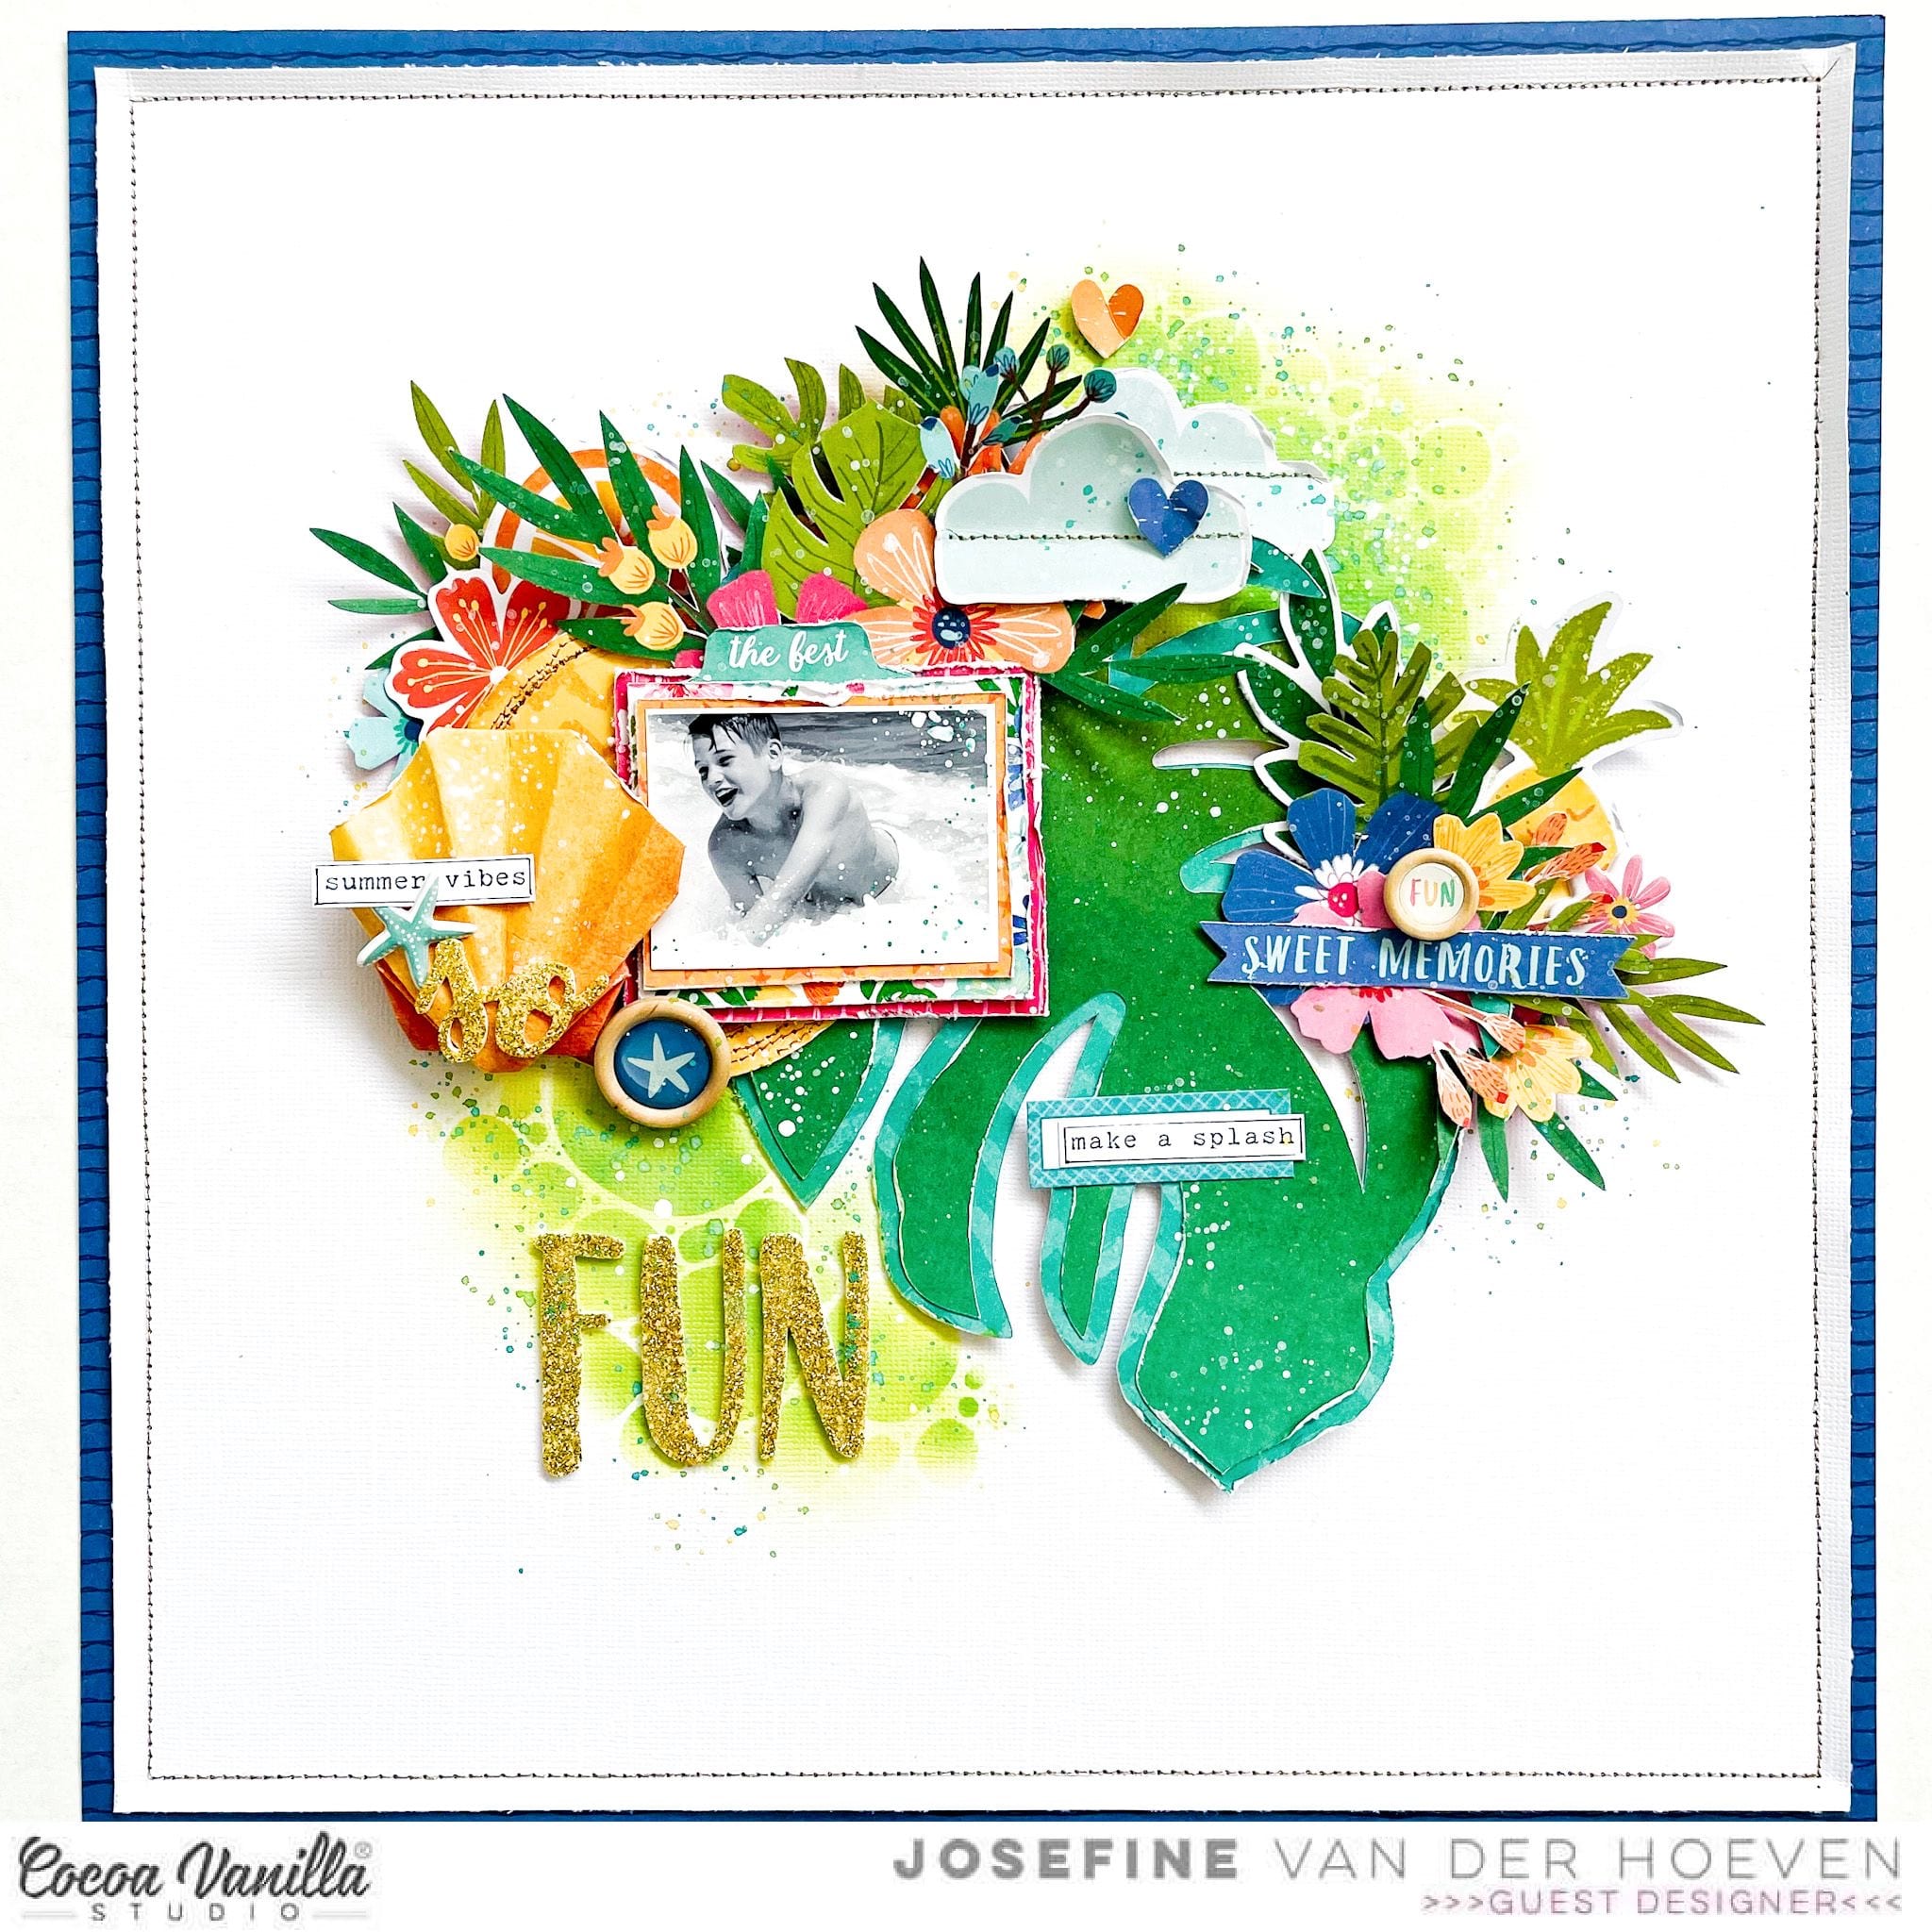
I started with a white piece of cardstock and cut out a tropical leave with my “Cricut Maker” using some beautiful design papers from the “Sunkissed” collection.
After that I started with the mixed media background. I used two colors of distress ink and a bubble designed stencil. With a blending tool I blend the two colors together. The colors I used are, “mowed lawn” and “twisted citron”.
When I’m done I splashed some more with the distress oxides using my brush.

I placed my tropical leave in the center of my layout. From a piece of yellow design paper I cut a circle to size. I used my sewing machine to decorate the edges with different golden stitches. For the clouds I used the same golden sewing thread and stitch through the center.

I grab the different summer die-cuts and make a selection of which ones I wanted to use on my layout. I carefully slide the die-cuts between the tropical leave and the photo. I like to use 3D elements on my layout. And I decide to fold an origami Sea shell.
Wondering how I made this sea shell? Hop over to the Cocoa Vanilla Facebook Group for the short process video of this cute little sea shell.

I’m almost done. Now It’s time to splatter some more with white acrylic paint and different colors of distress oxides. I stitch the edges of my layout with golden thread using my sewing machine. I am so happy how my layout turned out, looks so Tropical!
I hope I was able to give you some great ideas and wish you a lot of fun creating gorgeous projects with this beautiful summer collection! I want to thank you for stopping by on the blog today!

Wish you a lovely and creative day!
XoXo, Jo
XoXo, Jo


 I have used a 5×5 inch photo and added foam tape to adhere, as I like to tuck elements under the photo, my foam tape is not directly at the edges. I then set about creating two embellishment clusters on either side of my photo. I used a palm leaf die and then added


