Always Happy | These Days Collection | Mandy Melville
Hi friends!
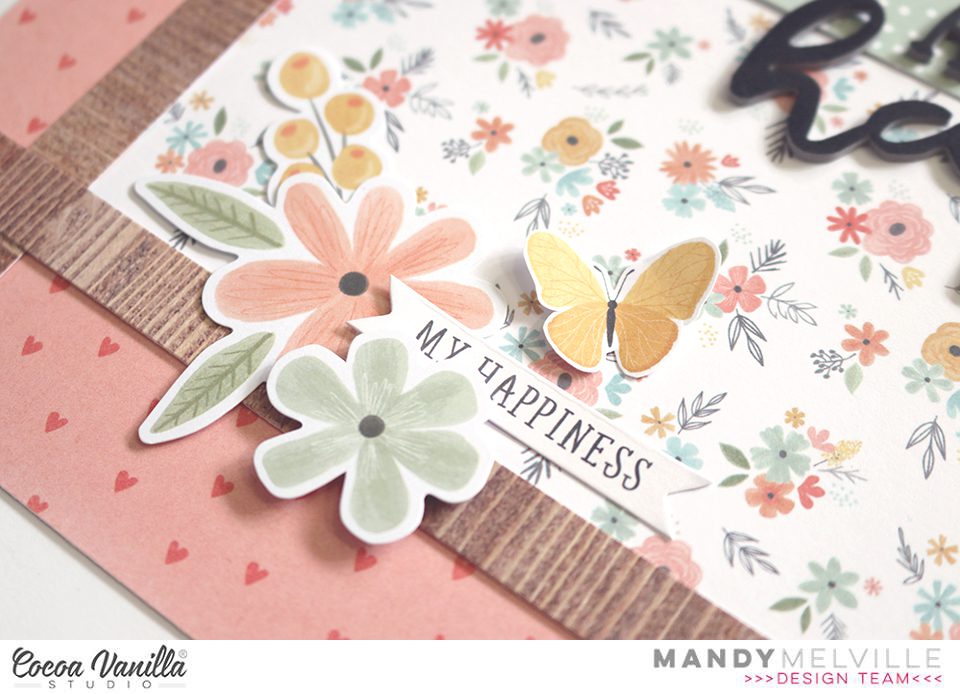
Mandy here today to share a new layout featuring the beautiful These Days collection. I love the soft colours and the pretty florals in this collection and I knew that it would perfectly complement these recent photos of Eleanor playing on the swings.

I started my layout off with The Good Life patterned paper as the base for the page. I then adhered a 9 1/2 inch square of the Pretty Posies paper to the centre of the layout, and I added 1/2 inch wide strips of the woodgrain paper (the reverse side of the Pretty Posies paper) around that piece. I love the way that the woodgrain strips help to frame the page and keep the focus on the photos. Next I added a banner, made from the light green Family Ties paper, to provide a base for my photos to sit on. I matted the middle photo with a paper from the A5 Paper Stack, and then I staggered my three 3×4″ photos across the banner, adhering them with craft foam for added dimension.
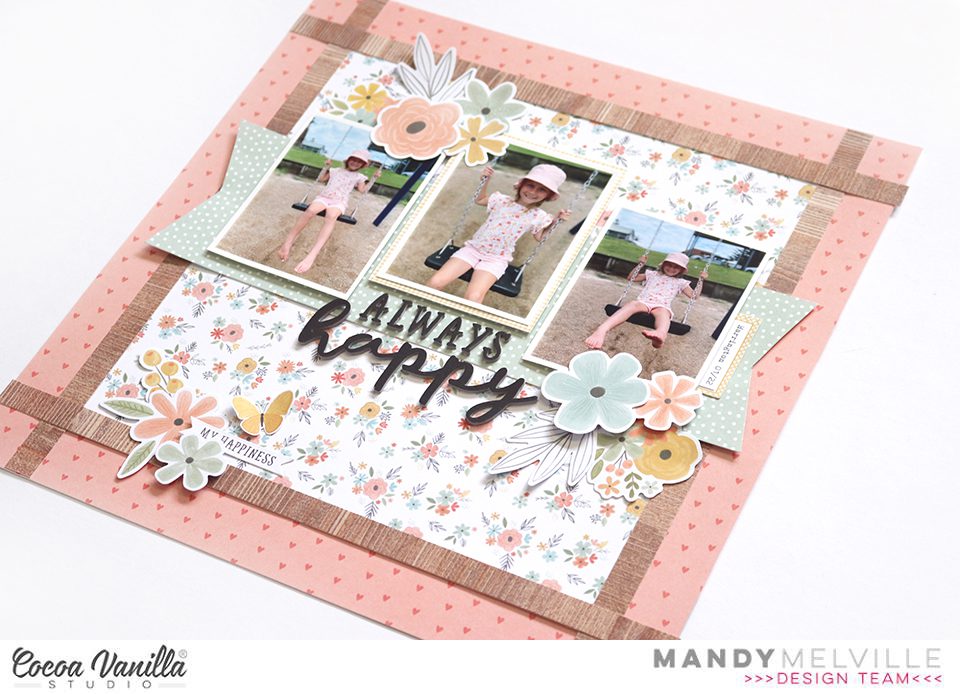
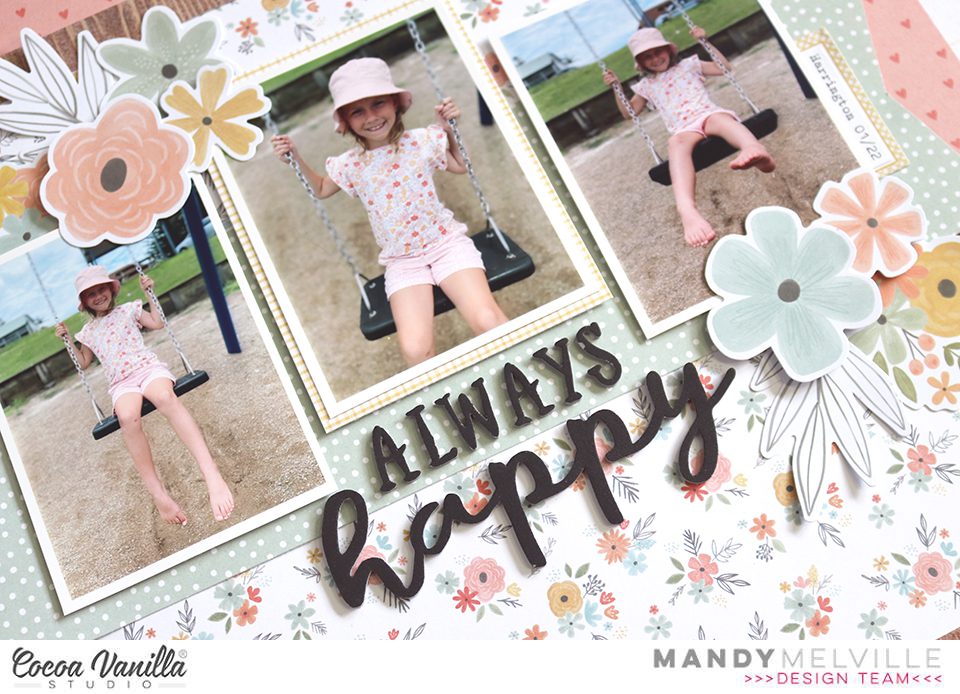
For my title I used the lovely Foam Title Stickers, and I positioned it underneath the middle photo. I chose the phrase ‘Always Happy’, which perfectly sums up my beautiful girl’s personality! I love how the black scripty font really pops on the page!
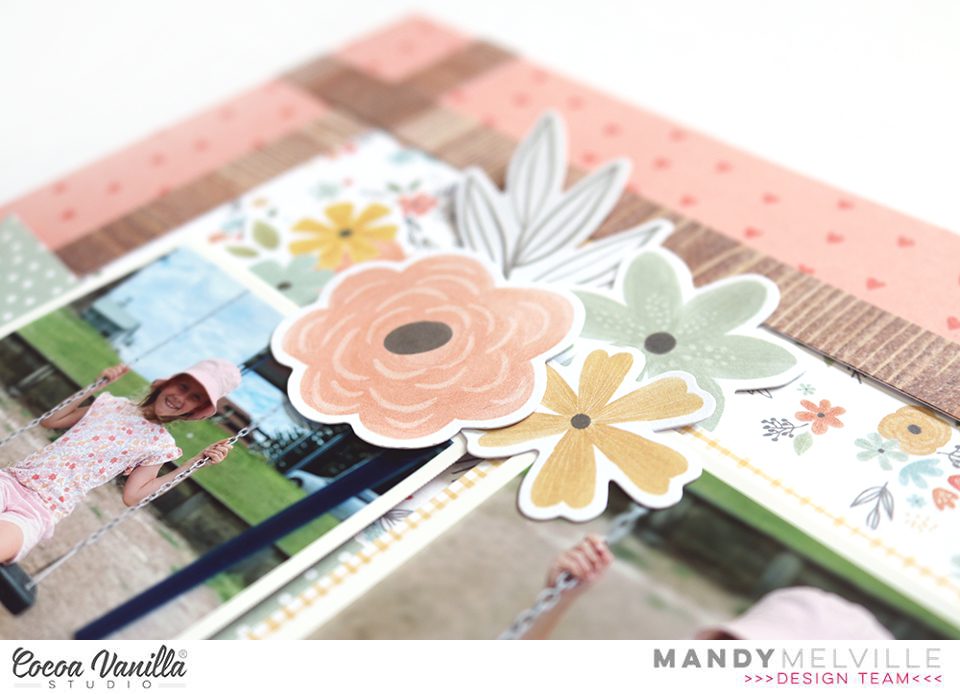
Once my photos and title were in place, I then created three embellishments clusters around the layout to create a visual triangle. The first one, in the top left, includes various floral die cuts and leaves from both the Floral Ephemera pack as well as the Die Cut Ephemera pack.
I then created another embellishment cluster underneath the photo on the right. Again I used florals from both the Floral Ephemera pack and the Die Cut Ephemera pack. You can see how I layered some over the photo, and tucked others underneath, using foam tape to give the cluster lots of nice dimension.
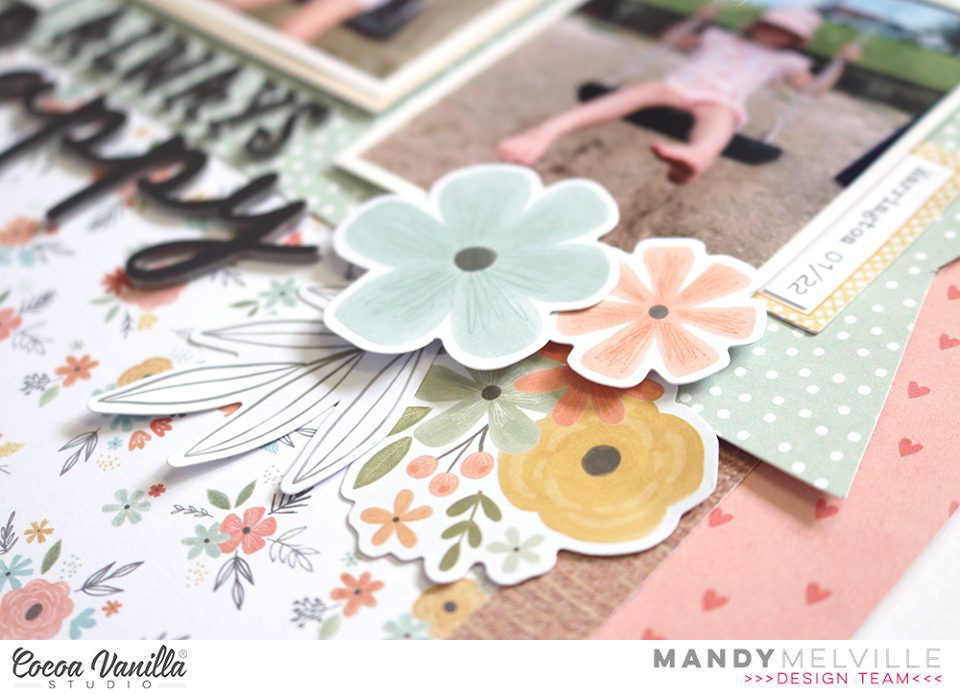
The final cluster is in the bottom left hand corner of the page, and once again I’ve repeated the same elements and colours that I used in the first two clusters. I also added a sticker from the Accessory Sticker sheet, as well as a butterfly that I fussy cut out of one of the A5 papers.
Thank you so much for joining me here on the blog today! I hope that you found some inspiration!
Mandy x
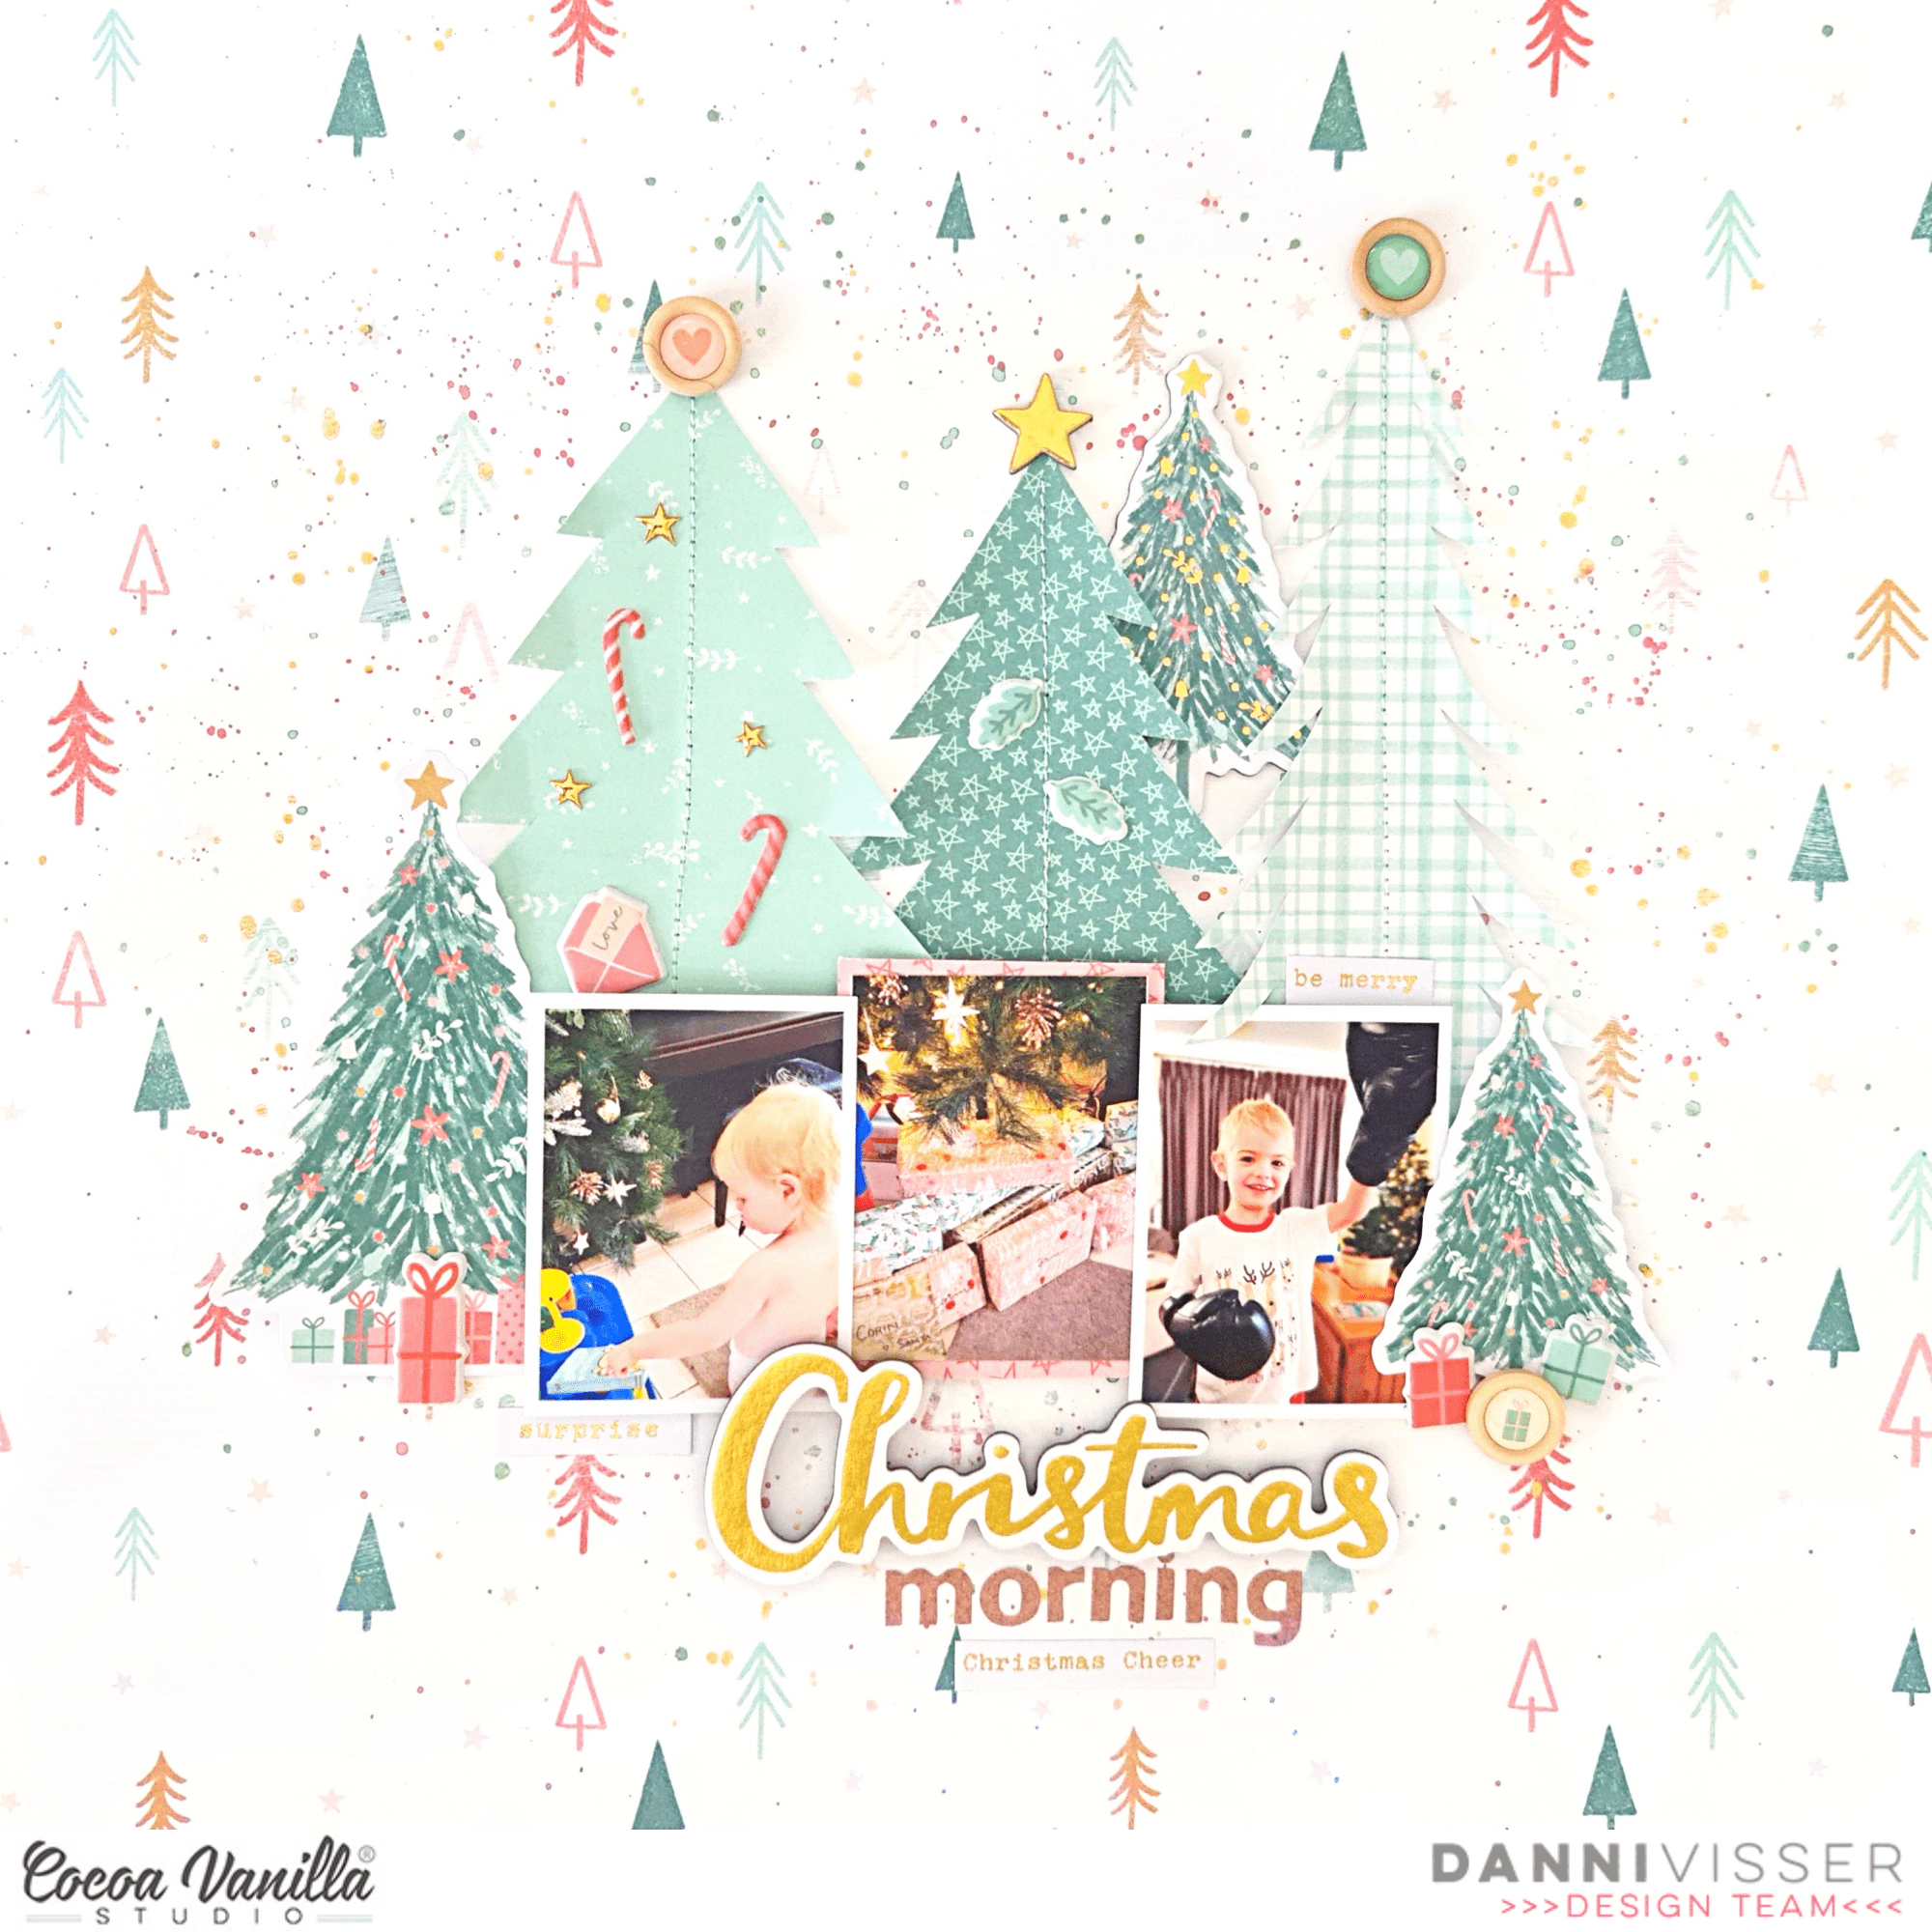
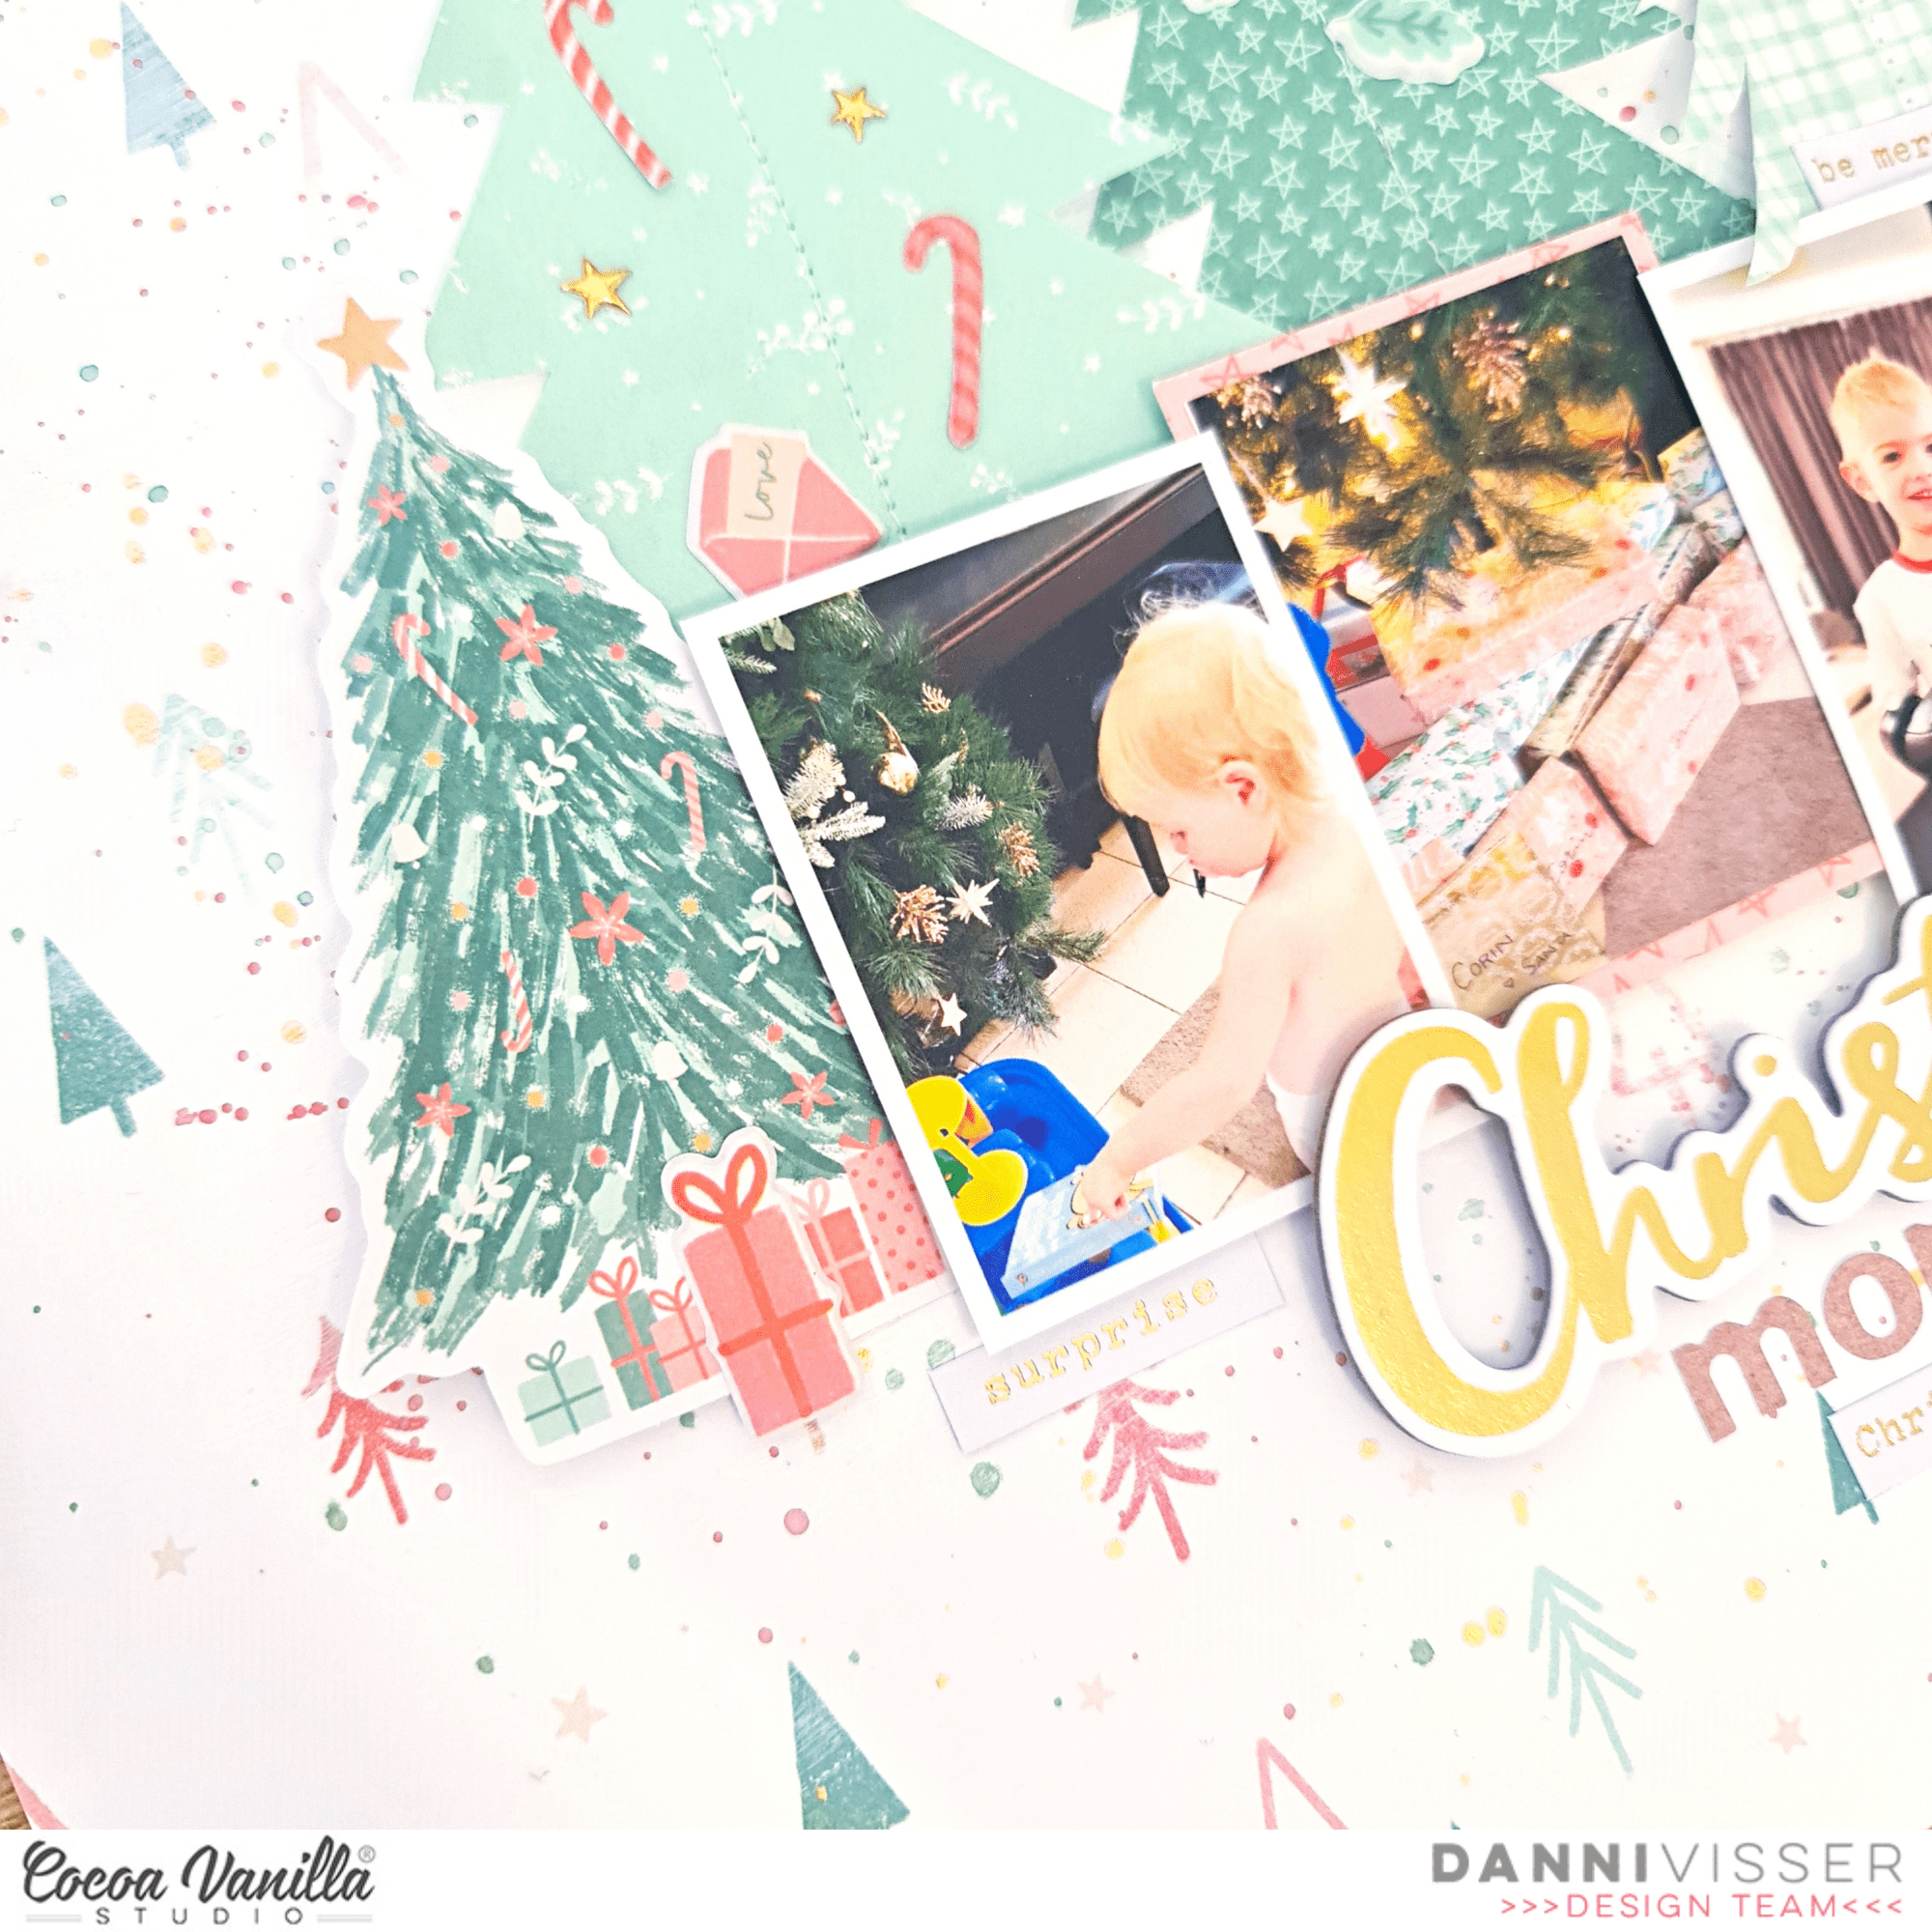


 I used two cut files on this layout. The deer in the background I cut out twice and glued half on top of each other. The cut file is from the Cricut design studio. The “Outdoor Adventure” title is a cut file from Cut to You. I cut a circle from the design paper and stitch the edges with brown sewing thread. I place the circle in the center of the mixed media background. I placed the deer on top and cut some design paper to size and glued it behind my son’s photo. I placed the design papers with the photo on top of the cutfile. I use 3D foam to create more dimension.
 I make a cluster of die-cuts and word strips on both sides of the photo. I stitched the words “So Epic” in the middle. I colored the cutfile title with a green Distress Oxide color. The color I used for that is “Peeled paint” I cut out several stars from the design paper and placed them in different places on my layout.
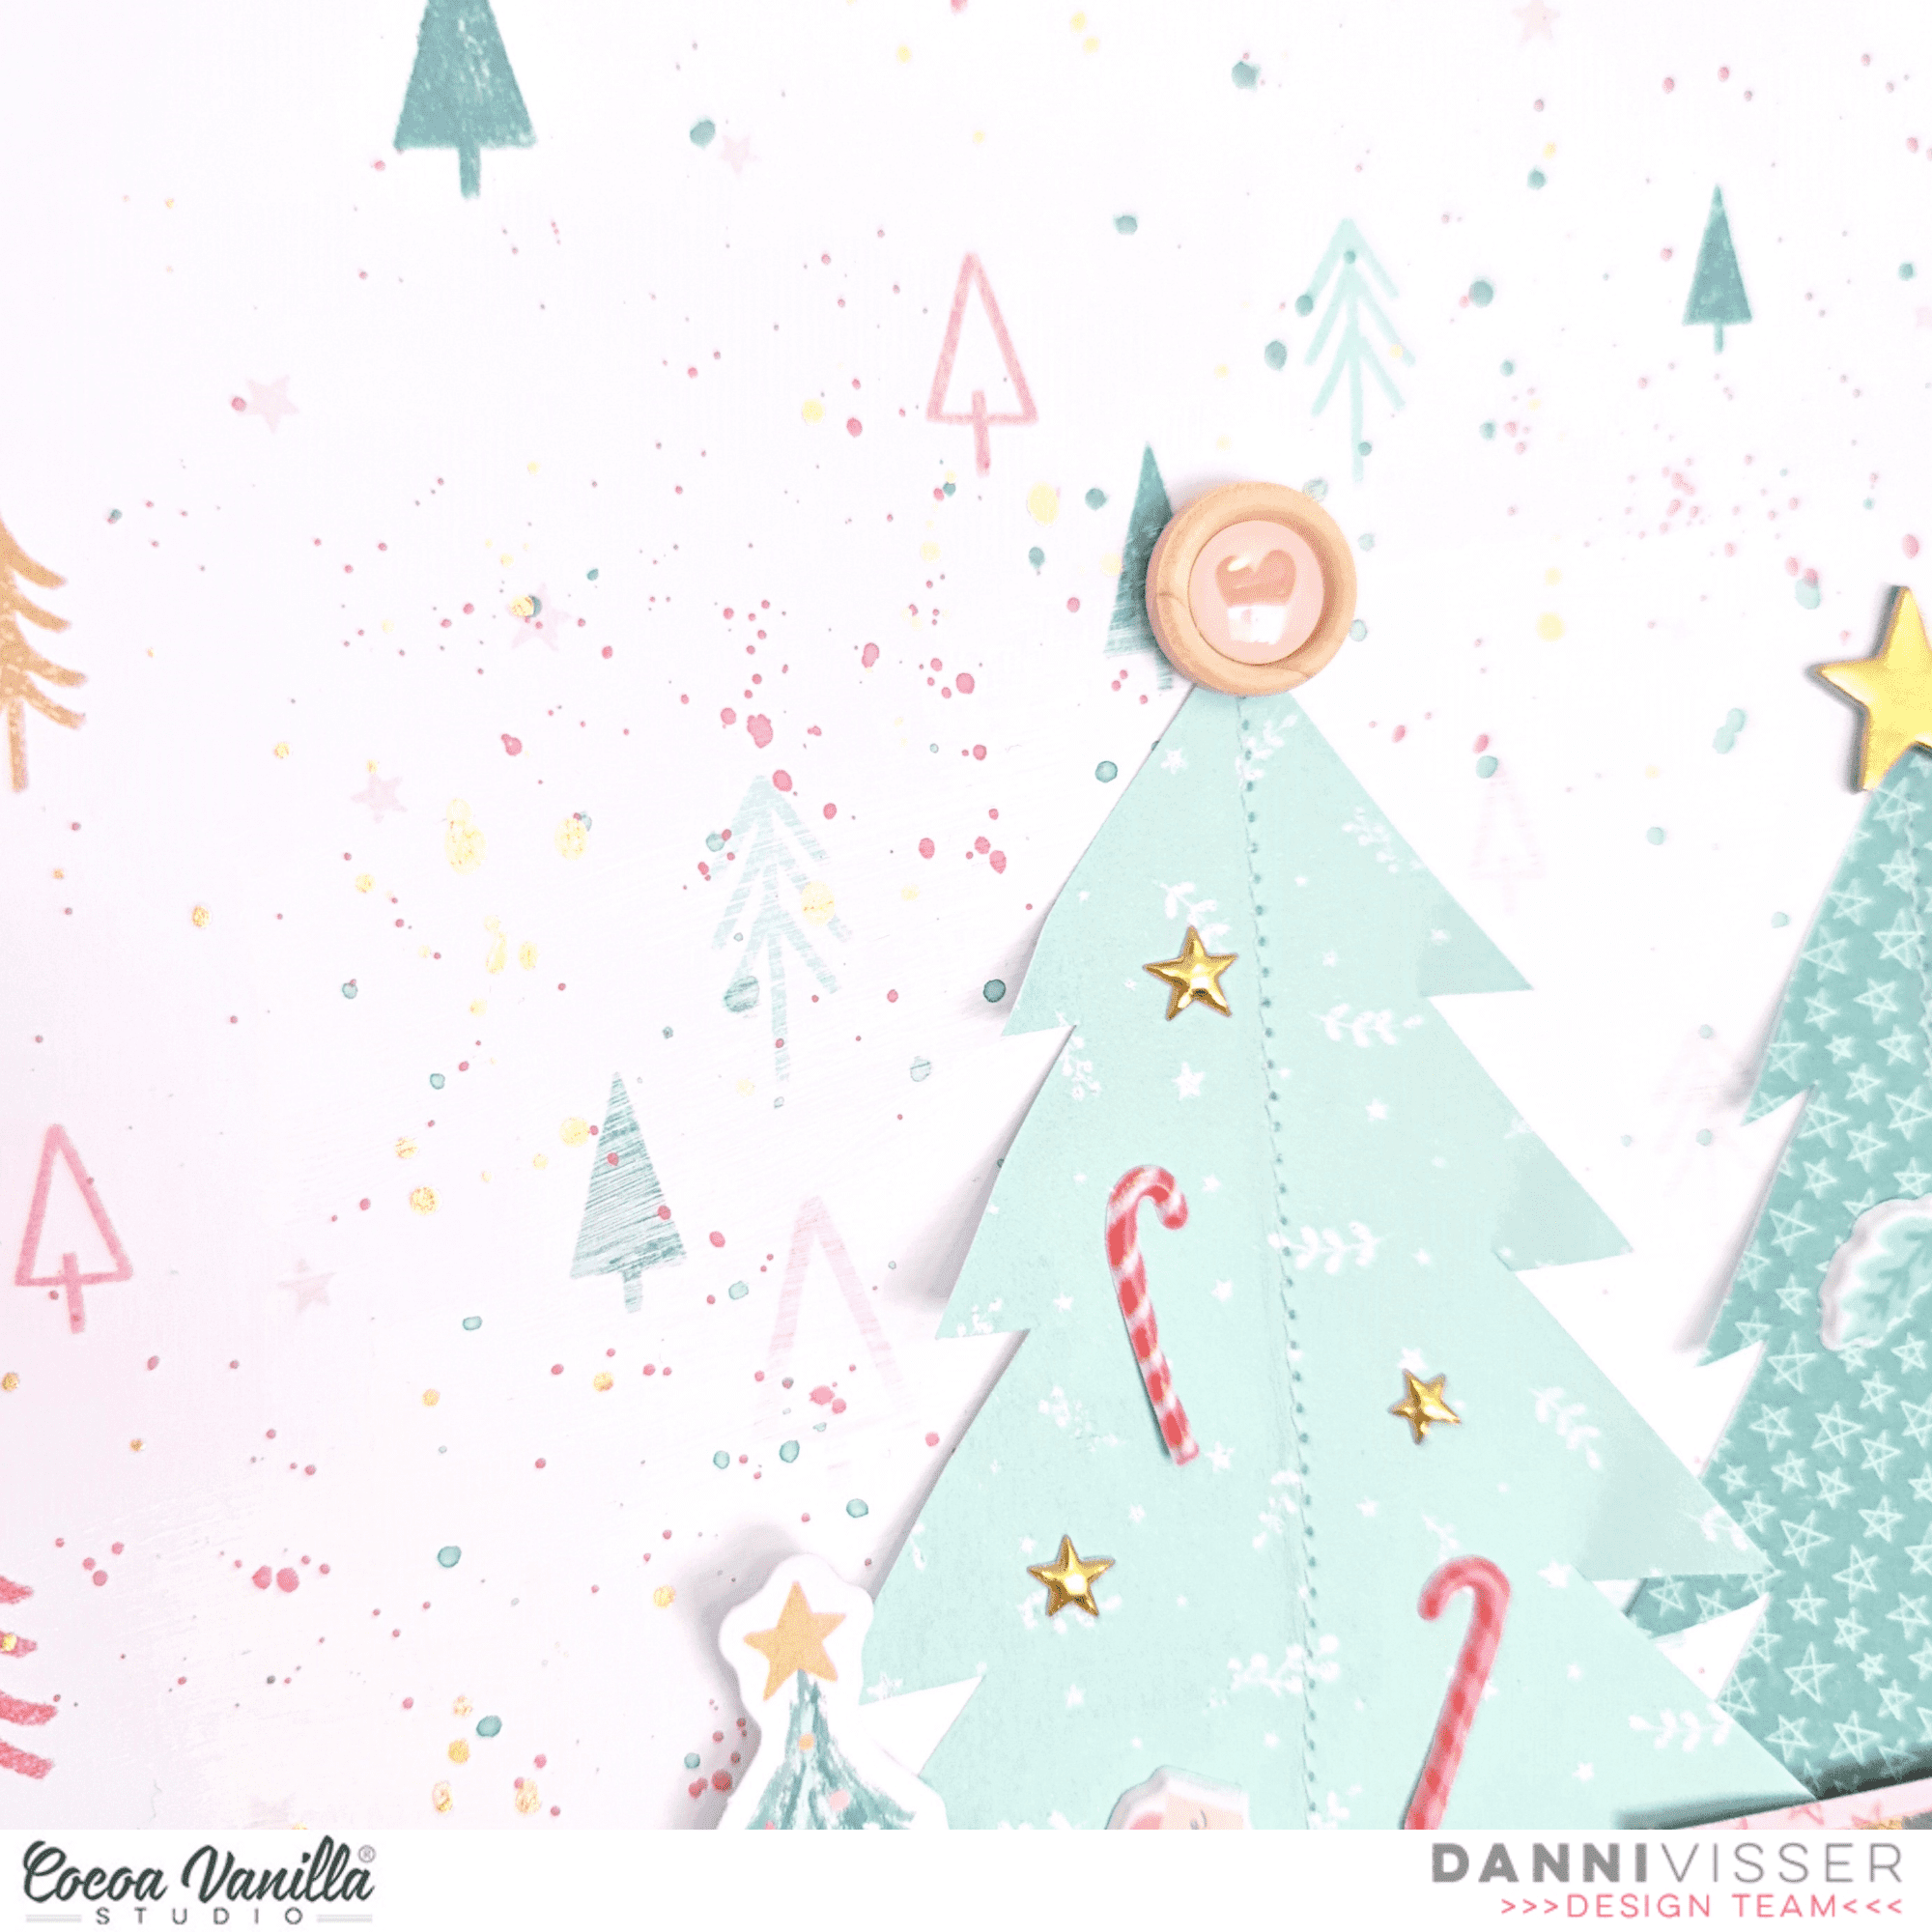
 I attached the stars with 3D tape. I like the way the stars. stand out a little from the background. I mix the white gesso with water and with a thin brush I make white gesso splatters on my layout. I like the effect. I think Legendary is a great collection with pretty cool colors. I am so happy that No Limits will be the next wonderful boys collection from Cocoa Vanilla Studio!
 I hope I was able to inspire you with this boys layout and am curious if you are also looking forward to the new collection “No Limits” I want to thank you for visiting for the blog today and hope to see you again next time with a new project.


 I used a Triangle cut file from the Cut to You store and backed it with patterned papers in the Legendary collection. I love that I can find a cut file to for every layout topic/purpose. When documenting layouts of my son I tend to choose shape style cut files like stars!


