Mad as a Hatter | Heart & Home Collection | Michelle Stokes
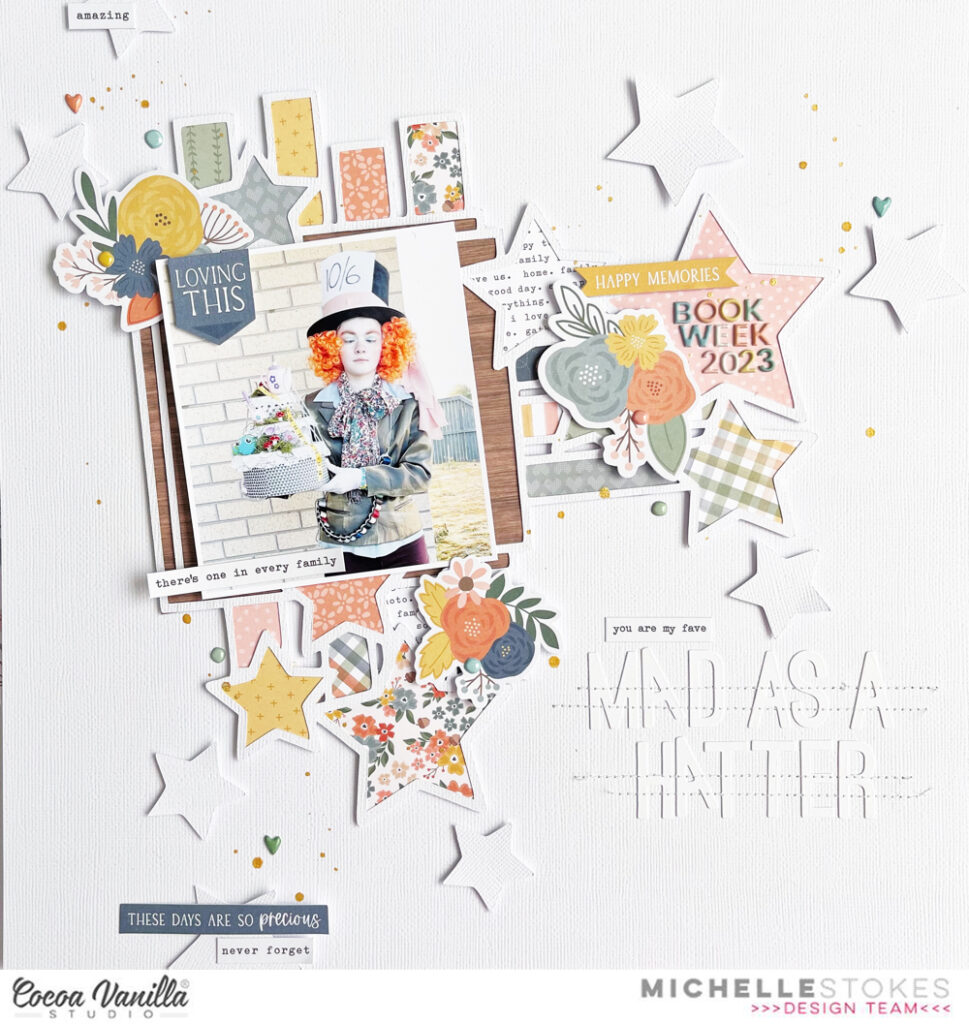
Hello Hello! It’s Michelle back here again with a new layout share using the newest Collection – Heart & Home. The colours within this collection reminded me of a photo I took recently of Leila for her last Book Week of Primary School so I thought what better moment to document than this one.
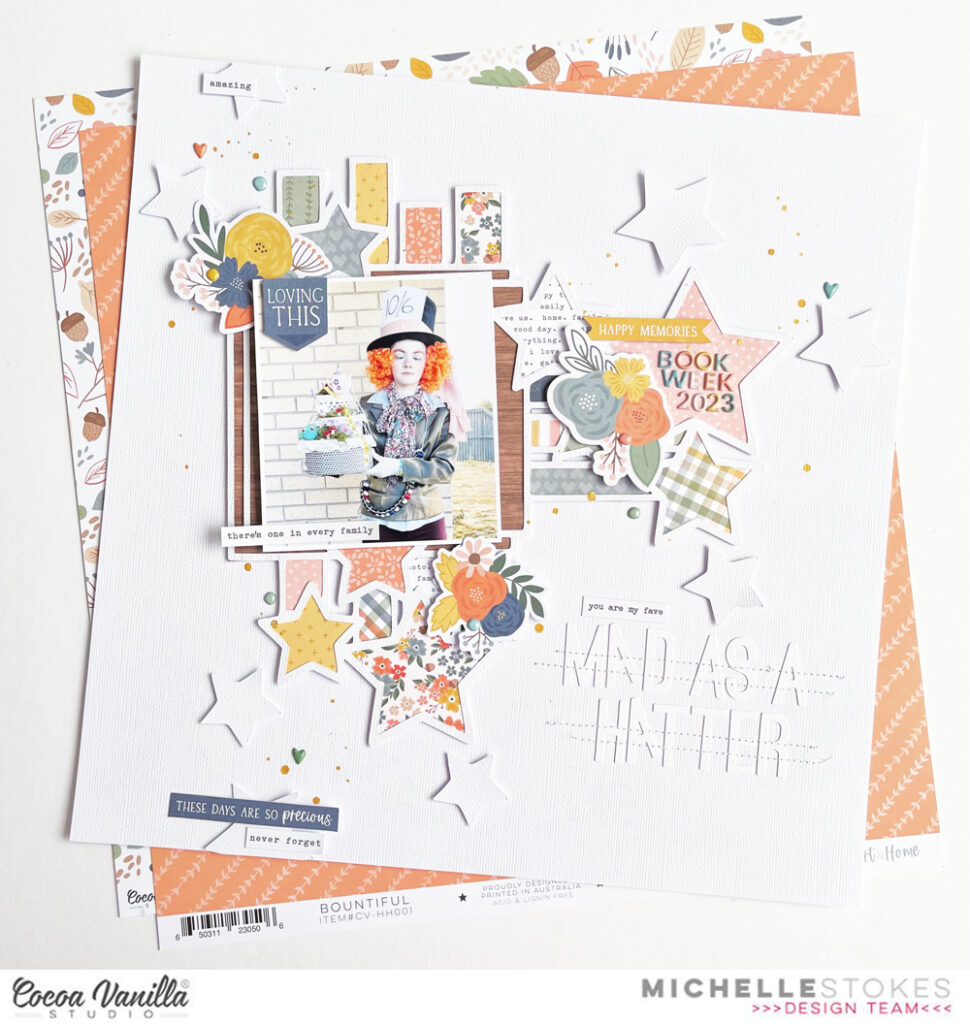
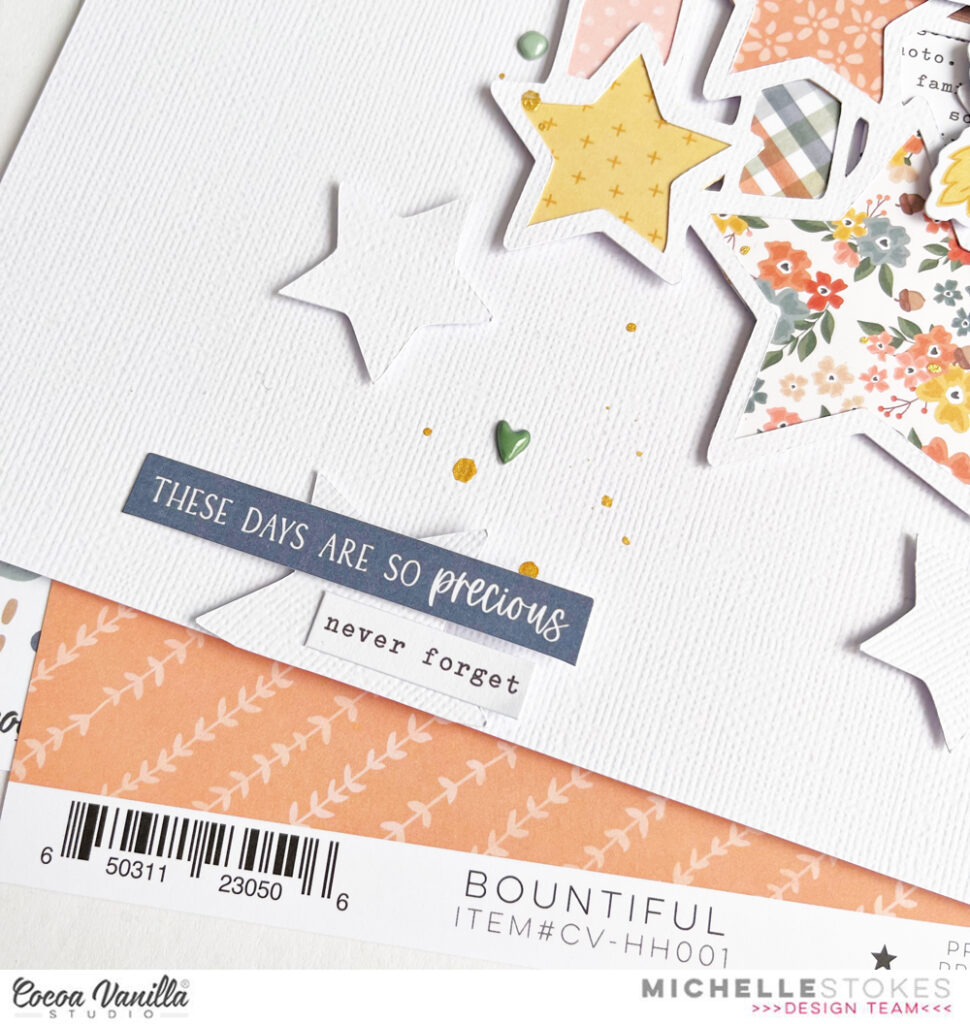
I started with a cut file design from CUT to YOU that I’ve cut out using white cardstock and backed with pattern papers from the A5 paper stack. I used a different pattern in each of the stars, then mixed them up for the strips that shoot out between. I backed the main square with the woodgrain pattern and adhered the cut file piece to the cardstock using double sided foam tape to lift it off the background. I added a splattering of gold ink all over before finishing the page as I wanted to build the remaining embellishments around the splotches
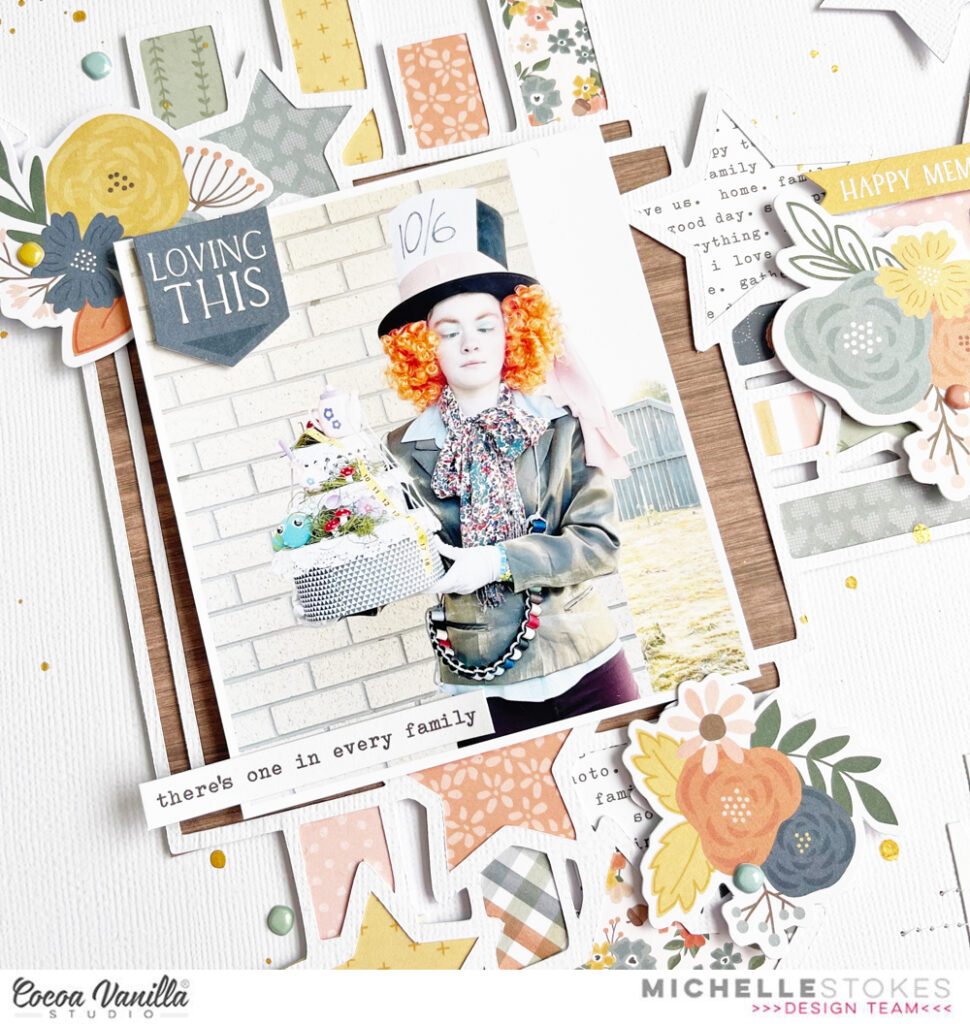
Leila dressed up as the Mad Hatter for her final Book Week parade, and after all the effort we put into her costume, I’m happy to say she won for her class. Yay! We op shopped for most of her outfit items and spent more than we needed to on all the finishing pieces. I created a tea party cake stack with some hat boxes, a tea set and my hot glue gun, sewed a wig onto a top hat and created a sashing of threads. She had a great day, and had lots of compliments for her crazy costume.
I added the photo directly to the cut file piece without adding paper layers below as I felt there was already so much going on in the background. I wanted it to stand out amongst all the colour behind it so I raised it up a little with a piece of foam sheet and layered the ephemera pieces to the top corner.
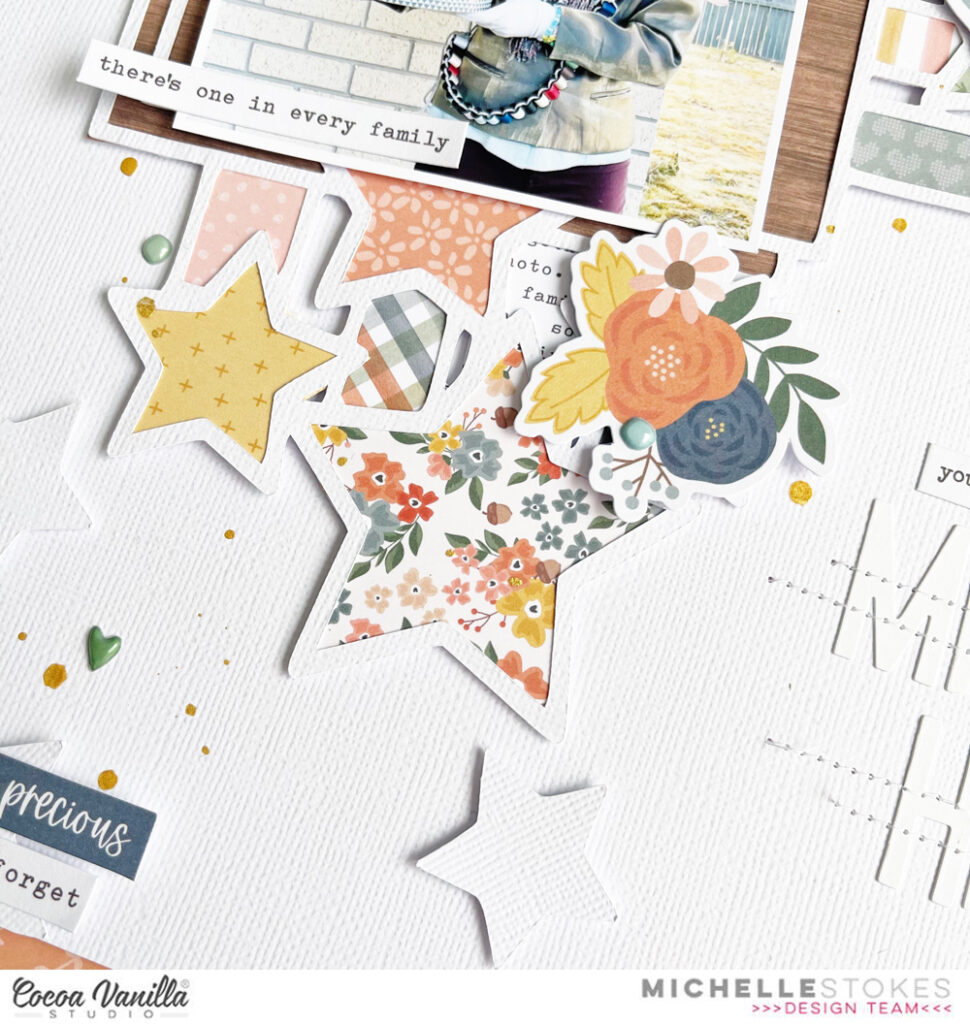
I added another floral ephemera piece to the bottom , and another to the right of the layout to create a visual triangle of sorts.
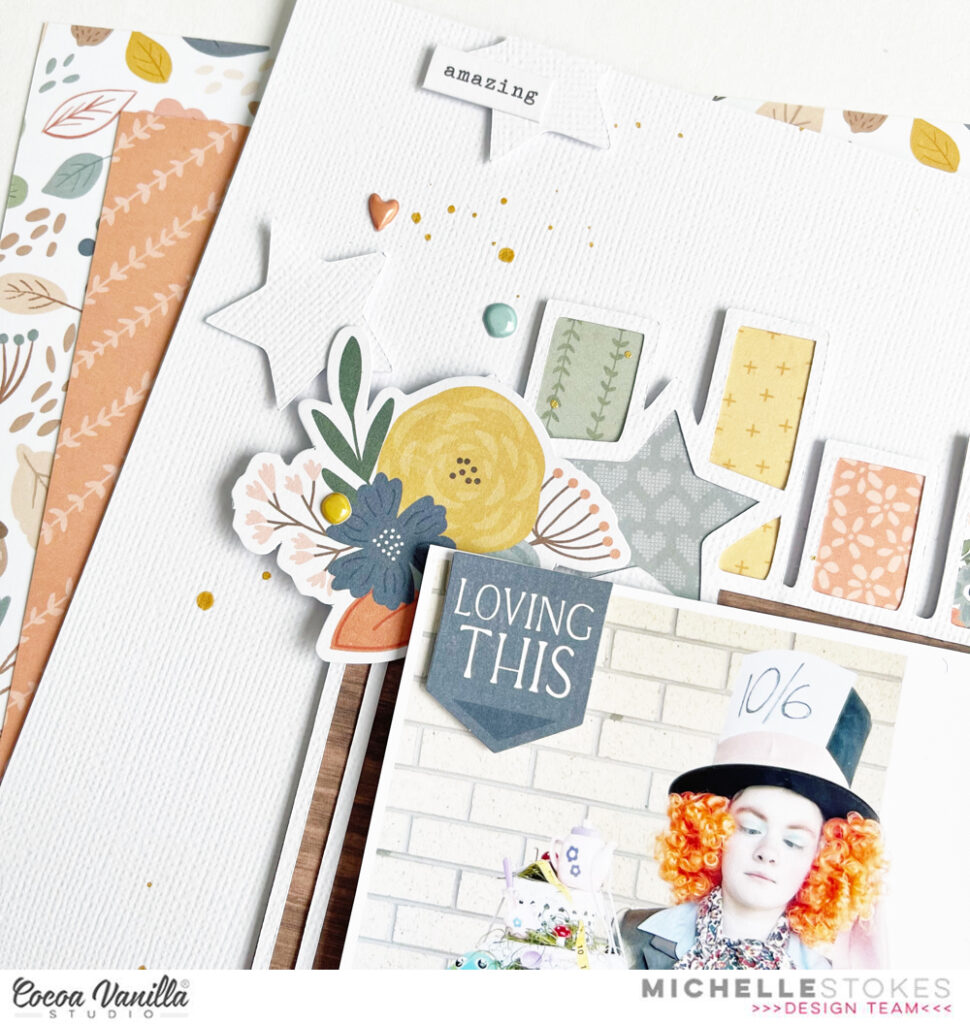
I used the negative star pieces from the main cut file to add a little detail to the blank white space around the cut file, mixed in amongst the gold splatters with a couple of accessory stickers, ephemera pieces and puffy shapes
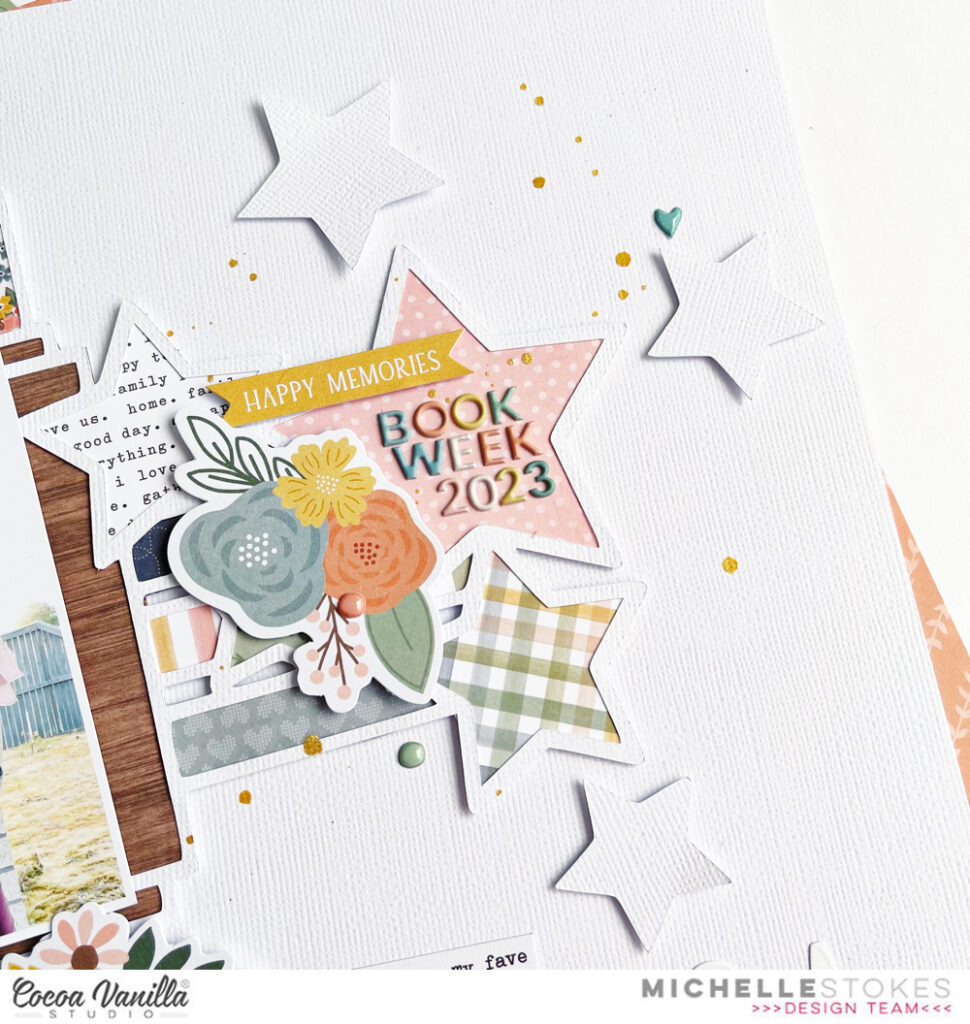
On the larger star of the cut file I added a mini title using the Mini Puffy Alphas. These are the perfect size for creating secondary titles on layouts as they’re not too big to distract from the main title
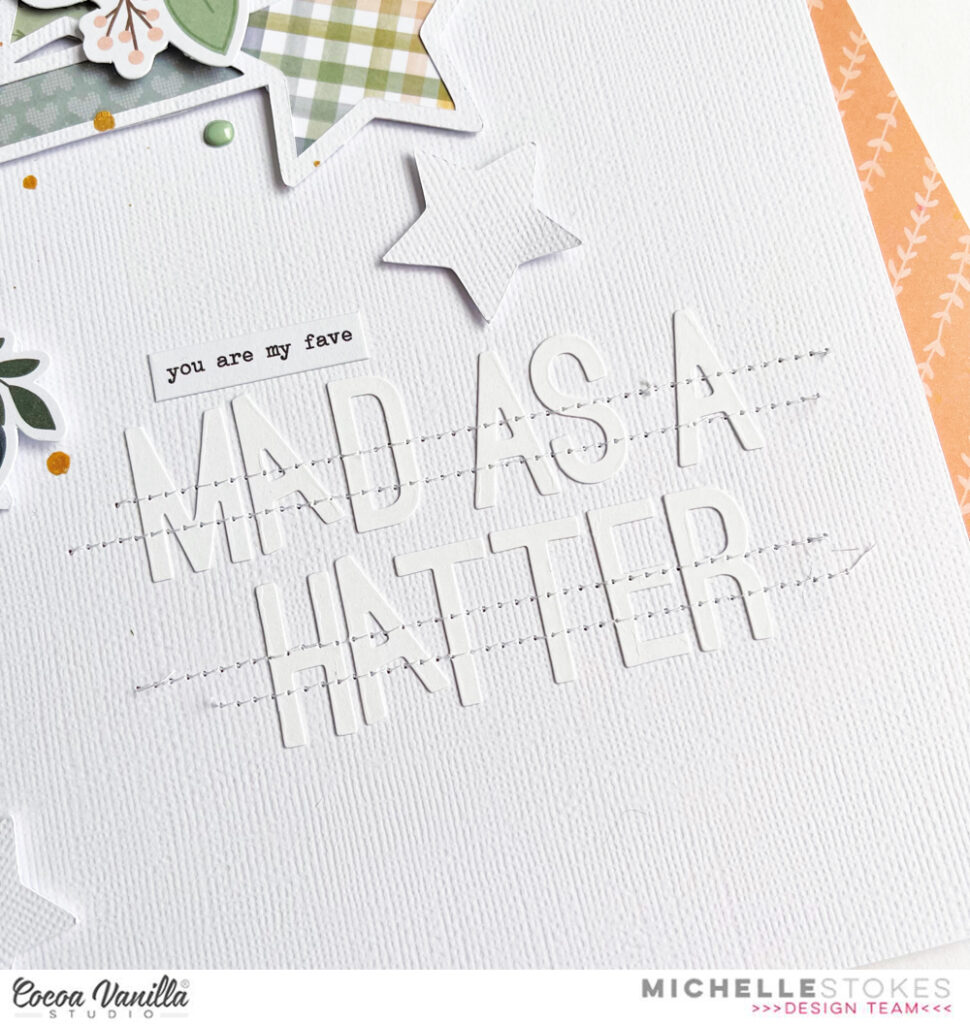
Which then makes way for the large title using my beloved white Alphabet stickers from quite a few years back. I added machine stitching over the top to ensure they stay adhered for many years to come, but also adds a little extra detail to the layout.
Here’s a final look at the entire layout..
Well friends thats all from me today, I hope you’ve enjoyed seeing my newest creation using the Heart & Home Collection.
Thanks so much for stopping by!
Until next time, Happy Scrapping
Michelle x
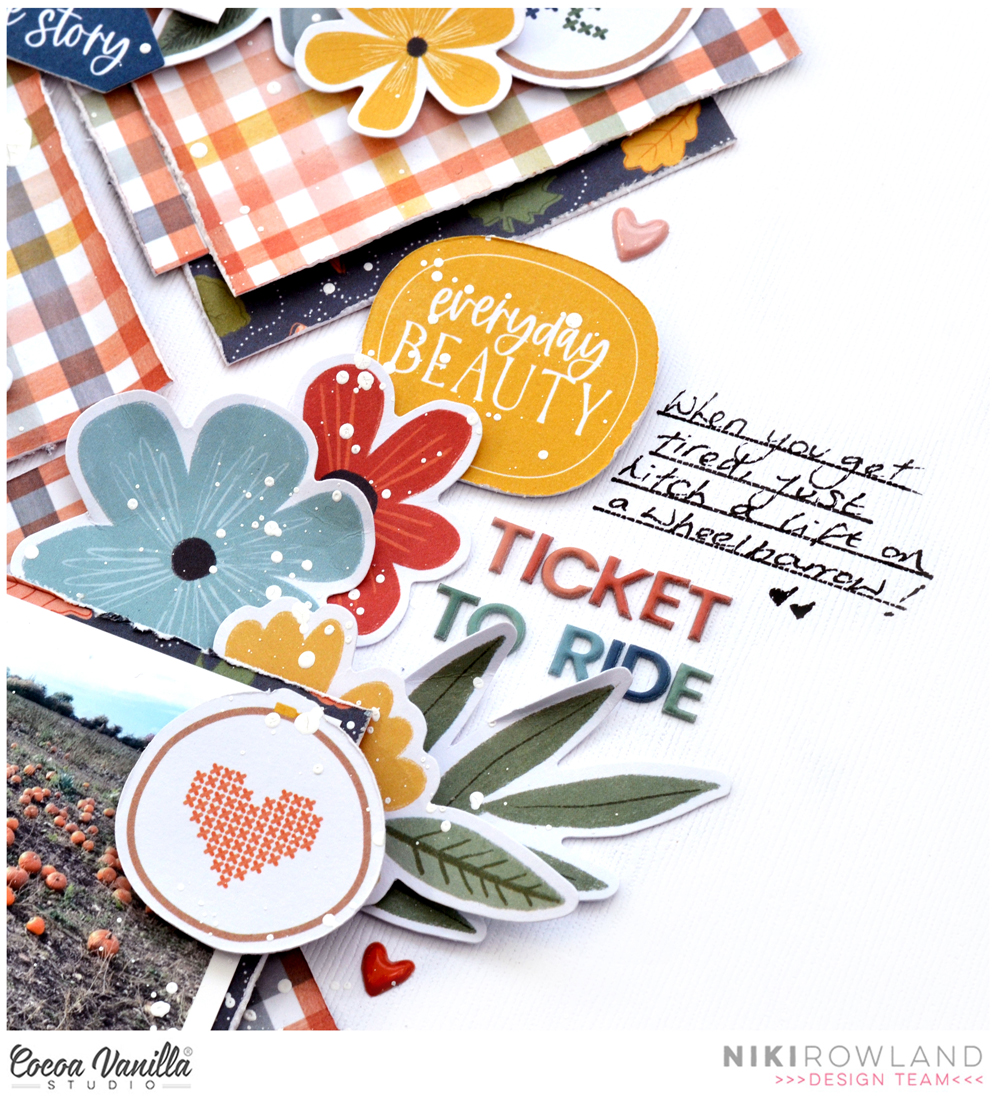

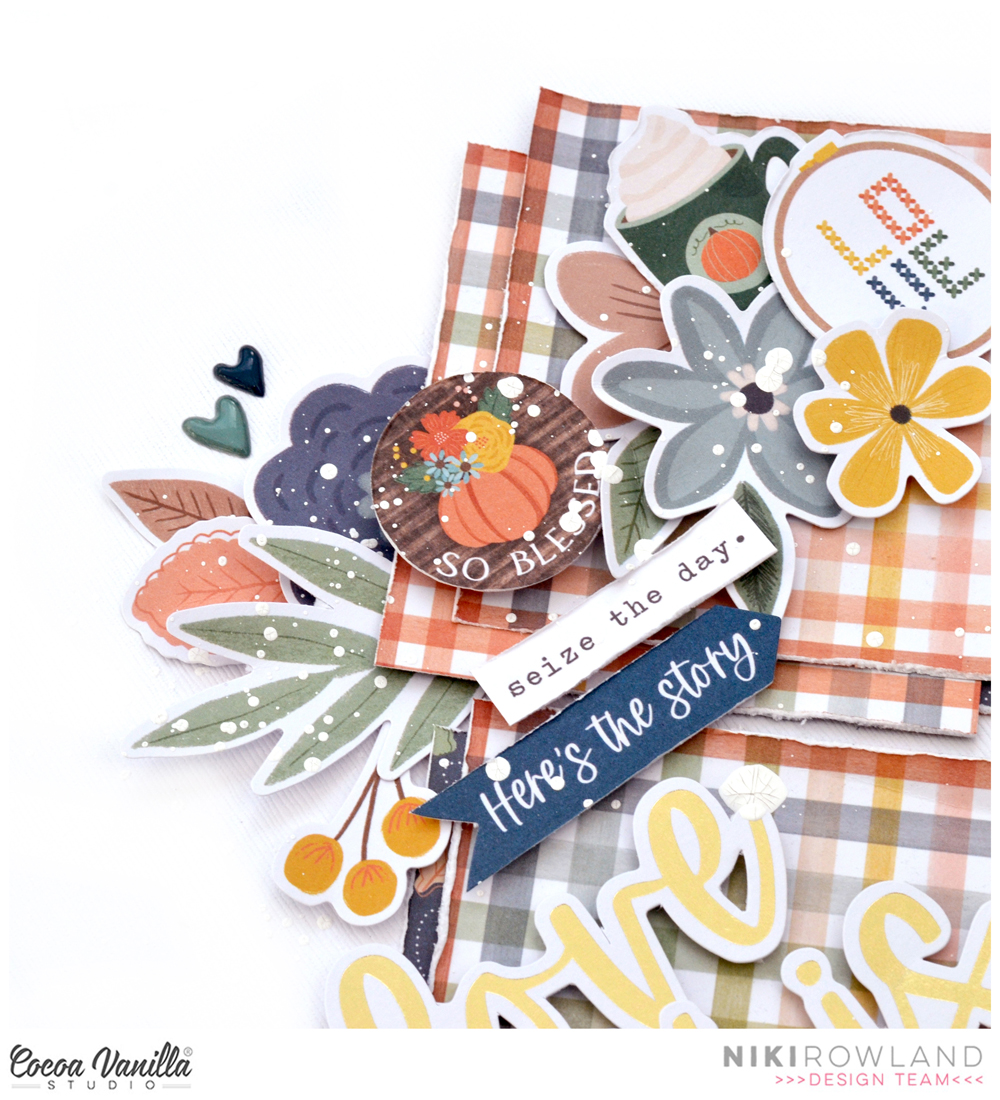


 To balance out the heaviness of the right side of the layout, I created a cluster of embellishments that mostly included some more of the gorgeous florals. I adhered some flat and adhered some with craft foam to create different heights and dimension. I did add a die-cut that said ‘Everyday Beauty’ here also. Some more phrases were added too including the Happiness Is Homemade banner that I added under the title and the Moment Captured banner die-cut that I adhered on top of the photo. I also added the Joyful Days sticker from the Accessory sticker sheet just above the title. Lastly I added some of the puffy hearts around the page, stamped the date stamp and sprinkled some white mist around.


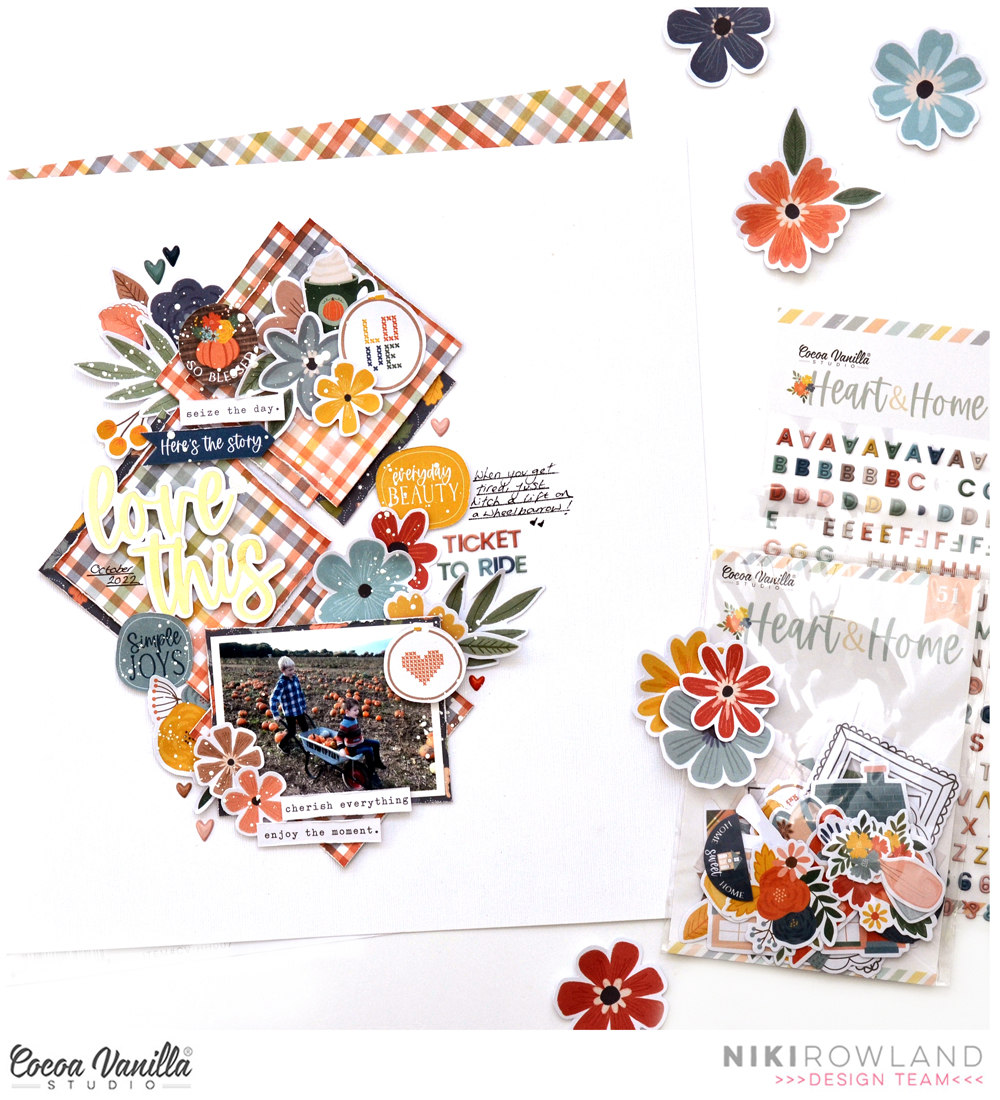
 I started my layout with the striped Harvest paper as my background. On top of that I layered a piece of the woodgrain Framed paper which gave a neutral area for me to add my photos and title. Down the left hand side of the page I created a border by layering the Fall Beauty and the Leaf Litter papers and finishing it off with a punched honeycomb border.
 To give some extra interest to the photos, and to help them stand out from the background, I added some patterned paper layers behind them. I also adhered the photos at a slight angle which gives the layout a more whimsical feel rather than being too structured.
 Next I added another floral cluster in the bottom right hand corner of the page. This balances out the first cluster and gives the layout a diagonal flow, drawing the viewer’s eye down through the photos. In this cluster I again used more fussy cut florals, as well as a journaling piece from the die cut ephemera pack.
 For my title, I took inspiration from the ‘Family’ die cut pieces in the ephemera pack. I love that each letter is a different colour, and decided to create a similar style title using some metal alphabet dies from my stash. I cut each letter out of a patterned papers from the A5 Paper Stack and combined it with Mini Puffy Alpha Stickers. The title ‘Love this Kid’ seemed like the perfect sentiment for these photos!


