Sweet Memories | Bohemian Dream | Rachel Lowe
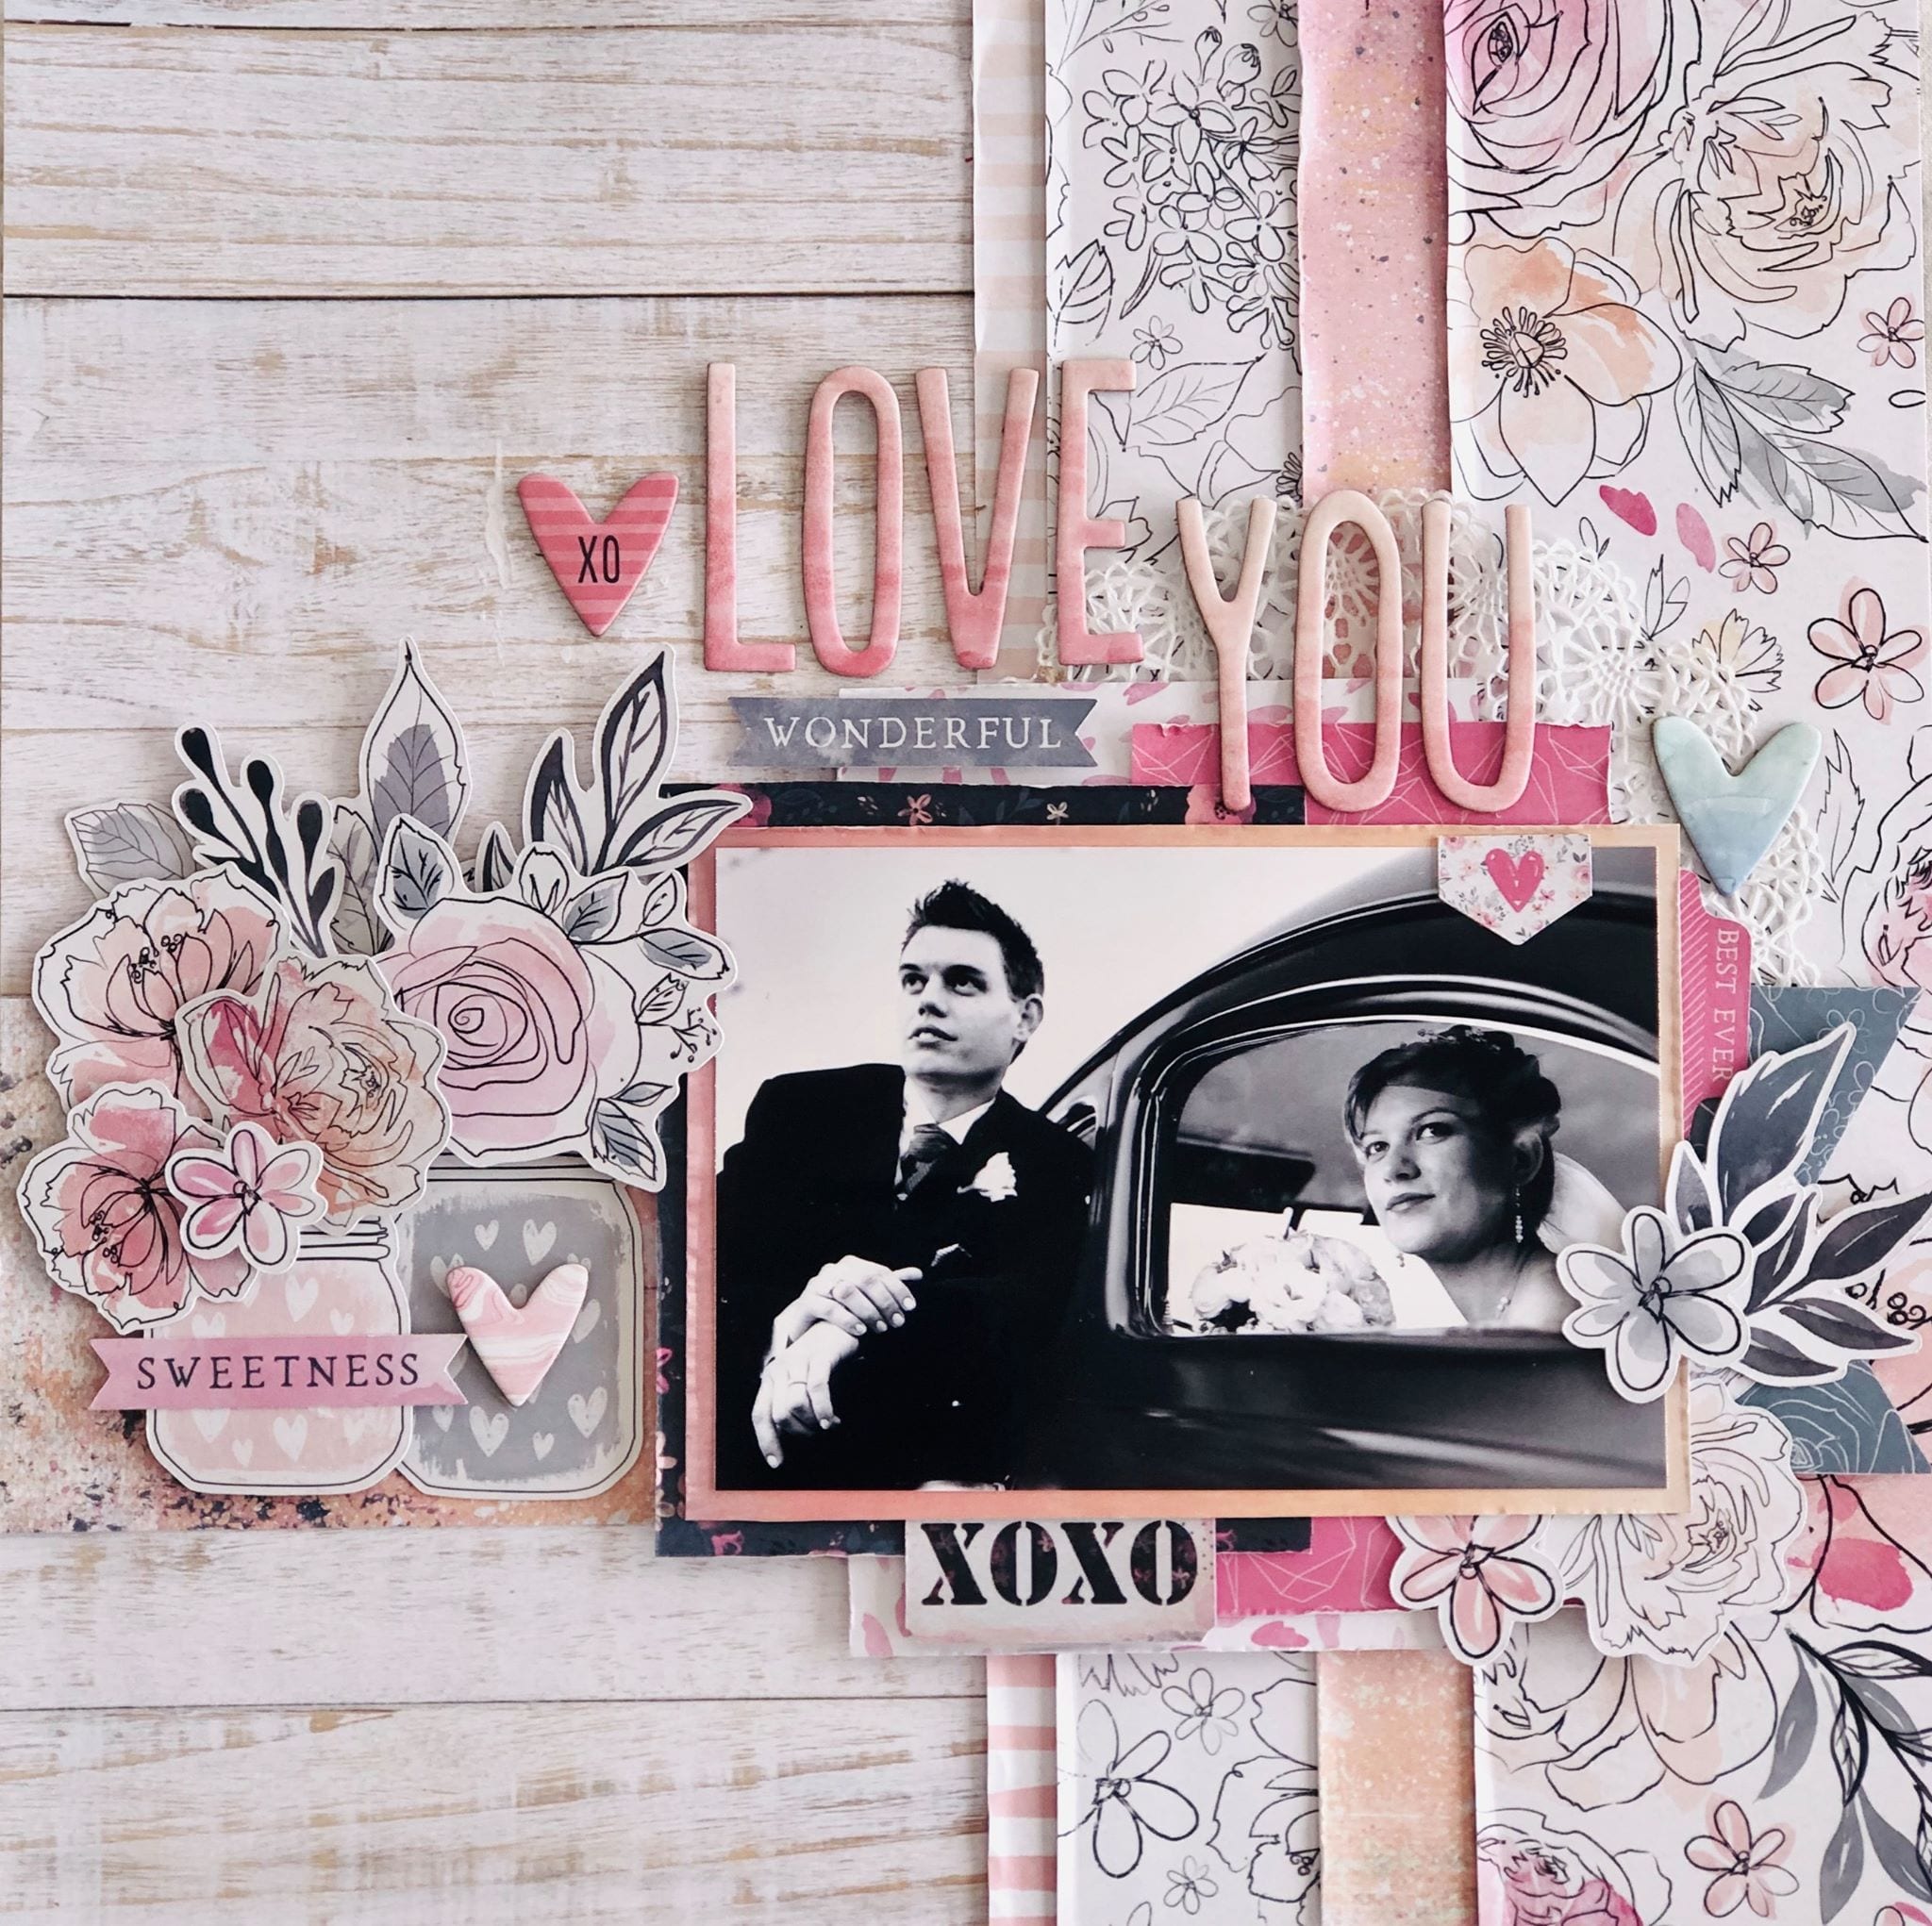
Hi CVS friends! I adored Bohemian Dream collection with its purple and blues, crisp white contrasts, florals and beautiful die cuts. I have created a super pretty girly layout featuring Bohemian Dream.

I have used a beautful balloon cut file from the Silhouette Design Store. I have used Dreamer paper, both sides and the fun polka dot blue paper. The purple side of Dreamer I used an embossing paper to create the polka dot effect on keeping with the navy dot paper (also the texture added is gorgeous).

Once I had paper pieced the balloons I decided to hand stitch some of the balloons and balloon string. As I do with most designs I use the rule of threes or odd numbers for visual balance (note I used three different papers for the balloons) I hand stitched three of the balloons in white thread and silver thread for the stings. It created a wonderful texture and ensures the balloons do not look flat.

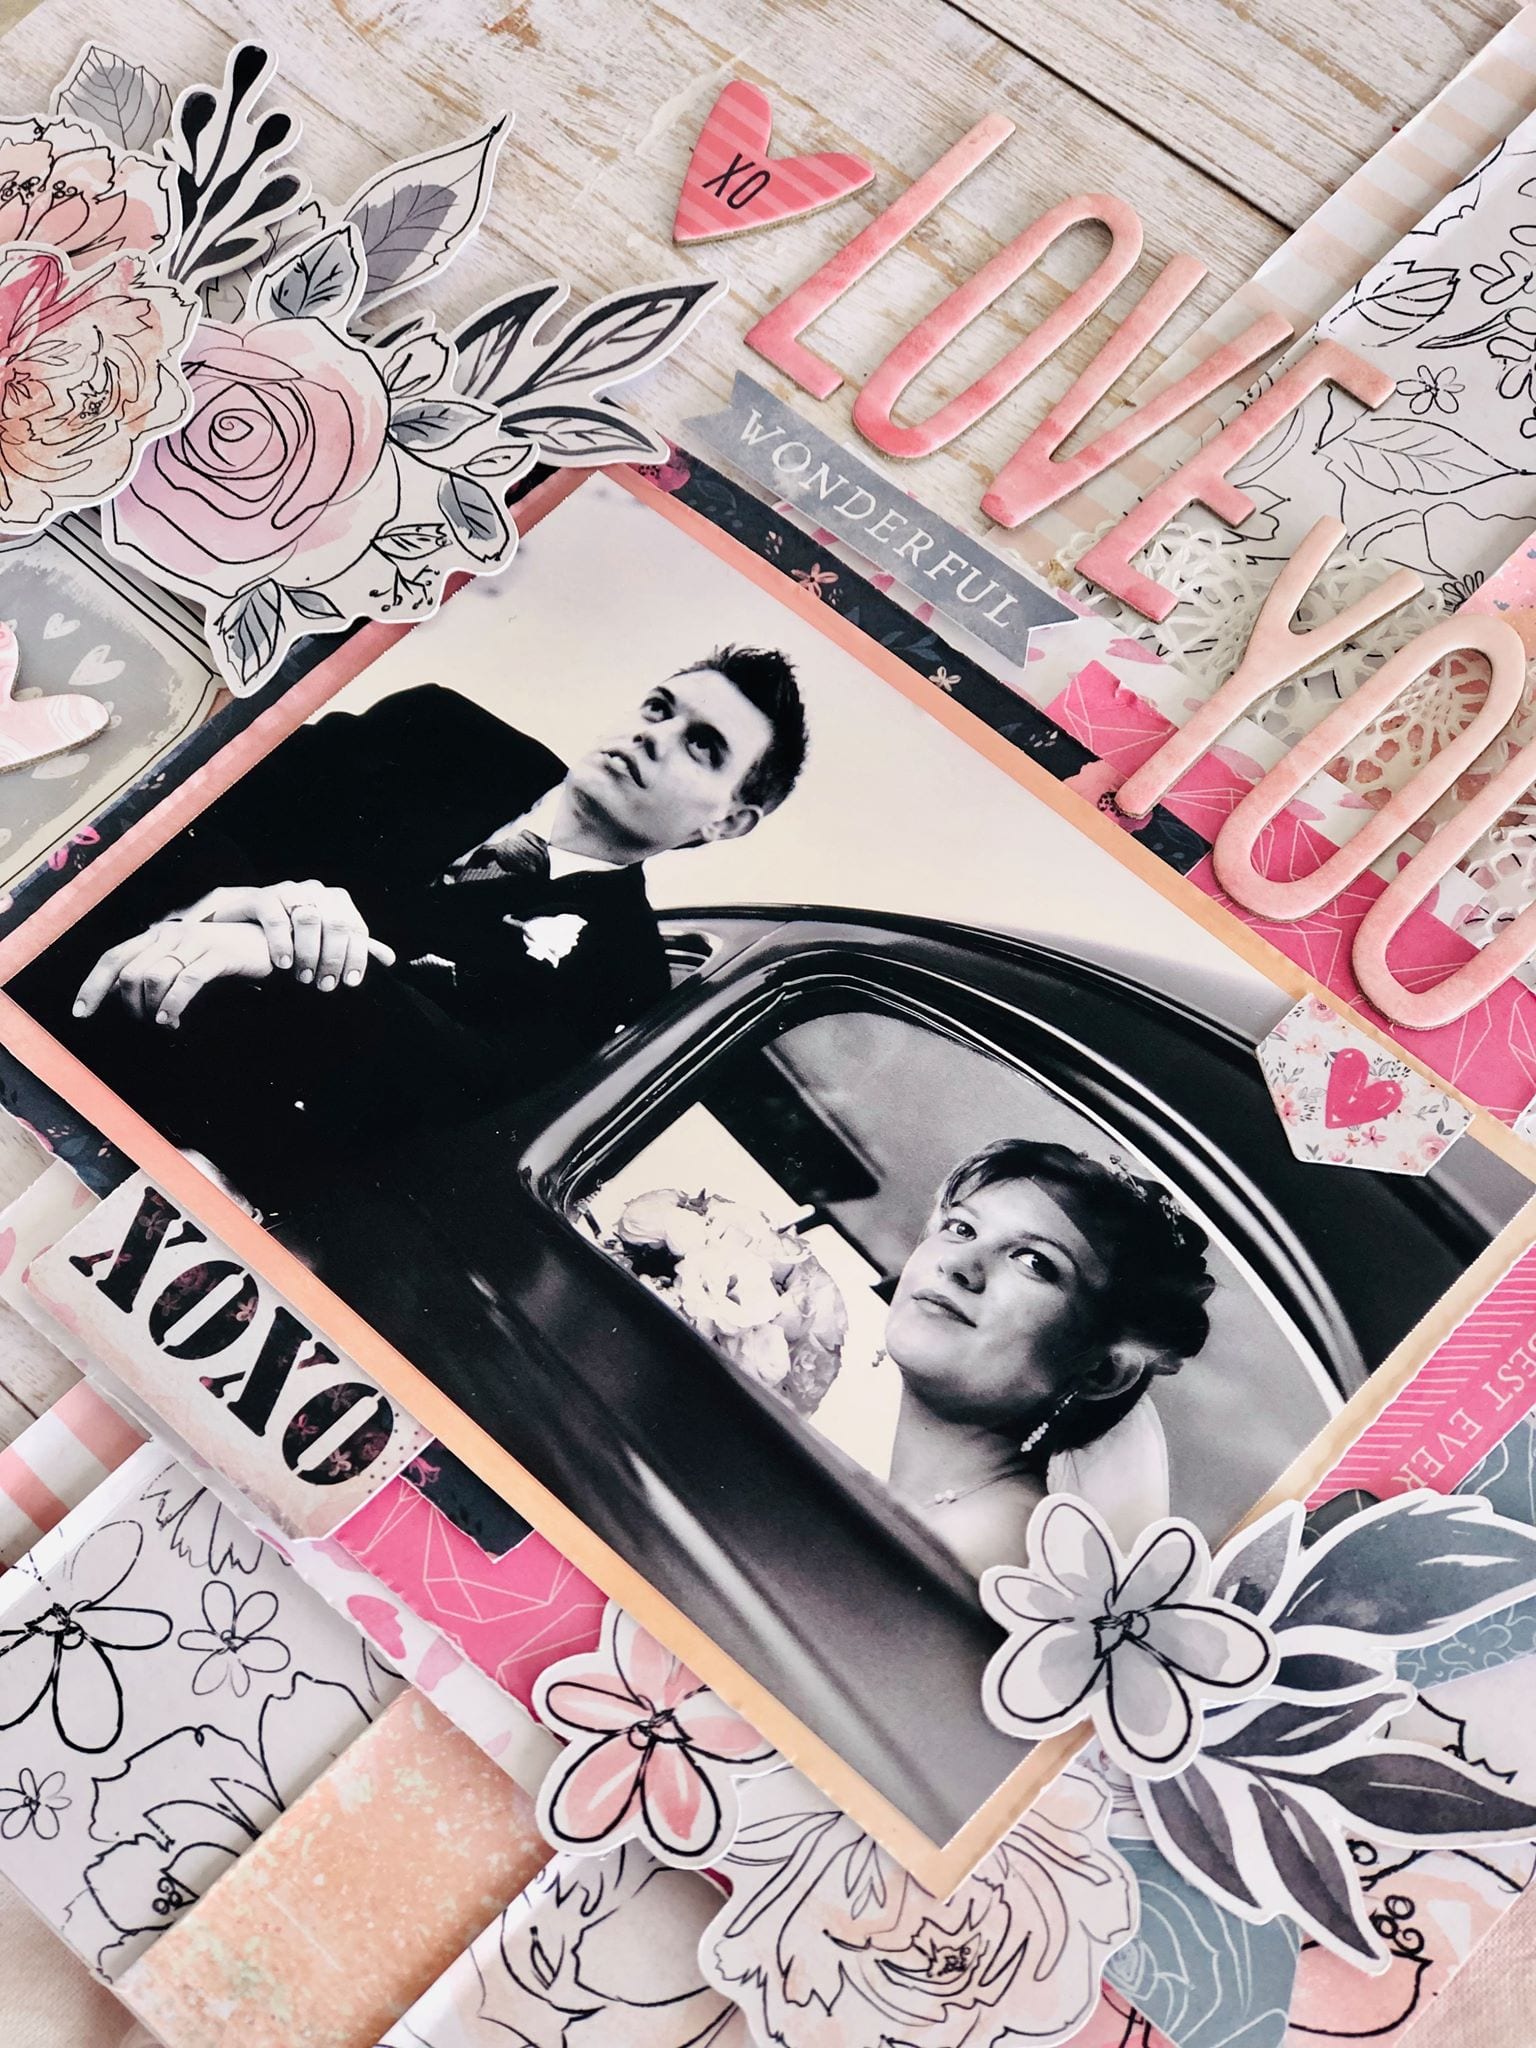
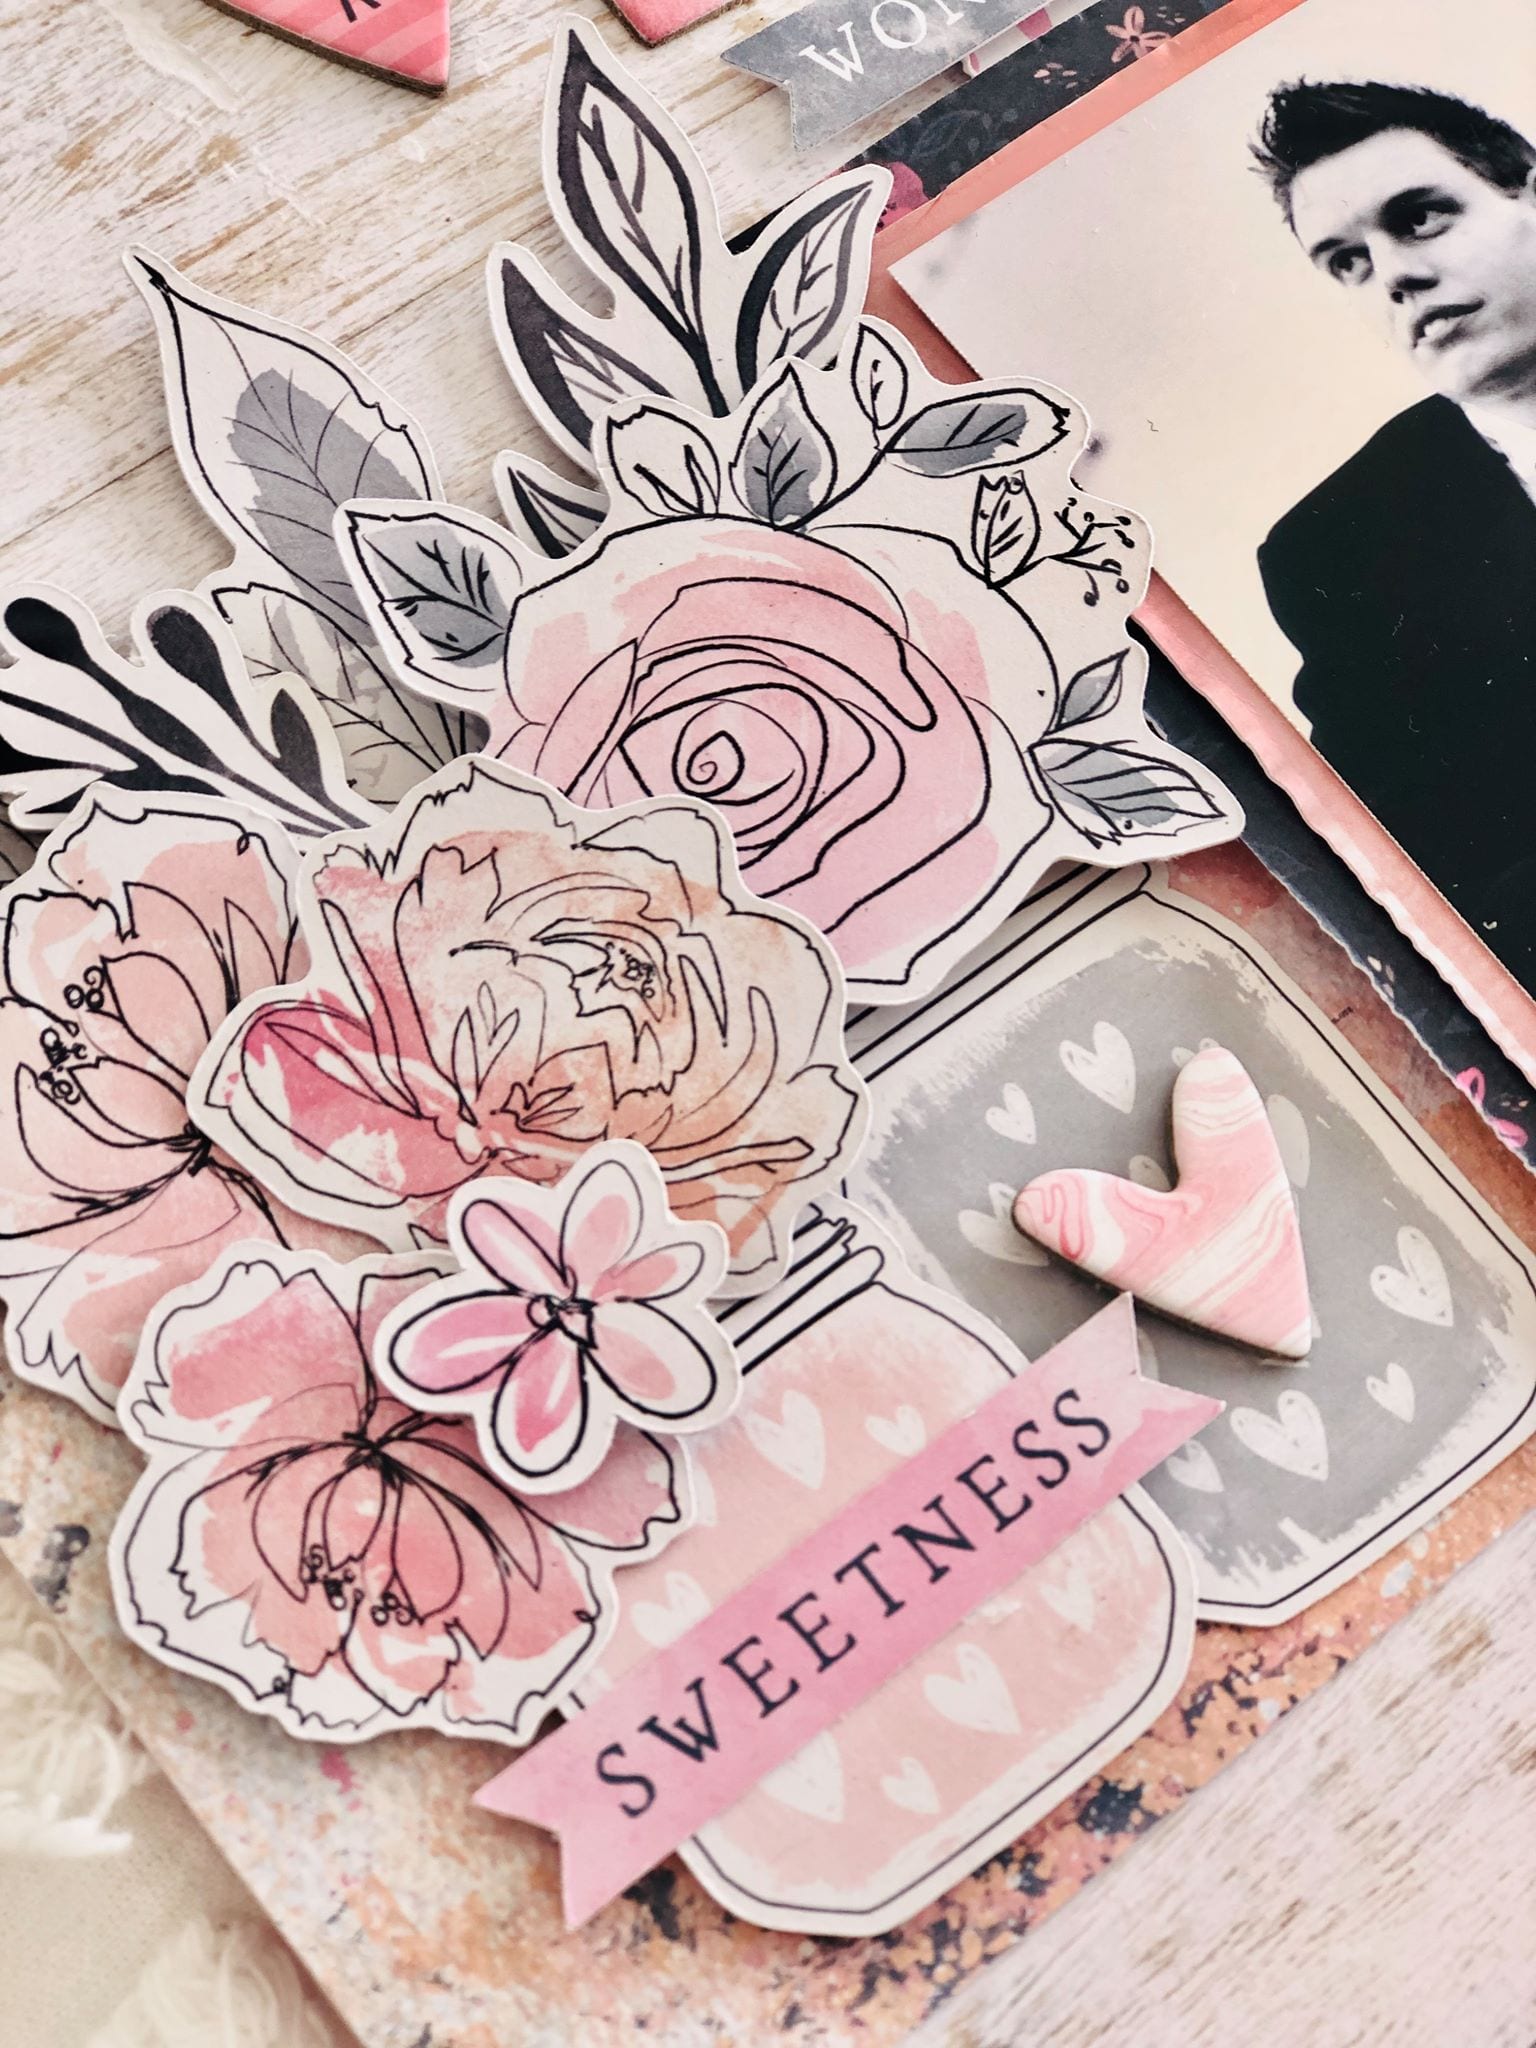
I next added my 3×3 inch photo using the thin frame from the die cut pack and attaching with foam tape to add more dimension. I chose tiny floral bunches to embellish around my frame as I didn’t want the balloons covered too much which I tucked under my photo and frame. I also added several to the outer of three balloons.

I then chose word and phrase sentiments from the accessory sticker sheet in between the balloons, adding some purple sequins to draw your eye to them and break up the white.

To finish off I added my title, a sentiment banner from the die cut pack and two pretty butterflies (added with foam tape).The most time consuming part of this layout is the stitching but it really is worth the effort.


Thank you for stopping by and if you have any questions about my layout please leave in comments. Have a wonderful and creative week.
Rachel X


 I took inspiration from the skull and cross bones design in the image and also the colours. I cut out a skull and cross bone design from black cardstock using my Silhouette Cameo and used is one of the main focal points on my layout. I popped up the skull using craft foam and adhered the cross bones flat to the page. In the eyes of the skull, I backed one of them with one of the paper s from the
  The Totally Rad collection has lots of pieces with the skull and crossbones so I pulled out what I had left and used them as embellishments. The large white and black skull and cross bones was fussy cut from the
 To finish off, I added the chippie crown in the chipboard pieces pack from the


 Absolutely stunning!


