Super Hero | Legendary Layout | Anna Komenda
Hello CVS Friends. It’s Anna here with another project made with brand new “Legendary” collection. This line is so easy to work with and you have to believe me as I am not used to using masculine lines. I made this page in about 30 minutes which is almost a record for me. “Legendary” is a very colorful collection with almost all colors from the rainbow in it. However this time I decided to focus on yellow, orange and blue. I took those colors from the picture of my cute nephew.
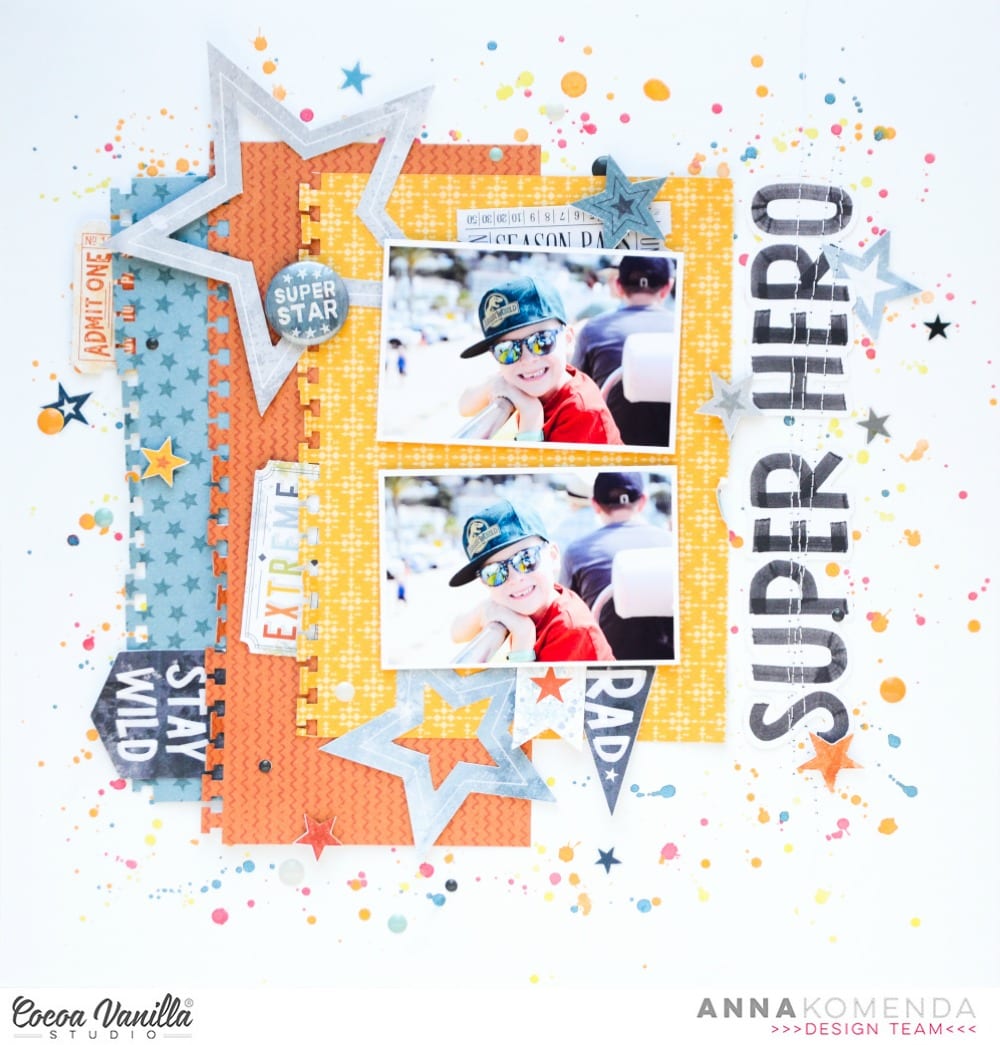
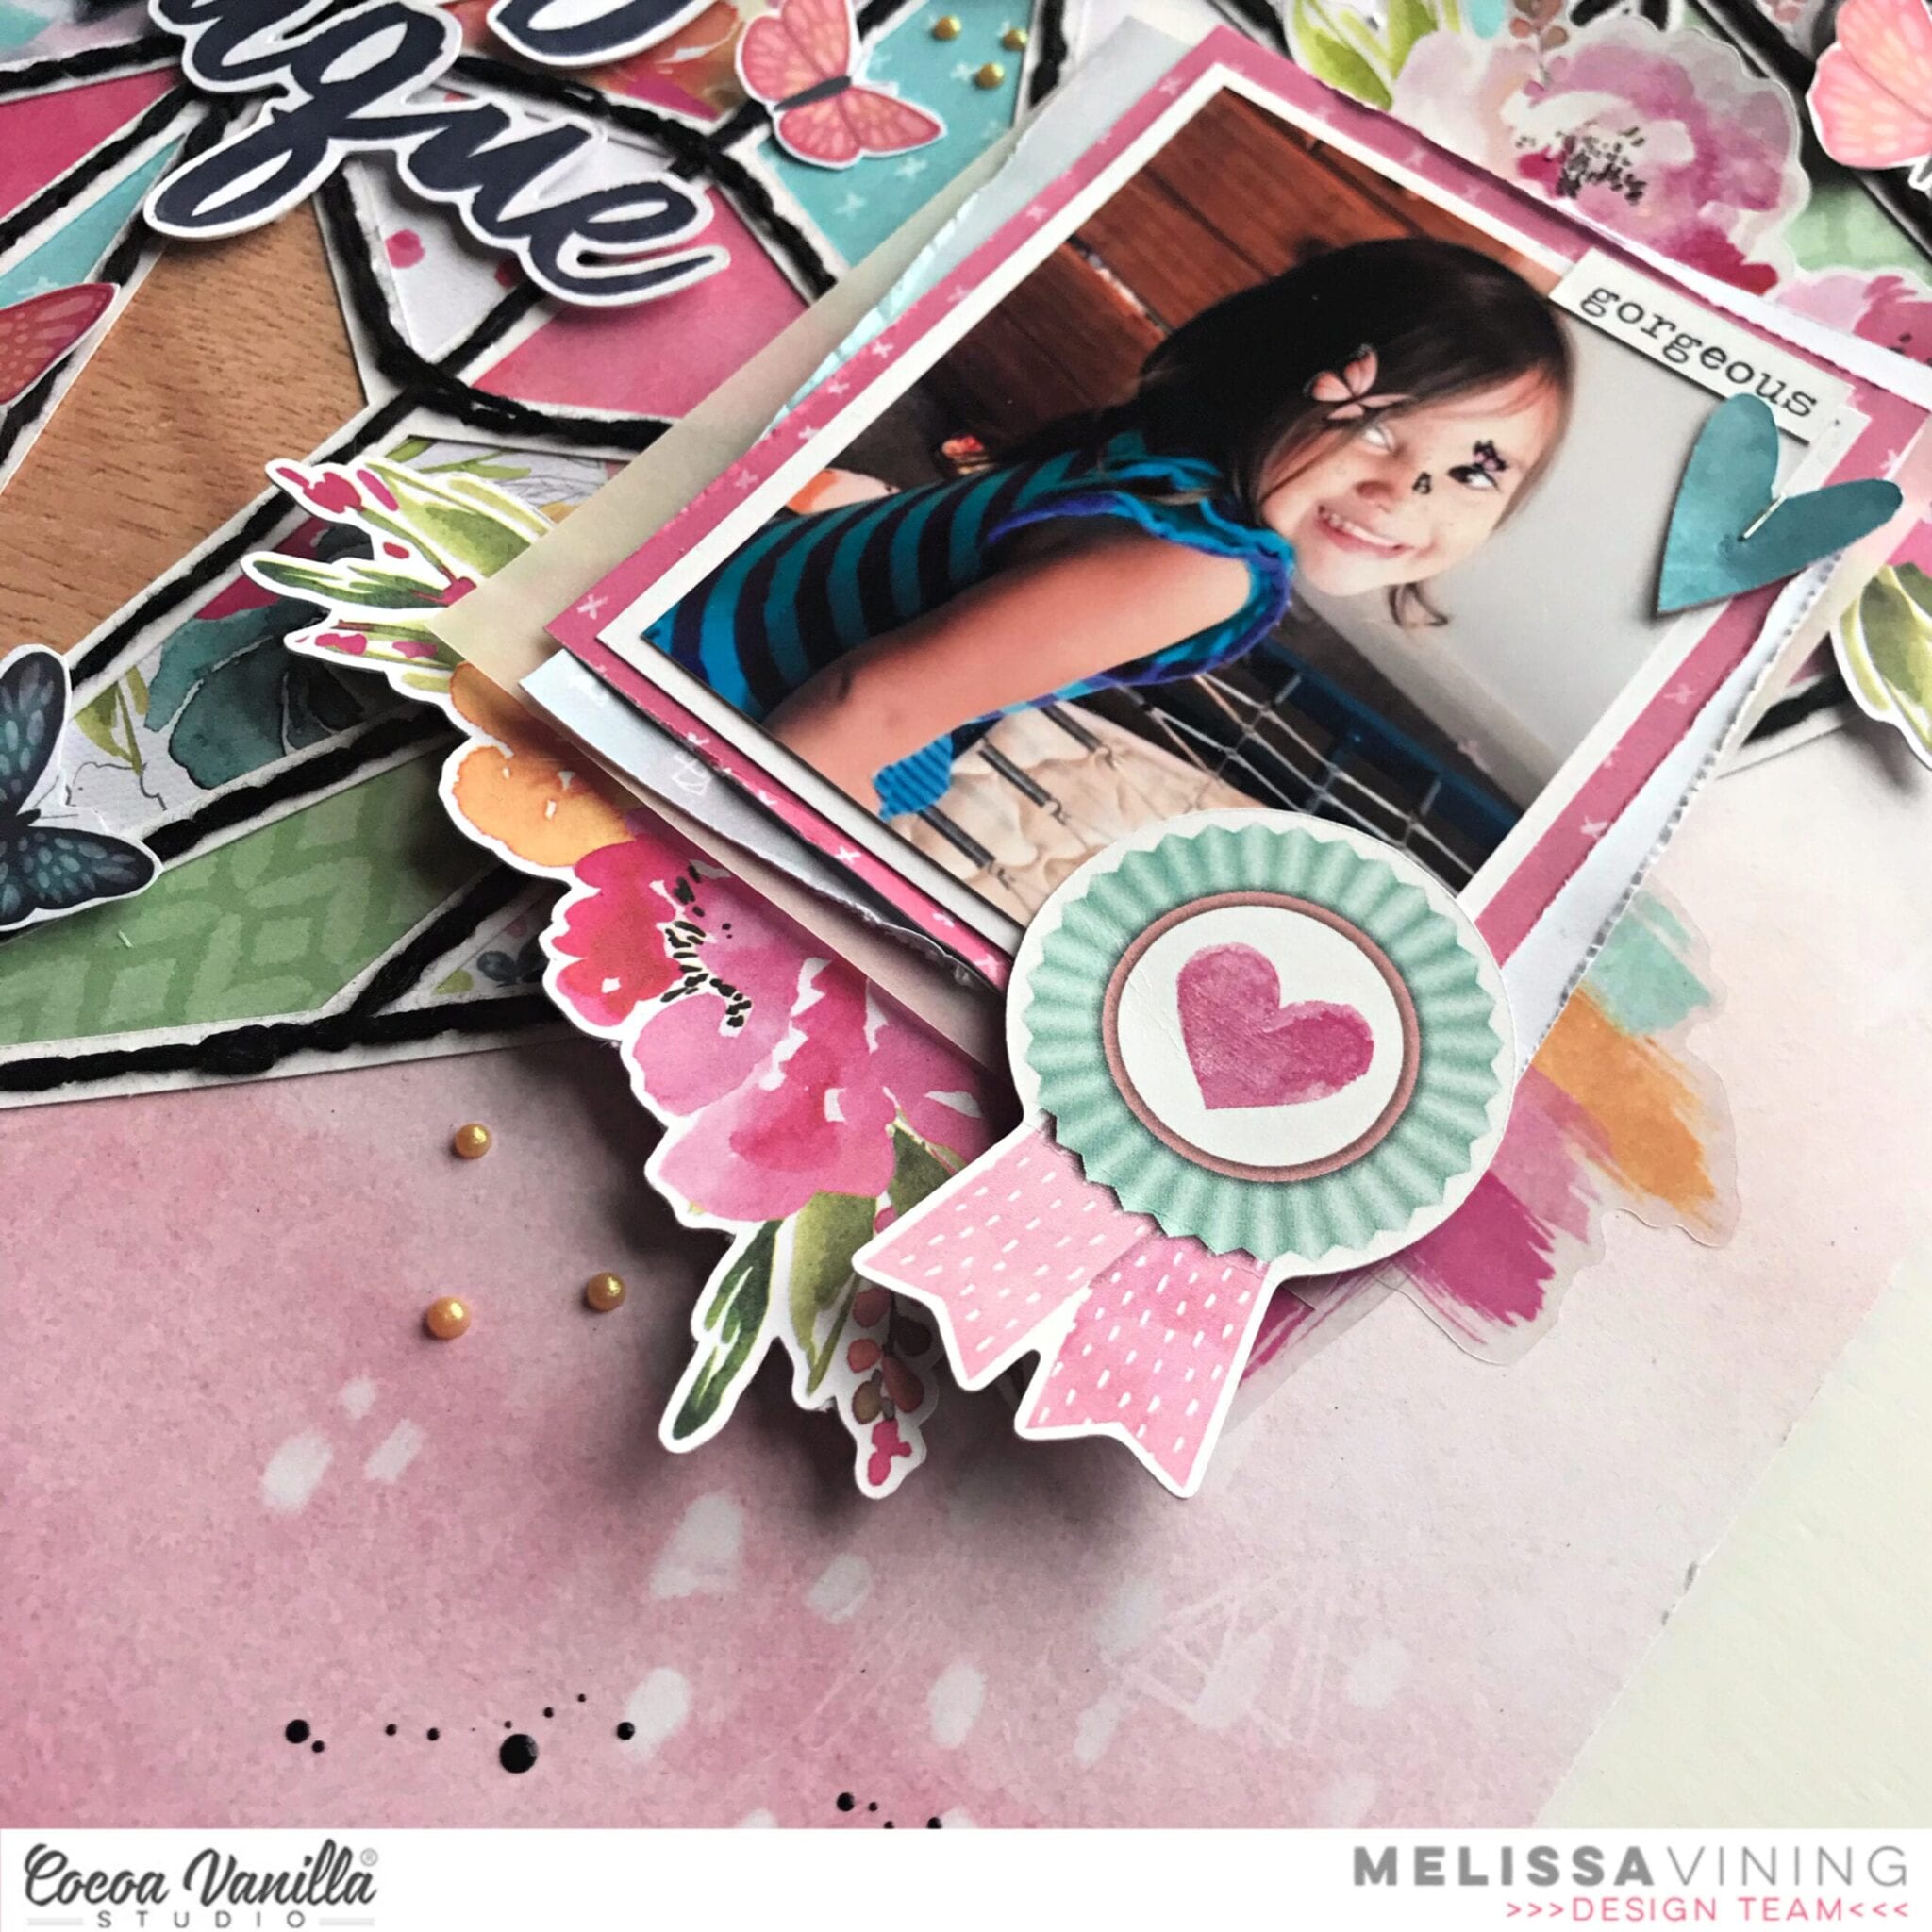
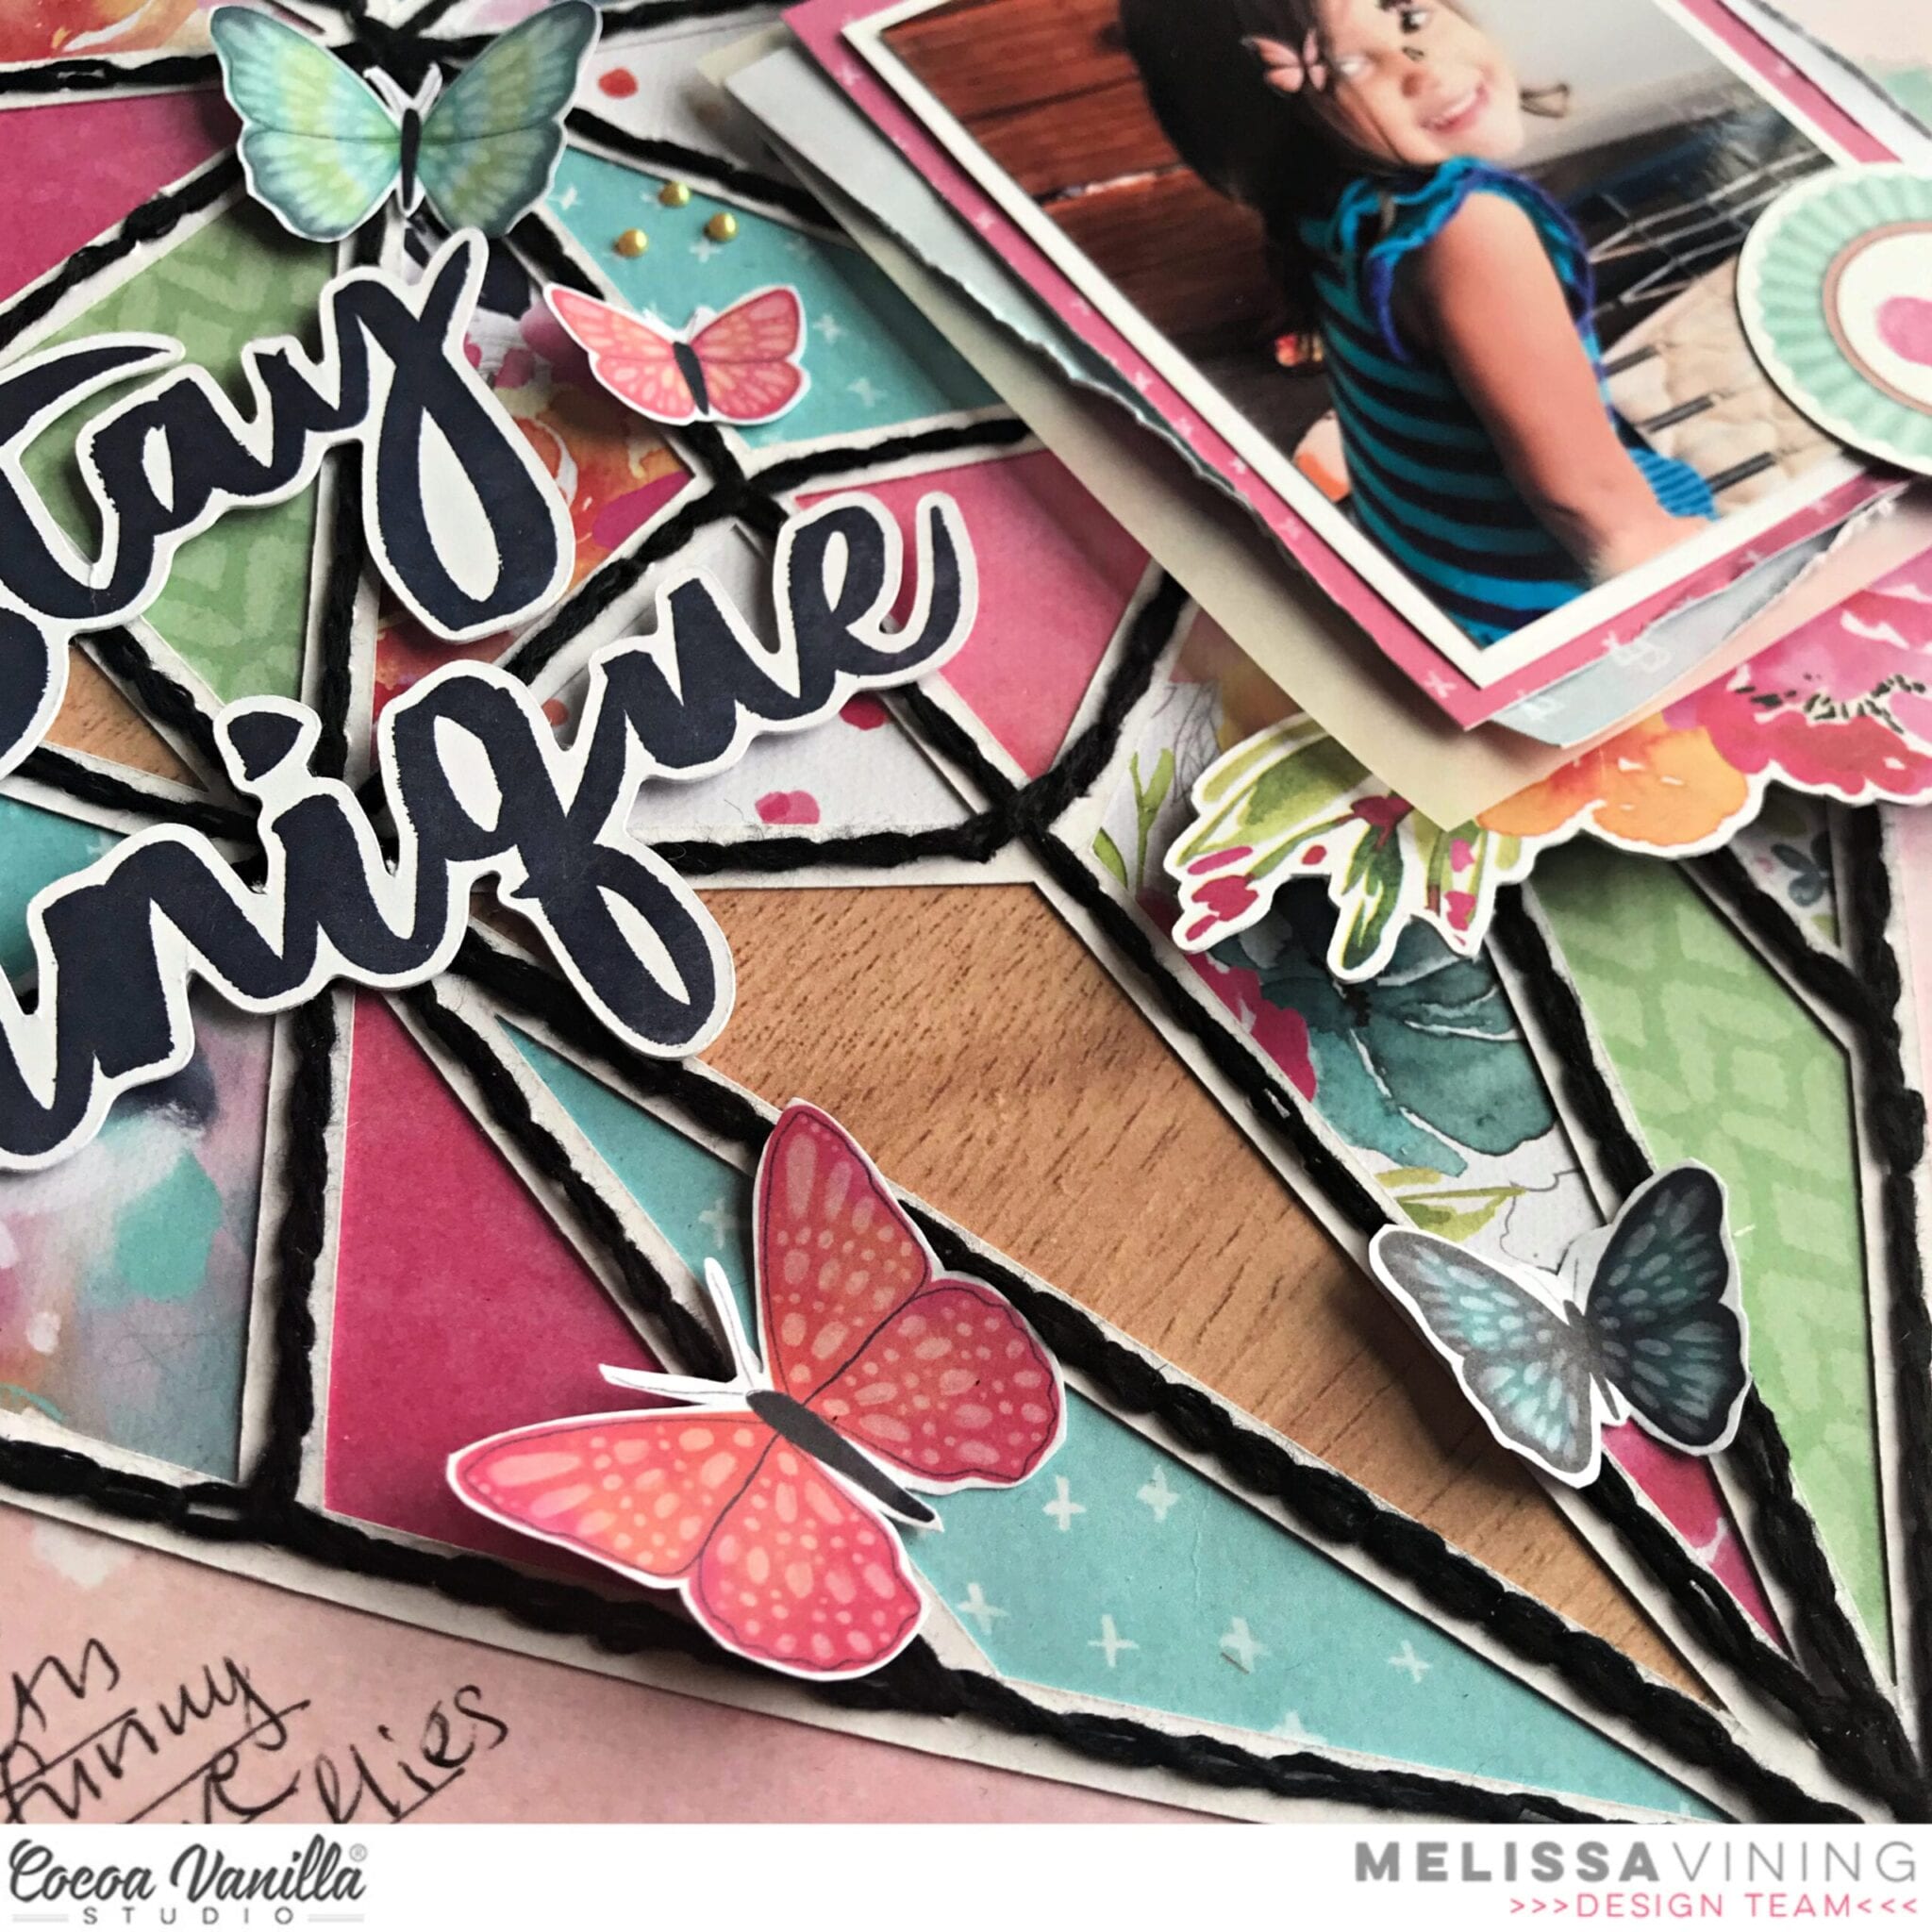
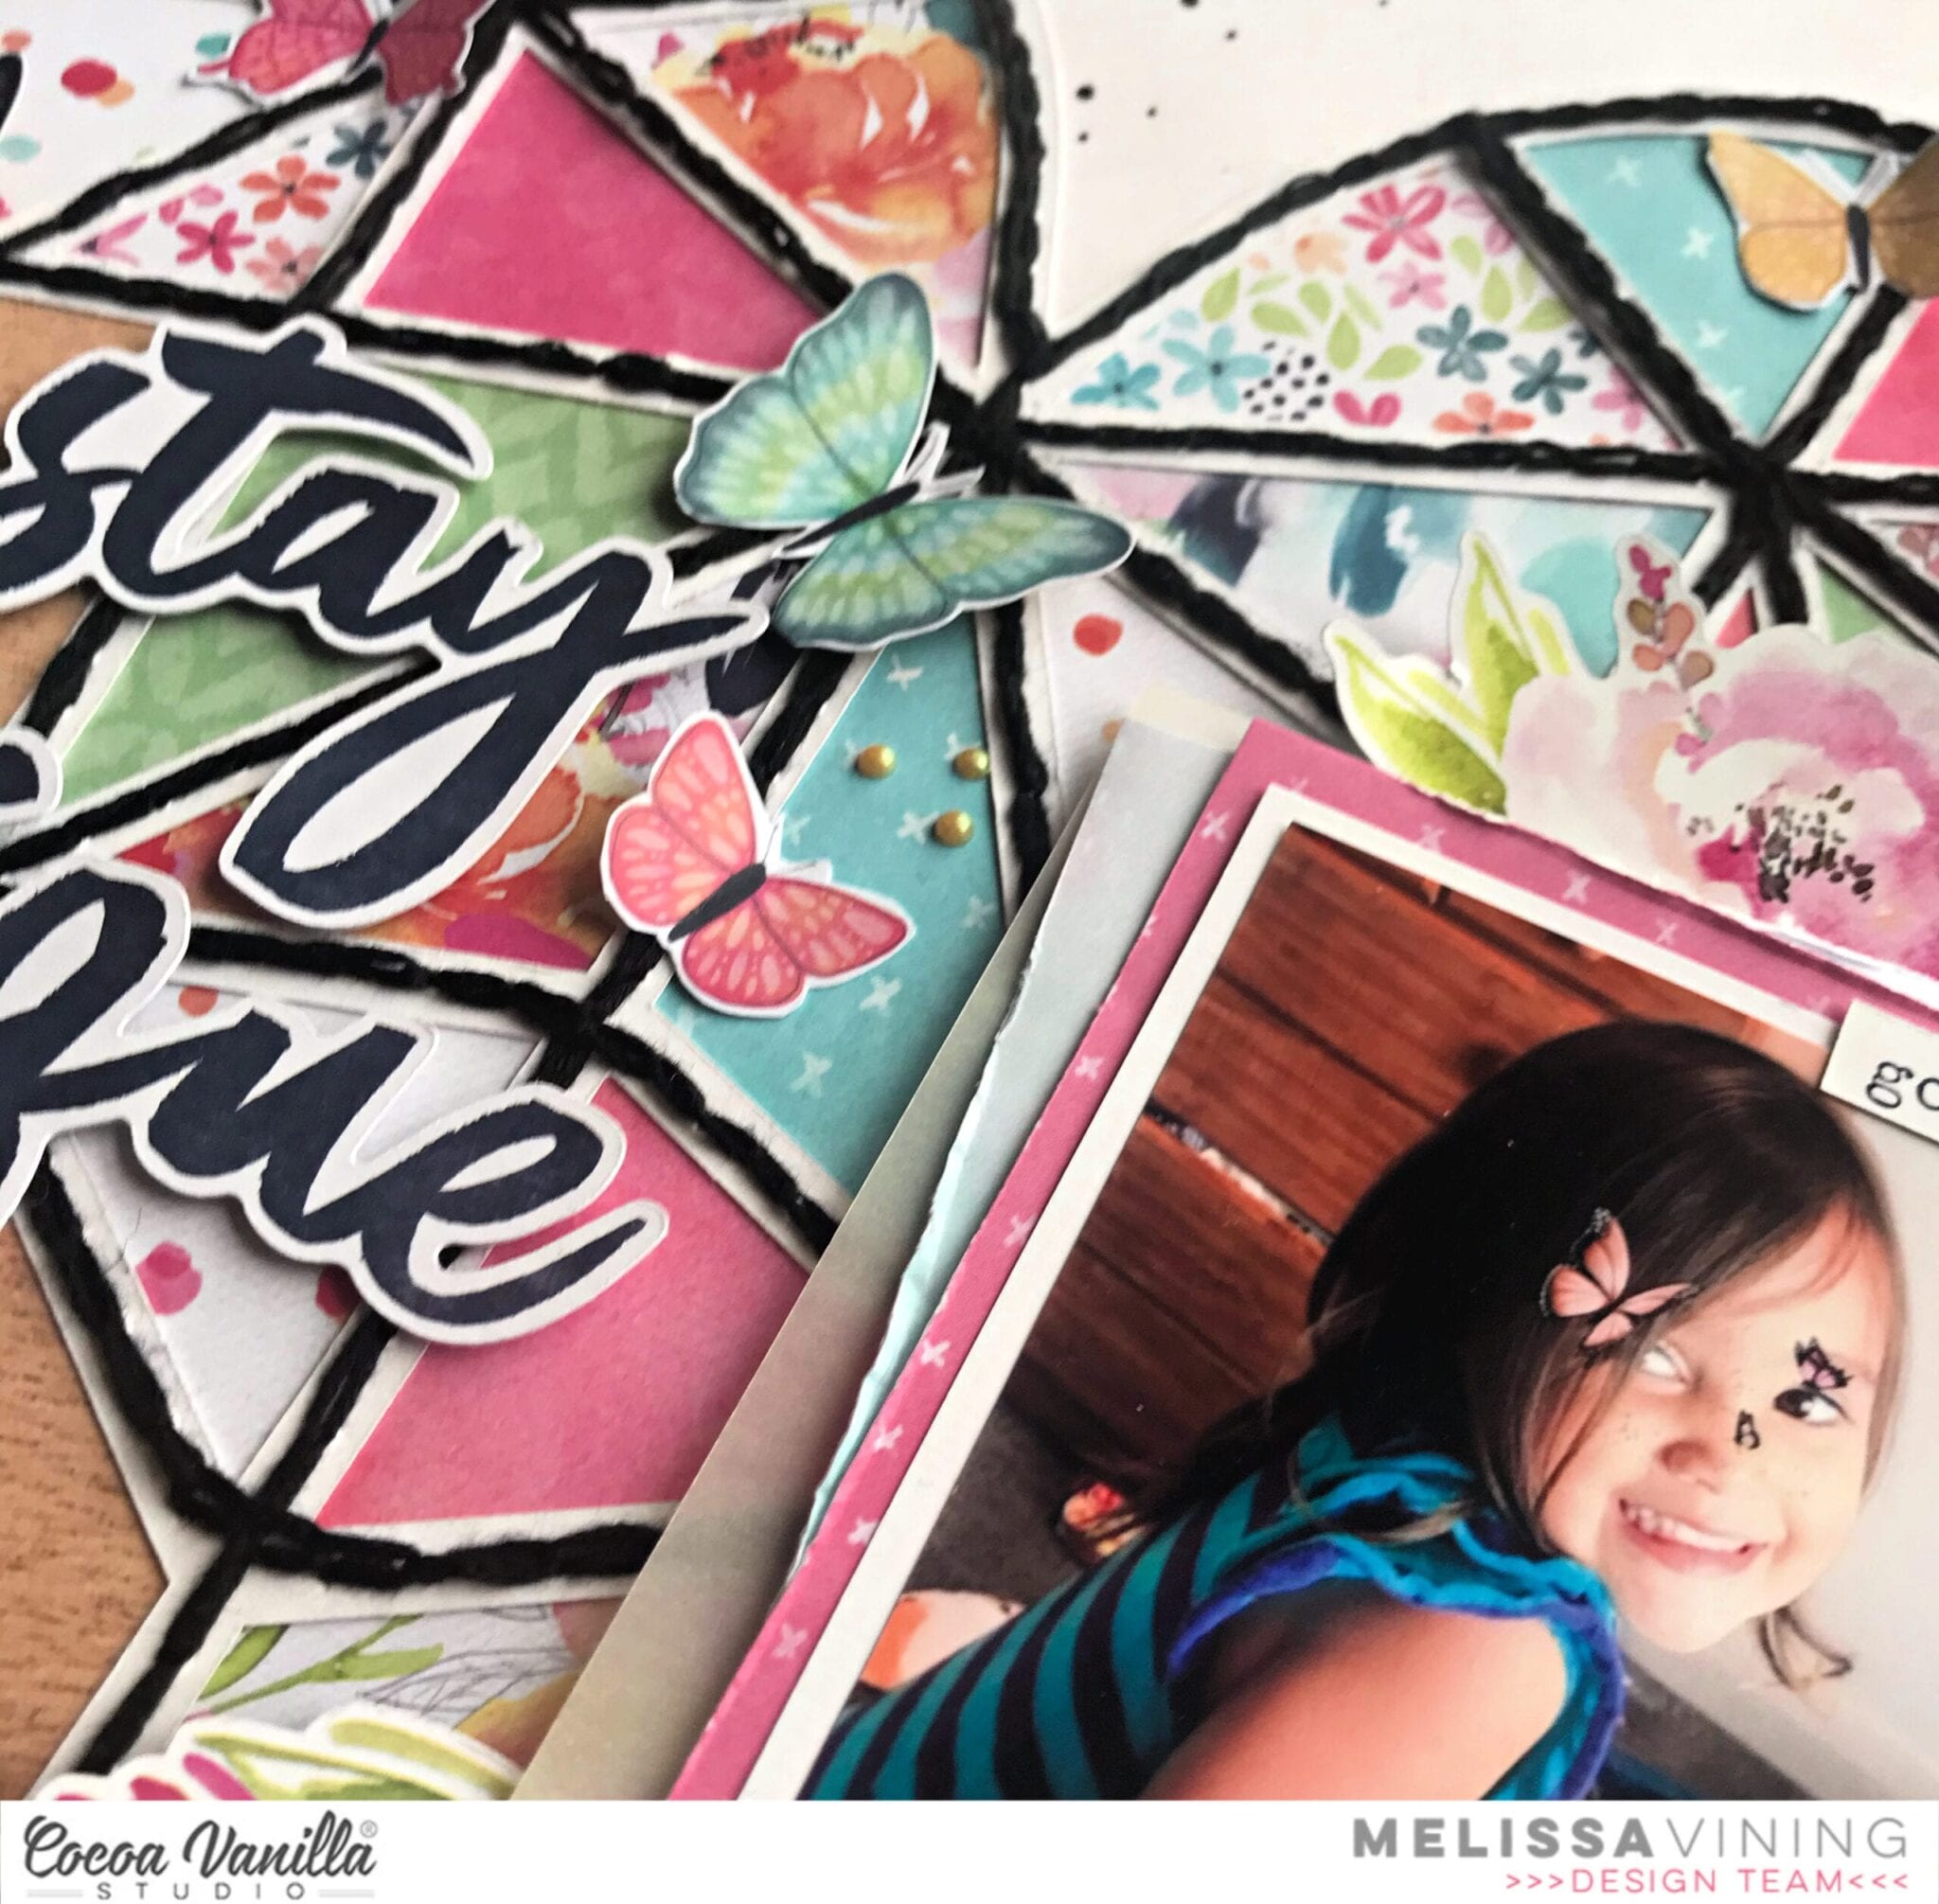
I started with white background and some colorful splatters made with mists. It’s such an easy and fast way to add some unique touch to your pages. Second step was to pick three patterned papers and cut them into pieces. I also added decorative edge made with border puncher. If don’t have any, you can just tear off the edge of paper to add a little bit of mess.
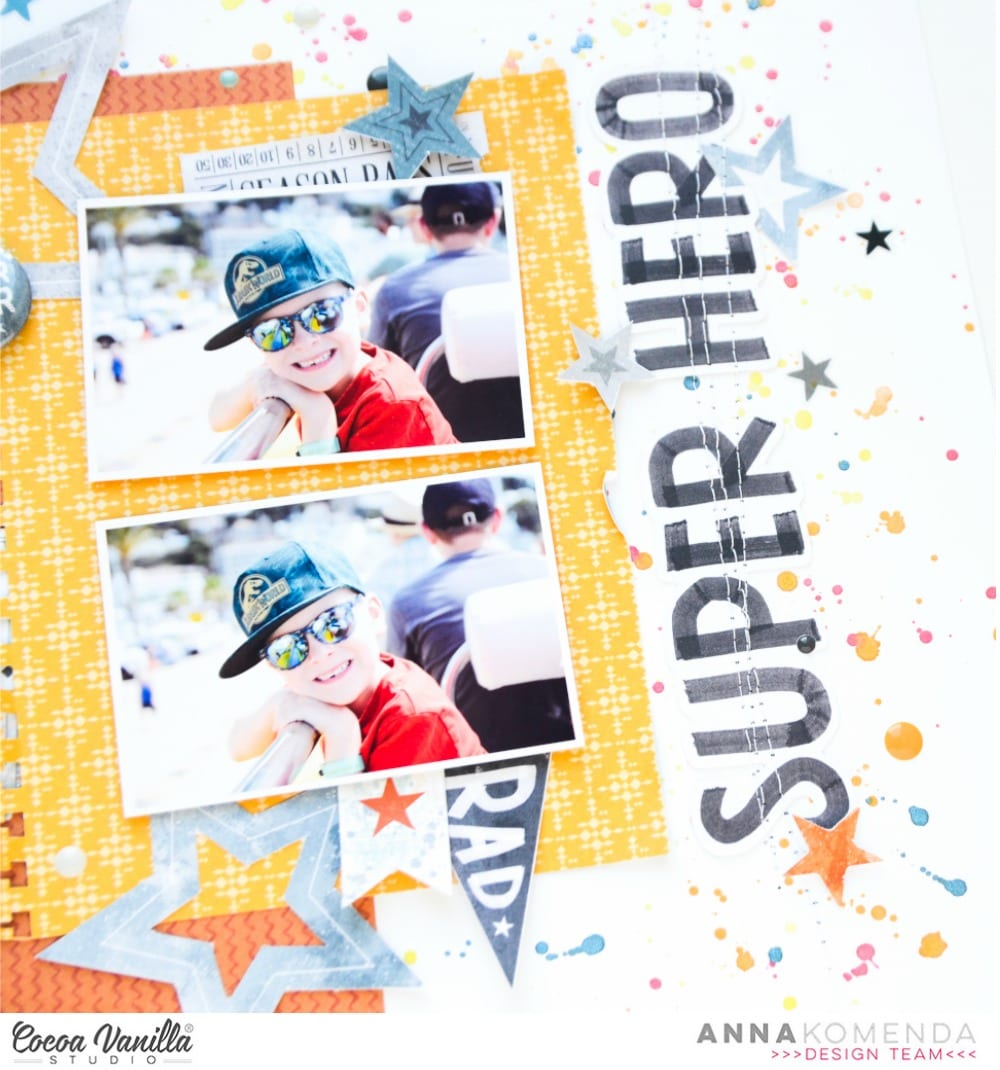
Next step was to add photos over the layered papers and some title made with amazing product – Die cut titles. You have so many words to choose from and they are designed the way, you can also make longer phrases.
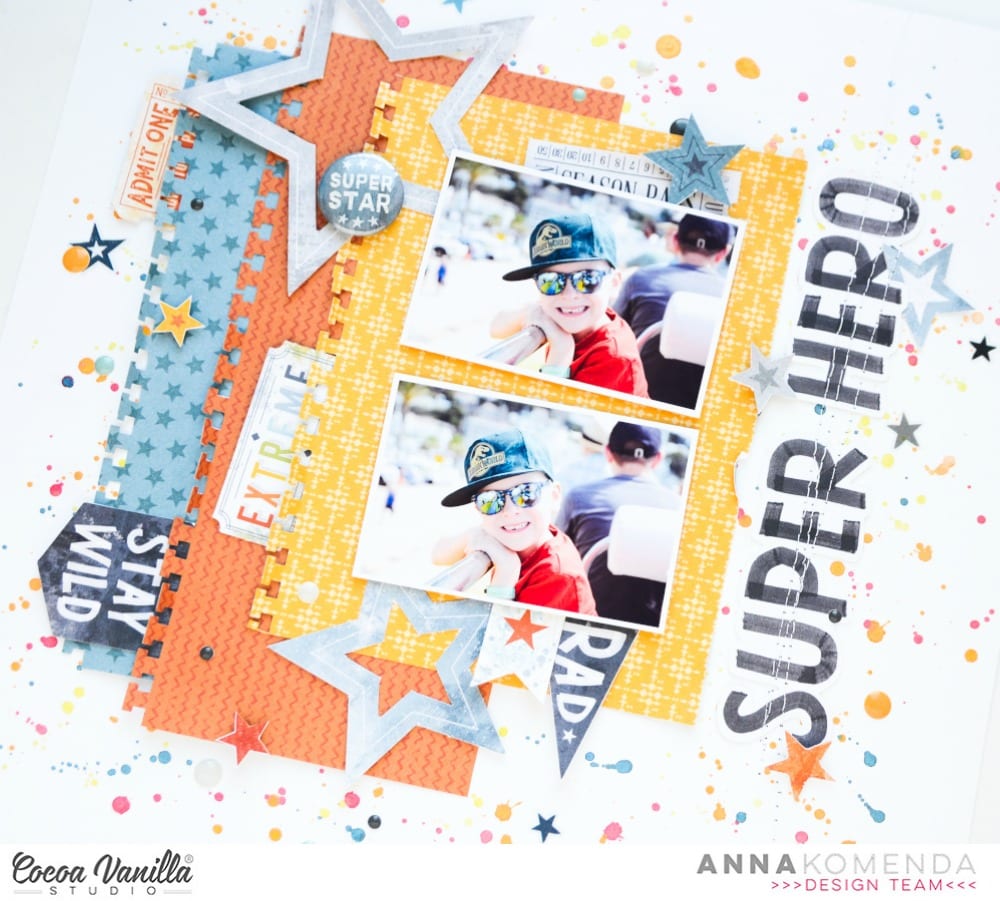
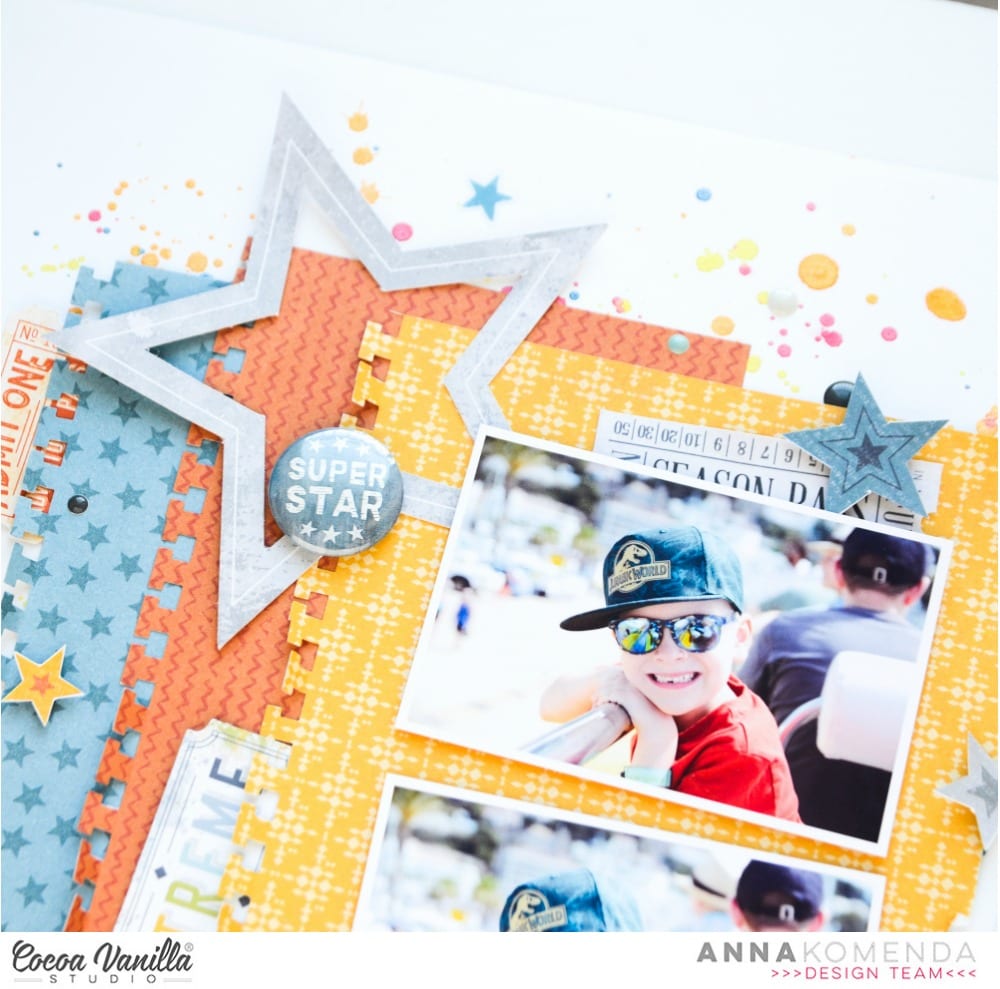
I love adding simple shapes to my projects and “Legendary” collection has great set of stars in various sizes and colors. I choose three bigger ones from Ephemera pack to create a visual triangle. I also added small stars from Clear stickers set and added them here and there.
I finished my page with few ephemera pieces, mostly tags and tickets, and few enamel dots. I am so happy how it all turned out. Tt will be a perfect addition to the gift for upcoming birthday of this little super hero.
I hope I inspired you to reach for this super cool collection. Zoe is a master of masculine collections! Thank you for stopping by and stay safe and healthy my Friends.
XO Anna


 I love the star die-cuts in the ephemera pack, I added the grey ones in 3 places to create a visual triangle on my page. I like how this takes your eye around the page. In between 2 of the stars I added some of the clear sticker stars, I like how this adds a bit more impact to the die-cut ones.
 Inside the large grey star, I added one of the large circle Authentic die-cuts, I used craft foam underneath it to raise it up, I like how it gives it shadow and dimension. I also added the ‘Epic’ die-cut title below my photo, this became my title for my page. The flairs are awesome in this collection so I added the ‘Let’s Go’ one on this page since the photo is my son getting into the car! I also added the ‘Admit One Adventure Pass’ ticket just above the flair also.


 I started with the stunning wood grain Outdoors Type paper to mat the center photo and create a border for the outside. I have three fantastic shots of my son as we walked around the neighborhood pond and just couldn’t narrow it down to a favorite, so I scrapped all three! To leave plenty of room for journaling, I focused on embellishing in just two areas, on a diagonal, and keeping the embellishments tight to the photos. Using a patterned paper background like this one, called Offbeat, gave me a head-start, so the layout came together very quickly!

