3 faves with Anita Bownds
Hi crafty friends, Anita here with you today wow I can’t believe it’s the end of the year and sharing my 3 favourite layouts from this year
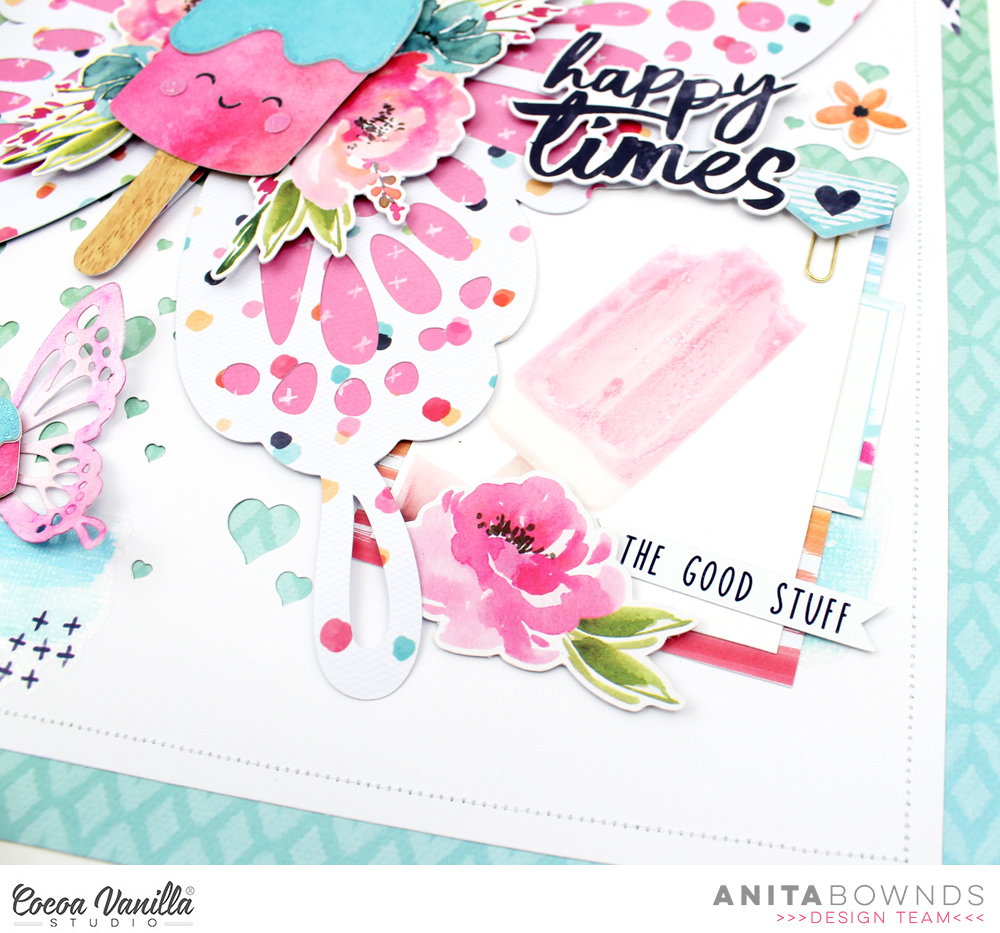
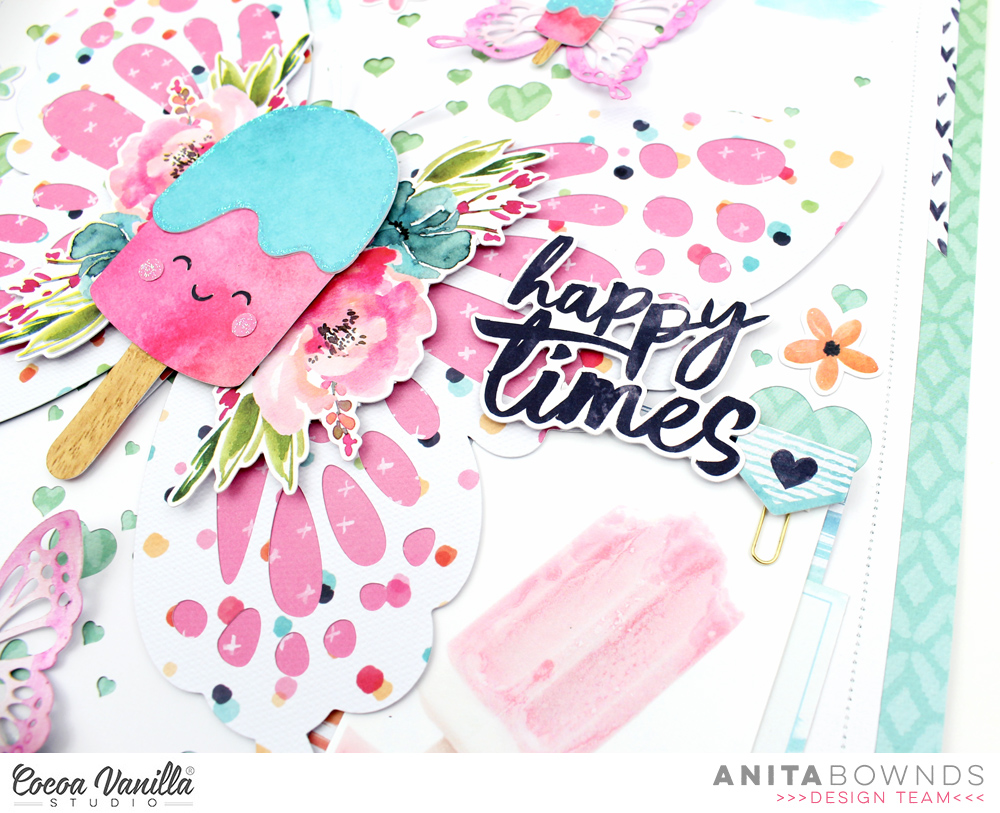
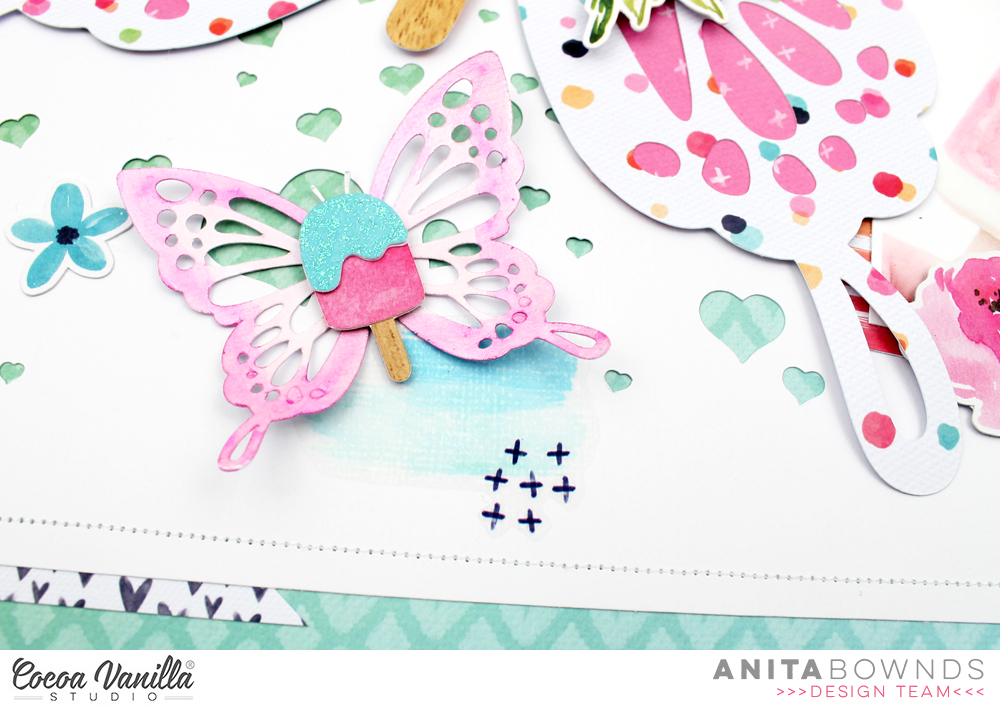
Starting off with my butterfly layout using the happiness collection The idea behind this layout is one we all experience at one time or another a taste or a smell from childhood and for me that was at the beach on the swings with a raspberry ice cream and butterflies always seemed magical in some way

I’ve added a few close up pictures and you can check out my original blog post for my layout here
My second layout today
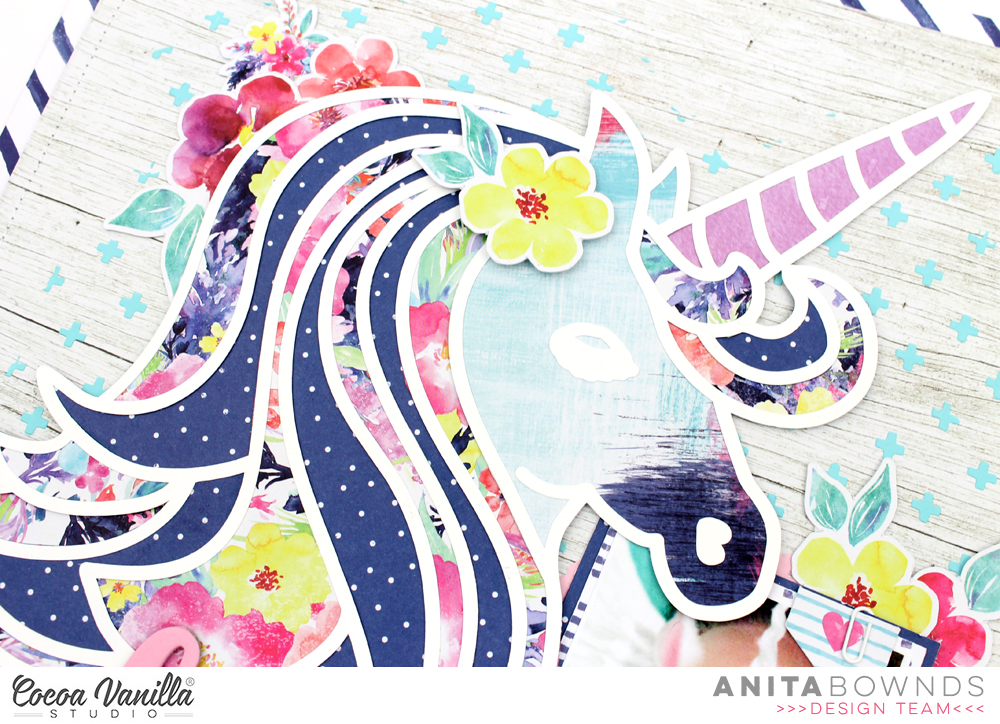
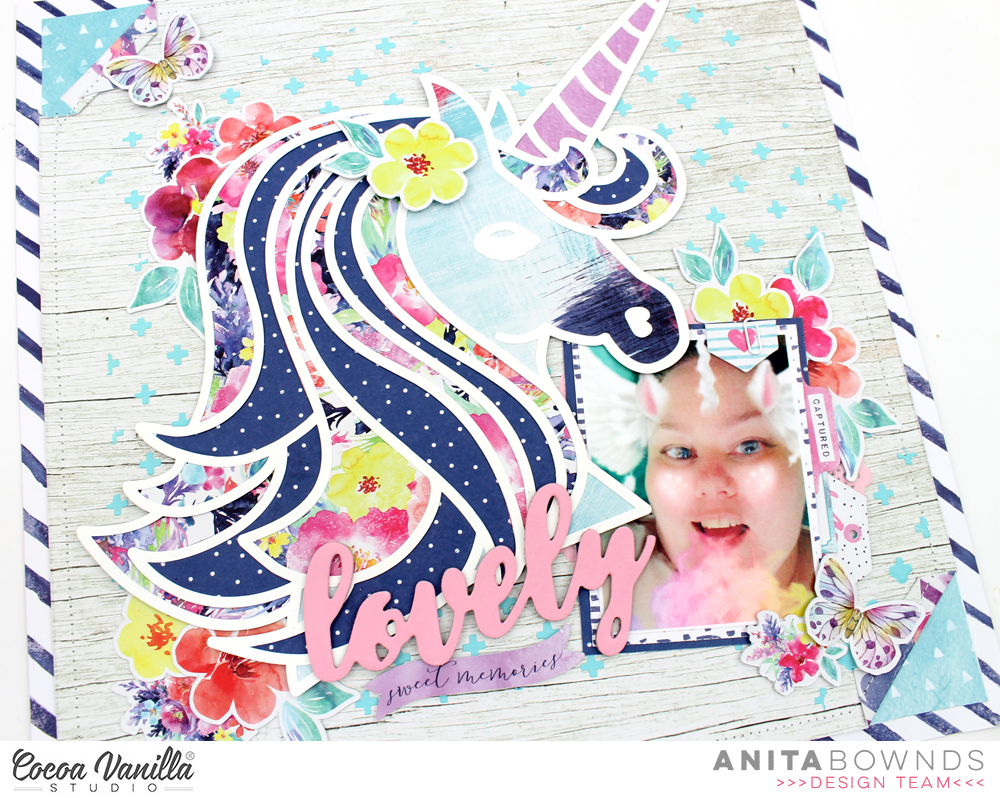
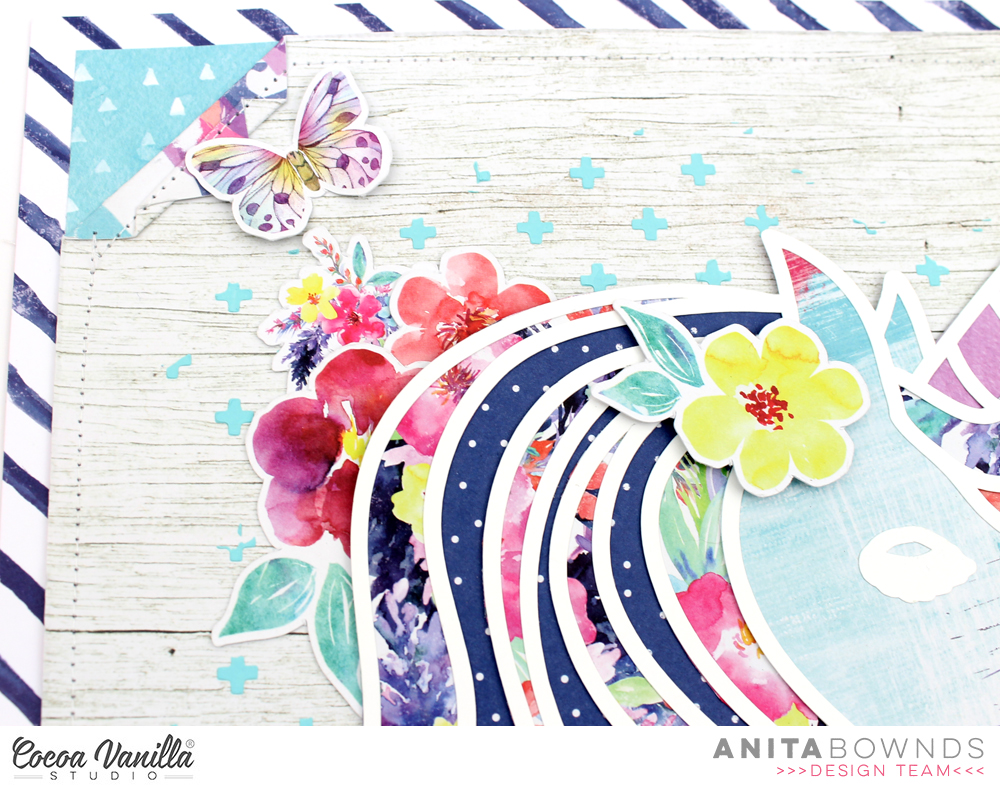
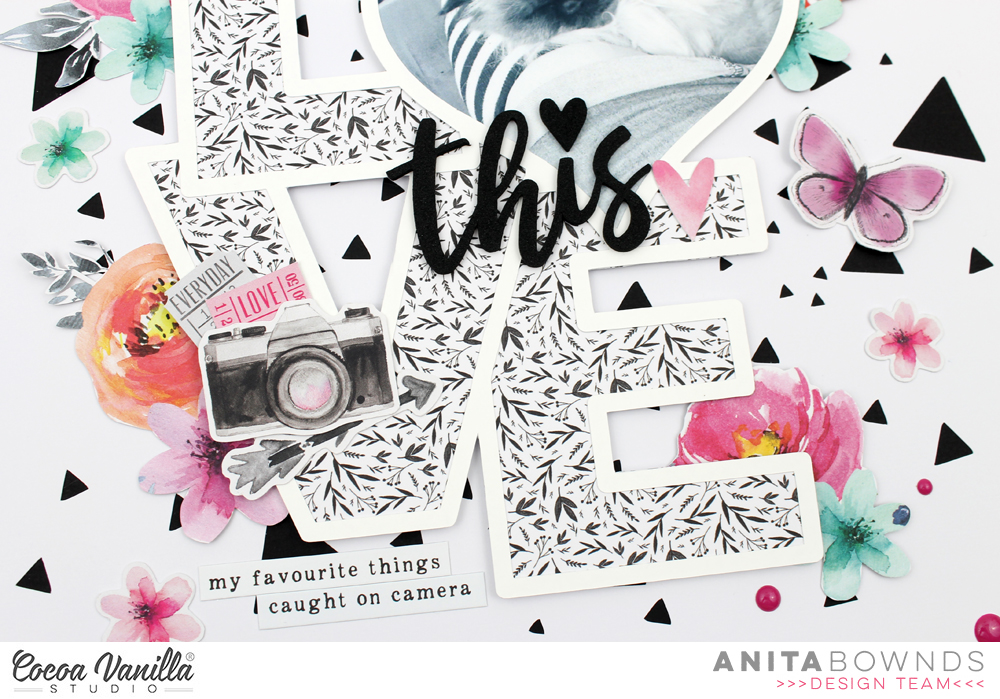
is of my daughters Eve and Kara taking selfie’s and just having fun
My inspiration for this layout was to use the 6×8 paper pad the heart background cut file adding all the different pattern papers from the unforgettable collection and laying cut files

Close up pictures and pop on over and Check out my original blog post here


For my third favourite layout using the unforgettable collection
As they say inspiration is all around us and mine just happened to be right in front of me!!
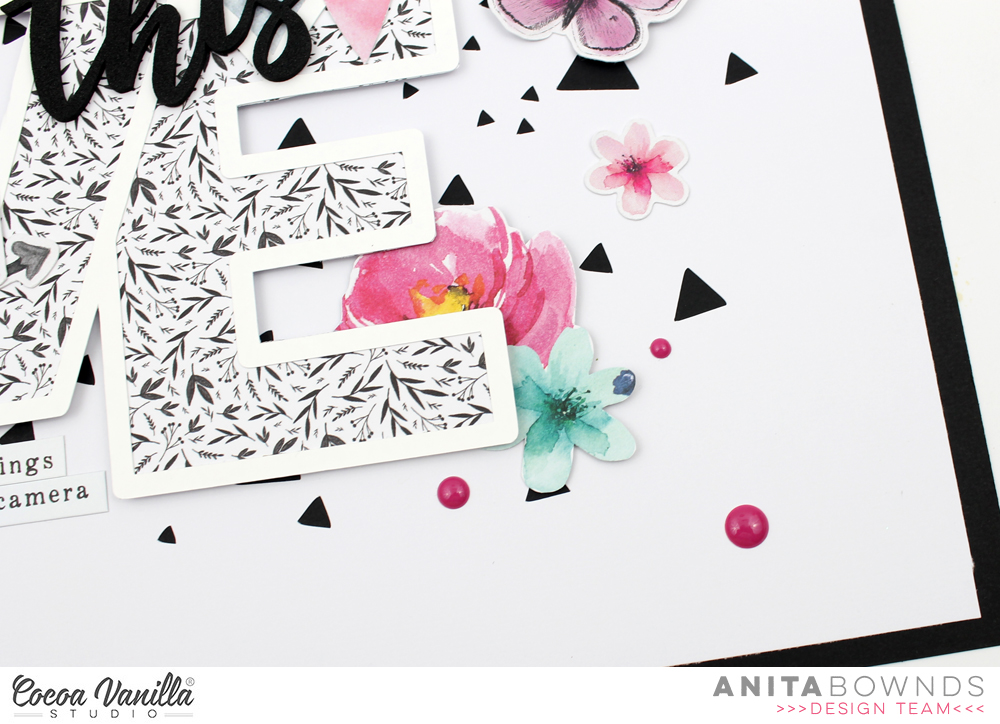
I was inspired by a plate I have for my ephemera and bits on my desk that has triangles scattered on it so I thought this triangle confetti background cut file from Paige Evans was just perfect.
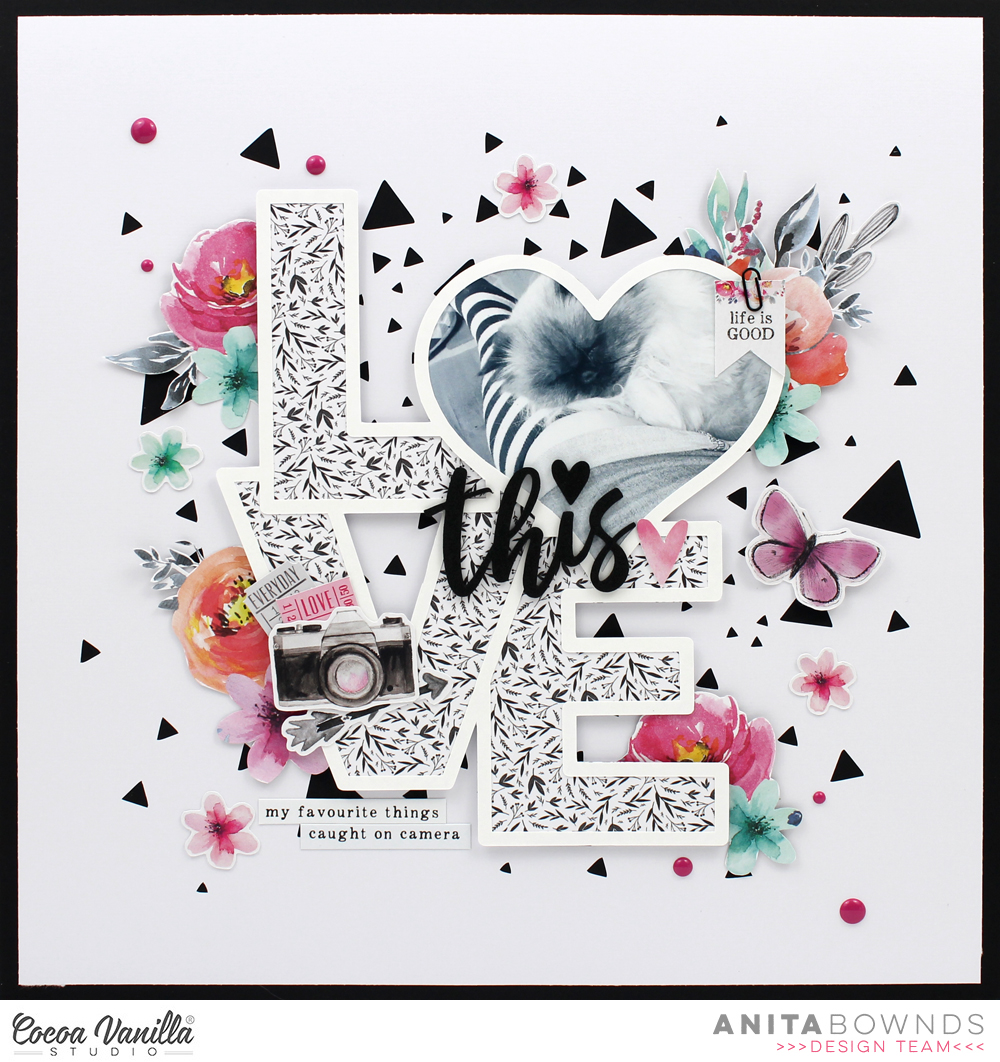
Here are some close up pictures and Check out my original blog post here

I hope you liked my 3 favourite layouts from this year
have a wonderful Christmas and new year!!
have a wonderful Christmas and new year!!
Happy crafting..
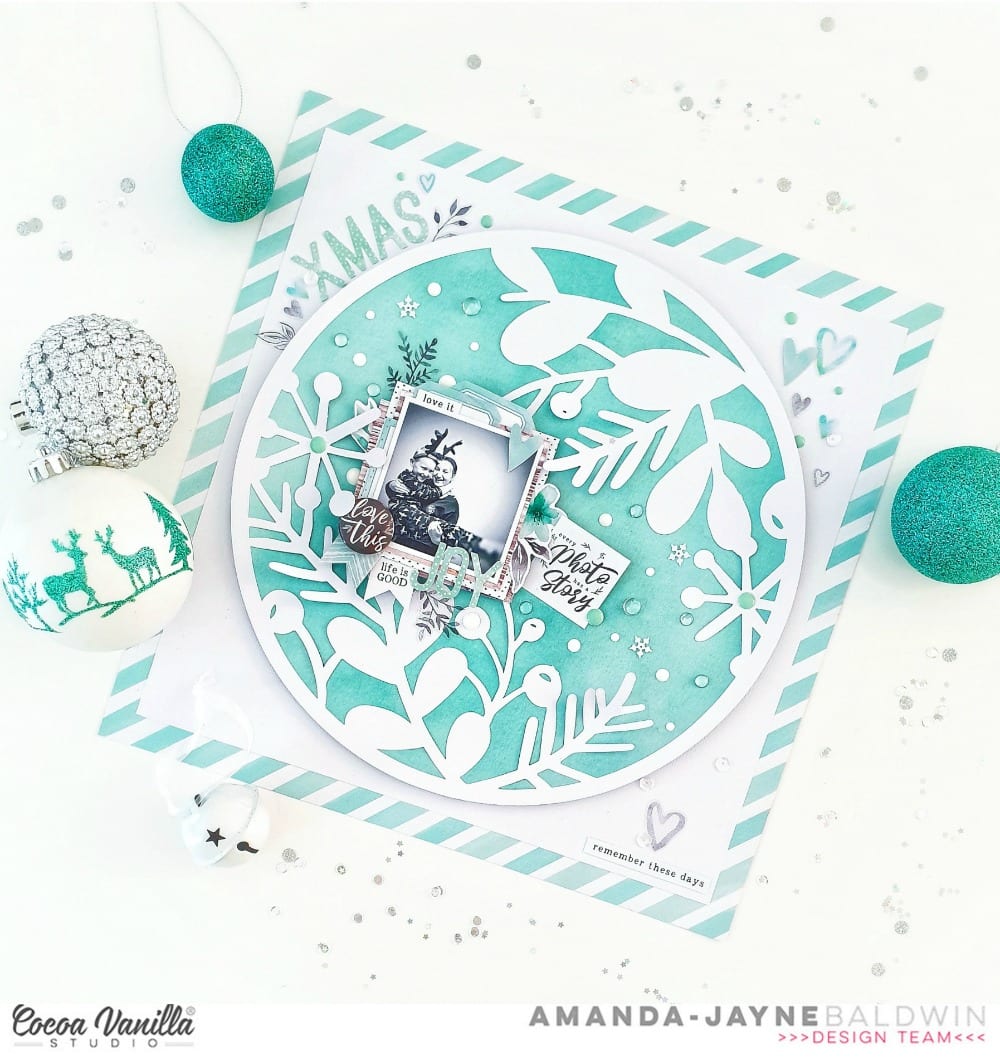


 I started my page by taking a sheet of white cardstock and adding a piece of vellum over the top to mute the white a little bit, as I had lots of the sequins left from the
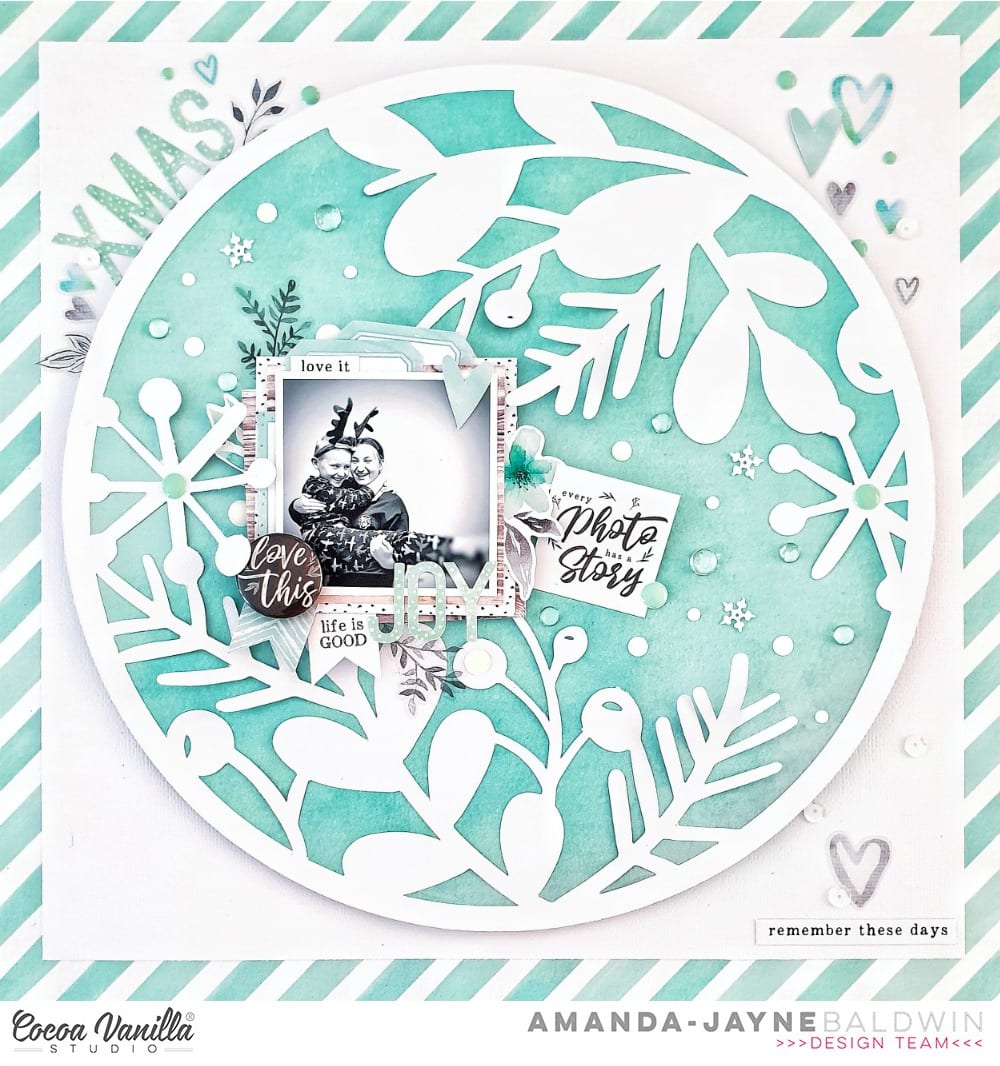
  I took two of the 12 x 12 papers and cut some vertical strips from them and placed them down each side of the layout. then chose a gorgeous cut file title design by Cut To You and added some of the patterned papers behind each of the words. I added craft foam to the underneath and placed it in the centre of my page. I also popped up the photo of my sons on Christmas Day with craft foam so that it was at the same level as the title on my page. I love the shadows and dimension this creates on my page.
 I then began to embellish my page using some of the accessory stickers (that are still available in the store) some of the die-cuts, wood veneers and of course a bitty bow and the tiny metal key! I only had 1 of the poinsettia flowers in the die-cut pack left so I added just the one to the very bottom of the title and layered the bow over the top. Lastly I added some of the enamel dots from the Tis The Season collection.
  Have you got any of the