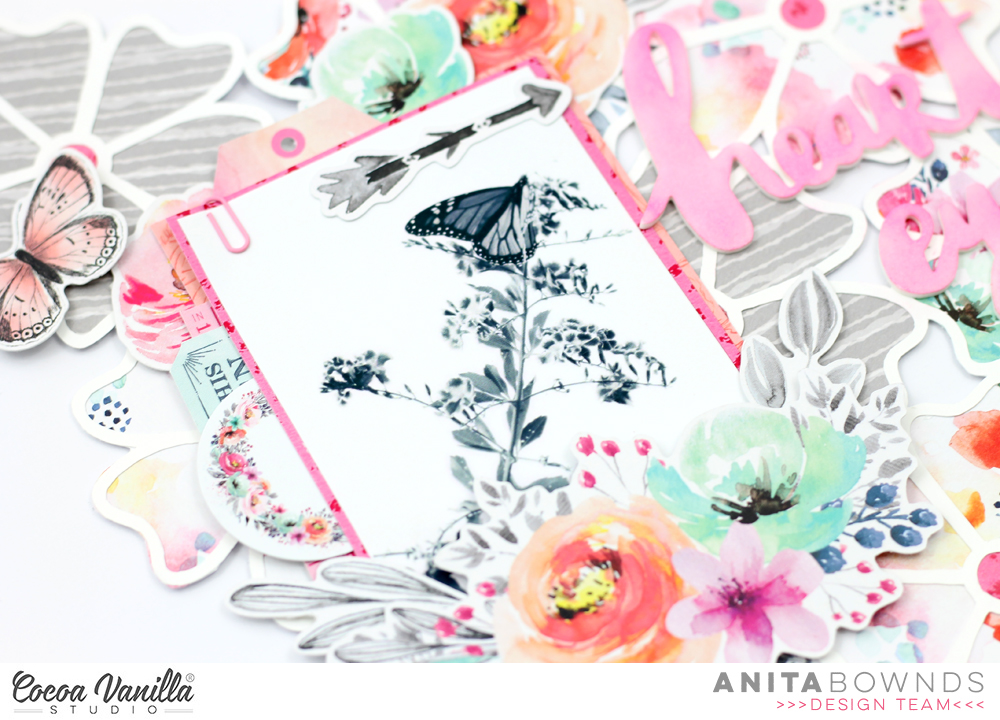
Hi CVS friends, Rachel here! Today I have a fun layout using lots of colour and busy patterns which if done in a balanced way and with a white (or black) contrast totally work. I have used Bohemian Dream collection. I cut a piece of white cardstock to 10×10 inches. I added some turquoise paint brush strokes randomly across the page and splattered lightly with some black paint (this is as messy as I can get lol). I then added messy machine stitching in a turquoise colour. I also tore some of the white cardstock edges for texture.I attached this to the stunning Abundant paper as a stunning border. I used two floral cut files from the Silhouette Design to add to the sides of my pages. I used another busy paper Flower Child to paper back these, which you can do as they have the white background paper to contrast.I love using the Accessory Stickers to create my journalling which I usually tuck into embellishment cluster.
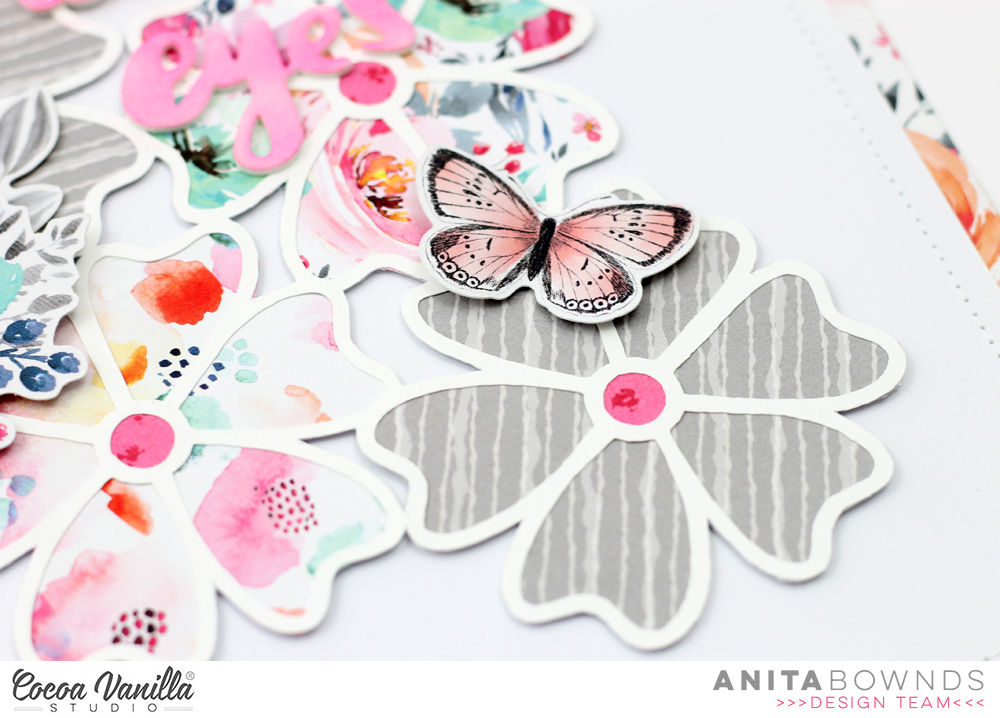
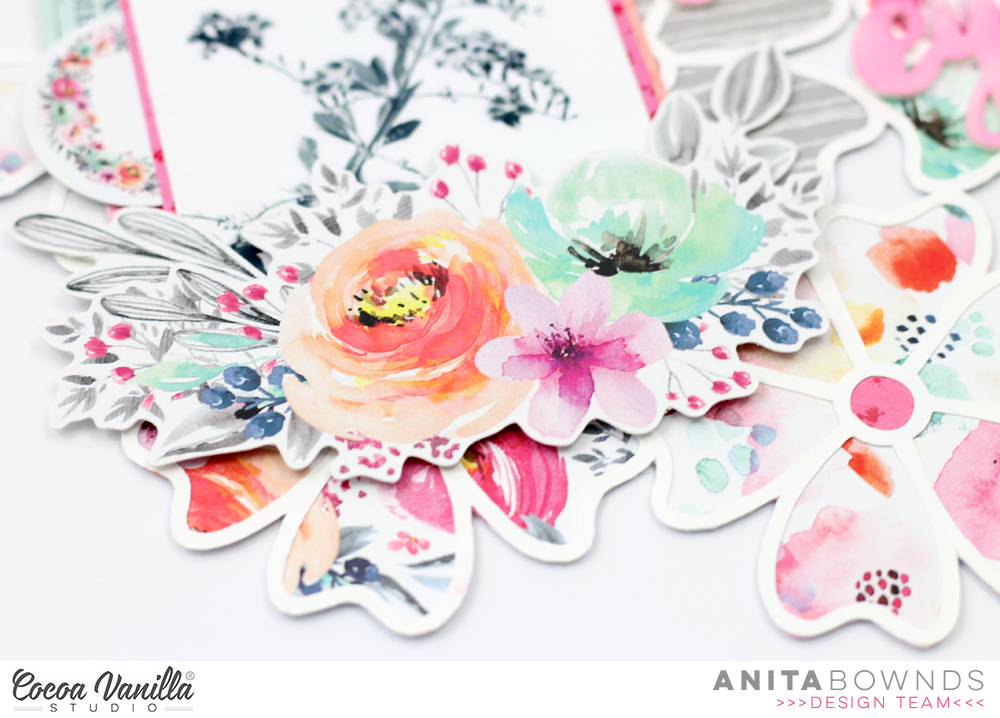
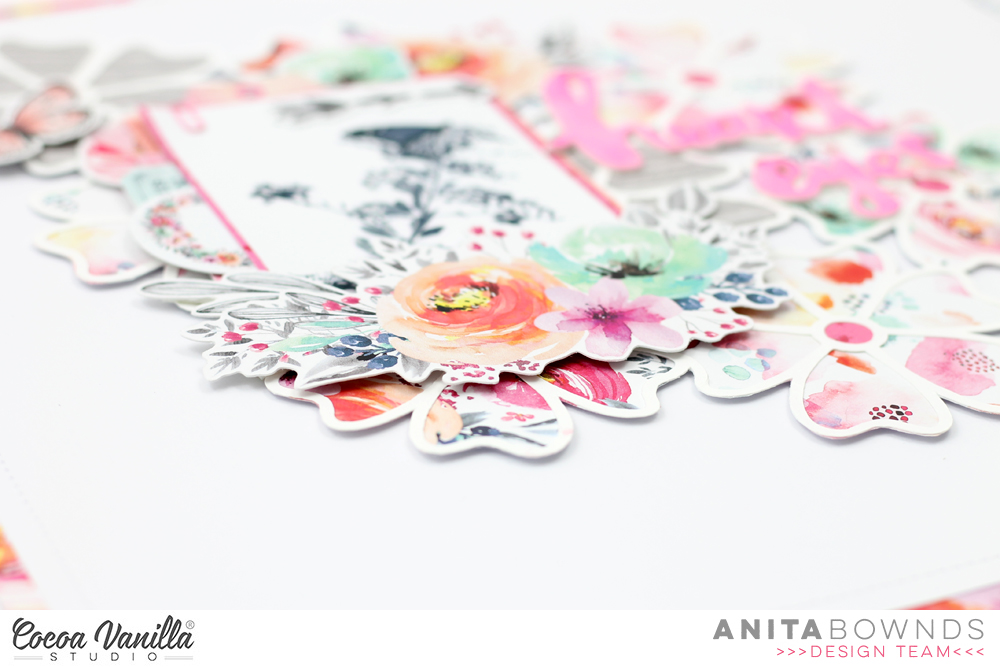
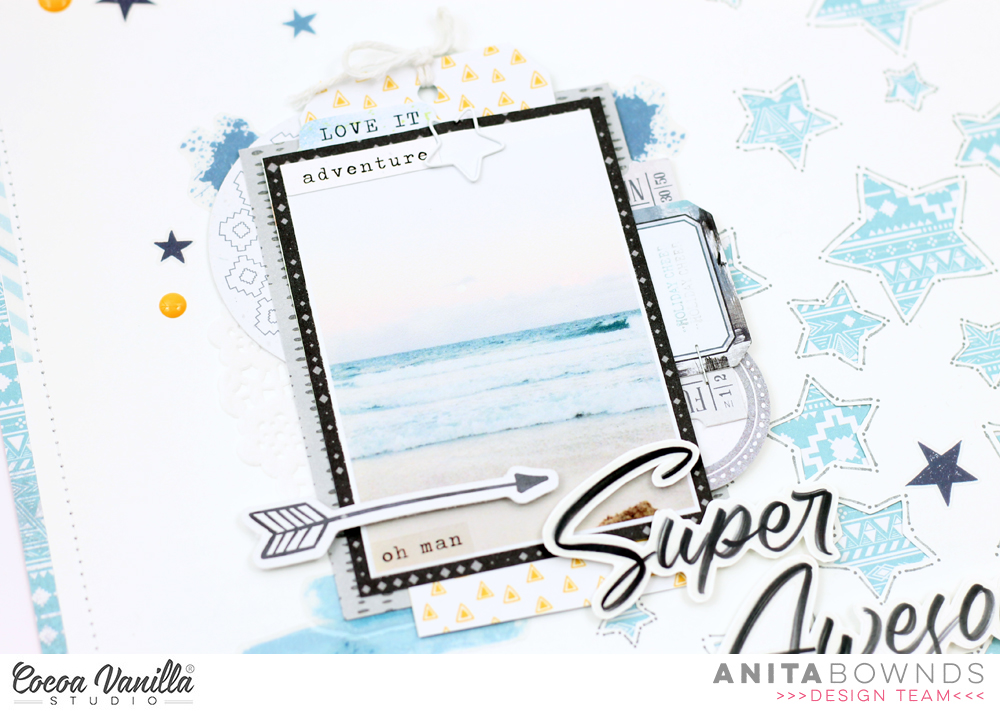
I added my photo using s die cut frame and then added more florals to either side and finished off adding some phrase banners under my photo and not forgetting a gorgeous butterfly which I had to add because the colour was perfect! I also added my photo with foam tape which I always do when I am using a smaller photo so it has dimension.
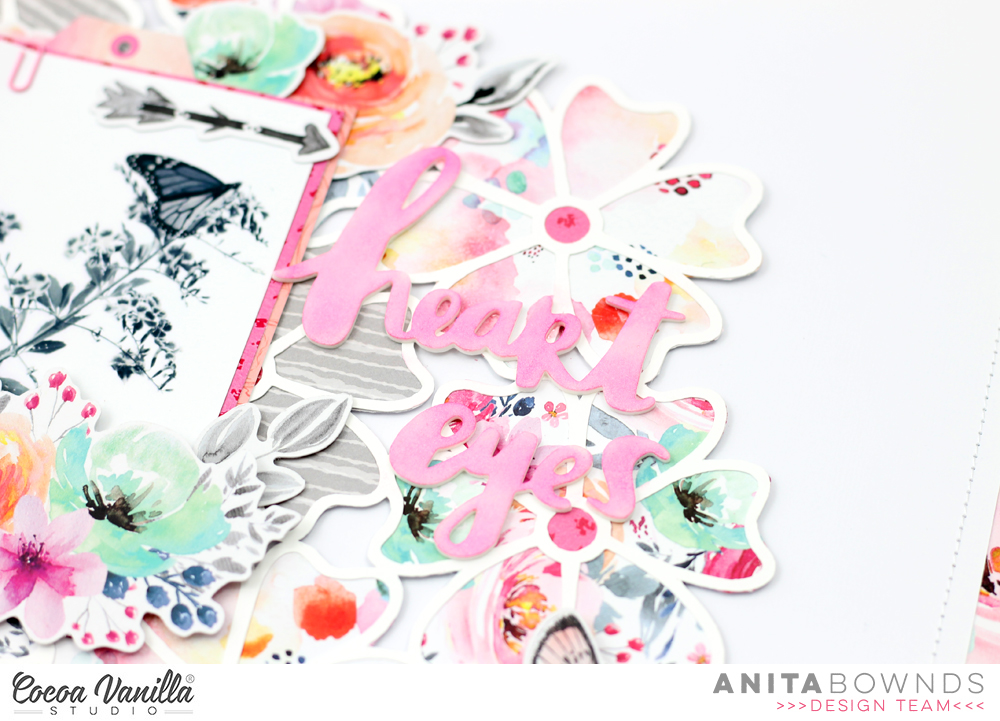
Lastly I added my title using a die cut and accessory sticker words, I love the contrast between big and small in a title. I went back and added some enamel dots to add more texture.This layout would be perfect for a teenage girl themed layout, it’s modern, bright, bold and lots of fun!Thank you so much for stopping by today and I am so excited to share my first layout using the stunning Day Dream collection, so see you all soon. Happy creating.
Hey y’all! Laura here with a bouncy, energetic layout featuring my darling girls enjoying their favorite outdoor activity, jumping on the trampoline! I decided I wanted this layout to have just as much energy as these two bunnies! Using the stunning Happiness collection’s 6×8 paper pad to back this sweet heart wreath cut file from Paige Evans made a super easy background when layered on this mixed media styled Sprinkles patterned paper.
In the top right corner, I tucked in a tag, ticket, and a heart behind one of the sweet little word phrase banners for a cute cluster. As a bonus, this adds a journaling spot amidst the business to add a quick reflection on the twins’s favorite activity. In the bottom left corner, I added a floral/heart cluster with my title phrase banner, “Stay Colorful,” which came from the ephemera pack.
To add a bit of detail, I stamped some teeny tiny hearts as well as some Nuvo drops and splatters around the outside of the wreath. In random places, I tucked in clear stickerhearts for a fun, peek-a-boo effect. This layout is such a fun, happy, bouncy design that perfectly matches these two wild bunnies jumping around!
I hope this cut file layout inspires you to look at your patterned papers a little differently! It’s fun to see how you can use every little scrap up in a new way. If you’d like to see the Stay Colorful layout come together, I have the entire process in the video below!
Hello CVS friends today I have a layout that although the subject matter is of a more serious matter it doesn’t mean it can’t be pretty! I have used Life is Beautiful (Digital collection available) collection, which remains one of my fav CVS collections.
Let’s talk about texture. If you are not a fan or experienced in mixed media how do you add texture to a layout? I focused on texture when creating this layout. Paper tearing is one way to add texture, and paper tearing also allows you to add elements under and over the tears which also adds more visual impact.
Another way of adding texture is to sew on your layout, either by hand or using a sewing machine. I always add machine stitching to my layouts. Another technique with stitching is sewing over a strip of paper and then tearing the paper away from the stitching.
Paper layers, dimension (ie foam tape to attach some elements and enamel dots) and a light spray of paint (here I have used black) all add texture to a layout.
Recently I have dusted off my embossing folders and started to add texture to papers and elements using various embossing folders. So my 2020 did not look ‘flat’ I embossed with a polka dot folder and added dimension fluid dots which I also added over my title also.
I really enjoyed putting this layout together focusing on textures! I also wanted to scrap a part of the Covid 19 journey that I am involved in, because memory keepers is what we are.
Thank you for stopping by today and keep safe and well!
Hi there crafty friends, Anita here with you today sharing a layout using the beautiful unforgettable collection
Even though it’s winter we still have butterflies fluttering around and flowers are still blooming so it has inspired me to create this layout full of flowers with butterflies…
I started by cutting out the flower background cut file from @neatncraftycutz and backing it with unscripted, sprightly and glorious to fill each flower then I back my white cardstock on glorious and added some machine stitching around the border
Next I adhered the flower cut file to the middle of the cardstock with double sided foam tape to add a bit of dimension.
I then matted my photo on papers from the 6×8 paper pad using pink and orange to tie in the colours so they blended. I then tucked in a few bits of ephemera and accessory stickers to add extra colour and depth.
I added clusters of flowers using the ephemera at the top and bottom of my photo and scattered a few butterflies to tie in with the theme
I found this cute white foam title in my stash that I coloured with pink ink to match the colours.
If you would love to see how this layout came together check out my process video
For my layout I decided to do one with stars , I know it doesn’t really go with a beach theme but this photo was taken late in the afternoon and the moon was out already totally weird I know but it was a beautiful afternoon just sitting on the beach enjoying the view…
I started off by cutting out a star background cut file from @neatndcraftycutz
And adhering it down on total legend patterned paper then I machine stitched around the border and using a fine tip grey pen I added dots and lines around the stars to add more texture
I then layered a doily and patterned paper behind my photo using total legend and all star
And to add more texture and dimension I tucked accessory stickers and ephemera in the layers of the photo. I add a hand made take using patterned paper and tucked into my photo layers.
Using double sided foam tape I popped up my title using the clear stickers adhered on cardstock
I then added more of the clear stickers around my photo just underneath
I scattered the stars stickers around the layout and title along with a few enamel dots to add more texture and dimension are the cut file stars
I also used a few stickers from boys ruleaccessory stickers and clear stickers.
Hey friends its Michelle back here today with a new layout share featuring the awesome Legendary Collection. I was so inspired by our recent Stars and Stripes theme that I couldn’t help but use that as the base for this layout. Stars are the perfect embellishment for scrapping a layout of Leila’s ‘Star of the Week’ photo from last year.
I chose a fun new cut-file design from CUT to YOU that features 3 different star designs and resized them to create different focus points for the layout. I cut all 3 designs out on white cardstock and backed the larger design using a mix of different patterns and colours to compliment the stars within the collection. Papers used – ALL STAR, EPIC TALES, EXPLORER, OFF BEAT, TOTAL LEGEND and WILD ONE.
I adhered the star to the left side of the layout using foam sheeting to raise it off the background paper (OUTDOORS TYPE) and added the super cute photo of Leila to the left backed with a piece of BRAVE HEART and a sticker tab from the Accessory Sticker sheet.
I created the title using a cardstock title piece and alpha stickers from previous collections. LOVE LOVE LOVE those white alphas! There’s a sprinkling of stars, both fussy cut and ephemera, on top of the big star also.
I kept the other 2 star designs open and adhered half of each design to the edges of the layout, creating open clusters and tying all the elements of the layout together. In the top cluster I added the ‘Hey You’ banner sticker from the sticker sheet and a mix of fussy cut and ephemera stars.
In the bottom cluster I added pieces from the ephemera pack, fussy cut and ephemera stars plus a word sticker from the Accessory Sticker sheet. Lastly a splattering of gold colour shine to finish it off.
Well friends that’s all from me today. Thanks so much for stopping by.
Hey CVS friends Rachel here. Last week I decided it was time for a sort out of my CVS collections, as often when I am creating I get messy and end up throwing my product back in its pizza box and close the lid to hide my laziness! Well it took me far too long but it was worth doing as I discovered I had more than I thought (of course) and I also realised how many papers from different CVS collection go together beautifully. This is what inspired this layout and it is a CVS all sorts!
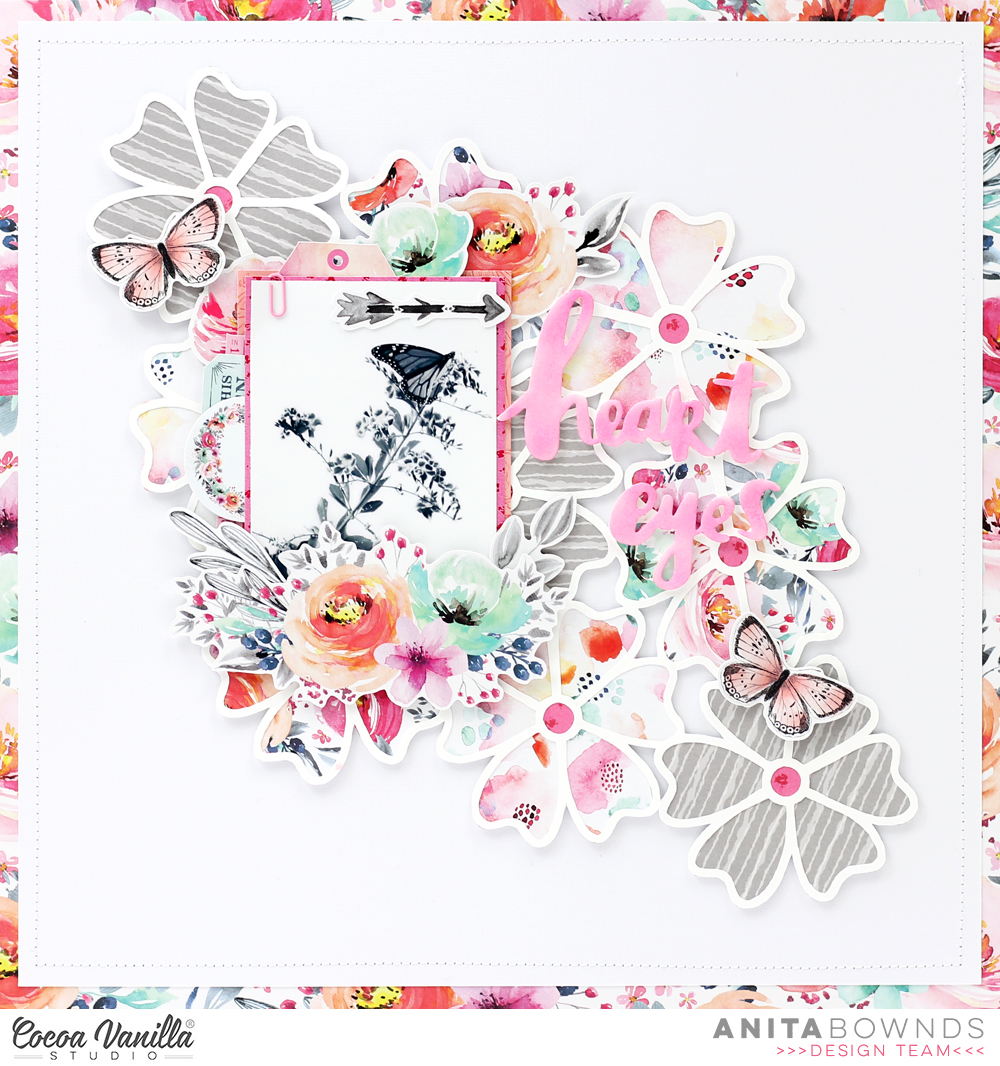
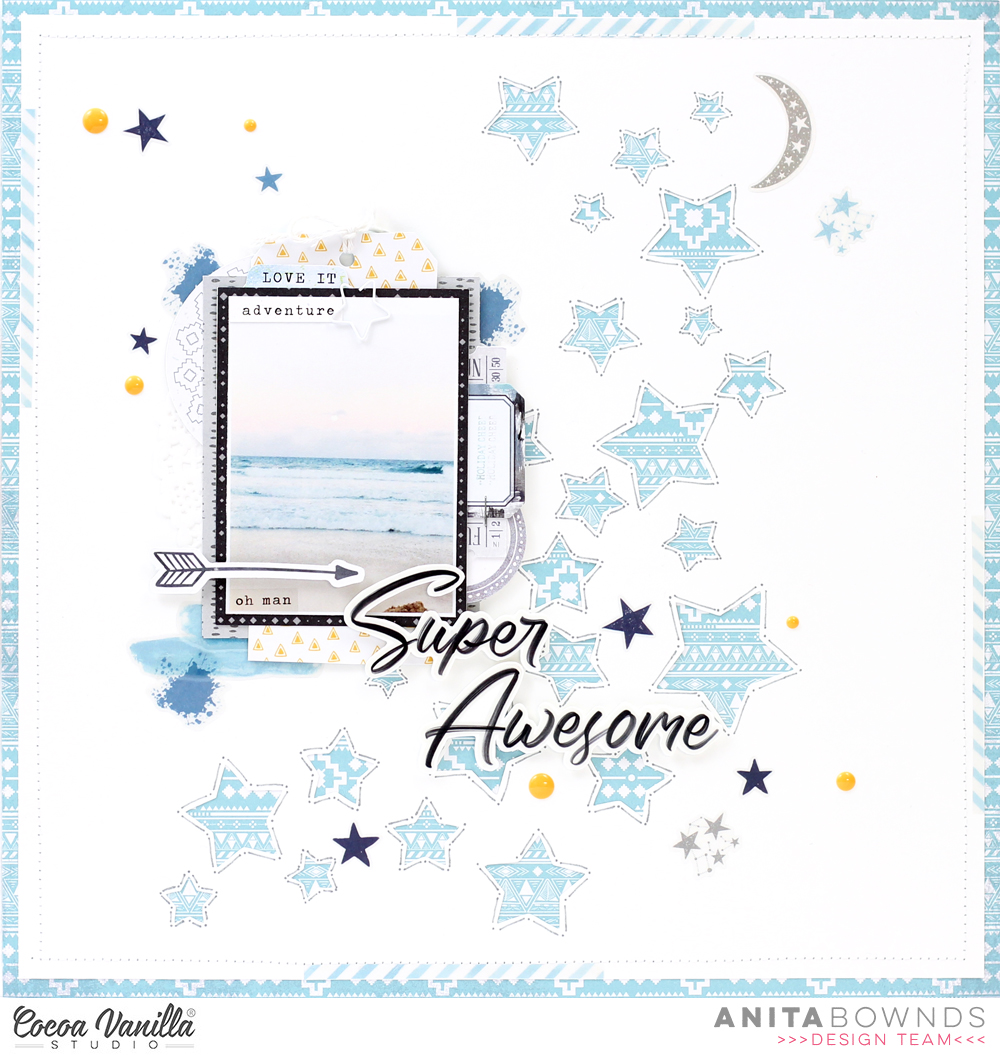
Firstly I chose this super sweet rainbow with cloud cut file (Silhouette Design store). I kept to the rule of thirds choosing three papers that coordinated. I used Navy flower vellum paper and Grow wild paper from Wild at Heart collection, the third paper is from the Midnight collection Moonlight. I added the rainbow with foam tape knowing I would tuck elements under it (and it creates a 3D effect). I used a polka dot embossing folder on my cloud which added texture and design (this stops it looking flat), I added the cloud with double sided tape.
I added a flair from Happiness collection, I chose the hot pink ‘good vibes’ one as it contrasted against the white.
I then used a mix of embellishments from various collections to pretty up this page. As always I added a paint/watercolour clear sticker behind my cloud and adding a die cut butterfly over it, both these elements being from the Unforgettable collection.
On the opposite side I added a floral cluster using die cuts again from Unforgettable, finishing this cluster off with a phrase sentiment and enamel dots.
I found a chipboard polaroid frame for my photo in a pretty polka dot peach and used a grey min bow to finish off. I added a die cut camera under the rainbow, added an enamel dot to the lens centre and lastly added another phrase sentiment.
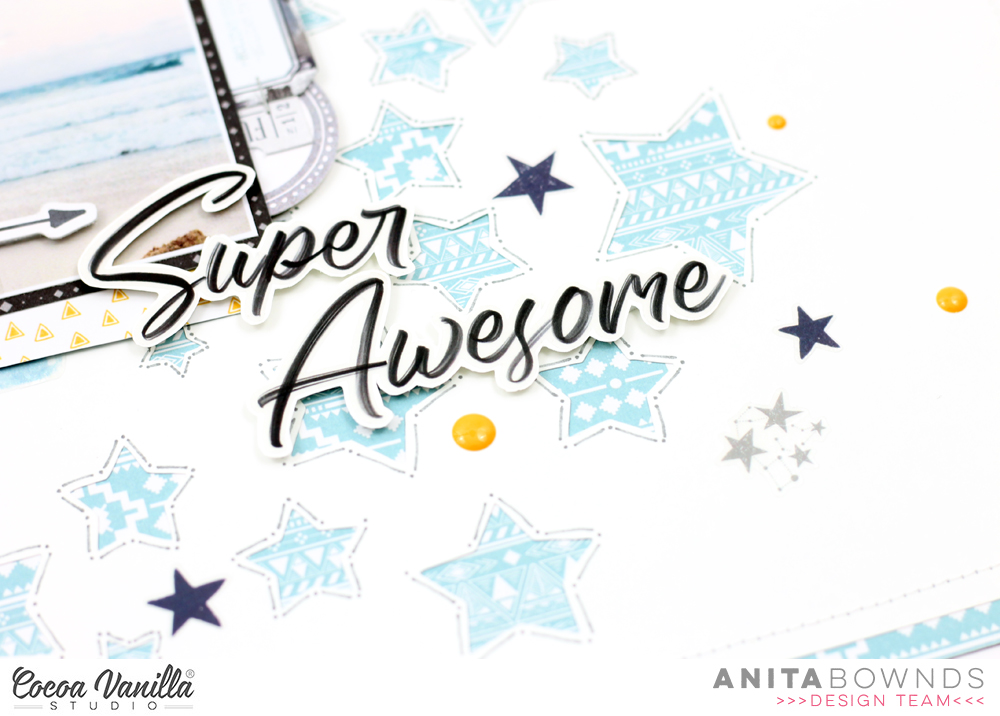
I created my title using a mix of chipboard word (using a paint brush stroke clear sticker behind it) and accessory sticker phrase sentiment and a clear sticker butterfly. To create a visual break between the cloud and title I added a peach scallop die cut.
All thats it from me today! Thanks for taking the time to stop by and I hope you have a wonderful week.
Hey y’all! Laura Alberts here again with a fun way to use up those scraps at the end of a project! I find cut files are brilliant for finishing off those little scraps you might otherwise throw away and with a giant title like this one from COAPA, those scraps can really shine! I have really enjoyed scrapping tons of photos with the new Legendary collection, but this mixed media style background paper has to be my absolute favorite in the entire collection. It’s called “Offbeat” and I think it framed this cut file beautifully!
I kept the embellishing pretty simple on this layout, so as not to compete with the photo or title design, but I did squeeze in a few stars (and stripes!) anyway. Stars are a great shape for boy layouts and one that has become my go-to for masculine pages. Clustering them is super simple, they tuck into each other at the corner of a label or word phrase sticker (or both!) as well as peeking out from behind larger design elements.
The best part of any layout for me is always those tiny details that finish it off. In this case, I used a combination of enamel dots and Nuvo drops to add a bit of interest to my clusters and then added to the splattered background with even more splatters in gold! I hope you find inspiration to use your scraps too, whether it’s backing a cut file or layering behind your photo. To see this layout come together, check out the process video below!
Hello friends!! Its Melissa here and I’m back again today with another layout made with the stunning Legendary collection – I really can’t stop creating with it! I was given the task of focusing on the Die Cut Titles, so I decided to go all out! Go big or go home right?!
I took this photo of my newly turned 13 teenager (and only son) Sam on his first day ever of high school earlier this year. He looked so smart in his tie and blazer, and I knew I just had to use the gorgeous map patterned paper, which is the B side to Outdoors Type, with a border of the blue and white stripe cut apart from the B side of Total Legend.
I decided to incorporate several of the Die Cut Titles into a letter to Sam, and I used a manual die for the remaining words (cut from Total Legend, One Way, and Wild One). I used my sewing machine to add lines underneath the manual die words for extra texture and interest, and used Enamel Dots for punctuation.
For my photo I layered up some of the same papers, and then simply embellished with the star cut file which Gwen designed to accompany Legendary. I backed the stars with Wild Once, and I love how it brings out the yellow in his tie.
Carrying on with the star theme, which works really well for both boys and back-to-school layouts, I used a couple of the gorgeous stars from the Die Cut Ephemera pack and placed them off the page for interest. I embellished them with arrows from the ephemera pack and phrases from the Accessory Stickers.
A little ephemera tab with the word “memorable” was perfect tucked under my layers.
I’m so happy with this layout, and most importantly so is my son!! It means a lot when they are teenagers and still appreciate layouts that we mums make!
Hi friends it’s Michelle back here with you today to share another layout I’ve made using my most favourite collection Happiness.
I stepped back in time a little with a photo of Leila at our local park and a fun scalloped banner cut file from CUT to YOU. I cut the designs out on a mix of bright fun patterns then layered them on some white card stock before machine stitching them all down one by one. The papers I’ve used are MEADOW, EXPRESSIVE, GOOD VIBES, FRAME OF MIND, BRIGHT & BEAUTIFUL and SPRINKLES.
I added the photo to some of the BOTANICAL BLISS paper and adhered to the middle right of the layered scallops using some foam for added dimension. To the right of the photo I added some florals and bits from the EPHEMERA PACK along with some glitter enamels and a fussy cut flower from the floral side of BOTANICAL BLISS.
To the left of the photo I created a mixed font title using DIE CUT TITLE pieces and some older alpha stickers. I layered 2 letters together for each letter in the word Magical to give them a little extra dimension. To the left of this I created a second floral cluster using similar elements to the first.
At the top of the scalloped banners I’ve added a third smaller cluster, again using similar elements to the others to create a visual triangle.
Here’s a look at all that dimension those sewn scallop banners create.
Well friends that’s all from me today, thanks so much for stopping by. I hope this has given you the dose of inspiration you came looking for. It was quite fun to create, even with all that sewing.