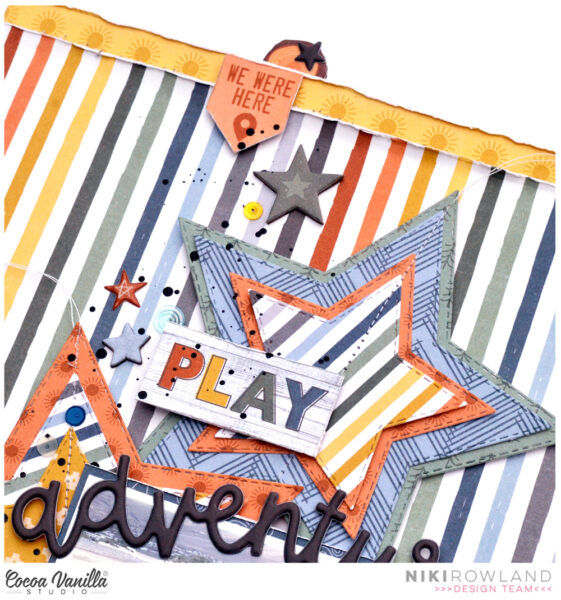
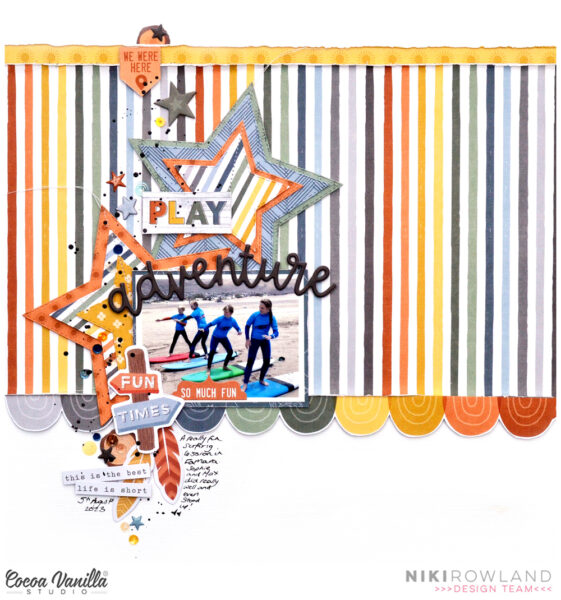
Hey everyone! This is Niki (@nikiclairecreates) with another layout made using the Great Escape collection! I adore the bright stripey paper and decided to make a feature out of that. I started off by cutting a large block of it to go across the layout which I paired with a narrow strip of yellow sun paper to go along the top.
I cut one of the border strips from the cut apart sheet, the one with the rainbow scallops, and added this strip as a boarder along the bottom of the stripes. I love the bright colours!
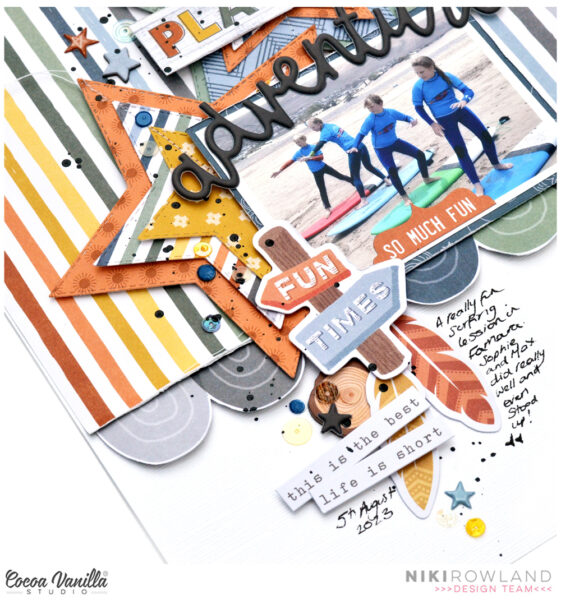
I mounted my photo onto a piece of navy blue paper from the A5 paper stack to make it stand out against the stripes and added it to the lower horizontal line. I already had two layered stars made that I had leftover from my previous layout so I added those to the layout too, tucked behind the photo.
I added my title ‘adventure’ from the puffy title stickers across the top of my photo together with the word ‘play’ from the cut apart paper. I also added a little label sticker from the Accessory Stickers to the bottom of the photo that says ‘so much fun’.
I then embellished the layout with several pieces of ephemera from the Die Cut Ephemera pack, Chipboard stickers, Puffy Stickers and more Accessory Stickers. I finished off with a few sequins and splatters of black paint!
I love how bright, happy and colourful this layout turned out!
And welcome on the Cocoa Vanilla Studio blog today! It’s fantastic to have you join us today. This time, I’ve been inspired by the Great Escape Challenge at Cocoa Vanilla Studio.
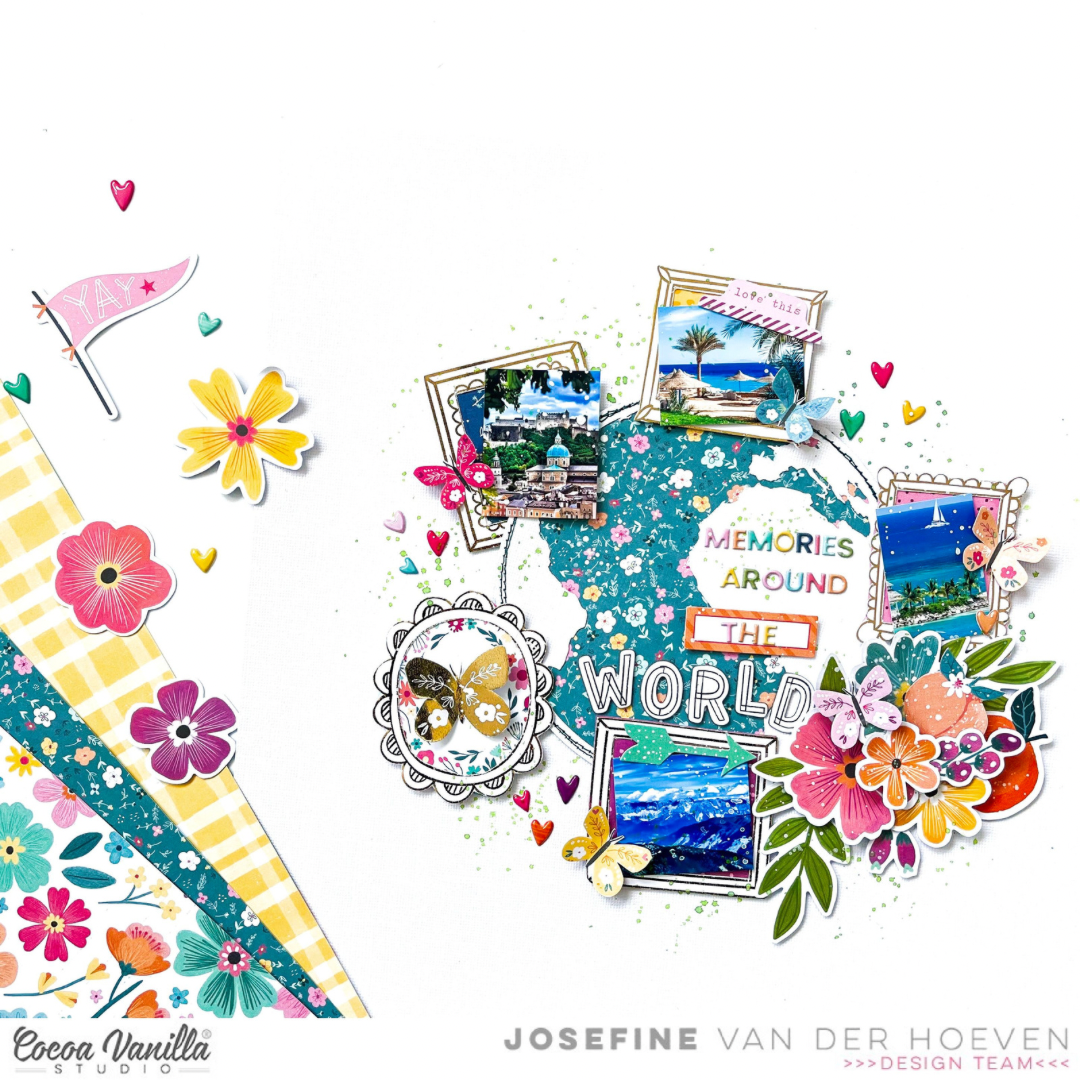
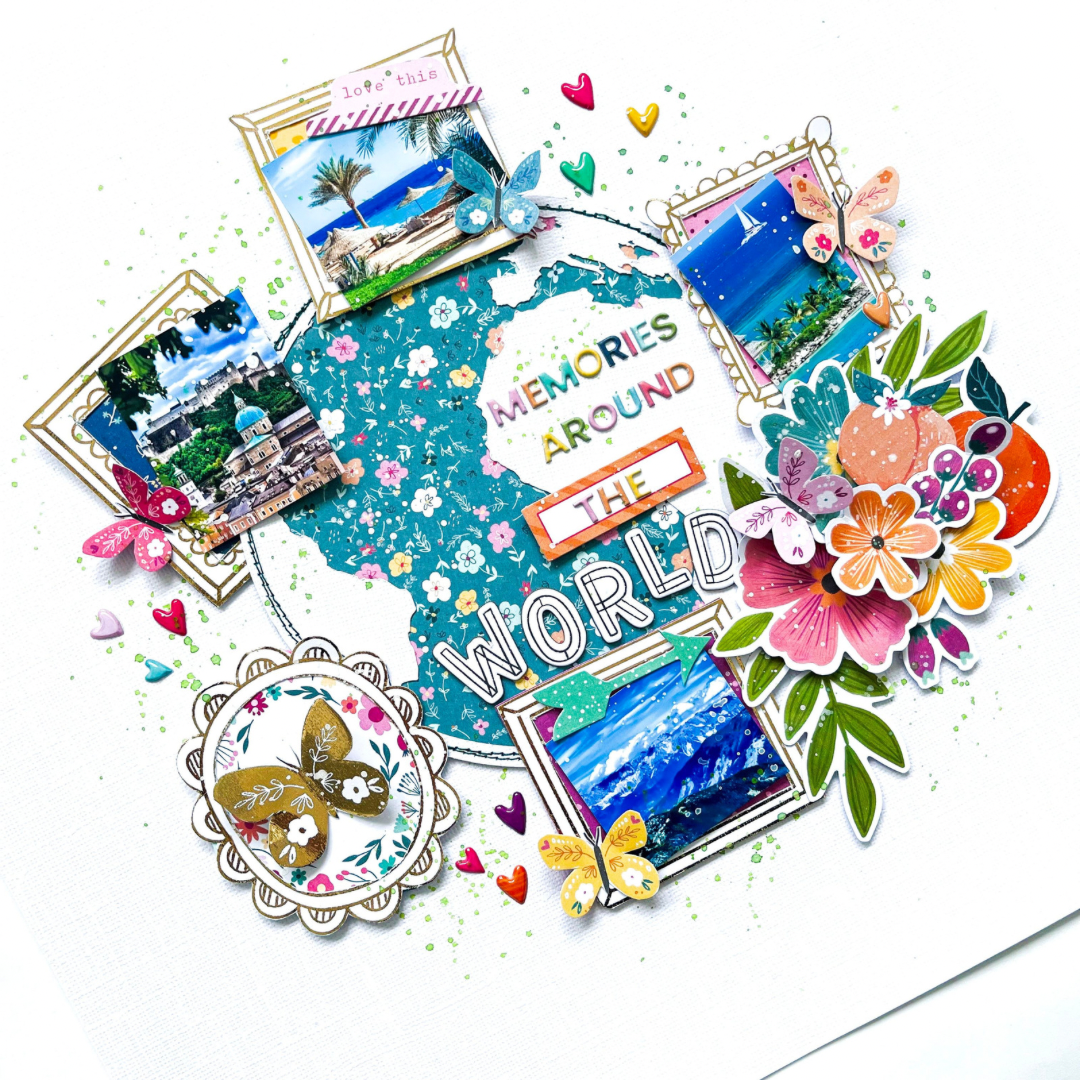
The challenge: scrap about your adventures, big or small, near or far… I chose to create a scrapbook layout filled with memories around the world. I’ve traveled to many places in Europe, America, Central America, and Africa. For this layout, I could only choose four, so I selected different countries across the globe where I’ve made fantastic memories such as Egypt, Jamaica, Austria, and Switzerland.
For this layout, I use for a white cardstock background and used a cut file from the Cricut Store. I cut out a globe and backed it with a blue-green patterned paper. The edge of the globe is adorned with a green stitched border.
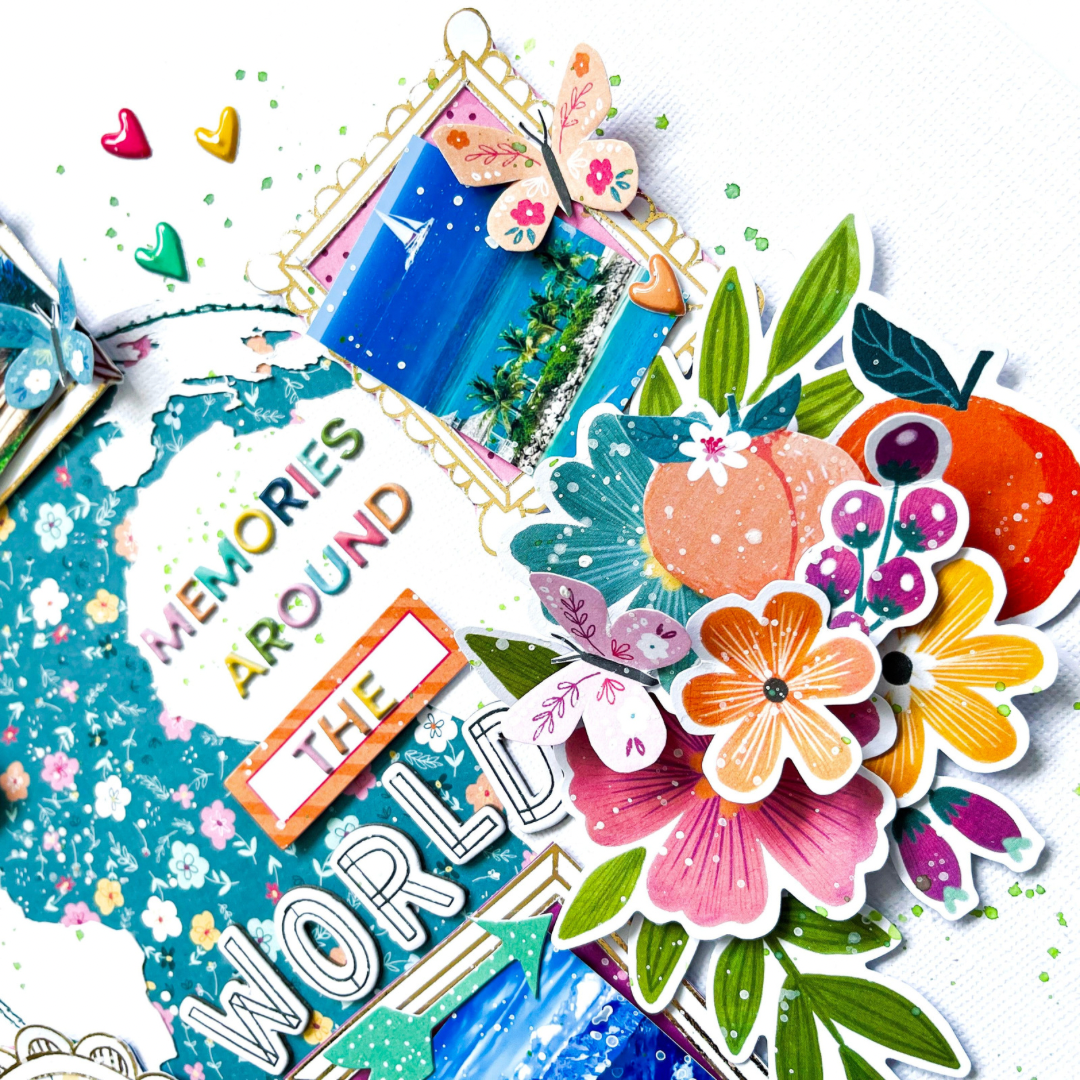
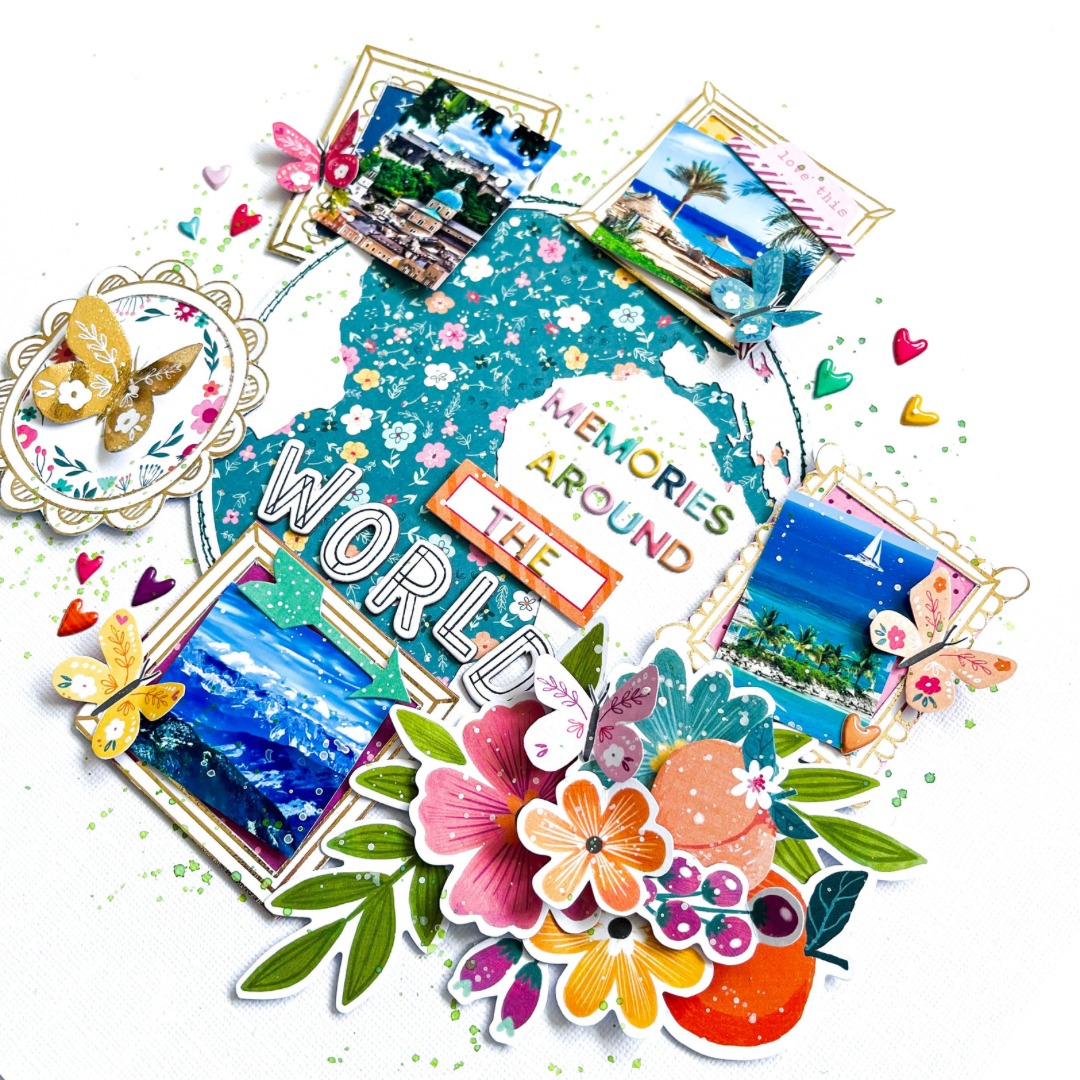
Next, I selected some gold photo frames and matched them with various patterned papers and photos. I arranged the frames with the photos playfully around the globe. On the right side, I created a cluster of flower die-cuts, butterflies, and leaves. This cluster adds a little extra holiday vibe to my layout.
For the title, I used the lovely colored mini puffy alphas along with the black and white cardboard words. The title of this layout is “Memories around the world.” I’m a fan of the small mini sticker hearts from this collection, so I used them in clusters of three between the photo frames.
I also cut out a few butterflies and scattered them randomly across the layout. I added some splatters with white gesso and green watercolor. I love the playful effect of the splatters.
I hope I’ve inspired you with this layout and can’t wait to admire your beautiful creations on social media. Have lots of fun, and until next time!
Hey Scrappy friends, it’s Michelle here today. I’ve got a brand new layout share for you all using the GreatEscapeCollection thats inspired by this months Challenge – Scrapaboutyouradventures. I’ve taken a step back in time to when I travelled overseas with my Mum in 2008 and had a magical visit to Times Square in New York. Loved this trip of a lifetime.
As the photo was already quite busy I didn’t want to add too much to the background of the layout or overdo the embellishments, so I’ve kept the background ‘clean’ and only used fussy cut stars from the Star Gazing paper for the main focal points of the embellishment clusters.
I took this photo from the top of a ‘hop on, hop off’ bus as we were touring around the city. This was the first glimpse of the area and it was just so impressive. The noise, the people, the cars. Everything there in that moment was everything you read and see online about New York. Its was magical and hectic all in one.
I backed the photo using the rainbow stripe side of the JourneyPaper and layered it with some foam sheet to pop it off the page. I knew I would be using the chipboard pieces at some point so I needed to match the depth of dimension they would create. I added fussy cut stars from the StarGazingpaper to the top right with the addition of the cute mini van ephemera piece
I added more of the JourneyPaper to the layout, this time the green tree pattern along the bottom of the layout to act as a landing point for one of the clusters. I added machine stitching along the top edge once all the stars and stickers were in place
To the left of the photo I created a cluster of stars using different forms of adhesive for a layered effect. I did this with all three clusters within the visual triangle. I also added an extra piece of chipboard to the photo along with a sticker and journal tab tucked into the top
To create the title I’ve used the word Adventure from the ChipboardStickers pack along with my beloved whitealphas and some handwritten text for journalling. I love the mixed look this creates. Then lastly I added my usual splatter of gold ink to add interest to all the whitespace surrounding the clusters.
Here’s a final look at the entire layout..
Well thats all from me today, thanks so much for stopping by. Be sure to check out the main post regarding this months Challenge to see more inspiration on the current task.
It’s Tarrah back with you today to share another scrapbook layout featuring the gorgeous new Great Escape collection! I have documented another photo from my recent trip to Tasmania, this time a photo taken at pretty Horseshoe Falls. The Great Escape collection is absolutely perfect for outdoor adventures, nature photos and road trips!
I decided to start with a cut file found on the internet and cut this from white cardstock. I then took the A5 paper stack and backed the spaces in the cut file with a variety of different papers. Once the cut file was backed, I adhered it using craft foam to the Horizon 12′ x 12′ patterned paper. I cut a small strip of the ‘B’ side of the Wild Life patterned paper and tucked it in under the cut file t the bottom.
I placed my photo on the right-hand side of the page overlapping the cut file and allowing one of the clouds in the cut file to overhang onto the photo. I used craft foam to adhere the photo too. Above the photo, I placed a banner sticker, and on the left of the photo I placed a tab sticker all from the Accessory Sticker sheet. Below the photo, I placed the die-cut title ‘Explore’ from the ephemera pack and also added a puffy shape.
Also from the Wild Life patterned paper, I cut out the 3′ x 4′ card that says ‘Adventure Awaits’ and placed this right under the stars on the cut file again using craft foam to adhere it. I added another tab sticker to the left of the photo and also added the round sticker at the top of the mountain peak, both from the Accessory sticker sheet. I absolutely LOVE the chipboard elements in this collection! I added 2 of the stars, the flag popping out of the clouds, the log piece between the mountains and also the hexagon shape overlapping the mountains at the bottom.
Once the larger elements were placed and I was happy with them, I went ahead and placed some smaller finishing touches like some more puffy shapes and some extra die-cuts from the ephemera pack, I also stamped the date of when my photo was taken.
Thanks so much for stopping by the Cocoa Vanilla Studio blog today! I hope you have purchased the Great Escape collection or have plans to purchase it really soon so you can get busy creating with it!
Welcome to my my second layout created using the new fab Great Escape collection. I have scrapped a photo of son number two (I have three!!!) sitting in front of a rusting old car.
I chose this fab star cut file from the Silhouette design store and cut it in black to create a contrast. I chose the colourful striped Journey paper for the centre star and the green Direction paper for the outer smaller stars. I added foam tape to some of the smaller stars to create dimension.
I added my 3×5 inch photo which I matted on a paper from the A5 paper stack and added black machine stitching to create a border. I added two stickers to the top of my photo from the Accessory Sticker sheet. I went back and added several of the larger Die Cut Ephemera stars and then Puffy Stickers to the centres.
I then created an embellishments to each side of my photo, how cute is the car with luggage and map, perfect for my photo!
Next I used the Chipboard stickers to create my title, adding FUN to the bottom of my photo and TIMES under the photo, don’t be afraid to mix it up by making your title interesting in placement.
I used Wild Life paper as my background paper but felt it needed a darker contrast so add torn notebook edge (cut file from the Silhouette Design store) using Starry Night paper and finished off by adding black sitting to these.
This is a ‘busy’ layout for me but I love how it turned out!
Thanks for stopping by today and see you agin soon.
Hi everyone, it’s Sue Plumb here to share another design team project with you. Today I am sharing a mixed media layout featuring the brand new ‘Great Escape’ collection. Of course I took the opportunity to create a boy page and documented a photo of my hubby and sons.
I started my layout with the gorgeous white wood grain print from the Starry Night paper for my background. I first added a little grey acrylic paint using a 2″ wide brush, then added some stamping over the top with black ink. This just adds a little extra depth to the background, which helps the foreground layers to pop more.
For the paper layers in the focal area of my page, I used a combination of the Adventurer and Happy Camper 12×12″ papers, as well as the compass print from the A5 Paper Stack. I cut and tore the papers then shuffled them until I was happy, before adding a grey doily and frayed gauze on top. I then backed my photo with some scrap cardboard before sticking it down on top of the stack.
In the space alongside my photo I chose the word hello from the Puffy Title Stickers pack; I also added the cute little signpost with fun times on it from the Die Cut Ephemera pack as the second part of my title. Below my photo, I used a journal card from the Wild Life cut apart paper which I had popped into my typewriter to add my journalling.
With the main elements of papers, photo, title and journalling in place, the only thing left to do was add my embellishments. I chose a compass piece from the Die Cut Ephemera pack which I placed over the bottom left corner of my photo and then the we were here phrase from the Accessory Sticker sheet nearby. I finished this cluster off with some fussy cut stars from the Star Gazing paper.
Back on the other side of my layout, I added a sweet little flag from the Die Cut Ephemera pack below my journalling to complete the cascading line of text and some more fussy cut stars. I also added a cluster of stars near to the top of the page to complete my “visual triangle”. I finished off with some scattered stars from the Puffy Title Stickers pack and some small stamped phrases.
Thanks so much for stopping by today so I could share this with you. The fabulous new ‘Great Escape’ collection is shipping out to retailers now, so look out for it at your favourite scrappy store. I’ll be back in a couple of weeks with some more inspiration. Until then, happy scrapping!
It’s Sophie with you on the blog sharing this new page created with the Great Escape collection!
I had this photo from a recent hike and thought it was perfect to match a Paige Evans cut file that I love and wanted to use.
I backed the cut file with several different patterned papers from the A5 Paper Stack, and added a few phrases in matching color to each of the signs.
I put the cut file and photo on the Horizon paper. I added a few die cuts from the Die Cut Ephemera pack and phrase stickers from the die cut sticker sheet. I also fussy cut cute clouds from the Starry Night paper and added the date.
Here are more close-ups:
I am very happy with the result and hope you like it too!! Did you get your hands on this collection??
Hello everyone, and welcome to our new challenge for the month of March!
If you’re not already a member of our Facebook Community, make sure you join us to be in the running to win a $25 store coupon each month!
This month, in keeping with our new Great Escape collection, we want to see your biggest adventures on a page! Scrap about your adventures, big or small, near or far… even if its your dream escape!
And as you can see from these awesome pages from our fabulous Design Team, you can definitely use ANY CVS collection with this theme – not just Great Escape! I’m excited to see your pages with this prompt!
To Enter:
Entries must be loaded into the March Challenge Album in the Cocoa Vanilla Studio Facebook Community prior to midnight (AEST) 31st March 2024 to be eligible for the prize
Cocoa Vanilla Studio products must be used. Yes, you can use other supplies as well, but the majority of products used should be CVS.
Entries must be created solely for this challenge and not combined with other challenges or design team projects
You may enter as many times as you wish and entry is open to participants worldwide
One winner will be randomly drawn from the entries to receive a $25 voucher to spend in the CVS online store
By entering the challenge you automatically give permission for your work to be shared via the Cocoa Vanilla Studio social media channels
The promotion is in no way sponsored, endorsed, administered by, or associated with Facebook
Now on to the…
And I have a few to catch up on here because with the new collection going out, I completely forgot to post winners from the Great Escape Give-Away and the December/January challenge… oops!! I’m so sorry to keep you waiting, but here are the lucky winners!!
GREAT ESCAPE GIVE AWAY
All of your comments mean so much to me, so a HUGE thank you to everyone who left a comment on the reveal post! Usually we randomly choose the collection reveal winners, but this time I just couldn’t resist this clever & creative poem from Penny White. Congratulations Penny, you’ve won yourself a full collection!
And our runner up, who wins a collection kit, is Danielle Berry with this lovely comment… Congratulations Danielle, I hope you get lots of use out of this collection – it sure sounds like you will!
December/January Monthly Challenge
All of the challenge entries for this moodboard were gorgeous – thank you so much to everyone who joined in!! I have picked two winners for this challenge. First up, we have Debra Beer with this super cute page!
And this gorgeous page from Chantal Bruce-Bays – that Christmas tree is so full of texture and looks like it was a real labour of love!
February Scraplift Challenge
All of the entries for this month were just stunning, and I’m so happy that so many played along!
For this month’s challenge, I have chosen this gorgeous layout from Amee Jay! How beautiful is that photo – the combination of our Daydream + Heart & Home collections is the perfect match!
I will be in touch with all of the winners ASAP, so keep an eye on your messages/email!
Thanks so much for joining me today, and I hope you have a wonderful weekend!
Hello Friends! It’s Anna Komenda here with my first ever project made with brand new “Great escape” collection! I was going to start bold with travel album but I run out of time so layout it is :) But do not worry – I will make this album too and will share it later with you. I decided to scrapbook our adventure on rail bike from last summer. They are becoming more popular in Europe, where restoration of old tracks turns them into fun biking adventure for the whole family. This particular one we took in France and it took us two hours of pedaling, going through little tunnels, old bridges and country landscape. It was really a fun, family time.
I started with white cardstock as a base and four strips of pattern papers: “Journey”, “Adventurer”, “Direction” and “Horizon”. I arranged them on the left side, adding some decorative edge with edge puncher.
Next step was to add pictures in a vertical row and decorate area around them. I started with a bag of Ephemera Die Cuts and picked the ones that match my theme, like compas, map, trees and fun banners.
With all of them in place, I could add the title. I decided to combine words “good times” taken from Chipboard Stickers sheet with smaller words created with Mini Puffy Alphabet from older “Heart & Home” collection. Their colors matches this new line perfectly!
With all of those in place, I added some finishing touches with super cute tiny Puffy Stickers and some orange splatters. Making this page took me less that half an hour which is sort of time record for me. It usually takes me much, much longer but this time elements just clicked into the right spots. Magic of well designed collection!
That is all for today. Thank you so much for spending your time with me and I will be back with more projects made with this line!
Hey everyone! This is Niki (@nikiclairecreates) with a new layout and process video using the fabulous Great Escape Collection! This layout actually started off as a scraplift as the monthly challenge over on the Cocoa Vanilla Studio Community Group is to scraplift a layout of one of the Design Team. There is an example by Josefine that has layered hearts in a grid design, so I decided to do the same thing with stars.
I set about using my Big Shot and metal nesting star dies to cut lots of different sized stars from lots of patterns from the A5 paper stack. I layered them together and stitched down the middle of each one. I made some smaller than others and each star has at least three layers.
But it turns out that arranging stars in a grid design doesn’t really work because they are very pointy! They would have to be really small to fit several across the page! So I continued to use my layered stars but the grid design was out the window!
I prepared my background using the beautiful white wash woodgrain paper which I trimmed down, distressed the edges and stuck onto a sheet of white card. I then splattered this with black paint.
I arranged my photo onto the background with four of the layered stars. They are all clustered together across the top part of the layout and this worked really well. I couldn’t cut my photo into a star shape so I’ve kept it as a rectangle and slotted it in-between two stars with some overlap.
I added ‘Fun Times’ as my title from the puffy title stickers pack and then added just a few simple embellishments to the layout: a couple of Chipboard Stickers, some little phrase stickers from the Accessory Stickers and some little star stickers: some from the Puffy Stickers set, and some from the Puffy Title Stickers pack. I finished off with some sequins and some splatters of black paint!
Thanks so much for joining me today and happy scrapping!