It’s Sophie on the blog today with a new layout to share!
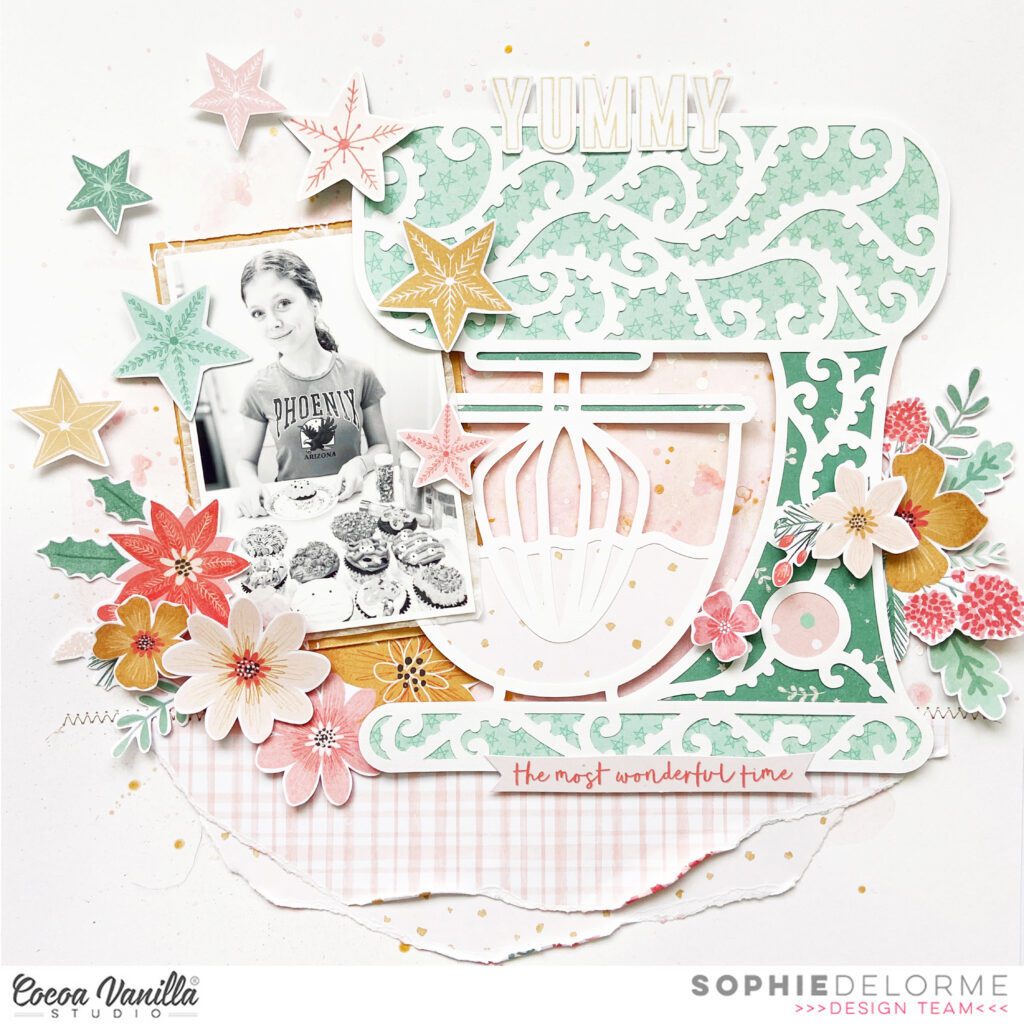
I used the beautiful Christmas collection “Joyful” for my page.
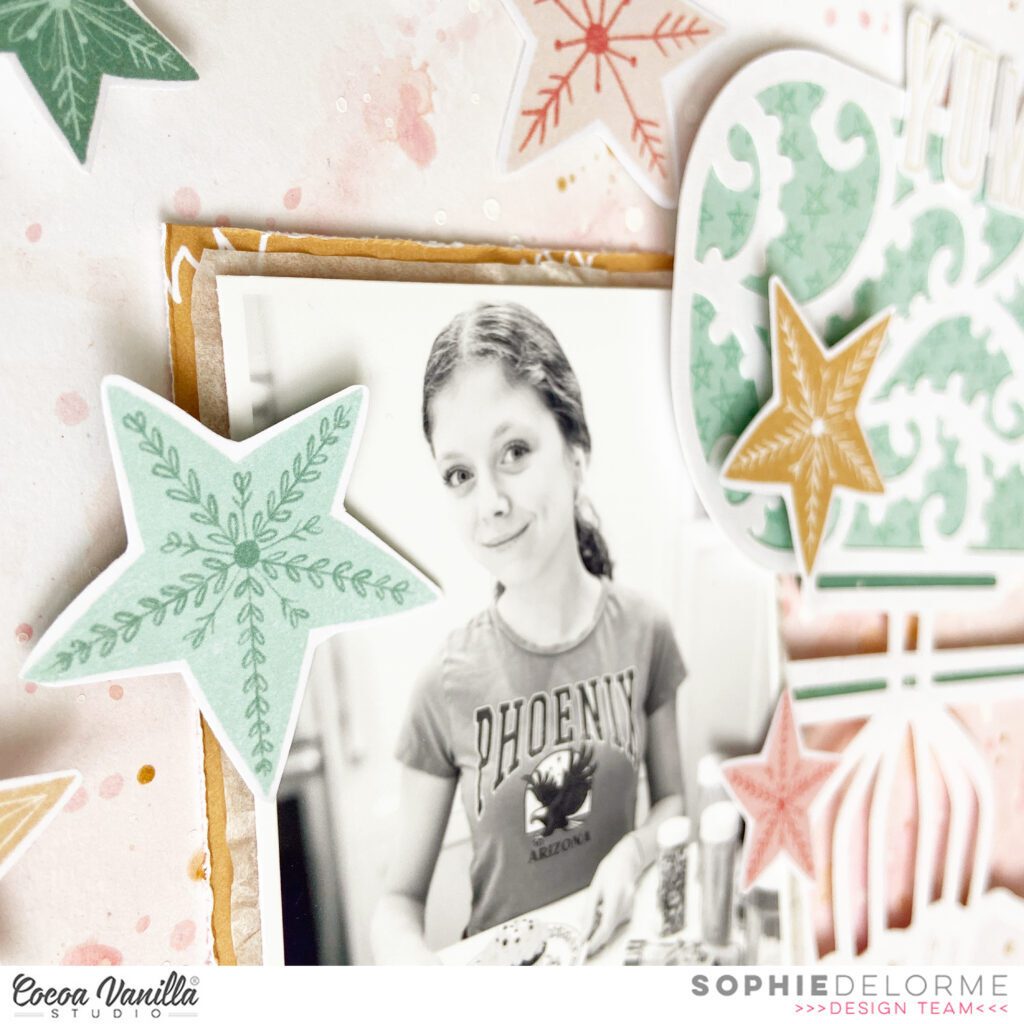
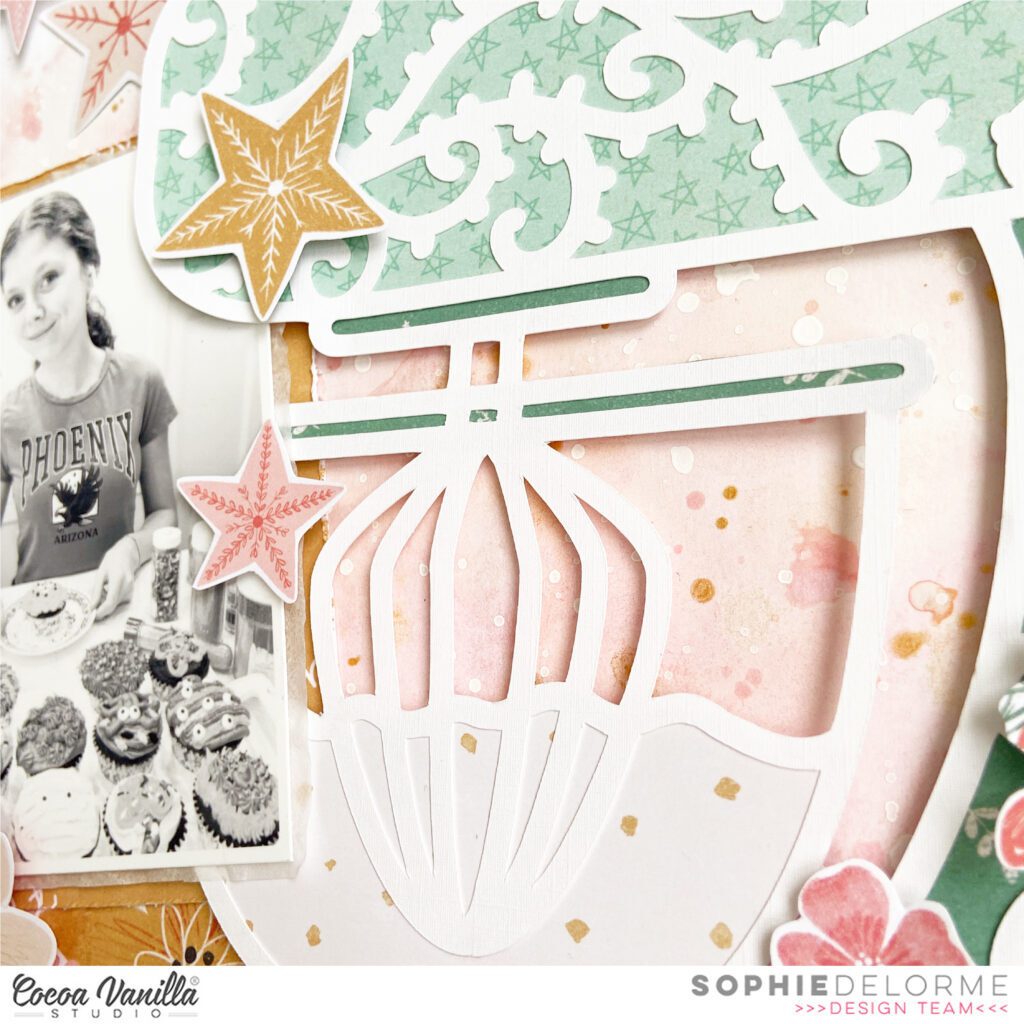
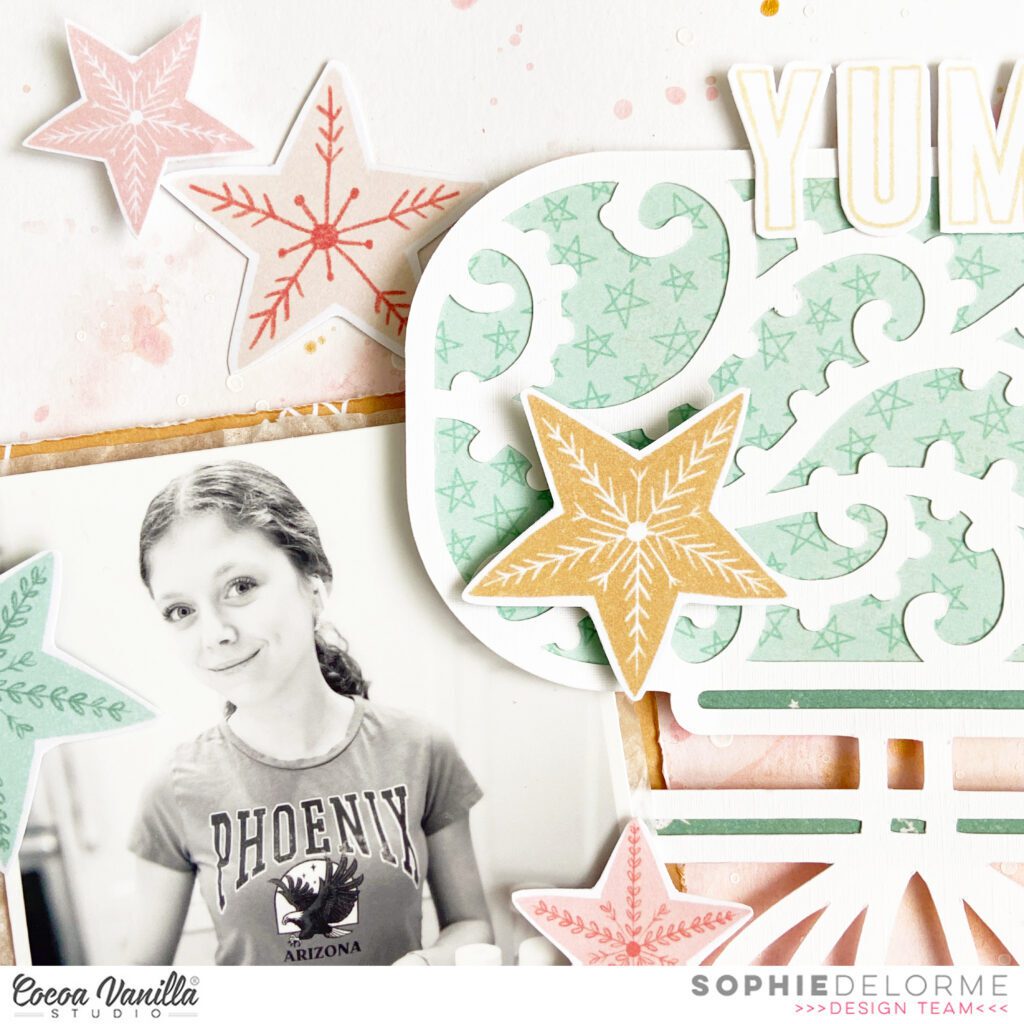
I wanted to use this cute cut file from Nic Squirrell that I bought on the Silhouette Studio store a while ago. I cut it on white cardstock and backed it with several patterned papers from the collection.
Before adhering it to my background cardstock, I created a mixed media background with pinks and gold from different inks from my stash. I also added white splatters. I let everything dry completely and added my cut file and black and white photo, both mounted on adhesive foam, on top of it.
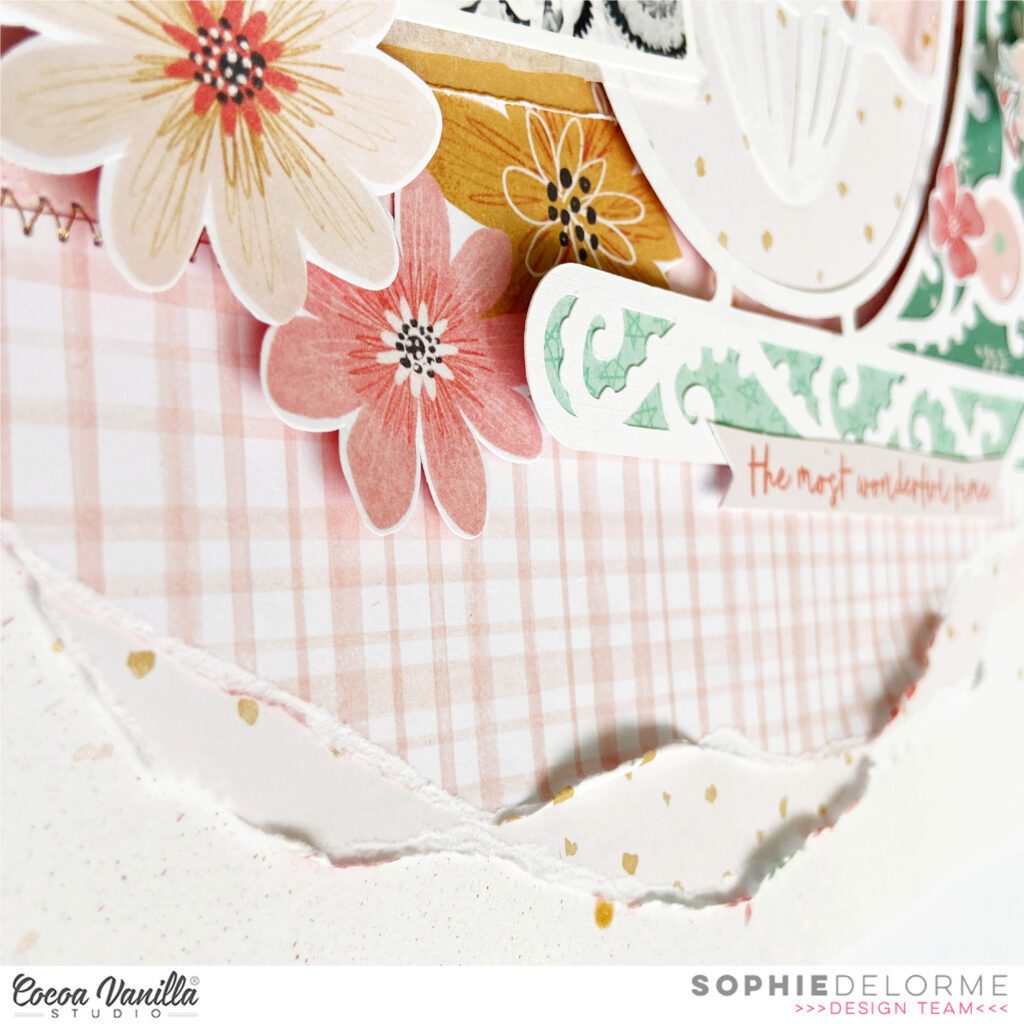
I grounded everything with two pieces of teared patterned papers that I stitched down with gold thread.
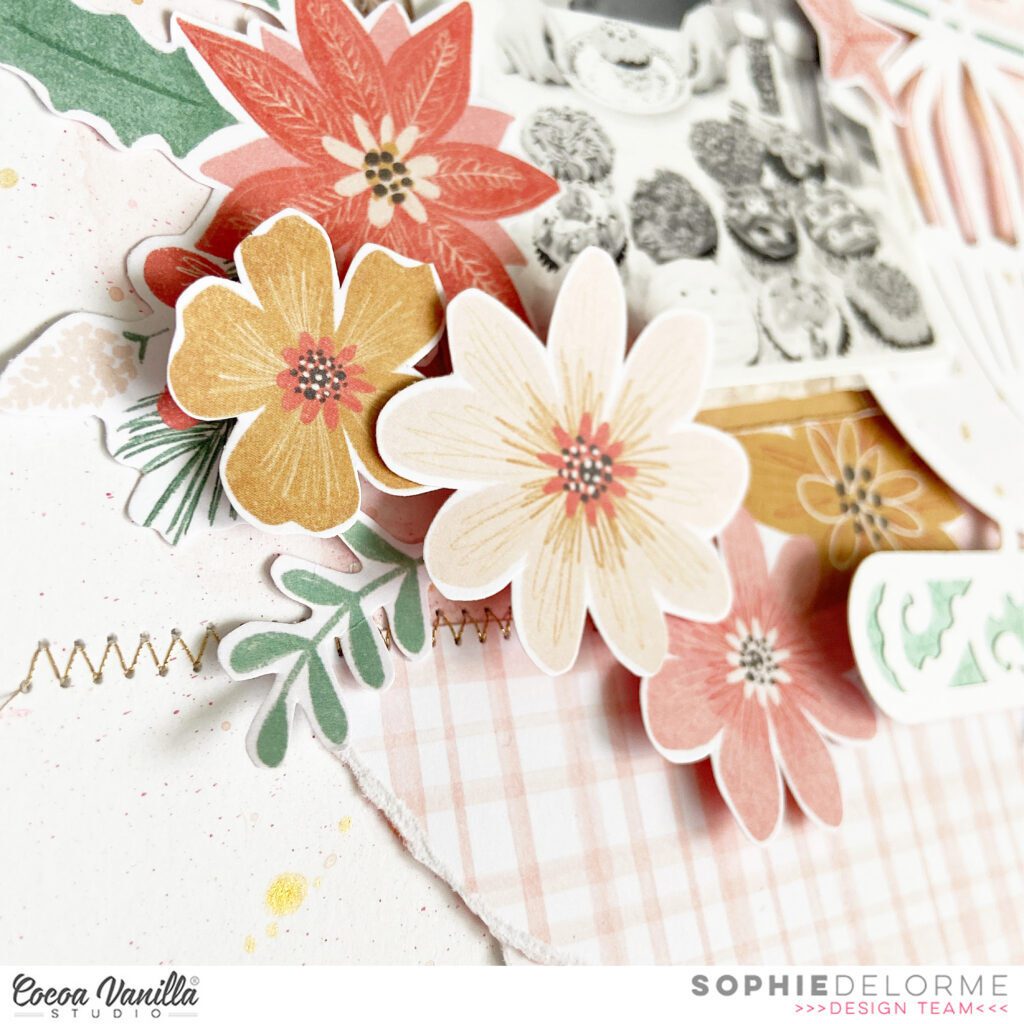
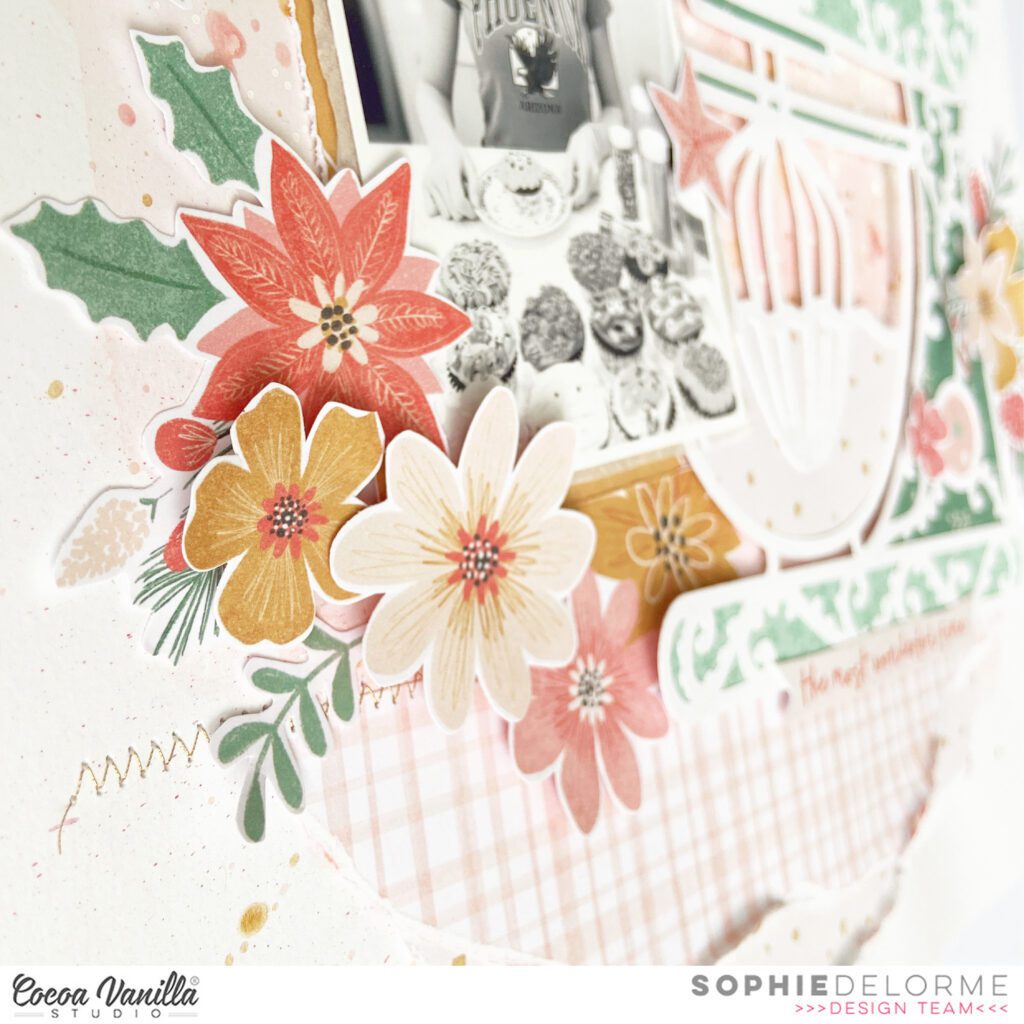
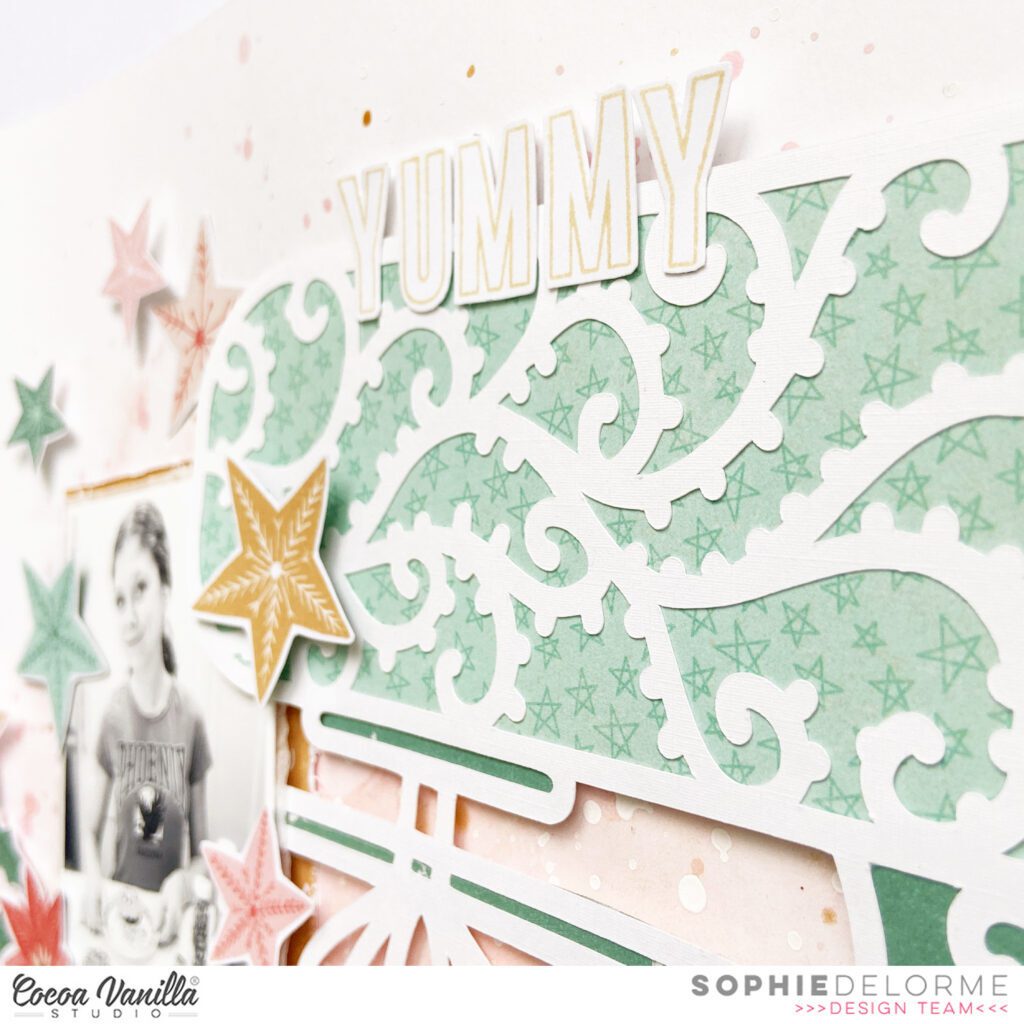
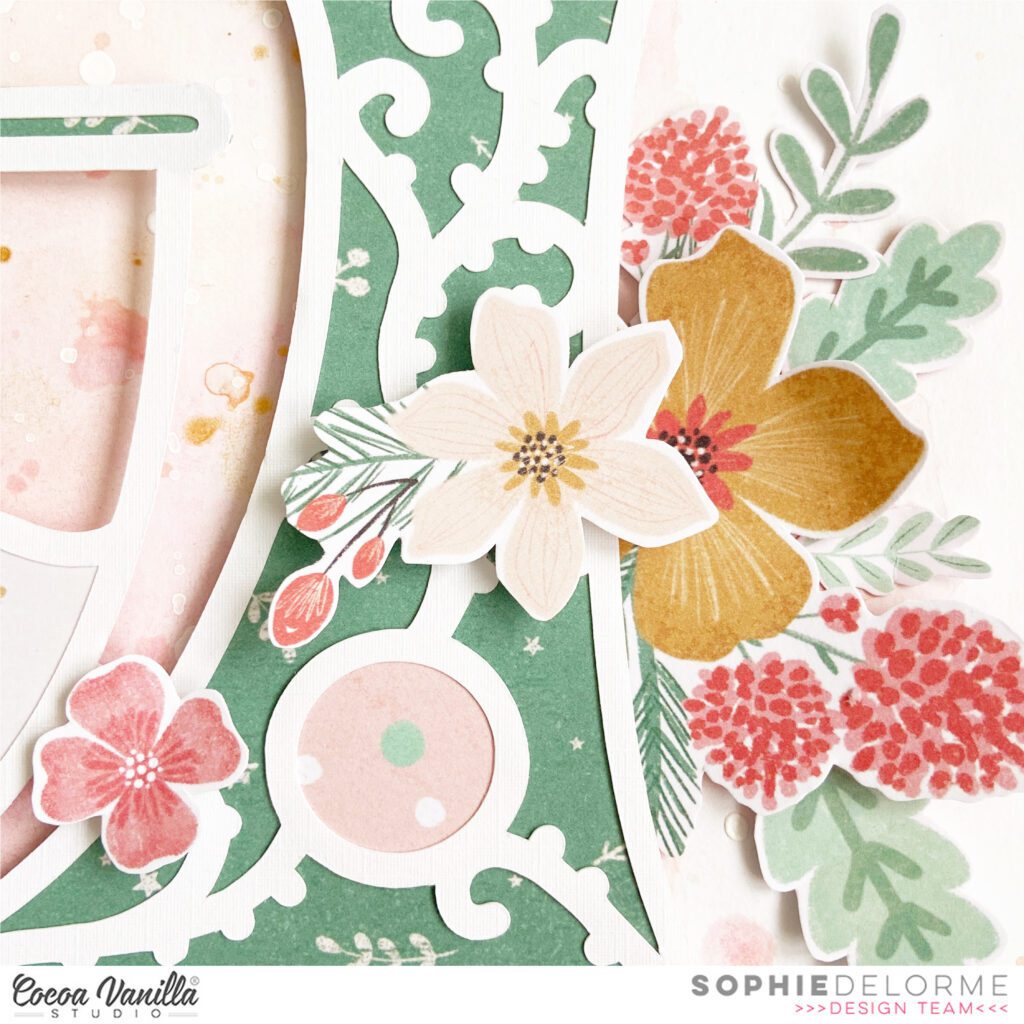
I printed my title with alphabet stamps from my stash, and decorated around my photo and food mixer cut file with fussy cut stars and floral die cuts, all from the same collection.
Here are more close-ups:
I hope that this was inspiring to you!
Thank you so much for stopping by, and happy crafting!
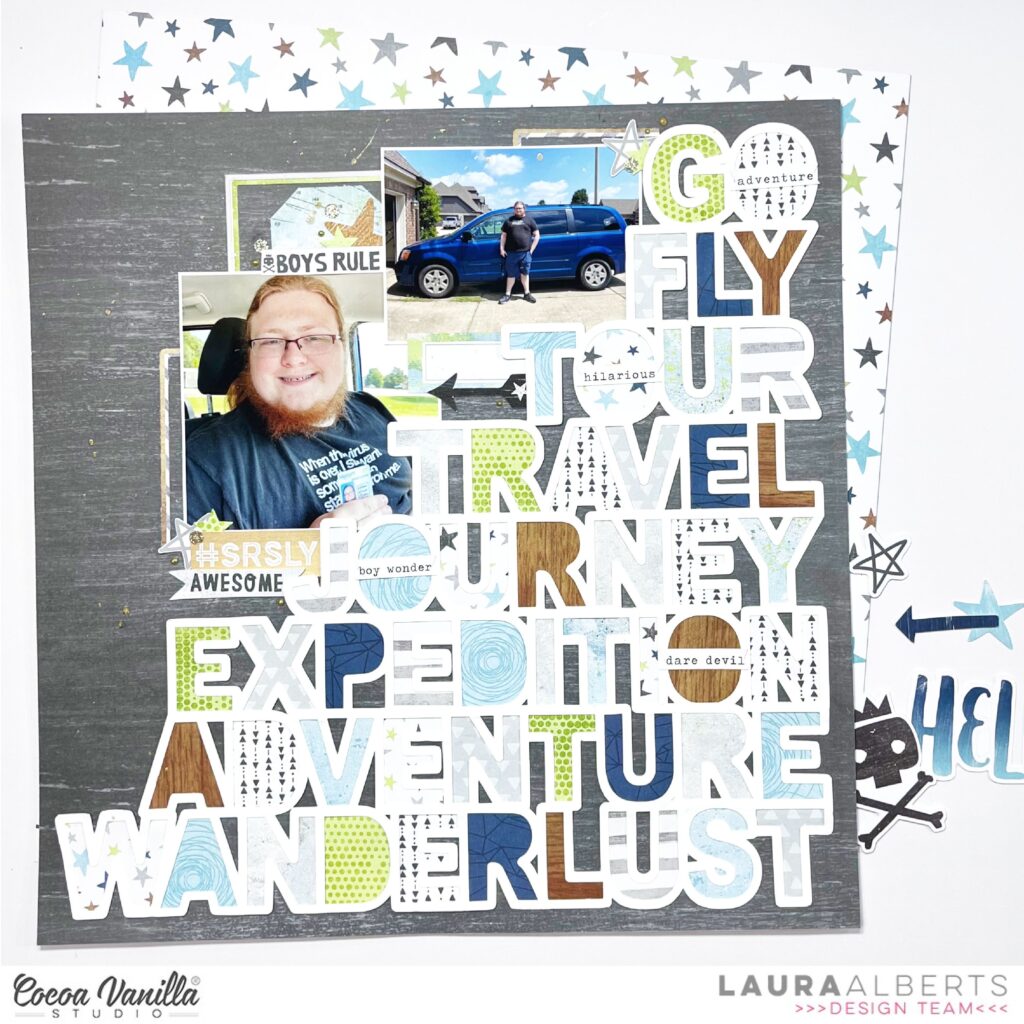
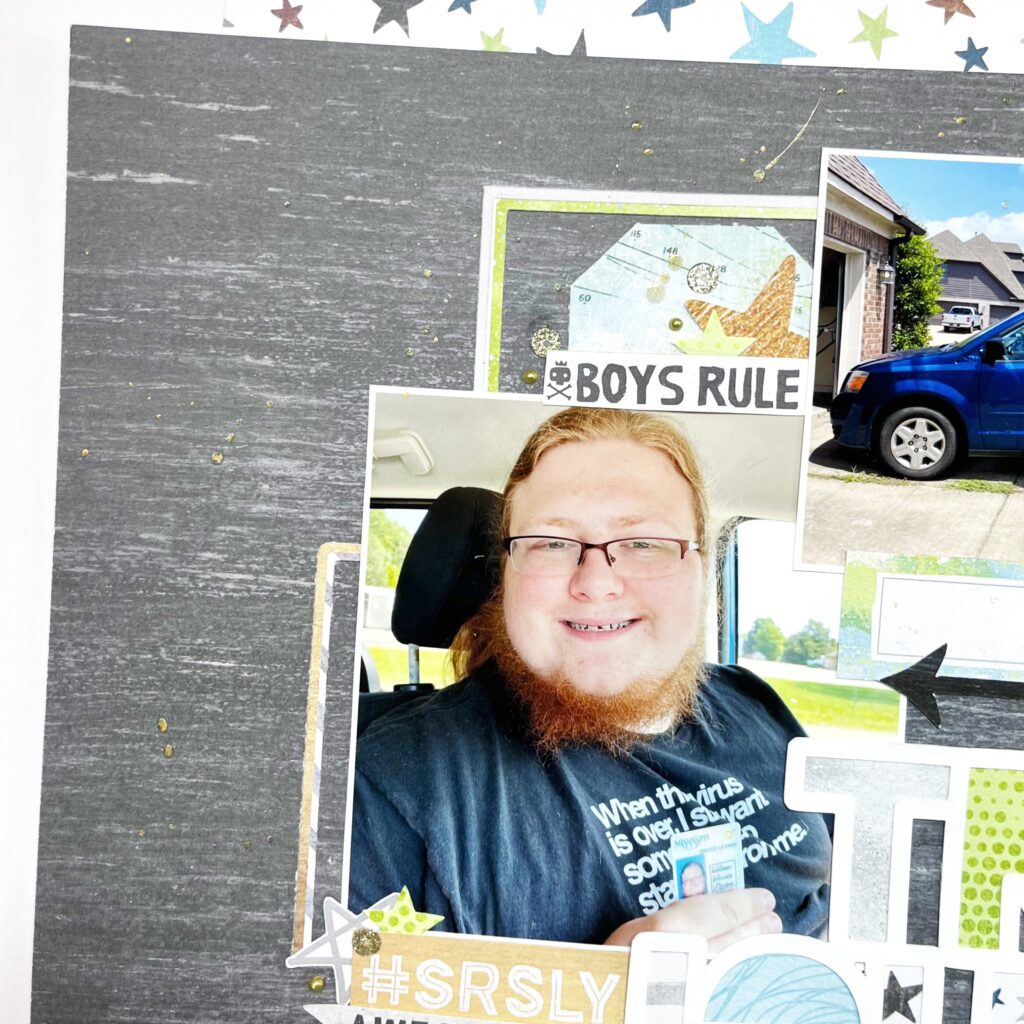
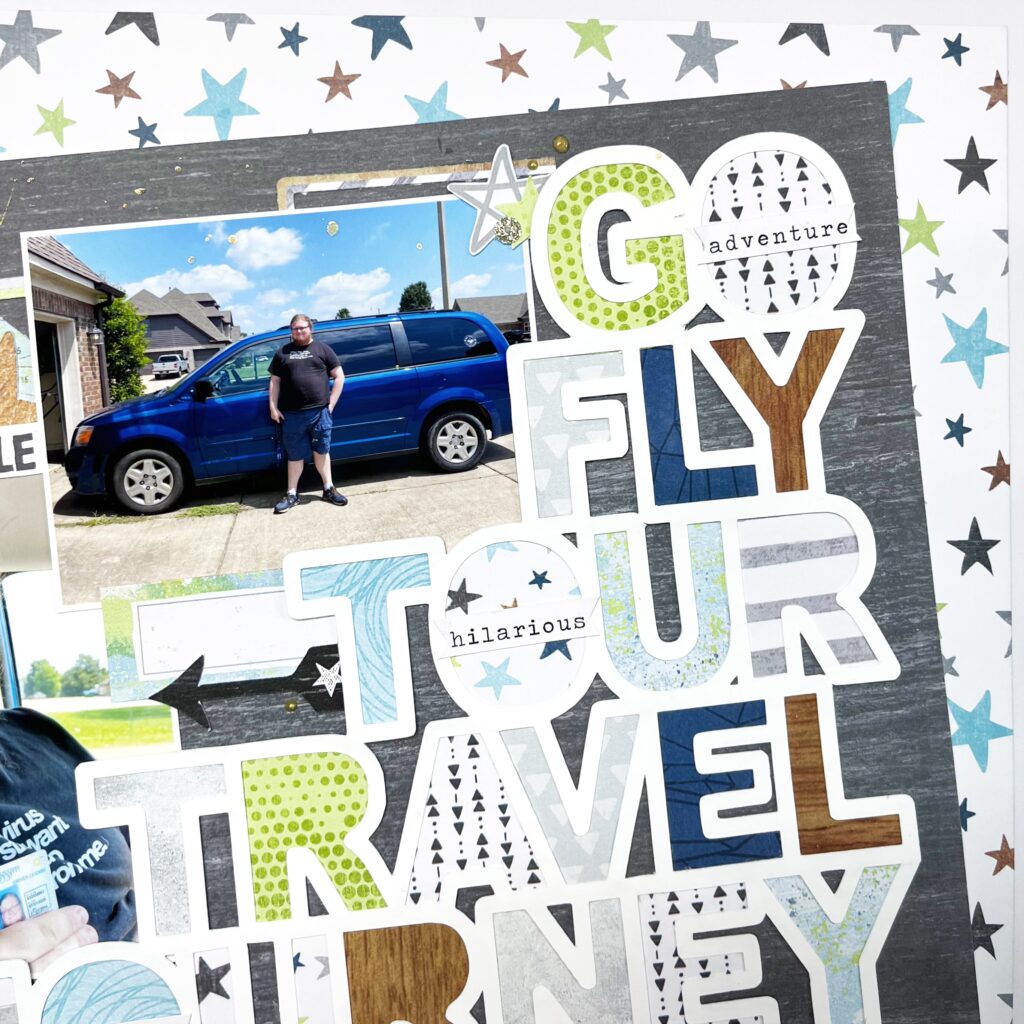
Hey y’all! Laura Alberts here again with a fun boy layout using a Throwback Thursday collection…Boys Rule! I adore this collection and the mix of colors and patterns that make it so versatile to use! Scrapping these photos of my oldest getting his driver’s license was so much fun! I paired a Paige Evans’ cut file called ‘Travel Words’ with the bright bold colors in the A5 paper pad.
To give the cut file a bit of pop, I layered it on top of the gorgeous gray background in this collection. I added a word phrase in front of each of the O’s in the long title. My photos on the other hand are the star of the show! I made sure to layer a few frames around the perimeter of my layout. Love this look!
I kept my embellishing fairly simple on this one because the large title doesn’t need it! A few small clusters around my photos that utilize ephemera pieces.
I hope this layout inspires you to give cut files a go, if you haven’t already, and then break out your paper frames! Be sure to check out the video below to see how Go Fly came together!
Mandy here today and I’m sharing a layout featuring a couple of older Cocoa Vanilla collections. Our theme this week on the blog is ‘Mixed Collections’ and so I’ve chosen to use both the Sunkissed and Unforgettable collections. With the weather warming up, I was in the mood to create a bright and fun summery layout, and these two collections worked perfectly for this! The photos that I’ve scrapbooked on this page are of my youngest daughter and I when we had a little girls weekend away together recently.
I started my layout off by trimming 1 12 inches off one side of a sheet of white cardstock, and then matting it on the aqua stripe Splightly patterned paper from the Unforgettable collection. I added some machine stitching down the sides of the white cardstock to give the layout some subtle texture. I then adhered a piece of the gorgeous pink Unscripted paper, also from the Unforgettable collection, on the right hand side of the page.
I printed my photos at 3×4 inches and first matted them side-by-side on white cardstock. I then added some layers of patterned paper behind the photos using the beautiful Natural Beauty paper from the Unforgettable collection and the blue Bright Side paper from the Sunkissed collection. I then adhered the photos towards the bottom of the pink patterned paper, sitting slightly off to the left hand side.
Next I pulled out the gorgeous Growing Wild paper from the Sunkissed collection and fussy cut a couple of floral clusters. I tucked one under the top left hand corner of the photo mat. I also added a couple of extra flowers from the Sunkissed Floral Ephemera pack. To finish the cluster off I added a beautiful butterfly die cut from the UnforgettableEphemera pack and a little banner die cut that says ‘Sweet Memories’ from the Sunkissed Ephemera.
I adhered another smaller fussy cut floral cluster on the bottom right hand corner of the photo mat. You can also see here that I added an Enamel Dot from the Unforgettable collection to the centre of some of the flowers. I like the way that this just adds a little bit more interest to them.
I created one final embellishment cluster to the right of the title, which completes the visual triangle. This cluster includes a Die Cut camera from the Unforgettable collection, a few more flowers and leaves from the Sunkissed Floral Ephemera pack, as well as a die cut banner from the Sunkissed collection. I adhered the banner with craft foam which gives it some nice dimension, and once again I used an enamel dot to add some extra detail to one of the flowers and the camera.
For my title I chose to use one of the phrases from the Unforgettable Foam Title Stickers. ‘The Good Life’ seemed to fit these photos perfectly! I love the way the title contrasts against the bright colours in the papers and embellishments and adds a nice pop to the page!
I finished the layout off by sprinkling around some die cut, foam and puffy hearts.
Thanks so much for joining me here on the blog today! I hope that you enjoyed taking a look at my layout, and maybe you’ve been inspired to pull out some of your older CVS stash as well!
Hi Cocoa Vanilla Studio friends! Danni here with a layout featuring our newest collection Storyteller plus a little of an older favourite – the Sunkissed collection. Although these collections are quite different, the pops of bright yellow in both make it really easy to combine the two. They pair beautifully with the yellow shirt my daughter is wearing in my photo!
To begin this layout, I started with a sheet of plain white cardstock and the Brighter Days 12×12 patterned paper. I cut two strips from the patterned paper, one thick and one narrow, then distressed the edges. I adhered both strips to either side of the white cardstock.
Next I matted my photo. To do this I used a combination of the A5 paper stacks from both collections, plus a bright yellow 3×4 double-sided card from Sunkissed. I distressed and tore some of the paper edges for some extra texture, then added the photo over the thicker strip of patterned paper.
For my title I decided the sparkly glitter foam titles from Sunkissed were perfect, so I added ‘sweet days’ right below my photo. I also added a small banner text piece from the die cut ephemera pack in this space. I also used a few of the glitter hearts from the foam titles around my layout to bring in more sparkle!
The floral ephemera from these collections pair really well, especially the blue and yellow tones. I created three floral clusters around my layout; two either side of my photo and one to the left side of the page. I added in a couple of pieces from the die cut ephemera from both collections as well.
For some finishing touches, I added in a couple of the brushstroke effect clear stickers from Sunkissed, plus a few puffy stickers and some tiny word strips from the accessory stickers. I stamped the date with grey ink on one of the ephemera pieces, then added a small sprinkling of ink splatters around my ephemera clusters.
I was surprised with how easy it was to integrate these two very different collections, and I’m in love with the result! Such a bright, happy layout. I hope you enjoyed joining me today. Happy scrapping!
Hello crafty Friends. For the couple of days we will be focusing on combining old and new CVS collections as an inspiration for you and here is what I have come up witth. The newest Cocoa Vanilla line is beautiful “Storyteller”, which I am sure you are already familiar with. It’s saturated colors and very versatile theme are perfect for all sorts of projects. I was thinking of other collection that has similar color palette and “Hello sunshine” was the first one that came in my mind. It’s probably because I am a big fun of all summer themed lines :). They are always so colorful and fun. Combining “Storyteller” and “Hello sunshine” is the perfect idea as I am running really low on papers from the old line and as they are no longer in stock, I am stuck with leftovers only. Every new collection that shares similar vibe is a chance for me use up those leftovers and let this well loved line shine once again.
As I mentioned before, I am running low on pattern papers from “Hello sunshine” collection. But who can blame me? They were fantastic. That’s why I am more than happy to use this pattern “Brighter days” with colorful stripes from “Storyteller” line as a base of my project. It’s quite bold but with a cluster of four pictures it was toned down a bit. With blue nad navy on the bottom it kind of looks like landscape during the sunset. This page is about enjoying the lake so I decided to use this pattern this way exactly.
Next step was to add my photos. They are all the same size and they take a lot of background space. I glued them down in the middle of my background leaving a little bit of space on the left and right for some embellishing and on the top and the bottom for my title. We had so much fun renting water bike during our last vacation in French Jura and swimming around the lake. Kids were jumping to the crystal clear water, we were taking turns with pedaling – it was such a fantastic, family time, worth a whole page.
After using “Storyteller” paper as a layout base, it was time to embellish it with some bits and pieces from “Hello sunshine”. I have a digital version of this line but I was too lazy to print anything so I focused of whatever I have left in the ephemera pack. I also fussy cut some flowers from one of the papers. I arranged those bits and pieces on both sides of the photos adding few stickers from 6*12 sticker sheet.
With all the embellishing done, I was ready to add a title. Once again I reached for my everlasting pile of alpha stickers, that once were part of CVS collections. I used two different colors – yellow on the bottom as it contrasted well with navy and navy on the top as it contrasted orange better. I am running out of some letters so I needed to make E from an F. It’s totally possible and I do that a lot. If you need more tips or missing alpha latters here they are. Use V turned upside down as an A (just add a piece of other unsed letter in the middle), turn F into E with an estra strip of other sticker. Cut a piece of T, turn it upside down and make L of it. If you need Y, take X and cut out on the the bottom “arms”. Turn G into C by trimming part of it. Use W instead of M or the other way around.
After adding the title, I circled back to my “Storyteller” embellishments and added few puffy hearts here and there and three epoxy buttons. They look like taken from the same line! I just love those lucky coincidences!
That it all for today my Friends. Thank you so much for staying with me through the whole post. Don’t forget to come back to see what collections other DT girls will me “marrying together”. See you in two weeks.
Hi everyone, its Melissa here and today I’m sharing a layout where I mixed a new collection with an older collection. I used Storyteller for the new collection and Unforgettable for the older collection. I used a cut file from Just Nick Studio featuring lots of leaves in a frame which was perfect for my photo of three of my kids dressed in camo and playing a game in our garden.
I used lots of the A5 Paper Stacks for backing the leaves of the cut file. These two collections worked really well together and I chose patterns that were either solid or with small repeating designs. My background woodgrain patterned paper is from Storyteller.
I used one of the Foam Titles from Unforgettable for my title. I love how the black foam really pops! I added an Accessory Sticker from Unforgettable underneath the title.
Next to my photo I placed a cut apart from Unforgettable. I distressed the edges and tucked it under my photo. I added a Wood Button on top of it. I embellished my photo with a cute heart Accessory Sticker.
I didn’t have too much journaling for this page, I used an Accessory Sticker from Storyteller to detail what was happening in my photo.
I hope I inspired you to mix newer and older collections!
How lovely of you to visit the Cocoa Vanilla blog today I love to see you here. For this boy themed layout I really wanted to work with the fantastic collection “No Limits”
This photo of my son is from quite a few years ago but the colors and his cute little face fit this collection wonderfully well. For this layout I was inspired by a sketch by Lottie Loves Paper that I found on Pinterest. I love using a sketch. It can give you just that creative push you need at that moment.
I took a 12×12 white cardstock paper and choose six of my fave design papers form the “No Limits” collection. I cut out six 3-inch circles and provide the edges of the circles with a stitch edge. I choose white sewing thread and use my sewing machine. Then I cut a half circle in the circles and fold them over. See picture…..
As also shown on the sketch, I am stitching a grid pattern on my layout. I choose dark blue sewing thread for the grid design. The dark blue is also reflected in the title as in the photo.
I cut two larger circles from the patterned paper and stitch the edges with white sewing thread. I also cut my son’s picture into a circle and place the circles on top of each other.
I fussy cut several stars from the pattern paper and created a cluster of stars on the top right and bottom left of the layout. In this way, I create a diagonal design.
The awesome bold and cool words from the die-cut titles are perfect to use for a title. The title for this layout will be ” Hello Cool Kid” under the die-cut title I fold some extra dark blue sewing thread.
I complete the title with some extra word strips that I added with a black line by using my fine liner.
I placed a few extra embellishments like wooden buttons, puffy stickers and cardstock embellishments to decorate my boys layout. Finally I give my layout some white gesso splatters. And for a little more color I add some dark blue splashes. I choose the color Distress Oxide “faded jeans” I love ink and gesso splatters on my projects. It looks festive and creative and I love that so much!
I hope I’ve given you some fun and cool ideas and that it can also be helpful for you as well to use a sketch sometimes. Love to see you next time on the blog and social with a new scrapbook project! Can’t wait to see your beautiful scrapbook inspiration on the Cocoa Vanilla FB groep! Happy creating and I wish you a fun and crafty day friends!
It’s Tarrah McLean back with you today to share a new layout created for the Throwback Thursday feature this week.
I chose to pull out the STUNNING Daydream collection as I had the perfect photo to document using this gorgeous collection! The photo is of myself with my crafty friends from a recent macrame workshop where we made rainbows. Just love how my rainbow turned out!
I chose a rainbow style background cut file from Paper Issues and cut it out from white cardstock, I then adhered the cut file to a sheet of the peachy coloured paper in the Daydream collection. I really love the effect of the cut file against the background paper. I backed my photo with one of the papers from the A5 paper stack and distressed the edges with my edge distresser tool. I like the texture this gives to the edges. I adhered the photo to the centre of my page and layered some papers and embellishments underneath.
My title is made up of a word from the awesome die-cut titles and an ephemera piece from the ephemera pack. I popped up both pieces with some pop dots and placed the title slightly on the left at the bottom of my photo. I tucked in one of the gorgeous fabric puffy hearts behind the Favourite ephemera piece and also chose some of the gorgeous rainbow die-cutsto adhere here as well. I used different size adhesive so that there were layers to my layout, I like how this creates shadows on my page.
On the right of my photo, I pulled out more rainbow pieces in both accessory stickers and ephemera pieces too and adhered them the same as the other side with different levels of adhesive for a layered effect and to create shadows. Another gorgeous puffy heart was also tucked in and I adhered some gorgeous, small floral ephemera pieces too. When I create my layouts, I will always place and adhere the larger things on my page first like the photo, a cut file and a title. From there my next step is to add the smaller embellishments like die-cuts, frames, chipboard etc and work down to even smaller embellishments again like enamel dots, sequins and small stickers.
I like to audition things before I completely commit to them staying on the layout so I will choose something I want to add and then I try it in a few different places before I am happy with how it looks, I take into consideration the colour, the size and if it balances with other things also on the page, I try to achieve the visual triangle on my pages so that my layouts are pleasing to the viewers eye. The last thing I did on this layout was added a few sequins and sprinkled some gold mist around my page.
Thank you so much for stopping by the Cocoa Vanilla blog today! I love how my layout turned out and I hope you enjoyed reading how I created it!
Hello scrappy friends! Today I have a 8.5×11 inch layout using the beautiful Storyteller collection with a focus on the floral die cut ephemera.
I found this lovely hanging basket cut file by Paige Evans (Silhouette design store) and knew it would be perfect to fill with the floral die cuts. I firstly cut it as a whole using the Cross it off paper (wood grain side). I then cut it whole again in white cardstock. I then cut off the hanging leaves in the wood grain and added the white cardstock ones. I paper backed the basket with a blue paper piece from the A5 paper pad.
I used Spring Fling paper to add a border to my white cardstock (floral side). I next used wet glue to adhere the hanging basket cut file. I decided on a 3×3 inch photo and as a guide placed where I wanted it and started adding floral die cuts over the cut file florals. I arranged them until I was happy and ensuring they also gave the effect of hanging over the basket.
I added some centres to flowers using the Puffy stickers to add dimension. Lastly I added some green leaves in amongst the white leaves for contrast.
I added my photo with foam tape and then set about to embellish using the die cut ephemera, accessory stickers and chipboard embellishments. And lastly I added a butterfly wood epoxy button.
This turned out so pretty and would suite a variety of scrapbooking themes.
Thank you for stopping by today and have a fab week!
It’s Sophie here and I am so exciting to share this new layout with you!
This week’s theme is all about florals! Heaven!!! It clearly is my all-time favorite embellishment!
I used the beautiful These Days collection for my page.
I decided to do three cascades of flowers around my black and white photo.
I fixed three white embroidery threads of different lengths with a brad on a thick white cardstock. I punched tiny holes on each flower that I planned to use. They come from the Floral Ephemera pack and some are also fussy cut out of the “Home Grown” patterned paper.
I strung the flowers on the threads in descending order to create the cascades and fixed each of them with adhesive to make sure that they stay in place.
I added many tiny flowers and leaves scattered around the cascades as well.
I used a simple title cut out of “The Good Life” paper.
I placed a strip of the “Pretty Posies” paper and a scalloped strip of white cardstock at the base of the layout to ground everything, and handwrote my journaling.
Here are more close-ups:
This was fun to make!! And although it might look sophisticated, it was a very simple way to highlight the beauty of these pretty florals!