Good Vibes | Happy Days Collection | Michelle Stokes
Hello Crafty friends, it’s Michelle back here today. I’ve got a colourful new layout to share with you all that features our AMAZING new collection – Happy Days. Abso-freakin-lutely LOVING the rainbow assortment of pattern papers within this collection, so much so that I created a magical colour block creation. There’s plenty of embellishments to create this kind of layout, and I hope you all try it too! Lets take a look …
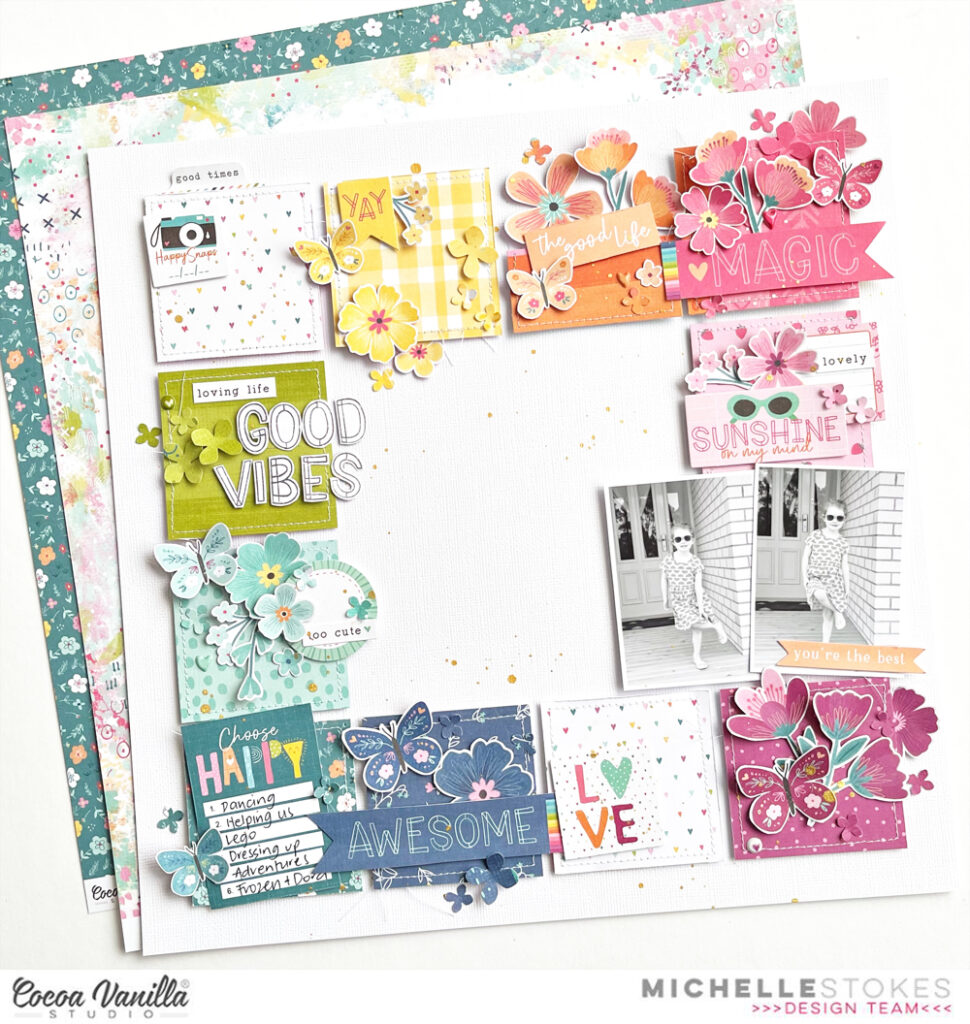
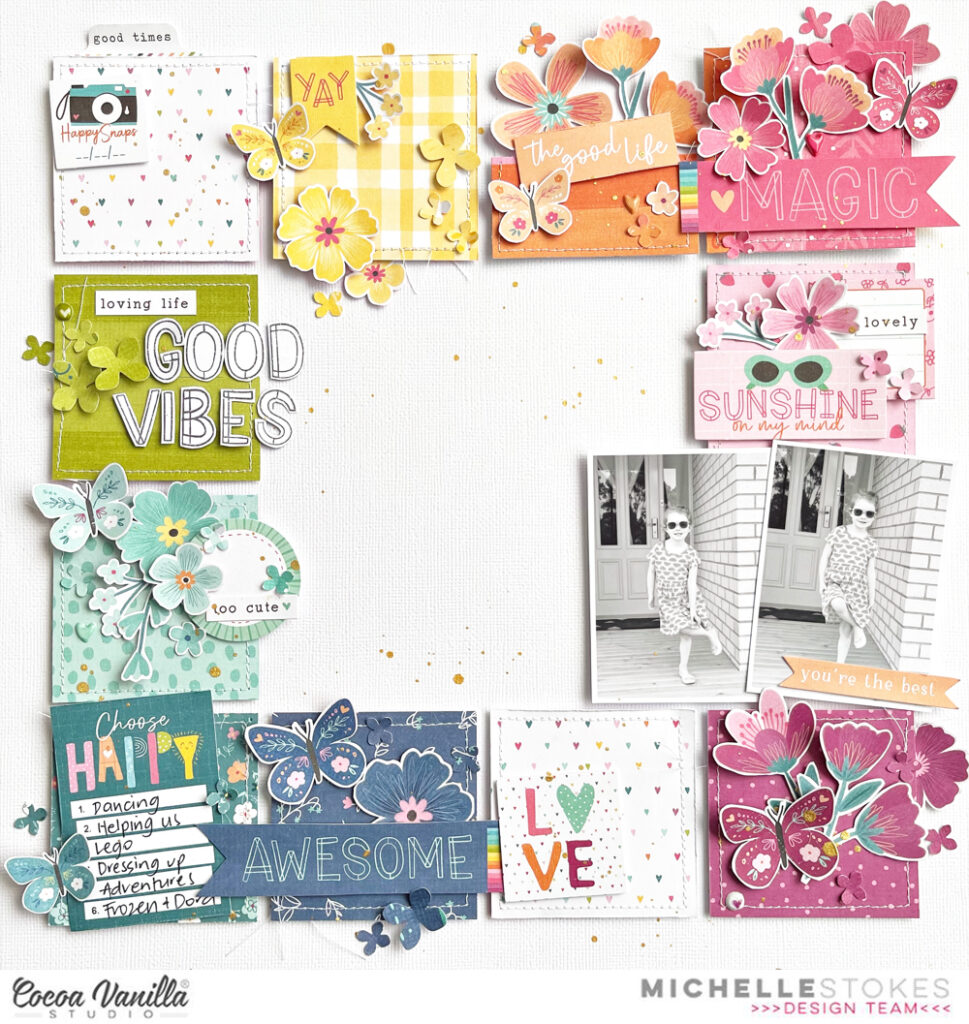
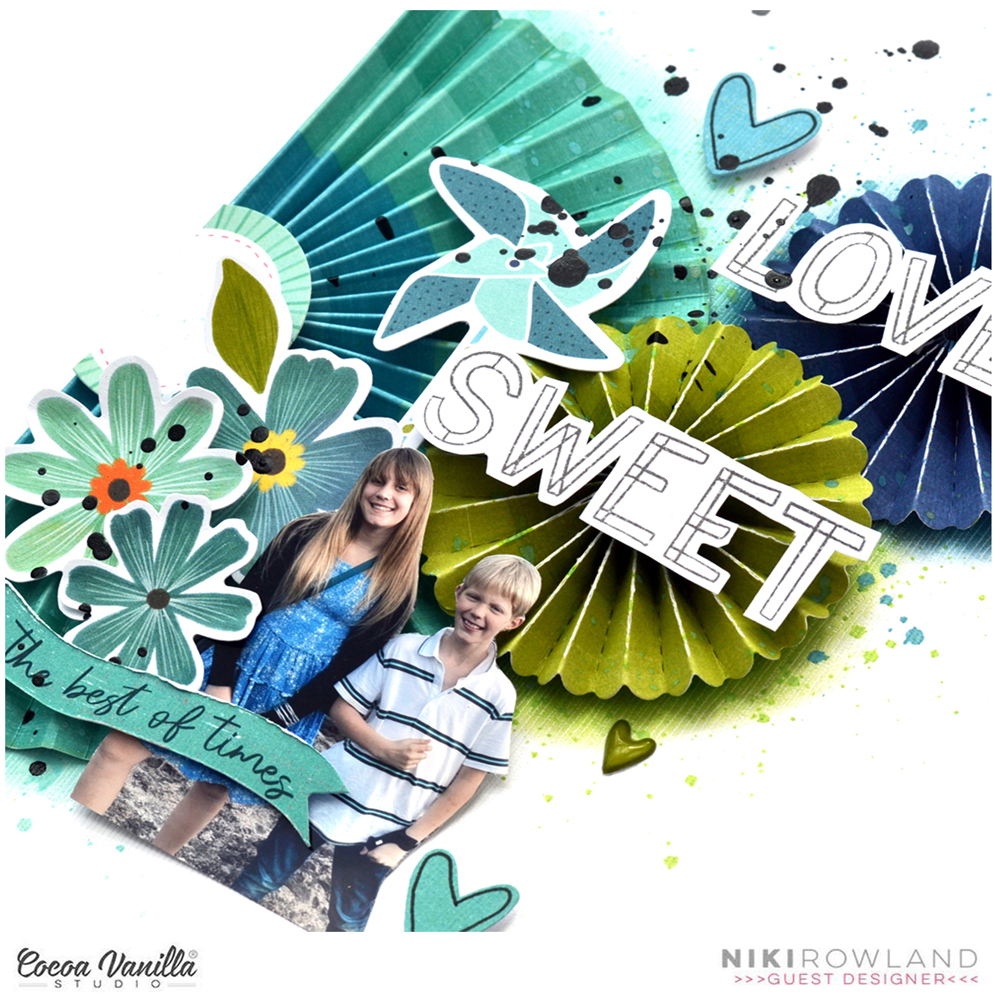
I started with pretty pattern paper squares from the A5 paper stack, each with added machine stitching around the edges. I adhered each piece using some foam for slight dimension and placed them in rainbow order around the outer edges of the cardstock background.
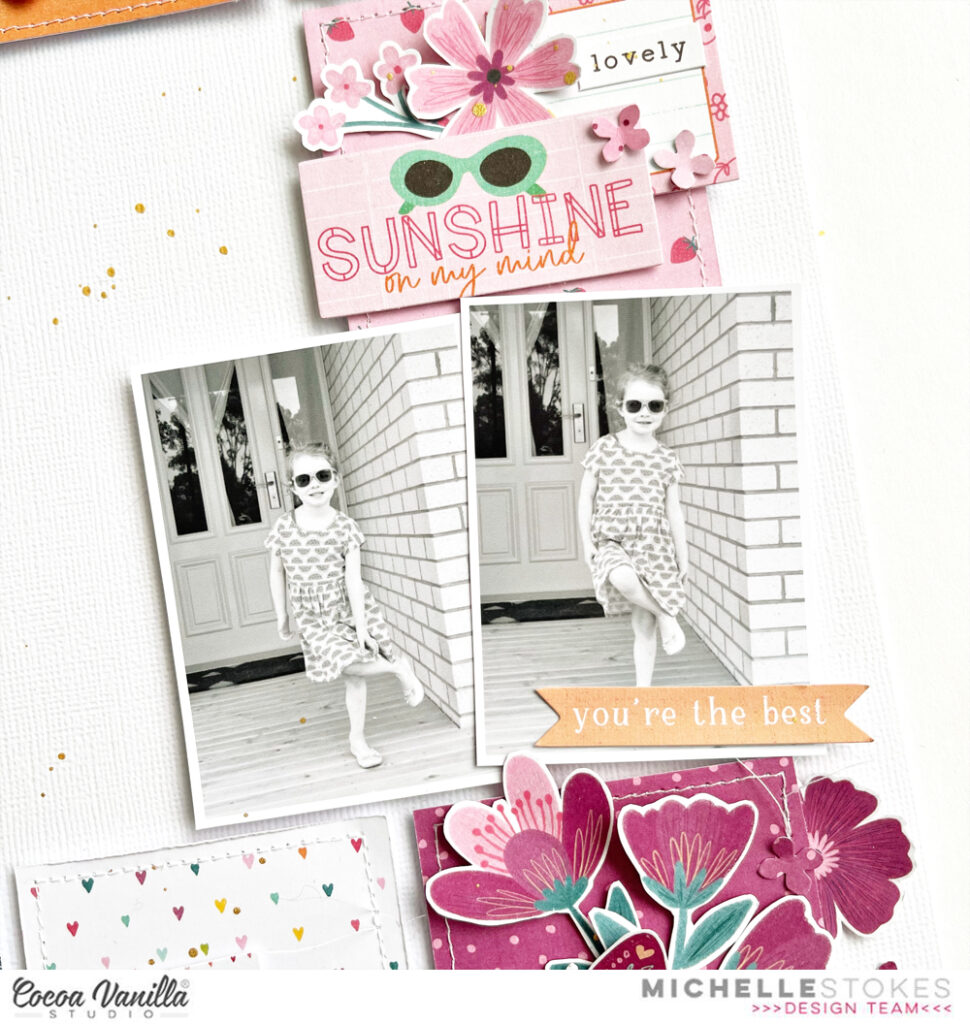
I used a couple of sweet ‘cool kid’ photos of Leila from a few years back, printed in black and white to ensure no colour clashing. Looking back on these photos I realised they’re from when we first moved into our house, before Leila started school. Hard to believe that this is her final year of Primary School and this ‘cool kid’ will be a teenager in 6 months time. Yikes!

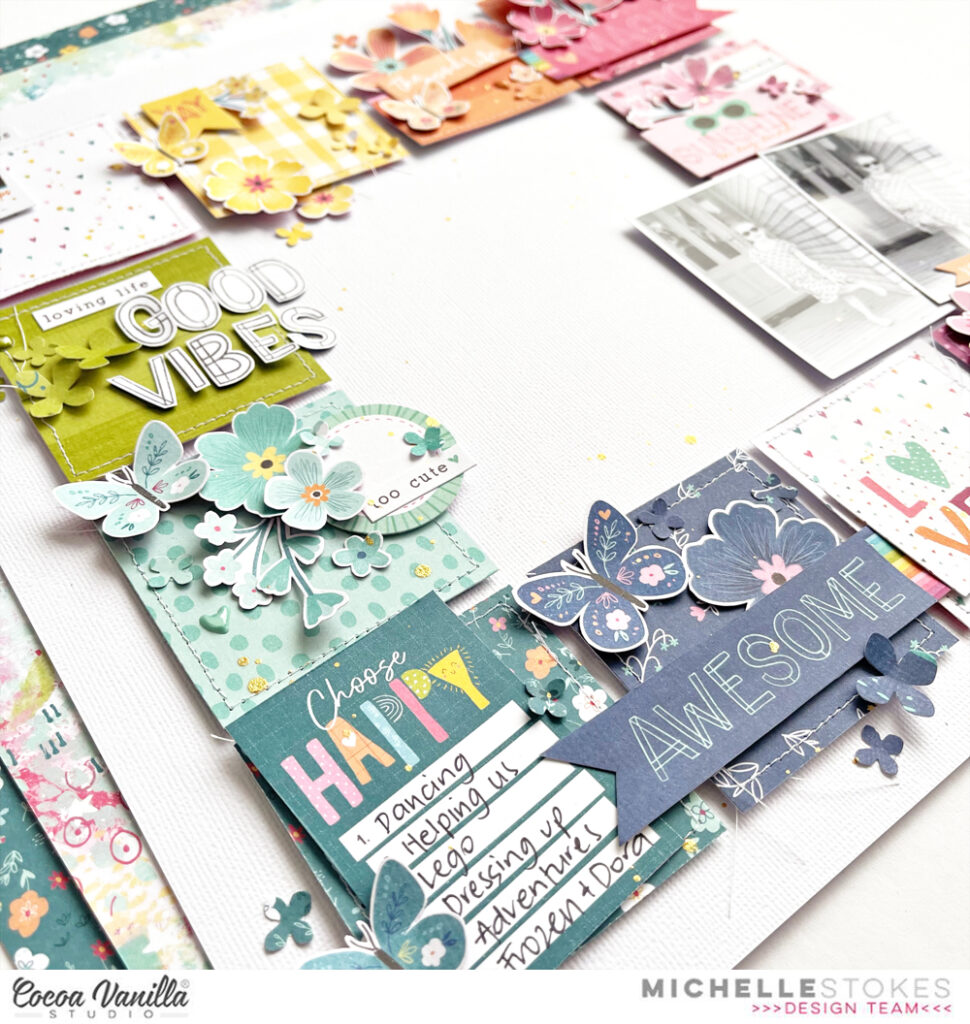
Back to the crafty process.. Each colour block has embellishments to match. There’s florals fussy cut from the Lush Blooms paper, butterflies from the Flutterby paper, cut apart pieces from the Feel Good paper, punched shapes from other matching pattern papers from the collection, stickers from the Accessory Sticker Sheet and tiny Puffy stickers
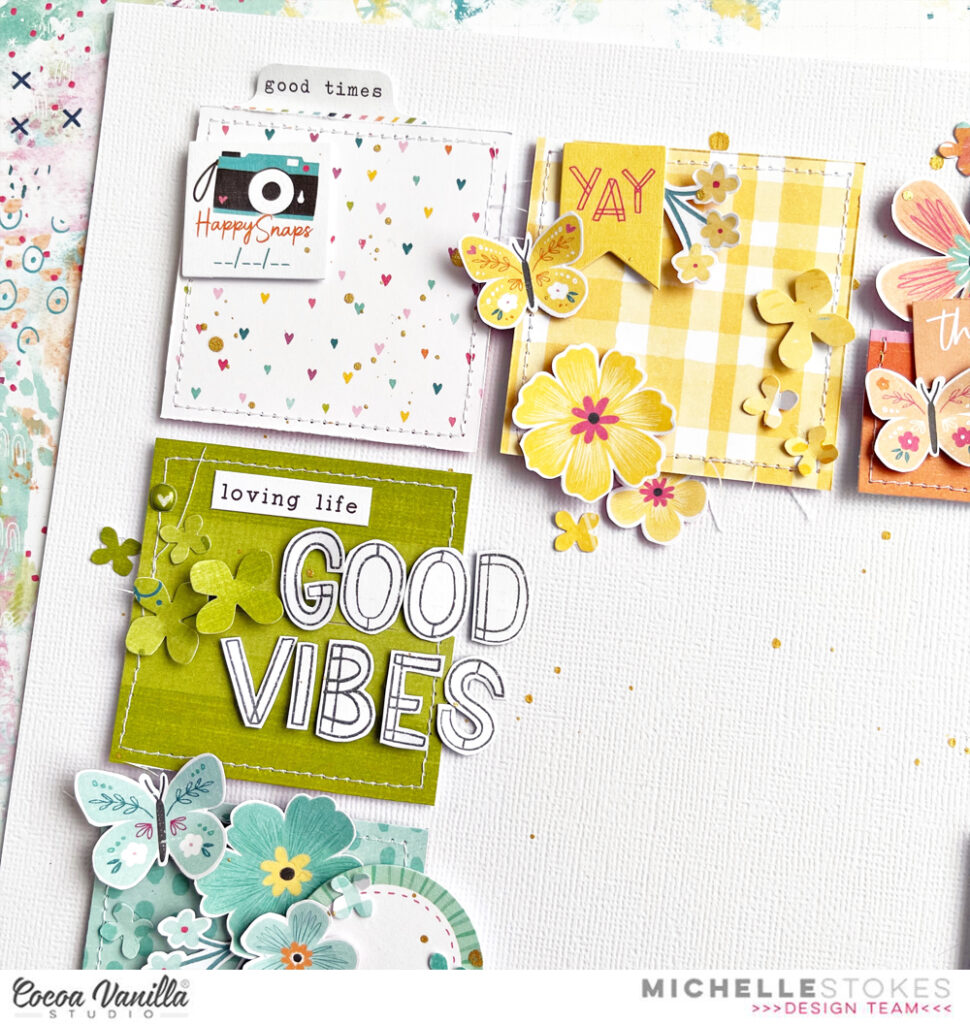
I fussy cut the words GOOD VIBES from the Definitive paper for the title, as there’s always good vibes when this cute kid is involved.
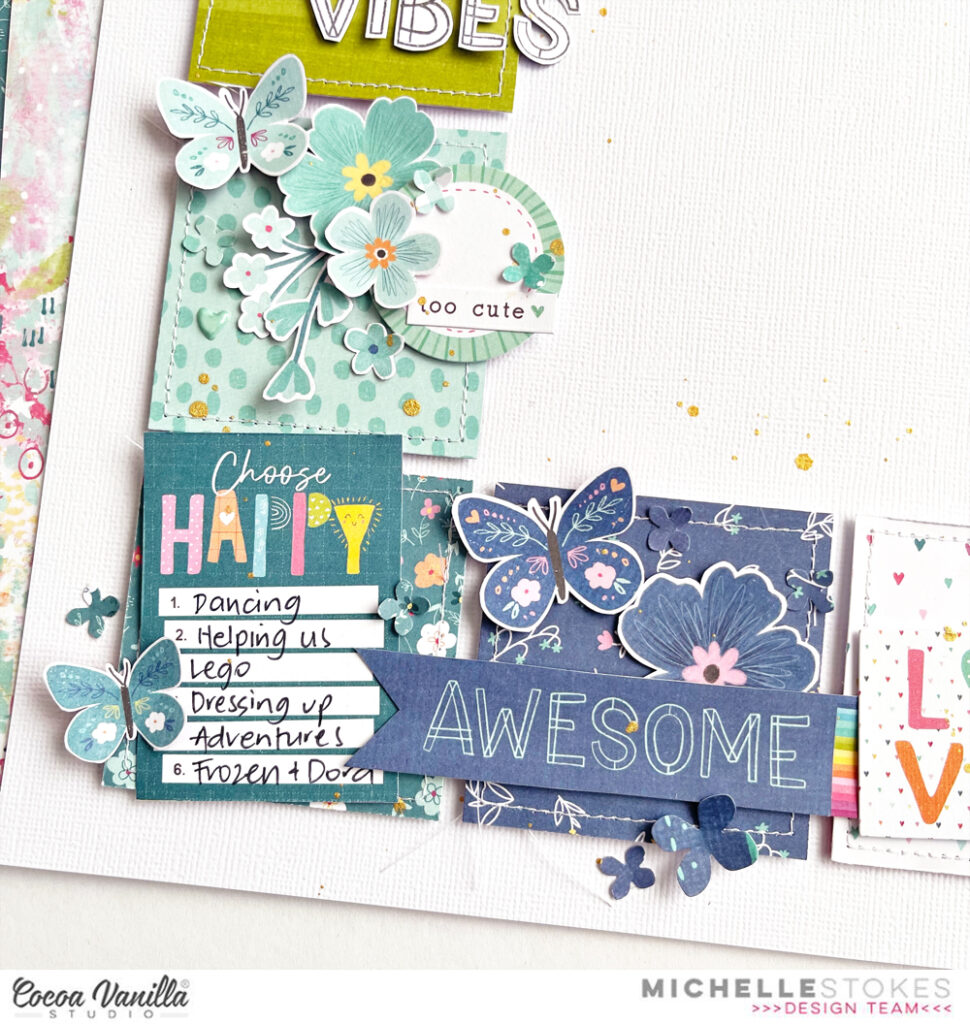
I added a journal card from the A5 paper version of the Feel Good paper to list a few of the things that made Leila happy at that stage of her life. It stretched the memory to think of them all, thank heavens for the ridiculous amount of photos I took back then to help jog the memory.

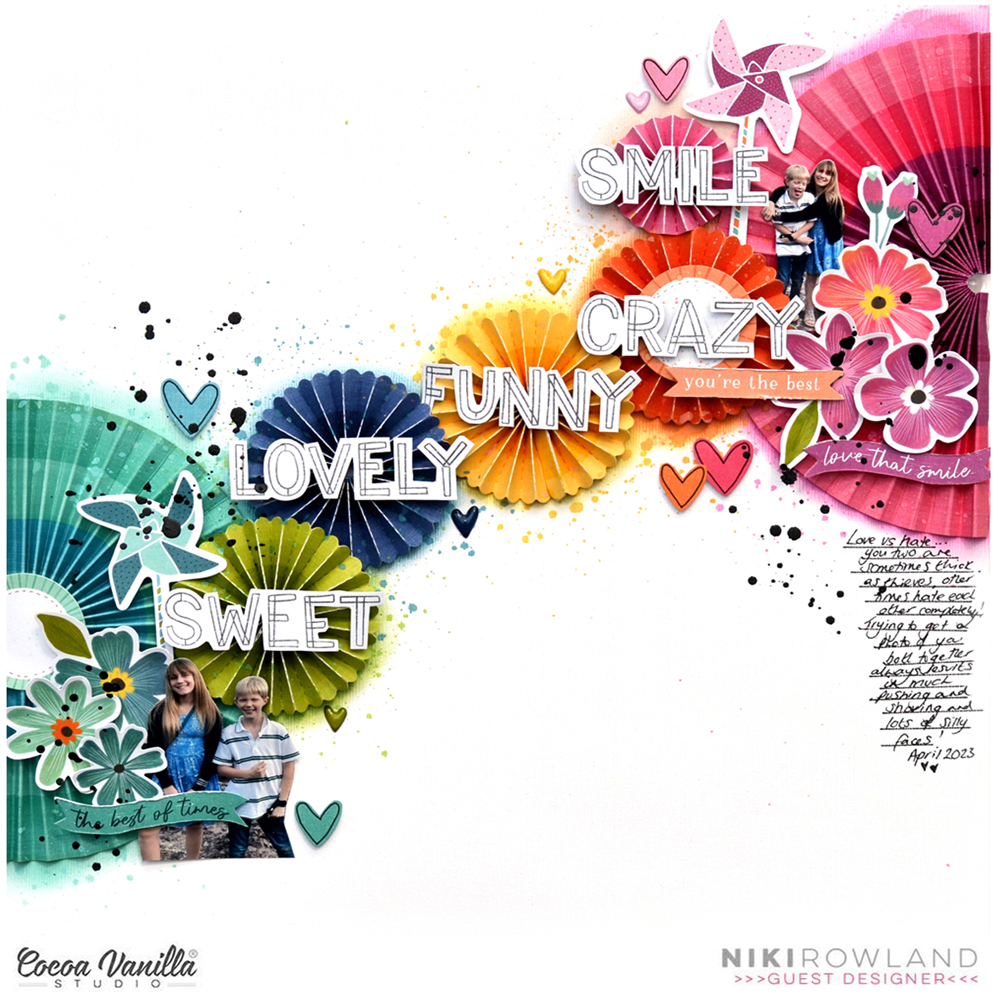
I gave the entire layout a good splattering of gold ink to finish it all off and am really happy with the end result.
Here’s a closer look at the dimension of all those bits n bobs around the page, don’t know what I’d do without my beloved sticky dots and foam tape when creating. They definitely help give embellishments a pop off the page
Here’s a final look at the final colourful creation..
Well thats all from me today, thanks so much for stopping by. I hope you’ve enjoyed seeing this magical rainbow creation, just as much as I loved making it. If you make your own version, please share with us in the CVS Facebook Community Group, I’d love to see!
Until next time, Happy Scrapping!
Michelle x


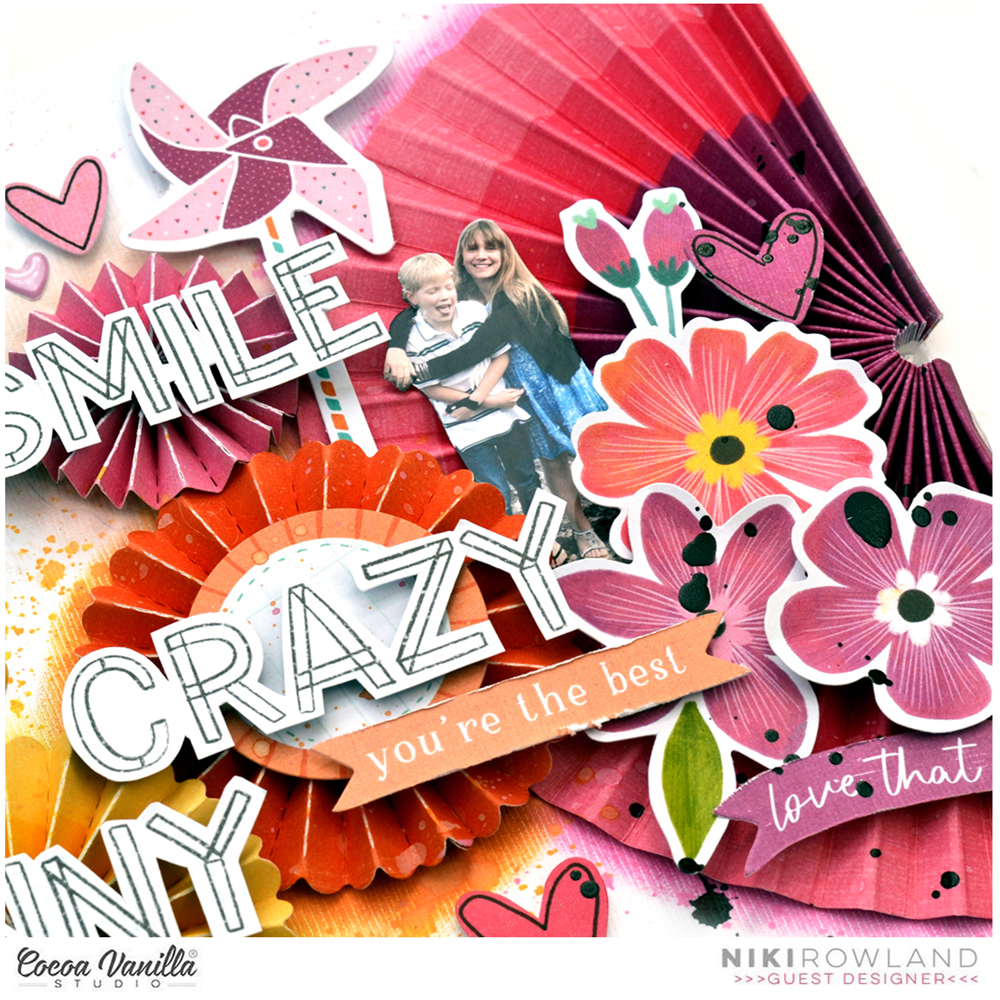


 The Rainbow Bright paper made such a gorgeous background for this photo and really brought the layout to life! Once I had decided on this paper, I then matted my photo with one of the papers from the A5 Paper Stack. I adhered it to the page using craft foam in order to give it some nice dimension and to help it stand out against all of the bright colours in the background.
 For my embellishing I decided to keep it mostly tone-on-tone. So on the pink section of the rainbow I added pink embellishments, on the yellow I added yellow embellishments, and so on. I started with a fun little cluster on the bottom right hand corner of the photo. As this was on the blue and purple section, those were the colours that I chose for this cluster. I included some florals from the Floral Ephemera pack, as well as some that I fussy cut out of the Lush Blooms paper. I also added a couple of Die Cuts to the cluster.
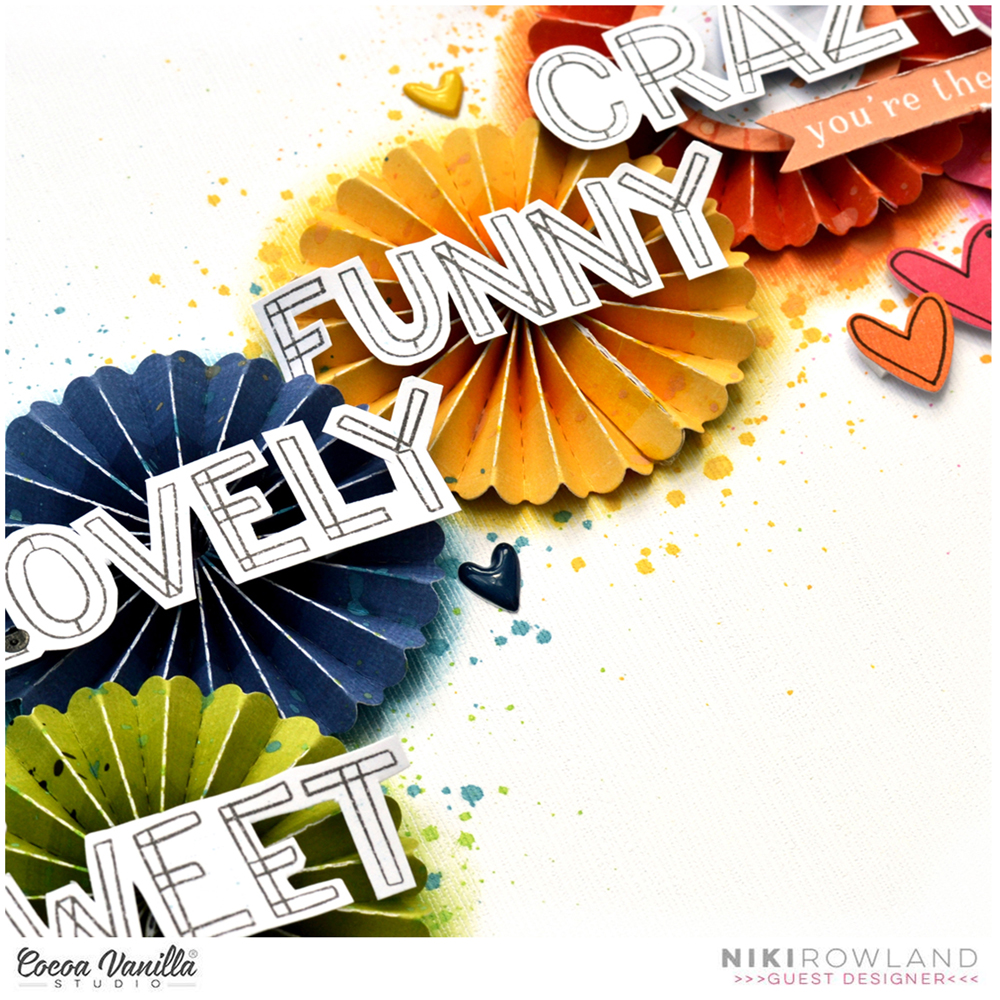
 Moving over to the left hand side of photo, I added another embellishment cluster using similar items that I used in the first. I tucked some of the flowers under the edge of the photo and some on top to give the cluster some dimension. How gorgeous are the Puffy Hearts?! I couldn’t resist adding one to each of my floral clusters!


 To set the foundation for my scrapbook layout, I decided to create a mixed media background using distress oxide ink. The color I use for this layout was “faded jeans.” With its subtle blue tones, it perfectly complemented the overall theme of my layout. The distressed effect added depth and texture to the background, setting the stage for the focal points of my design.

