Thankful | Heart and Home | Josefine Van der Hoeven
Hello Paperlovers,
Welcome to a world of creativity and memories as we explore the wonderful “Heart and Home” collection designed by Cocoa Vanilla Studio. In this scrapbook blog, we’ll take a look of my layout that’s all about gratitude. We’ll talk about how we added a touch of playfulness to our frames using floss and sequins, created a beautiful flower and branch cluster as the center of attention and I used a golden ephemera word for our title, and scattered some charming butterflies around the flower cluster.

Cocoa Vanilla’s “Heart and Home” is a gorgeous collection. It comes in beautiful colors and designs that make you feel warm and cozy, just like home. Whether you’re scrapbooking family moments or everyday joys, this collection is perfect for capturing those precious memories.
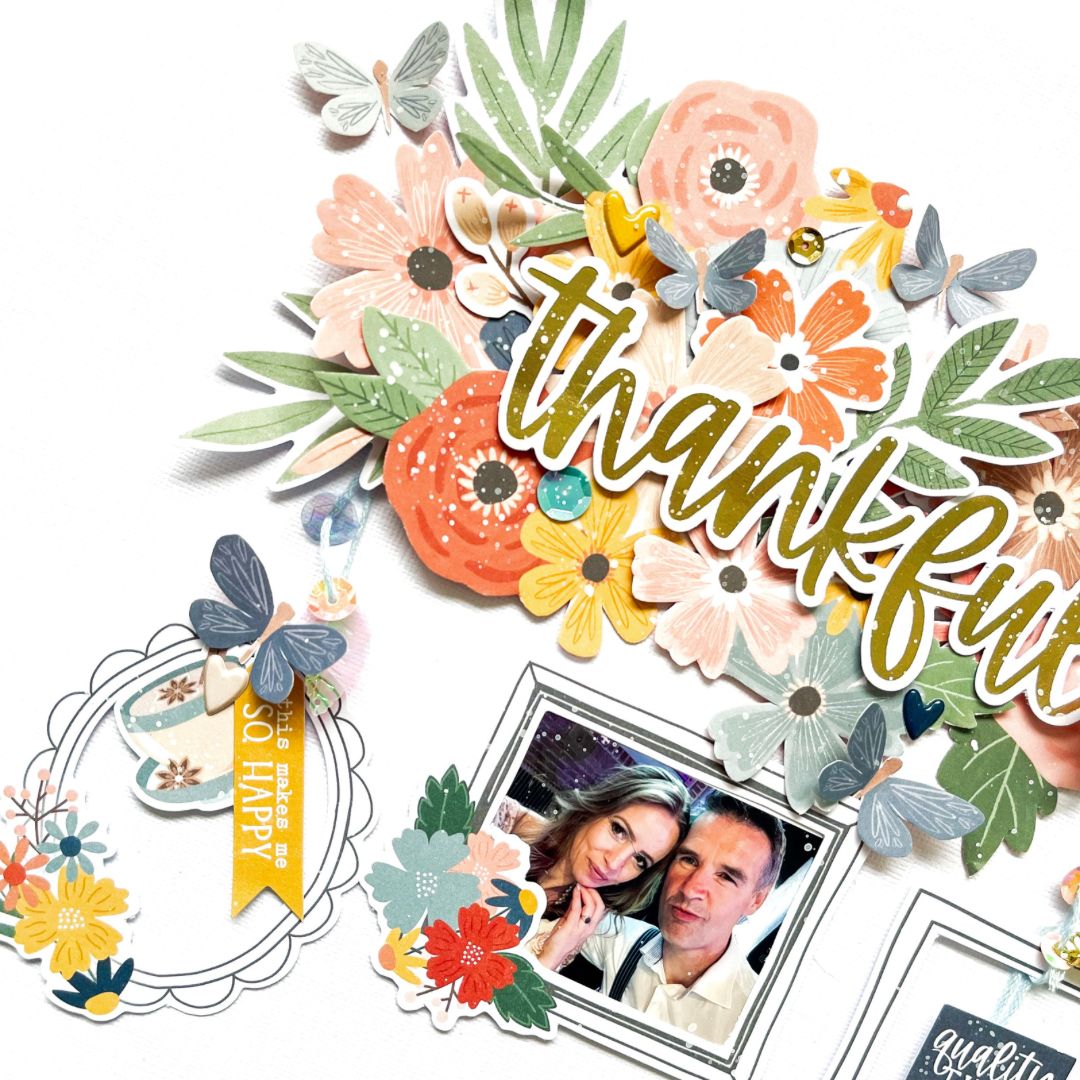
My layout has a unique twist when it comes to frames. Instead of regular frames, we decided to get playful by adding floss and sequins to them. It’s a bit unconventional, but it makes our photos stand out and gives them a bit of extra sparkle. These playful touches make my memories even more special.
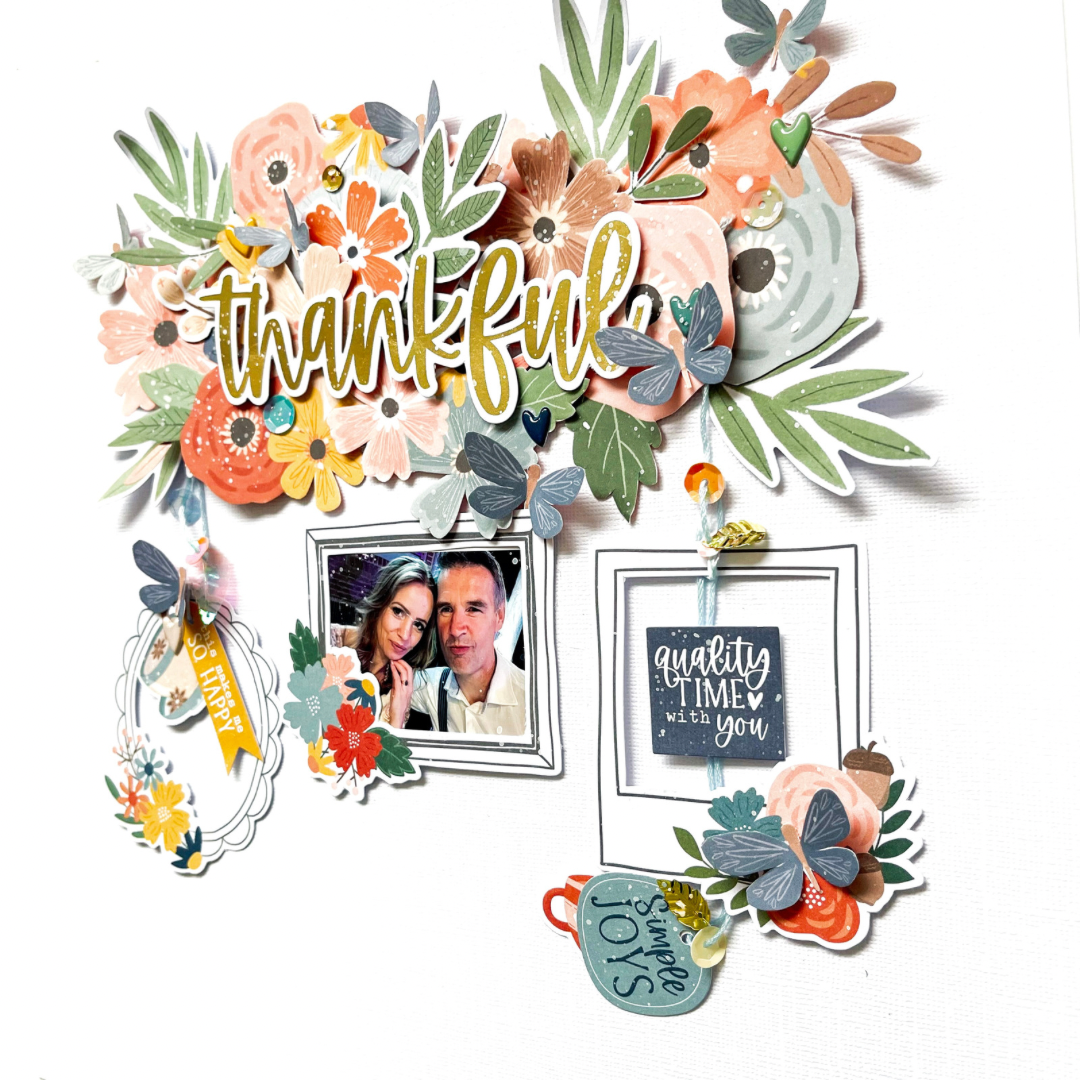
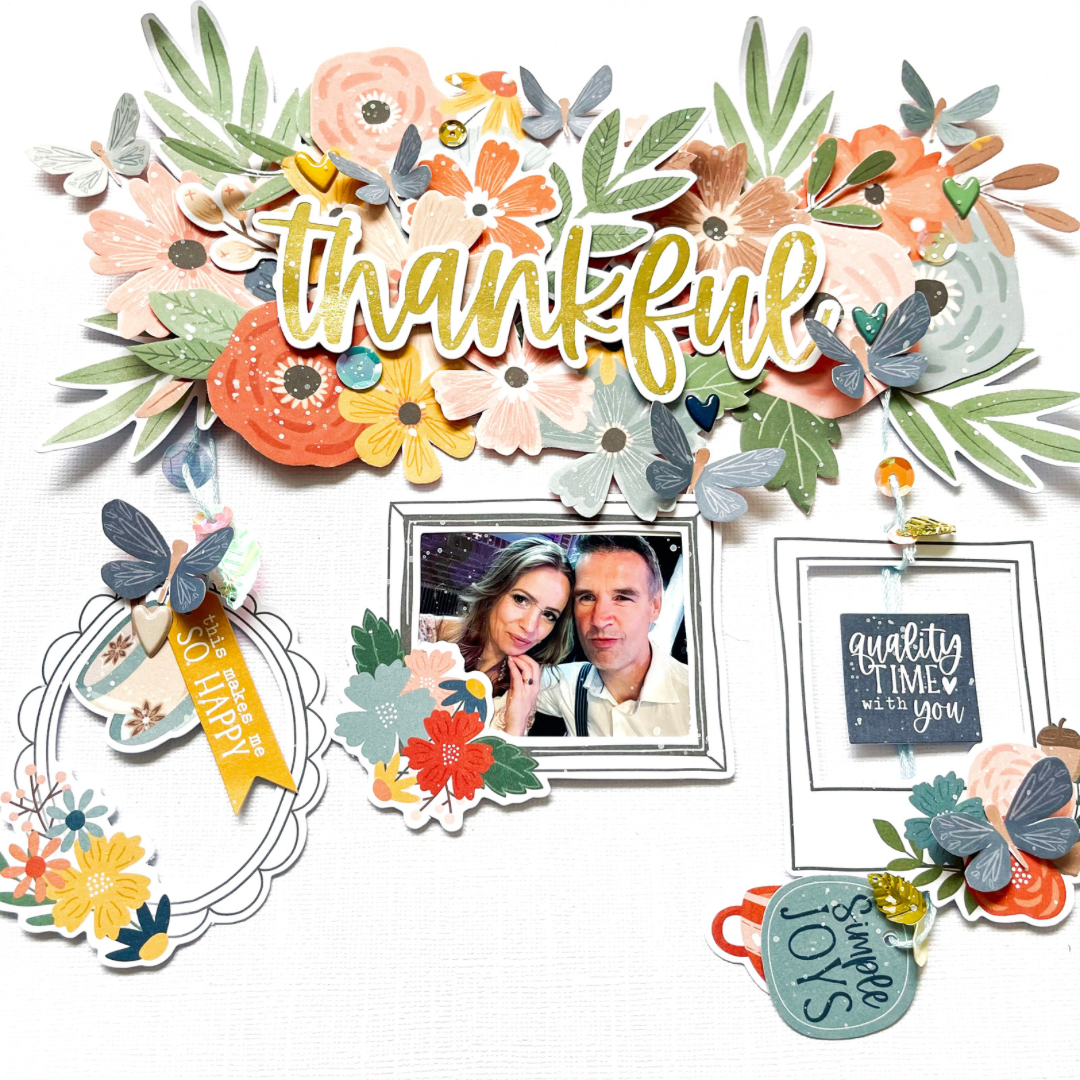
I absolutely love the big cluster of flowers and branches. It’s like a little garden right on this page! This eye-catching arrangement is the center of attention, and it represents the beauty and growth that comes from being thankful. We used different sizes, colors, and textures of flowers to make it look really interesting and three-dimensional.
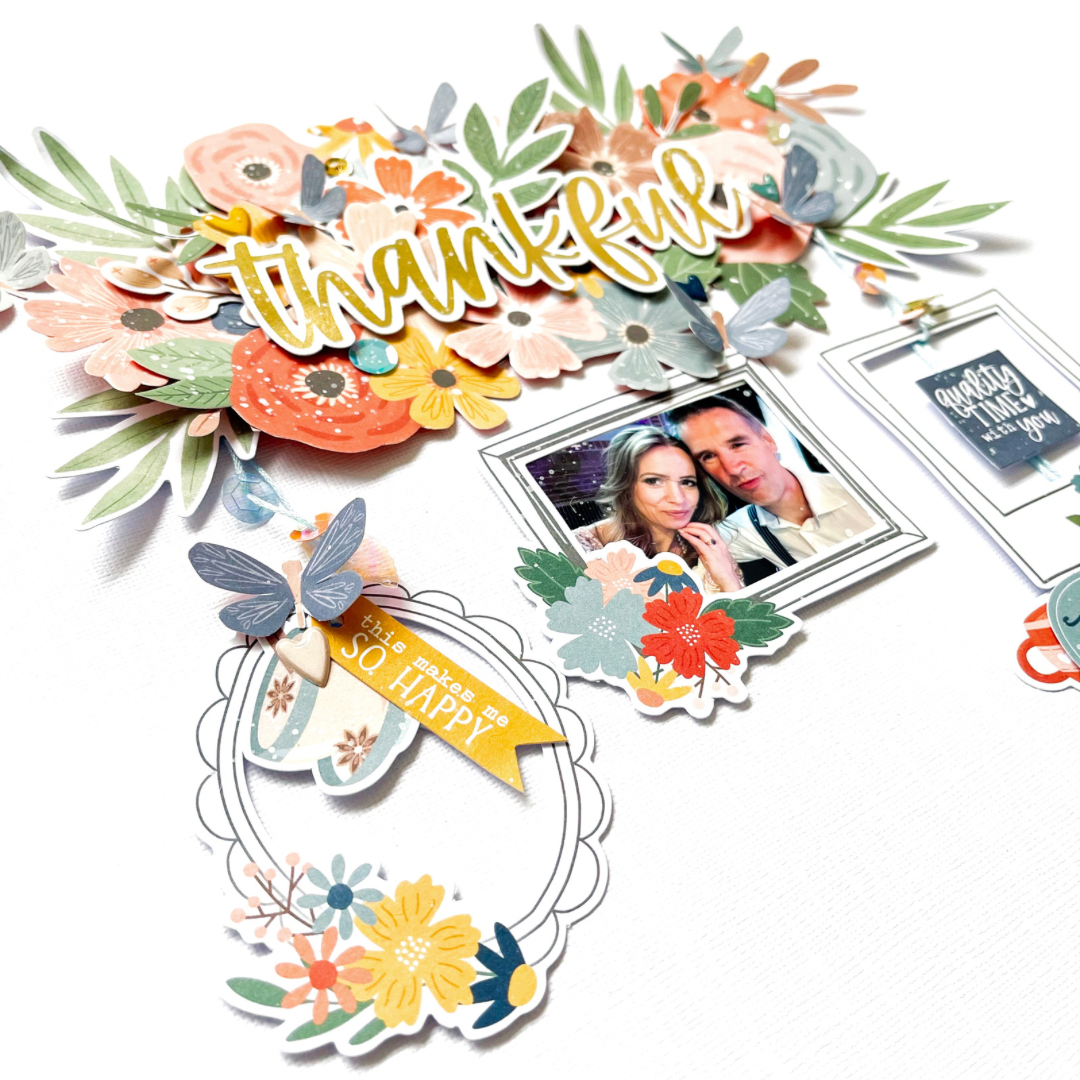
To add a bit of fun and whimsy, I cut out some butterflies from the patterned paper and scattered them around our flower cluster. Butterflies are a symbol of transformation and freedom, and they remind us of the joy that comes from gratitude. They’re like little sparks of happiness on our page!
Scrapbooking is all about capturing moments and telling stories, and my layout does just that with the help of Cocoa Vanilla’s “Heart and Home” collection. I’ve shown you how I added playful frames, a beautiful flower cluster, a shiny golden title, and some whimsical butterflies to make my memories even more special.
I hope this layout inspires you to get creative and have fun with your scrapbooking projects. Remember, each page is a piece of your heart and a story worth telling.
XoXo, Jo
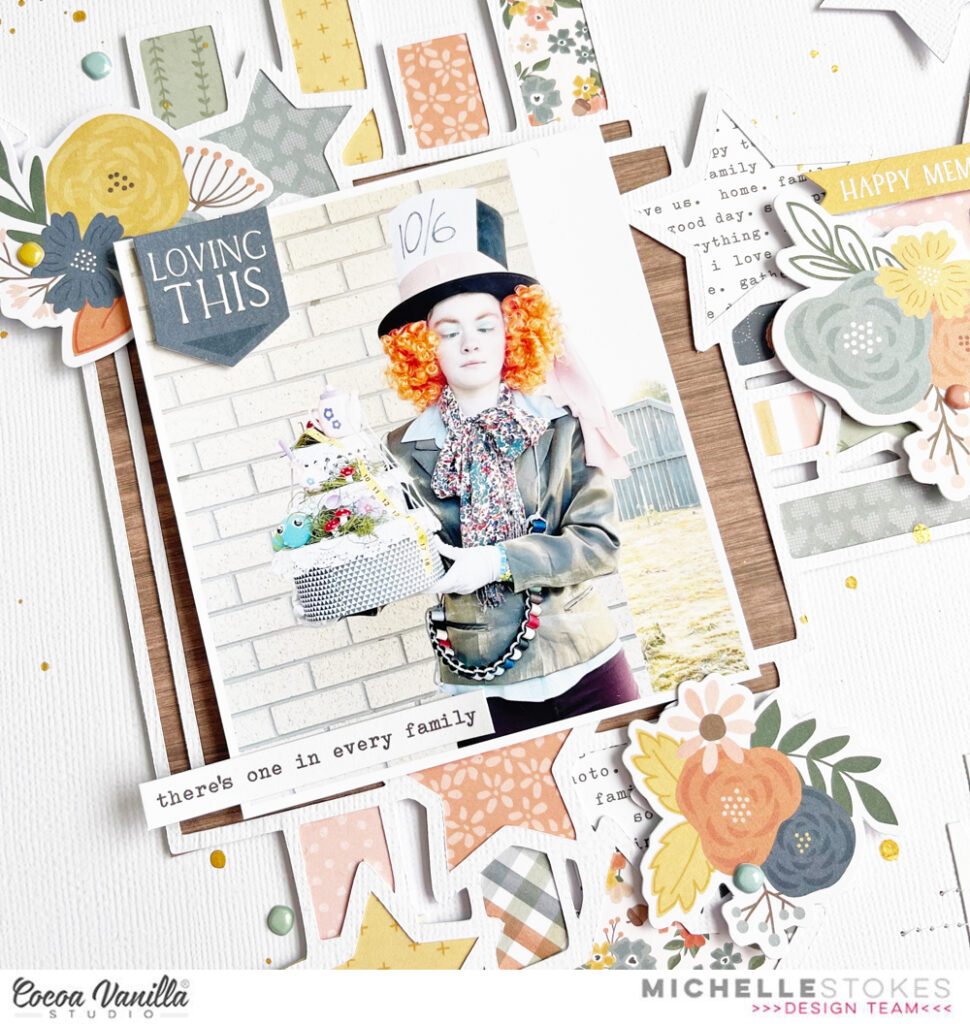
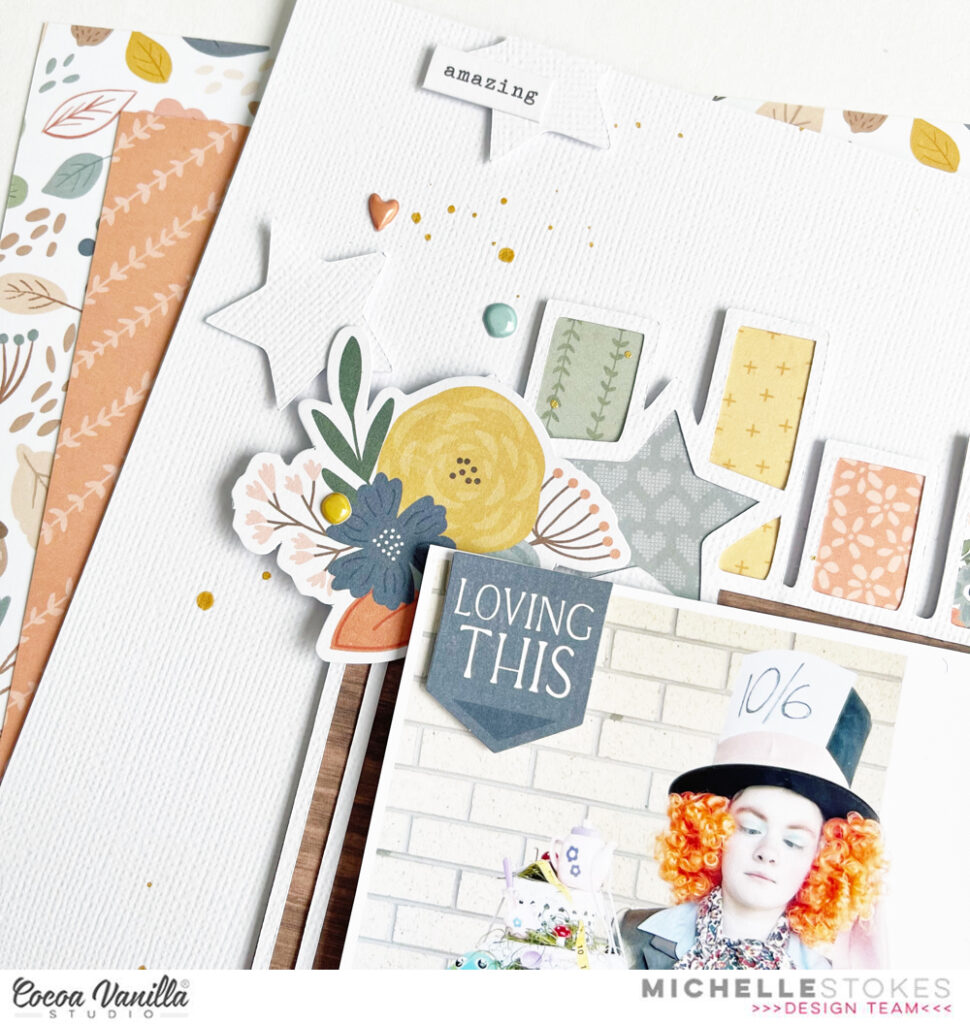
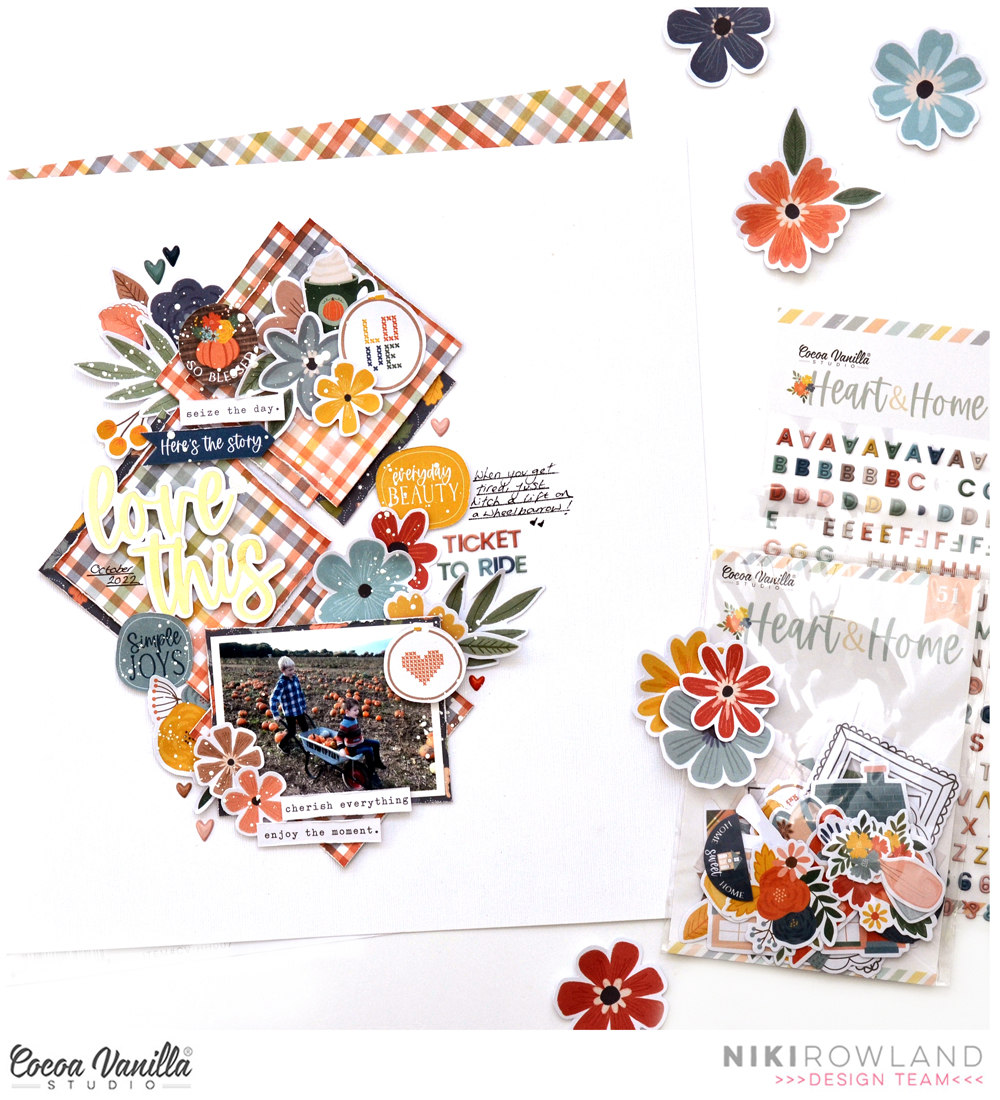


 To balance out the heaviness of the right side of the layout, I created a cluster of embellishments that mostly included some more of the gorgeous florals. I adhered some flat and adhered some with craft foam to create different heights and dimension. I did add a die-cut that said ‘Everyday Beauty’ here also. Some more phrases were added too including the Happiness Is Homemade banner that I added under the title and the Moment Captured banner die-cut that I adhered on top of the photo. I also added the Joyful Days sticker from the Accessory sticker sheet just above the title. Lastly I added some of the puffy hearts around the page, stamped the date stamp and sprinkled some white mist around.


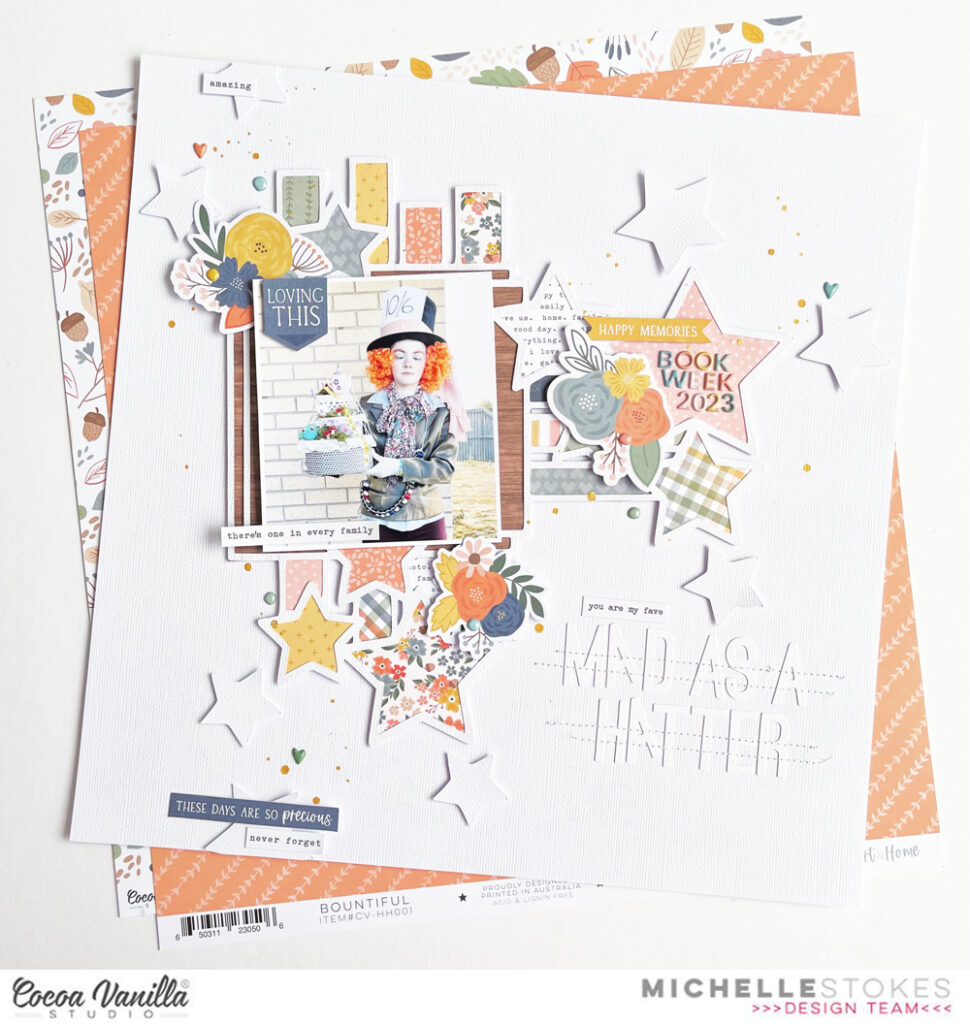
 I started my layout with the striped Harvest paper as my background. On top of that I layered a piece of the woodgrain Framed paper which gave a neutral area for me to add my photos and title. Down the left hand side of the page I created a border by layering the Fall Beauty and the Leaf Litter papers and finishing it off with a punched honeycomb border.
 To give some extra interest to the photos, and to help them stand out from the background, I added some patterned paper layers behind them. I also adhered the photos at a slight angle which gives the layout a more whimsical feel rather than being too structured.
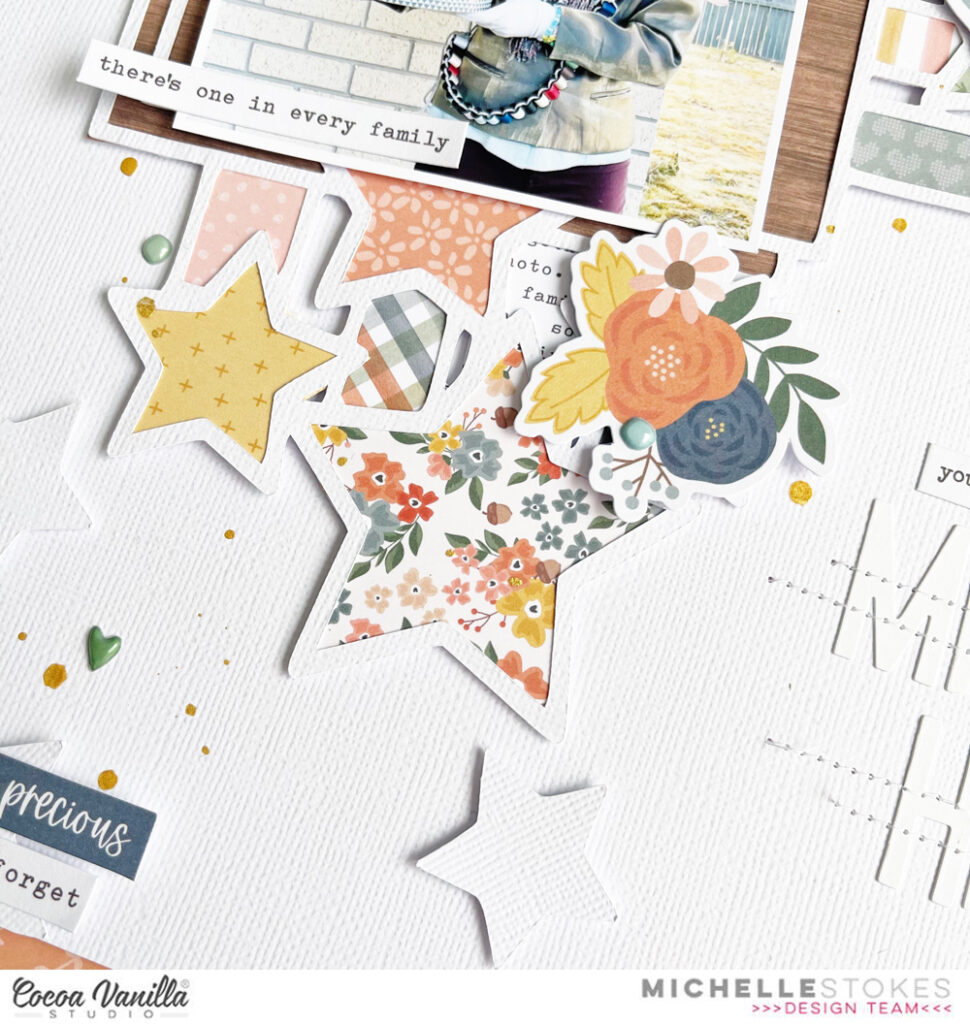
 Next I added another floral cluster in the bottom right hand corner of the page. This balances out the first cluster and gives the layout a diagonal flow, drawing the viewer’s eye down through the photos. In this cluster I again used more fussy cut florals, as well as a journaling piece from the die cut ephemera pack.
 For my title, I took inspiration from the ‘Family’ die cut pieces in the ephemera pack. I love that each letter is a different colour, and decided to create a similar style title using some metal alphabet dies from my stash. I cut each letter out of a patterned papers from the A5 Paper Stack and combined it with Mini Puffy Alpha Stickers. The title ‘Love this Kid’ seemed like the perfect sentiment for these photos!


