What the Fun | Sunkissed and Boys Rule collections | INSD challenge | Sue Plumb
Hi everyone, it’s Sue Plumb here to share my latest design team project with you. I hope everyone had a chance to celebrate InterNational Scrapbook Day (INSD) last weekend with a bit of creative time? Maybe even one of our special INSD challenges? If you haven’t had a chance to play along yet you still have a couple of days to get your entries in.
In fact, it was one of the challenges that inspired my layout for today, as I played along with Michelle’s “Grab 5” challenge. Here are the challenge criteria:

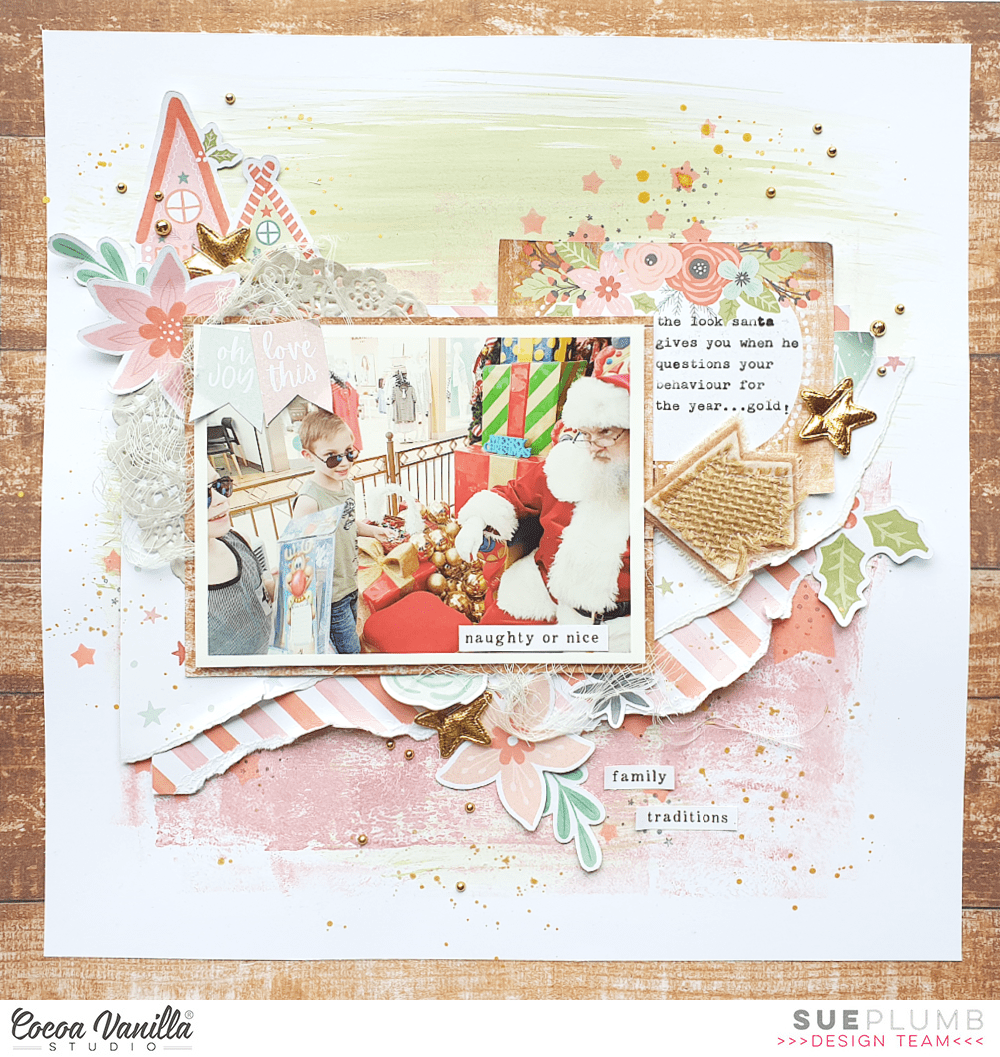
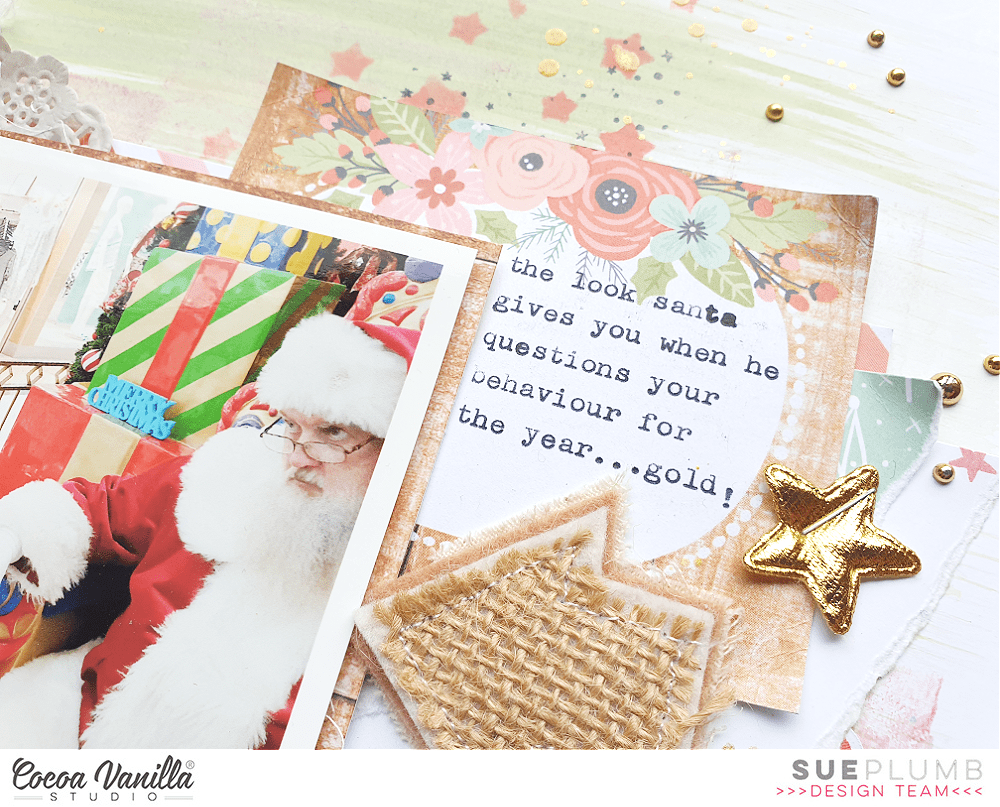
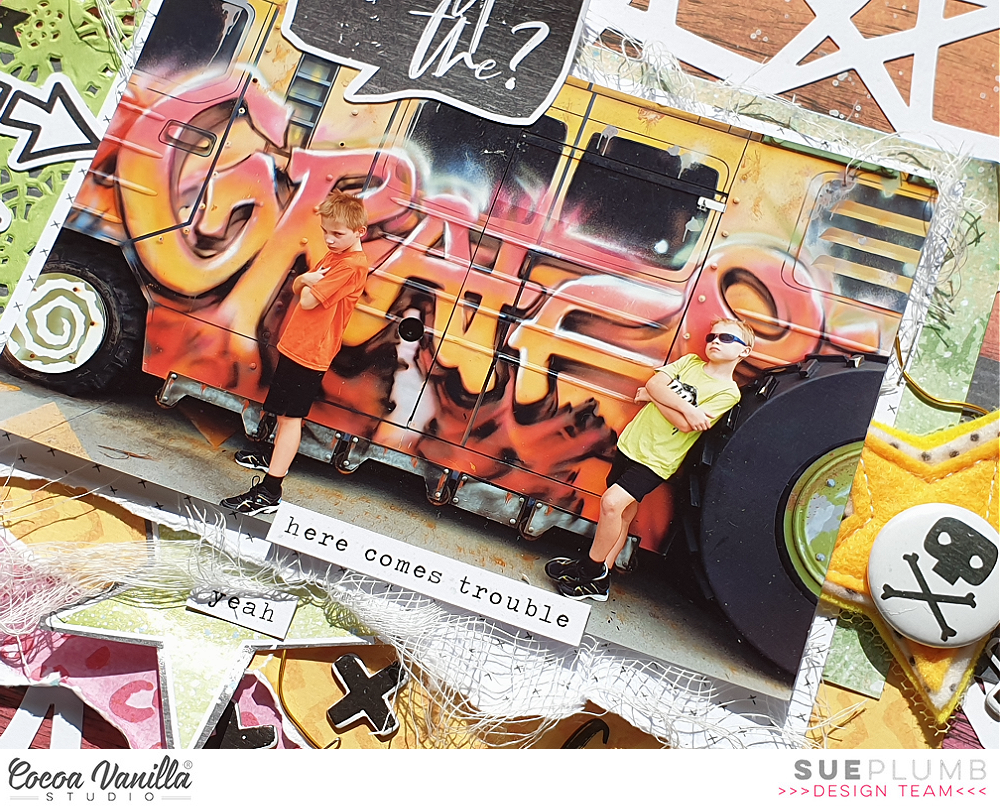
For my page I decided to document a fun photo of my boys that I took recently at SeaWorld. I used a combination of the ‘Sunkissed’ and ‘Boys Rule’ collections, and went bright, bold and a bit messy!

I started with a sheet of the Summer Lights paper from the ‘Sunkissed’ collection, which features a stunning colour gradient that runs from yellow at the to, through orange and pink, and finally to red at the bottom. It was absolutely perfect to match with my photo. (In fact, when I took this photo I thought of this paper right away – that’s when you know you are a true scrapper! haha)

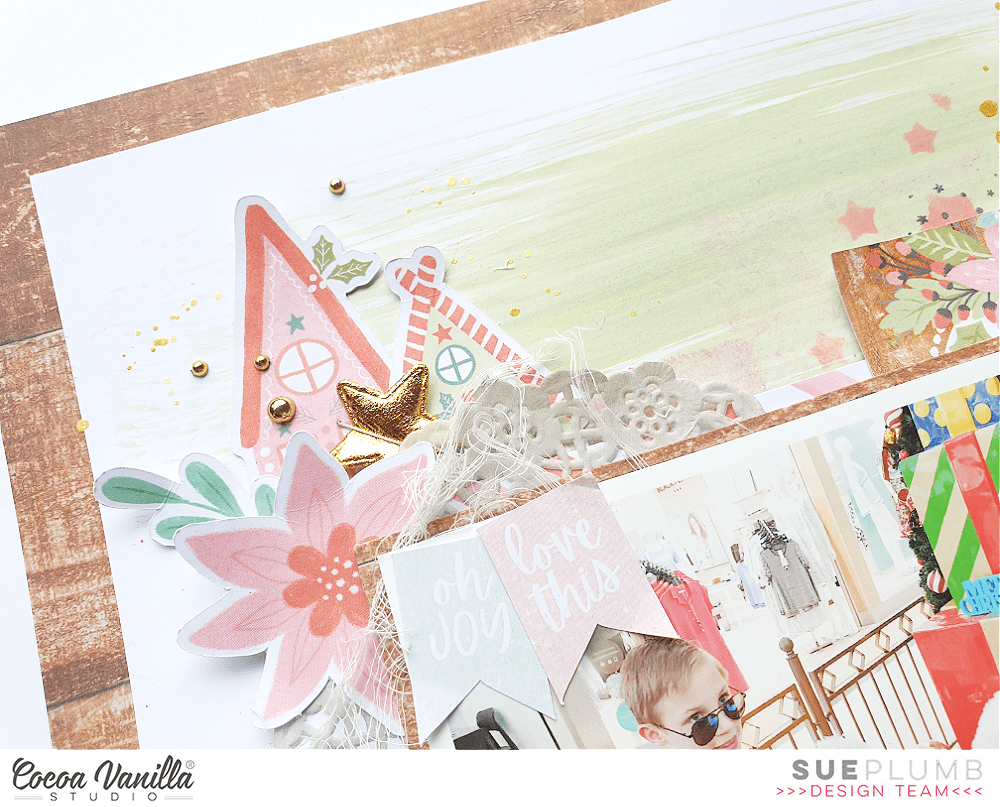
I began by dry brushing on some black acrylic paint using a wide brush. This not only provided some great contrast, but also defined the focal area of my page. Over the top of the paint I added the white die cut star background. This left-over piece was actually part of the ‘Boys Rule’ Large Die Cut and Backing Kit. I like the way it added interest to the background right away.
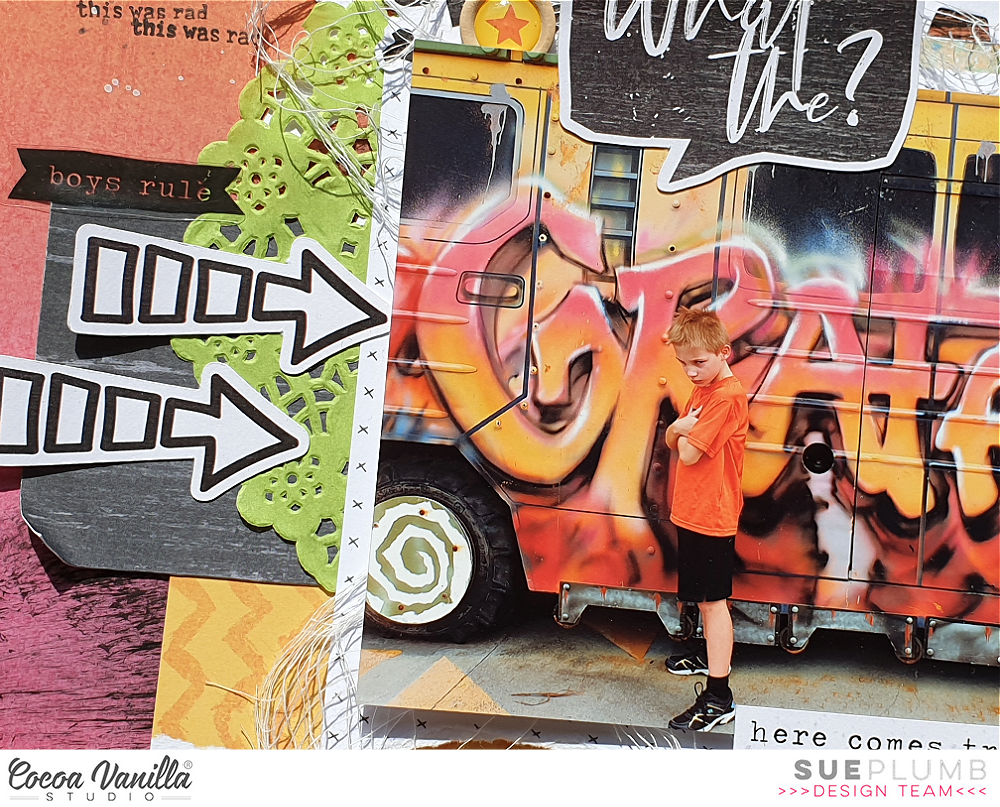
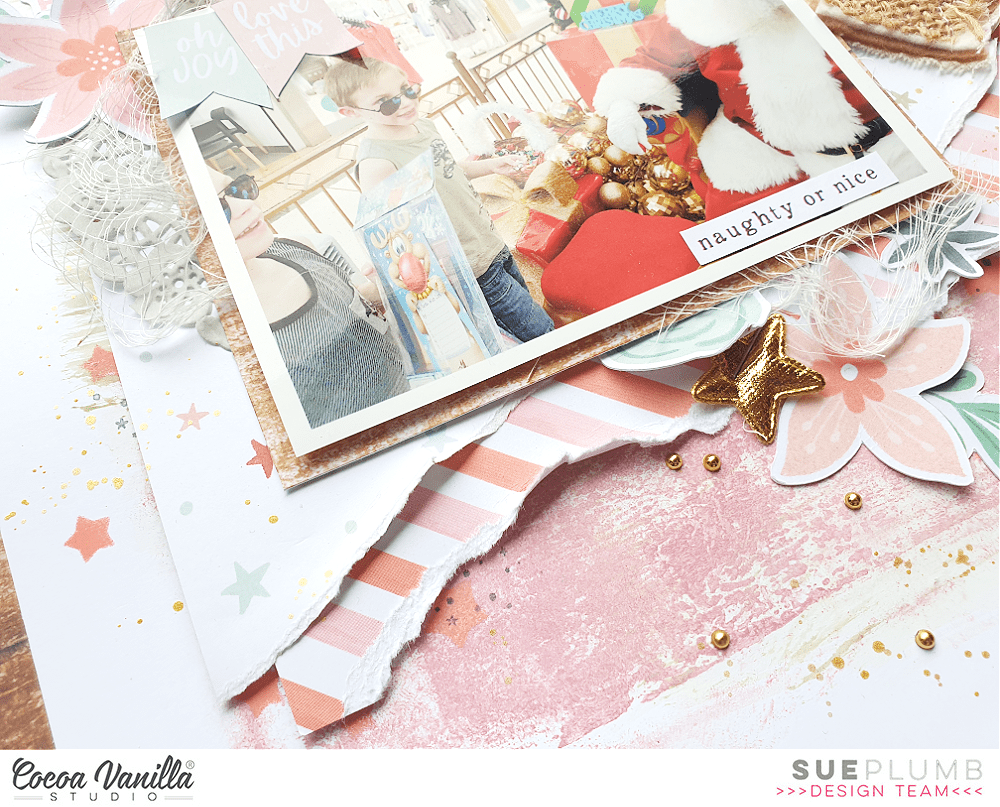
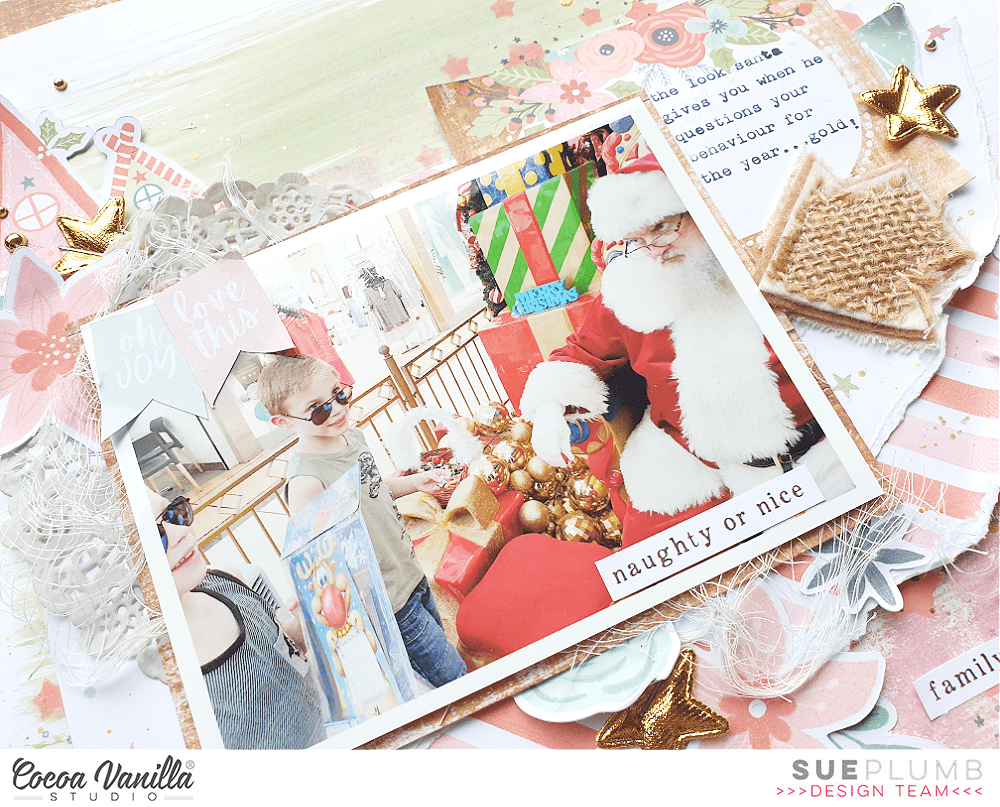
Next, I added more patterned papers with a variety of different sized pieces from both collections that I cut and tore then layered together. I also added a green paper doily and some frayed gauze from my stash and used staples to secure my stack down on the page. I then added my photo on top.
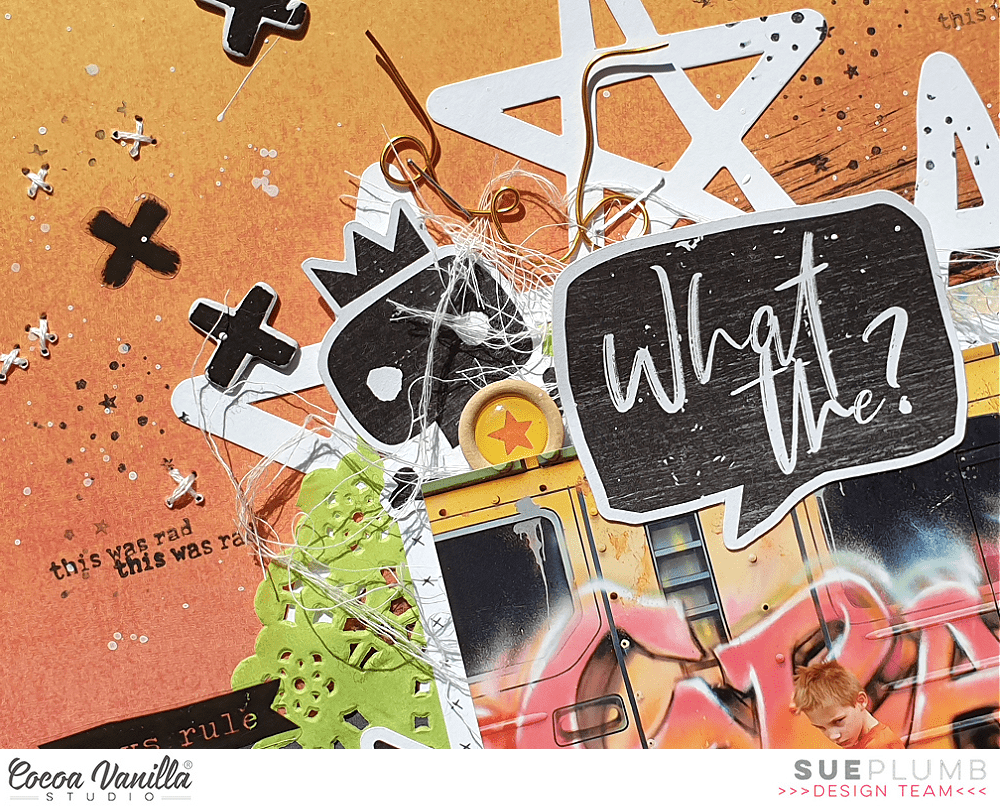
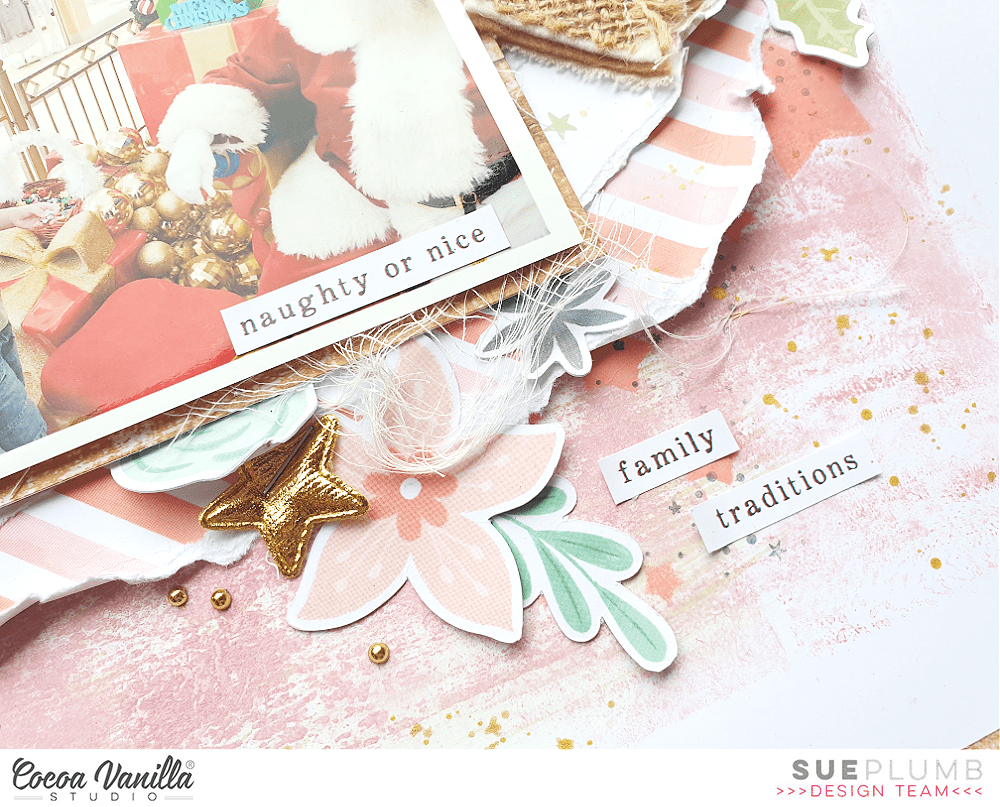
When it came to embellishments, I wanted to ensure that I ticked off the sticker criteria first. I used mix of Accessory and Clear Stickers that I had left-over from ‘Boys Rule’. I also used some Chipboard Pieces and Die Cut Ephemera from the same collection. The sweet little Wood Button was from ‘Sunkissed’. To the right of my photo I added a handmade star embellishment which I topped with a Flair Button.
To add some extra interest to my background I added some stamping using a small stars background stamp and a roller phrase stamp.

Now it was time to finish off my page and tick off the remaining criteria. For something gold I added a few pieces of gold twisted wire, which I stapled down onto the page. For stitching, I added small hand stitched crosses using white embroidery thread. And finally, I added some splatters of white acrylic ink and that was all five criteria covered.
I had a lot of fun putting this layout together and I hope I have inspired you to play along with one of our INSD challenges while you still have time. Entries to the challenges close at midnight (AEST) this Sunday, 9th May. You can find all the challenge rules, or upload your entries via the Cocoa Vanilla Studio Community group.
Until next time, happy scrapping!