2023 Favourites + Farewell | Mandy Melville
Hello everyone!
Mandy here with my final post for 2023, and today I’ll be sharing a few of my favourite layouts that I created this year! I always find it hard to narrow down, but for this year I think these are the layouts that I most enjoyed creating! Looking back at these, I think what I love most about them (apart from the photos and memory keeping of course!) is that they include fun and different ways to feature patterned papers on my layouts. So, without further ado, here are my top 5 for 2023…
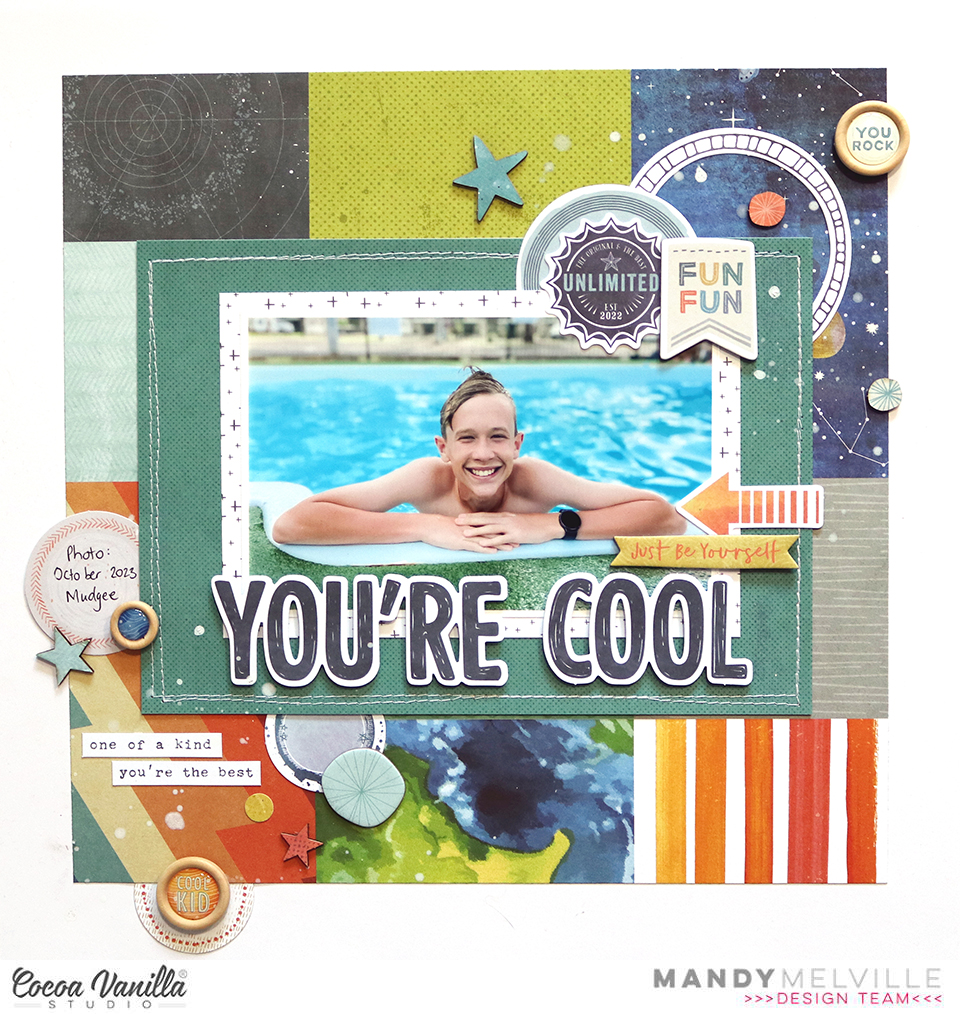
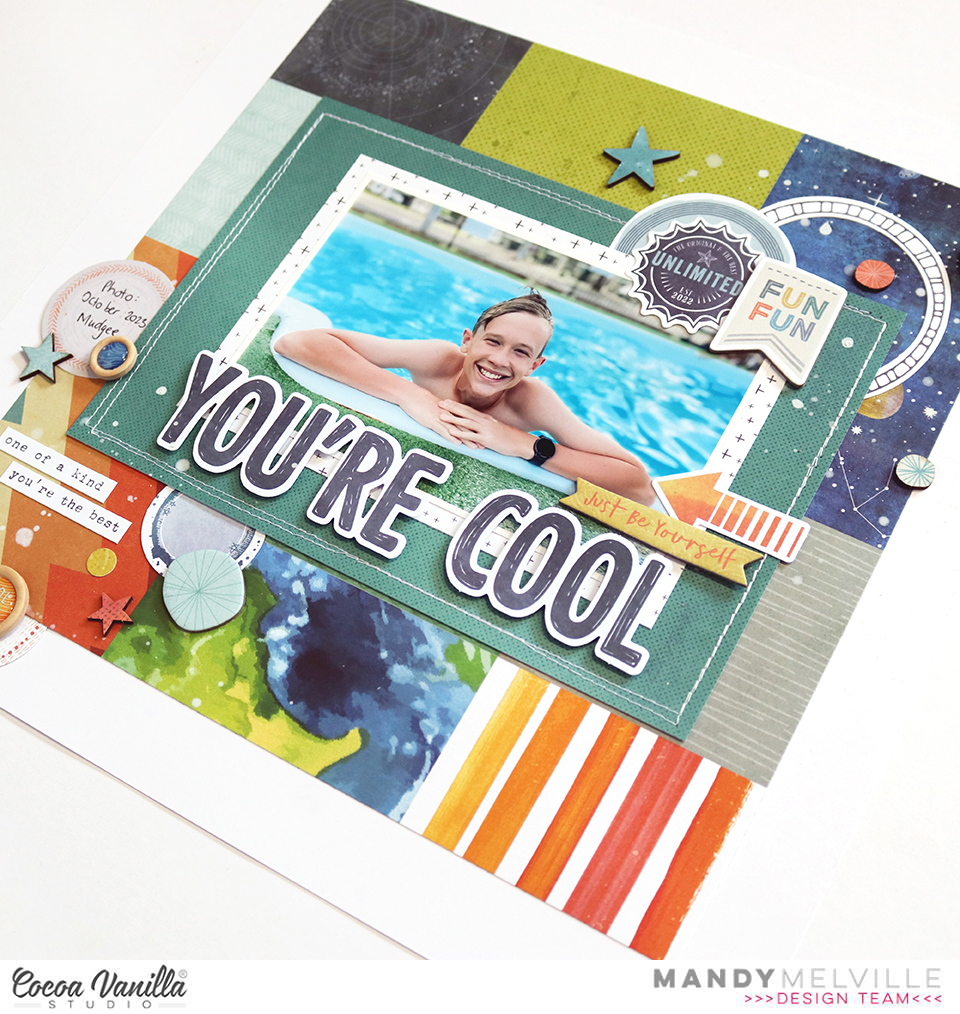
I created this one for the July monthly challenge, and what I love about it is the colour combination, as well as the grid design. Plus I created this just a week before I jetted off to Europe with my daughter, and so it brings back all those feelings of excitement as we counted down the days till our trip! This layout features the Happy Days collection.

Another layout featuring the Happy Days collection, but this time I chose a completely different colour combination . I love the way this layout just makes me feel happy! I had a lot fun creating the grid background and embellishing each square with cute embellishments!

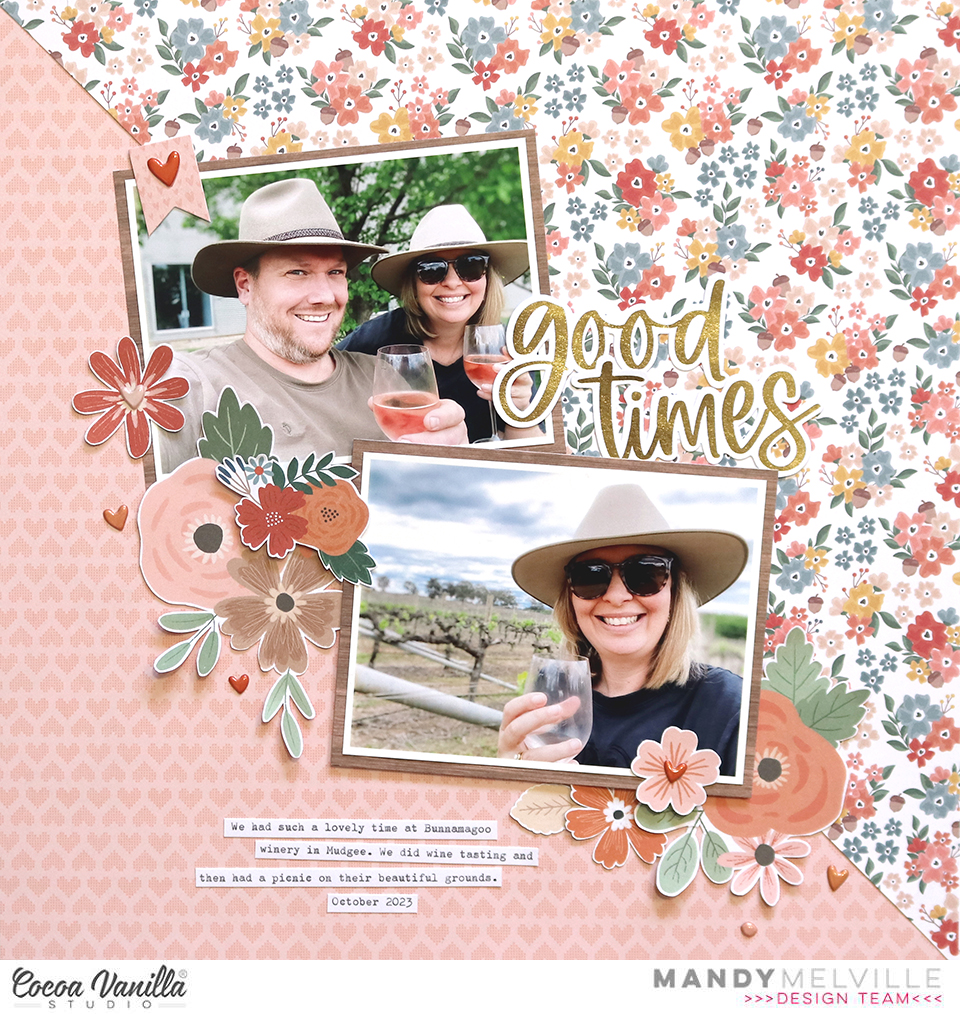
I’m always a fan of pretty florals, and the Heart & Home collection certainly did not disappoint. This layout was amongst my favourites this year for the fussy cut floral clusters that it features, as well as the warm colour palette and the fun diagonal design!
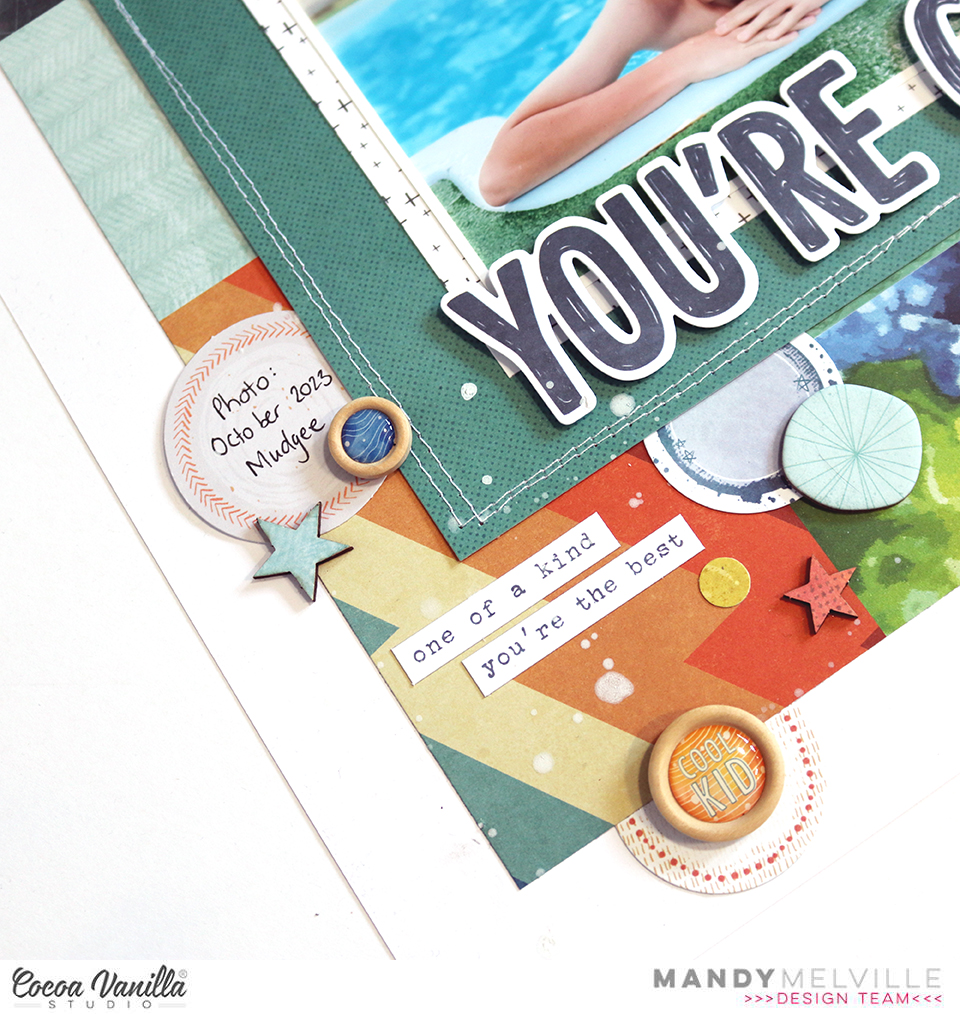
I love love love the bright colours and that gorgeous rainbow on this layout featuring the Happy Days collection! This just goes to show what a versatile collection this is, with this being my third Happy Days layout to make it into my top 5! I had so much fun with the tone-on-tone embellishing and the end result is a bright and fun layout that makes me happy!

And the final layout that I’m sharing today might just be my favourite of them all! It was the first layout that I created with the Heart & Home collection and I absolutely love the colour palette, as well as the design! Plus it features a photo of my four favourite people!

Well, that’s a wrap from me for 2023, and sadly this is also a farewell from me. I’ve made the difficult decision to step down from the design team next year as life just continues to get busier and as a result I need to scale things back a little. I have absolutely loved being a part of this team (for the second time!) and I’m so very grateful to Zoe and Sue for inviting me to join. It has been a pleasure to share my layouts with you all, and I hope that I’ve inspired you along the way!
With that, I wish you all a wonderful and blessed Christmas and New Year!
Mandy x
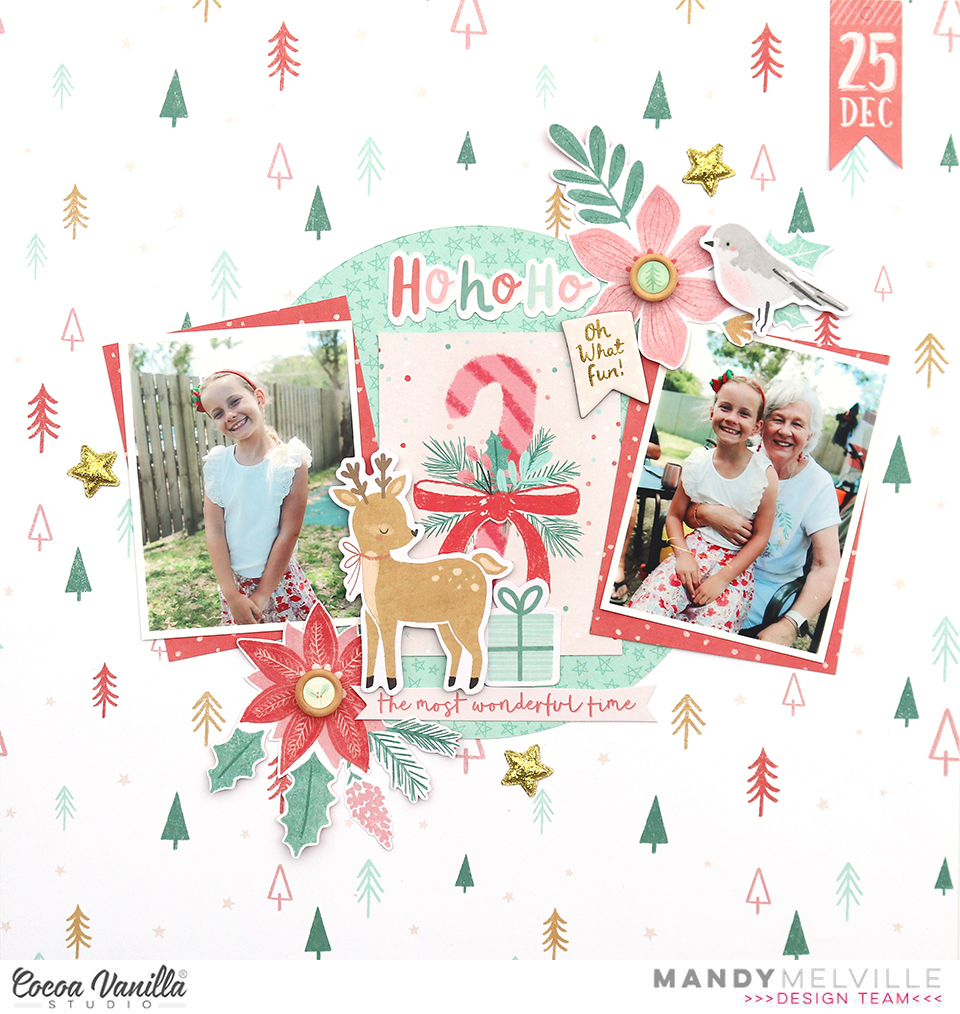 I started my layout off with the Deck the Halls patterned paper as my background. I then cut a 6 inch circle out of the same paper, this time using the reverse side, and adhered the circle to the centre of my page. This provided a focal point on the page for me to build my layers on top of. I printed my photos at 3×4 inches and matted them with a paper from the
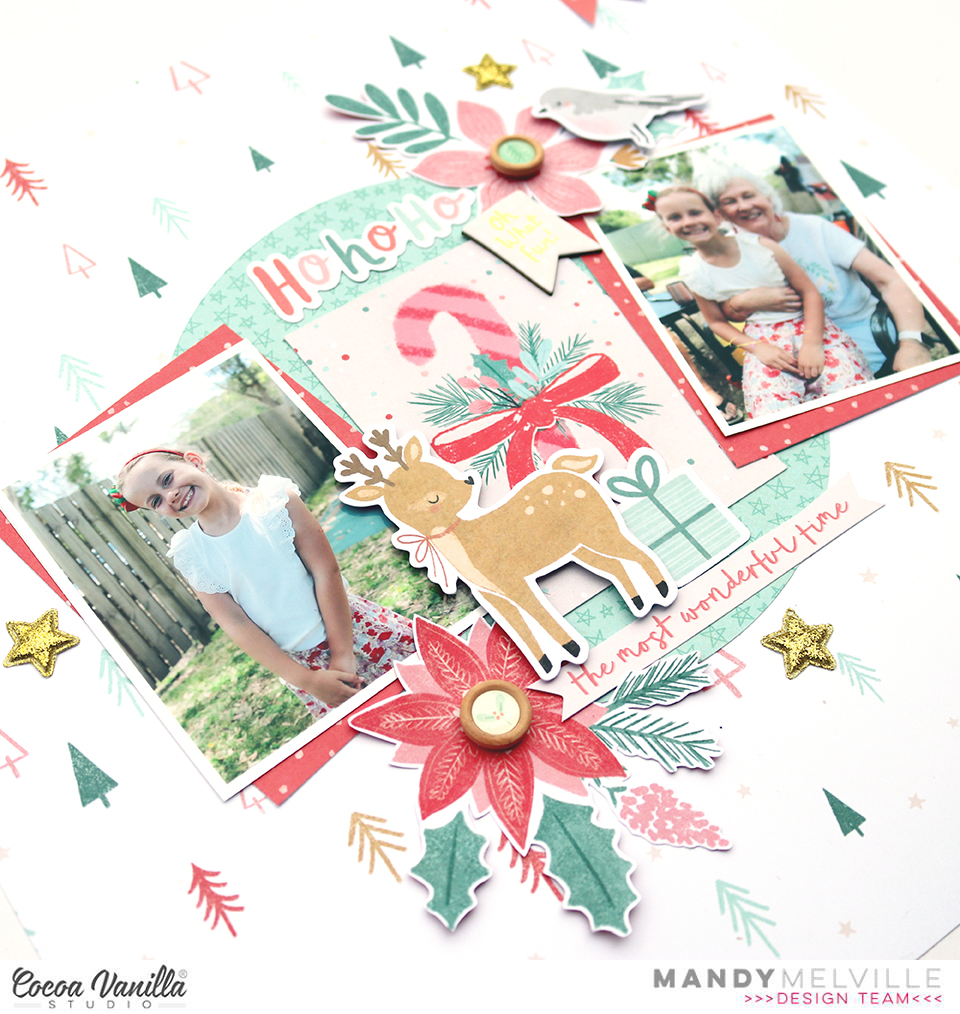
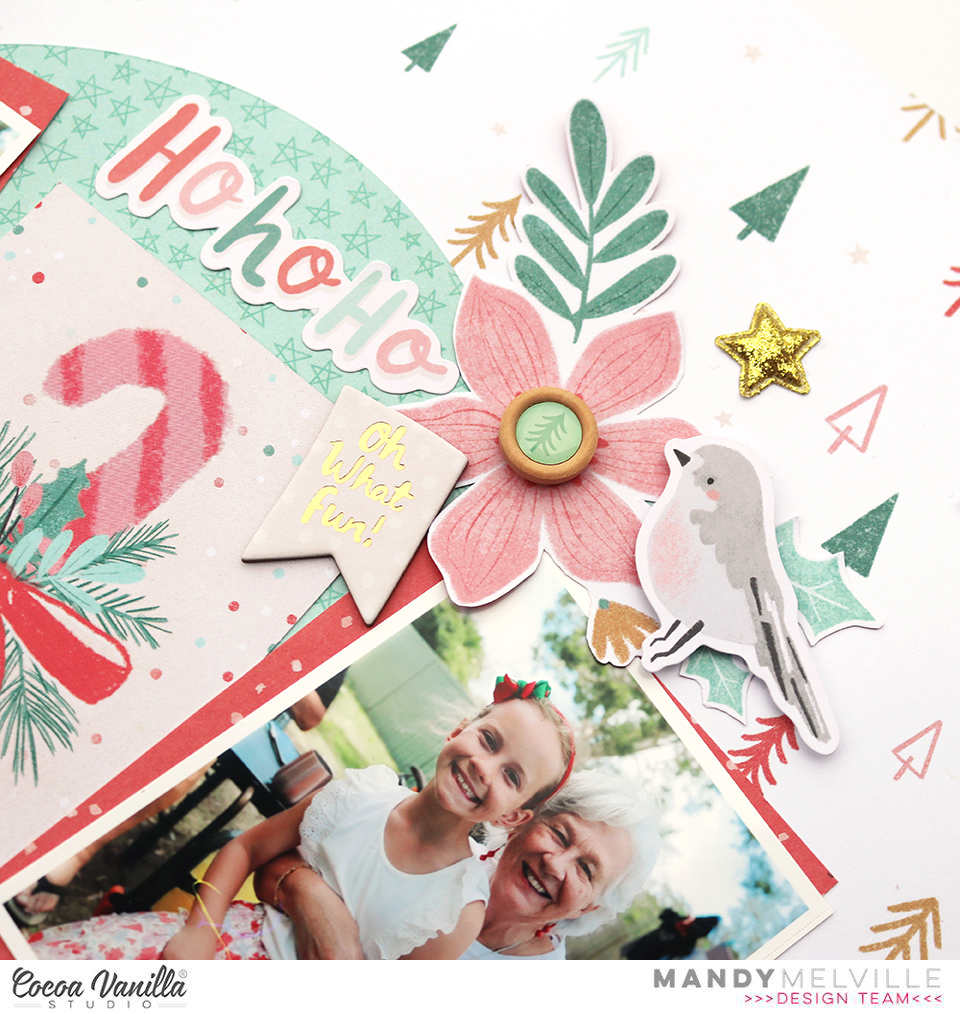
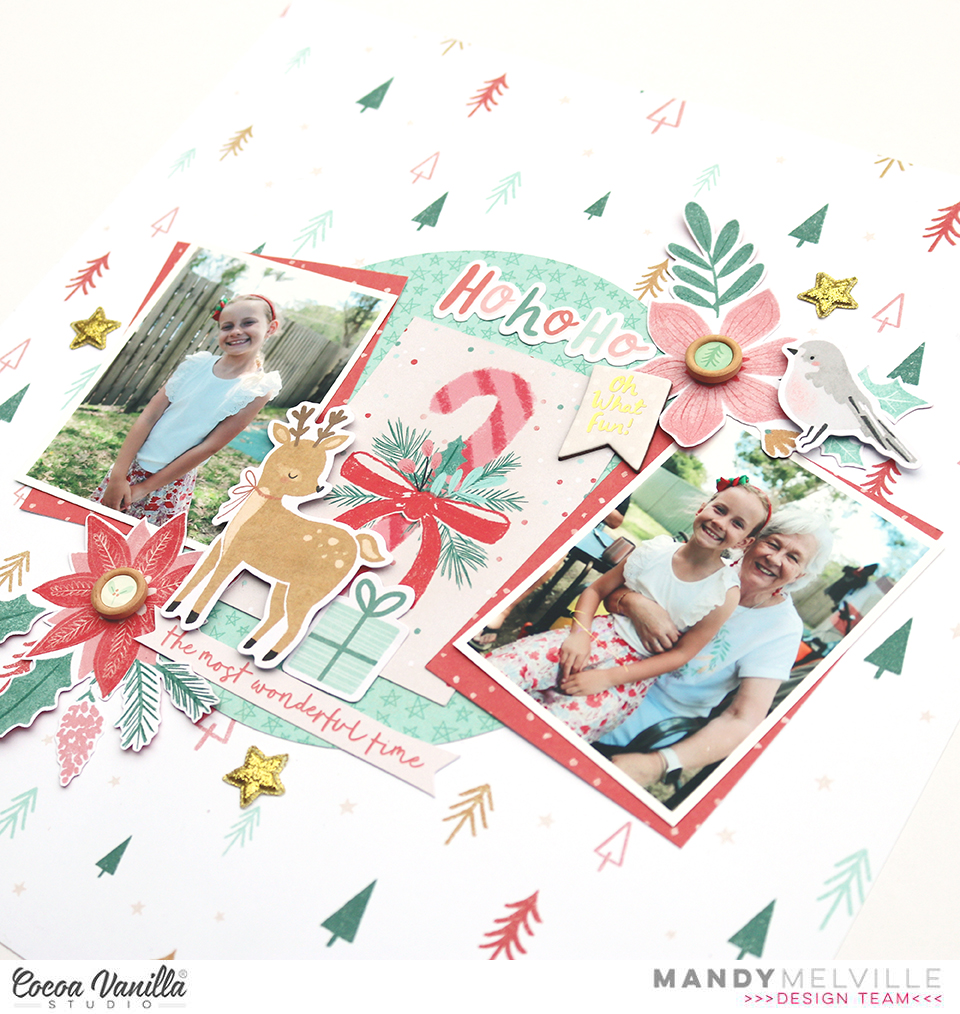


 To balance out the larger floral cluster, I added two more smaller clusters to the page. One positioned on the top left hand corner of the photo, and the other in the bottom right hand corner of the layout. The positioning of the clusters gives the layout a diagonal flow, drawing the viewer’s eye from the top left, down through the photo and title, to the bottom right. I used more Die Cut Ephemera, as well as some flowers from the Floral Ephemera pack, to create the second and third clusters. You can also see here that I created a subtitle to the left of the photo using the Mini Puffy Alpha Stickers.


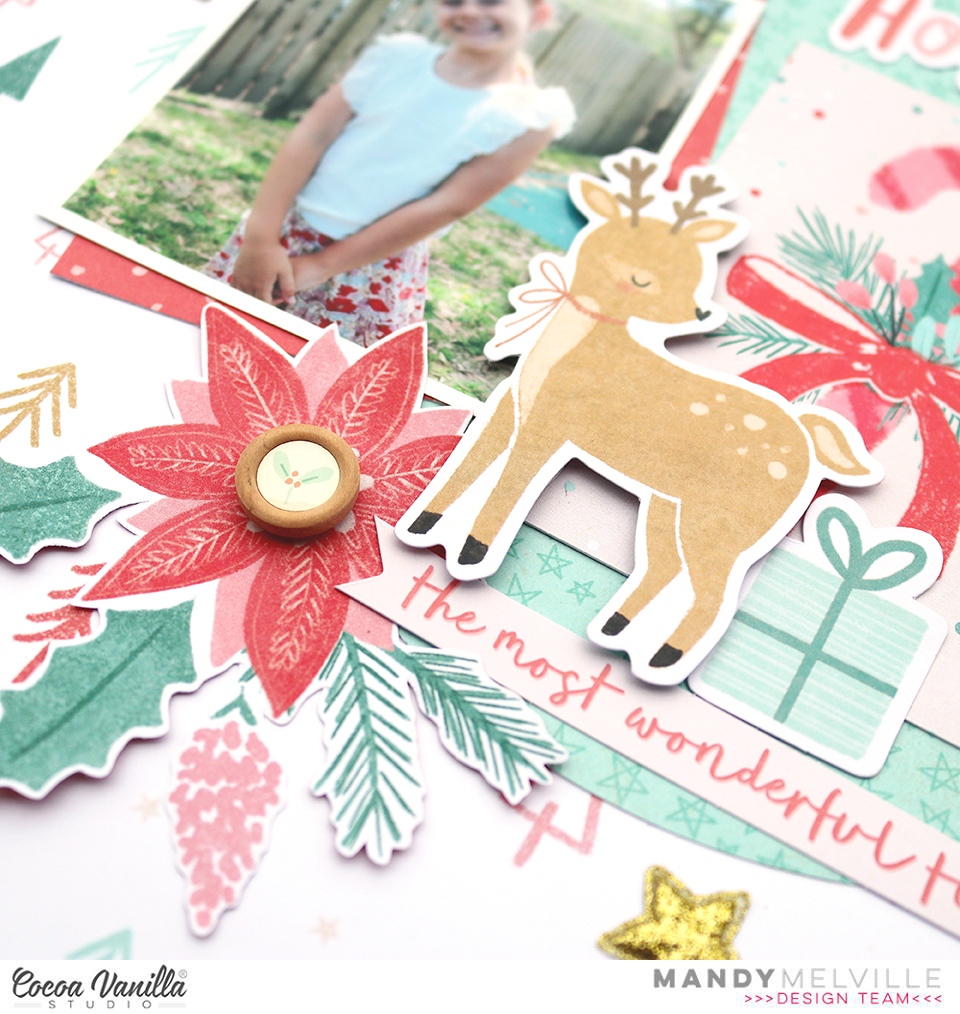
 I kept to a warm colour palette on this page, choosing the reds, pinks and oranges, and making sure to repeat these colours in both clusters to keep them looking balanced. By tucking some flowers under the edge of the photo, and adding others on top, it helps to give the cluster some extra dimension and interest. I also finished off both clusters with some Puffy Stickers.
 Thanks so much for joining me here on the blog today! I’ll be back next month with some more inspiration.
 I started my layout with the striped Harvest paper as my background. On top of that I layered a piece of the woodgrain Framed paper which gave a neutral area for me to add my photos and title. Down the left hand side of the page I created a border by layering the Fall Beauty and the Leaf Litter papers and finishing it off with a punched honeycomb border.
 To give some extra interest to the photos, and to help them stand out from the background, I added some patterned paper layers behind them. I also adhered the photos at a slight angle which gives the layout a more whimsical feel rather than being too structured.
 Next I added another floral cluster in the bottom right hand corner of the page. This balances out the first cluster and gives the layout a diagonal flow, drawing the viewer’s eye down through the photos. In this cluster I again used more fussy cut florals, as well as a journaling piece from the die cut ephemera pack.
 For my title, I took inspiration from the ‘Family’ die cut pieces in the ephemera pack. I love that each letter is a different colour, and decided to create a similar style title using some metal alphabet dies from my stash. I cut each letter out of a patterned papers from the A5 Paper Stack and combined it with Mini Puffy Alpha Stickers. The title ‘Love this Kid’ seemed like the perfect sentiment for these photos!
 As this layout is focused on my hubby on Fathers Day, I decided to give it a bit more of a masculine feel by narrowing the colour palette down to the blues, greens and browns in the collection. I chose four of the patterned papers – Harvest, Golden Fields, Leaf Litter and Fall Beauty – and cut each into a large triangle before piecing them together to create my background. I matted my photo with the woodgrain patterned paper from the A5 Paper Stack and adhered it in the middle of the page using craft foam to help it ‘pop’ off the page.
 Next I created a cluster to the left of the photo. Again I used Floral and Die Cut Ephemera, and the same colours that I used in the first cluster. To create some dimension in the cluster, I tucked some elements underneath the photo and adhered some overlapping the edge of the photo.
 I created a third and final cluster at the top of the page using similar pieces that I’d used in the first two clusters. By repeating colours and elements throughout each of the embellishment clusters it helps to make the layout feel cohesive and balanced. I also finished off each cluster with a Puffy heart Sticker. Above the photo I added my title using one of the stunning words from the Gold Titles pack and underneath the title I added a final finishing touch with a tiny word sticker that says ‘family is everything’.
 Thanks so much for joining me here on the blog today. I hope that you enjoyed taking a look at my layout featuring the beautiful new Heart and Home collection!


 I started this layout off by trimming down a sheet of white cardstock and matting it on the gorgeous magenta Flutterby paper. I added a doodled border around the white cardstock to add some further definition and interest. Next I cut two triangles, one larger than the other, out of the beautiful yellow Feel Good paper, and adhered these on each side of the page. I matted my photo with a paper from the A5 Paper Stack and adhered that over the larger triangle on the left hand side of the page.


 I finished the layout off with some cute banners in the top right hand corner of the page, a couple of little phrase stickers from the Accessory Sticker Sheet, and of course a sprinkling of hearts from the Die Cut Ephemera and the Puffy Sticker Pack.
 The Rainbow Bright paper made such a gorgeous background for this photo and really brought the layout to life! Once I had decided on this paper, I then matted my photo with one of the papers from the A5 Paper Stack. I adhered it to the page using craft foam in order to give it some nice dimension and to help it stand out against all of the bright colours in the background.
 For my embellishing I decided to keep it mostly tone-on-tone. So on the pink section of the rainbow I added pink embellishments, on the yellow I added yellow embellishments, and so on. I started with a fun little cluster on the bottom right hand corner of the photo. As this was on the blue and purple section, those were the colours that I chose for this cluster. I included some florals from the Floral Ephemera pack, as well as some that I fussy cut out of the Lush Blooms paper. I also added a couple of Die Cuts to the cluster.
 Moving over to the left hand side of photo, I added another embellishment cluster using similar items that I used in the first. I tucked some of the flowers under the edge of the photo and some on top to give the cluster some dimension. How gorgeous are the Puffy Hearts?! I couldn’t resist adding one to each of my floral clusters!

