You’re Totally Awesome | No Limits Collection | Danni Visser
Hi everyone! Danni here with a new layout featuring the amazing new No Limits collection by Cocoa Vanilla Studio. I have fallen hard for this collection and it’s easy to see why. Those bright colours and amazing patterns are perfect for documenting those childhood photos! For this layout I used two photos of my son showing off his built creations.
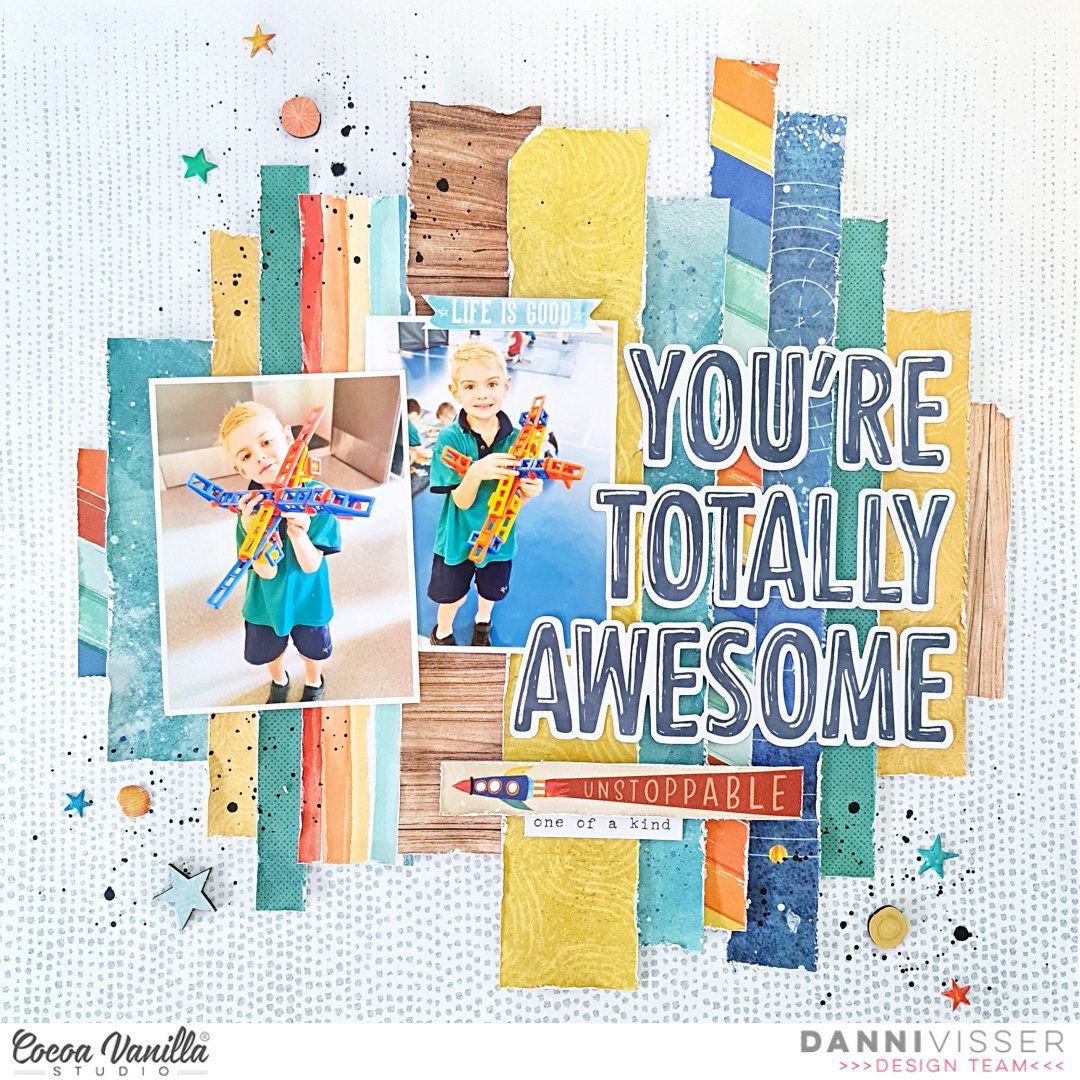
I started off with Universal 12×12 patterned paper as a base for the layout. I wanted a subtle pattern and this soft grey spot was perfect.

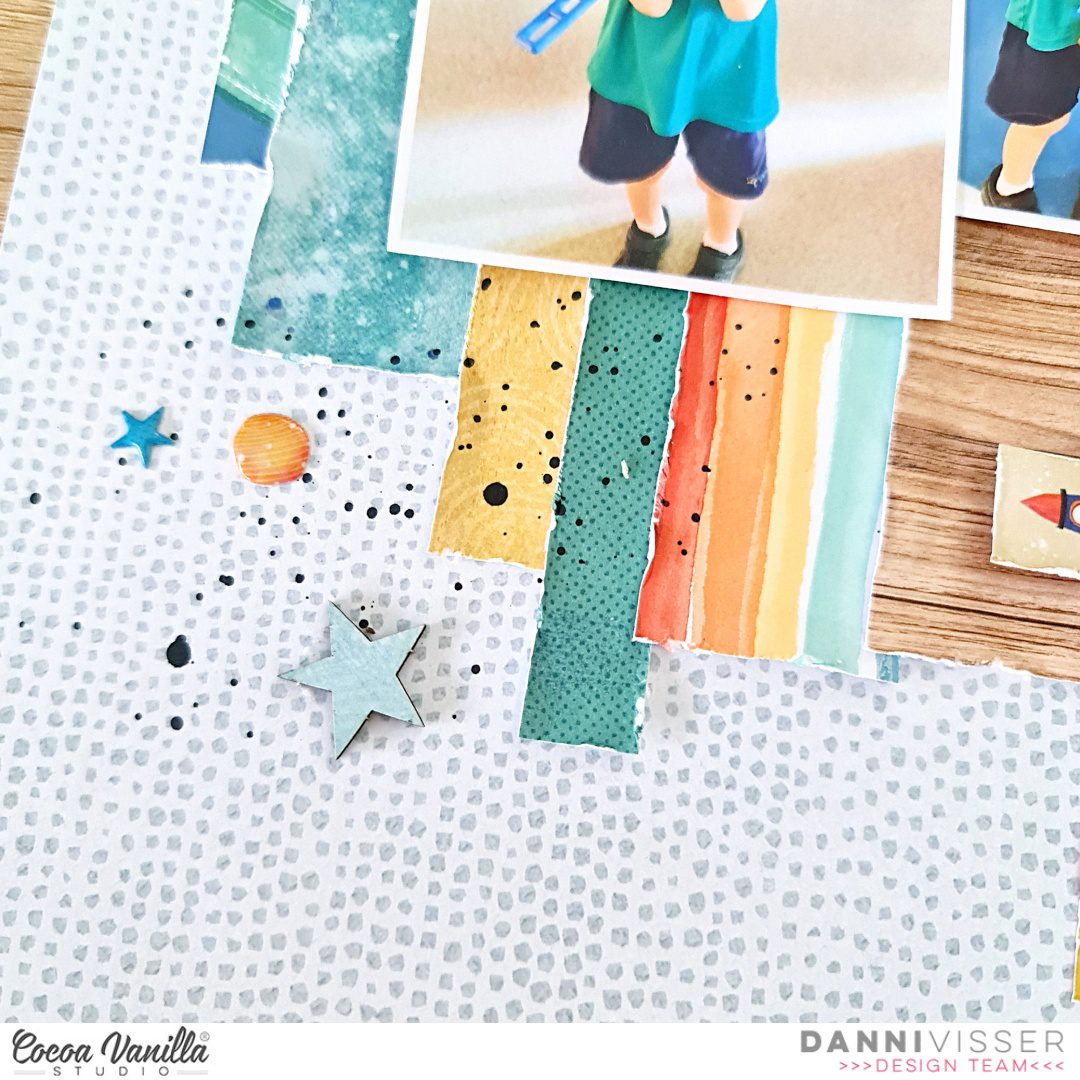
Next I began cutting strips of varying lengths and widths from the cut-apart side of Universal 12×12 patterned paper as well as a variety of papers from the A5 paper stack. I then distressed all the cut edges of the paper strips with my edge distresser for texture and visual interest.
Using tacky glue I layered the paper strips across the page, staggering the positioning of the strips so that the top and bottom edges fell at different heights. I tried to keep a balance of colours and patterns while still keeping the placement fairly random.
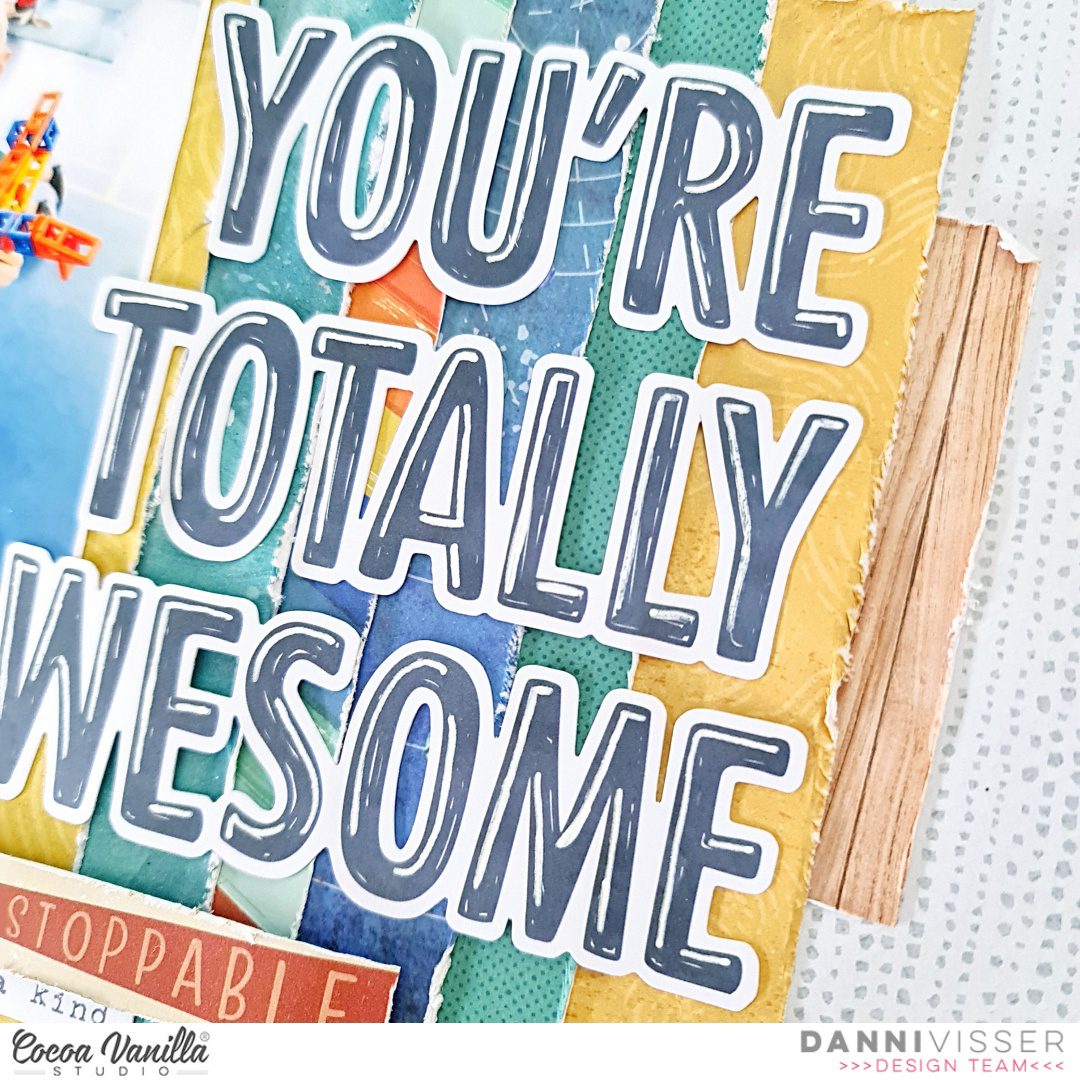
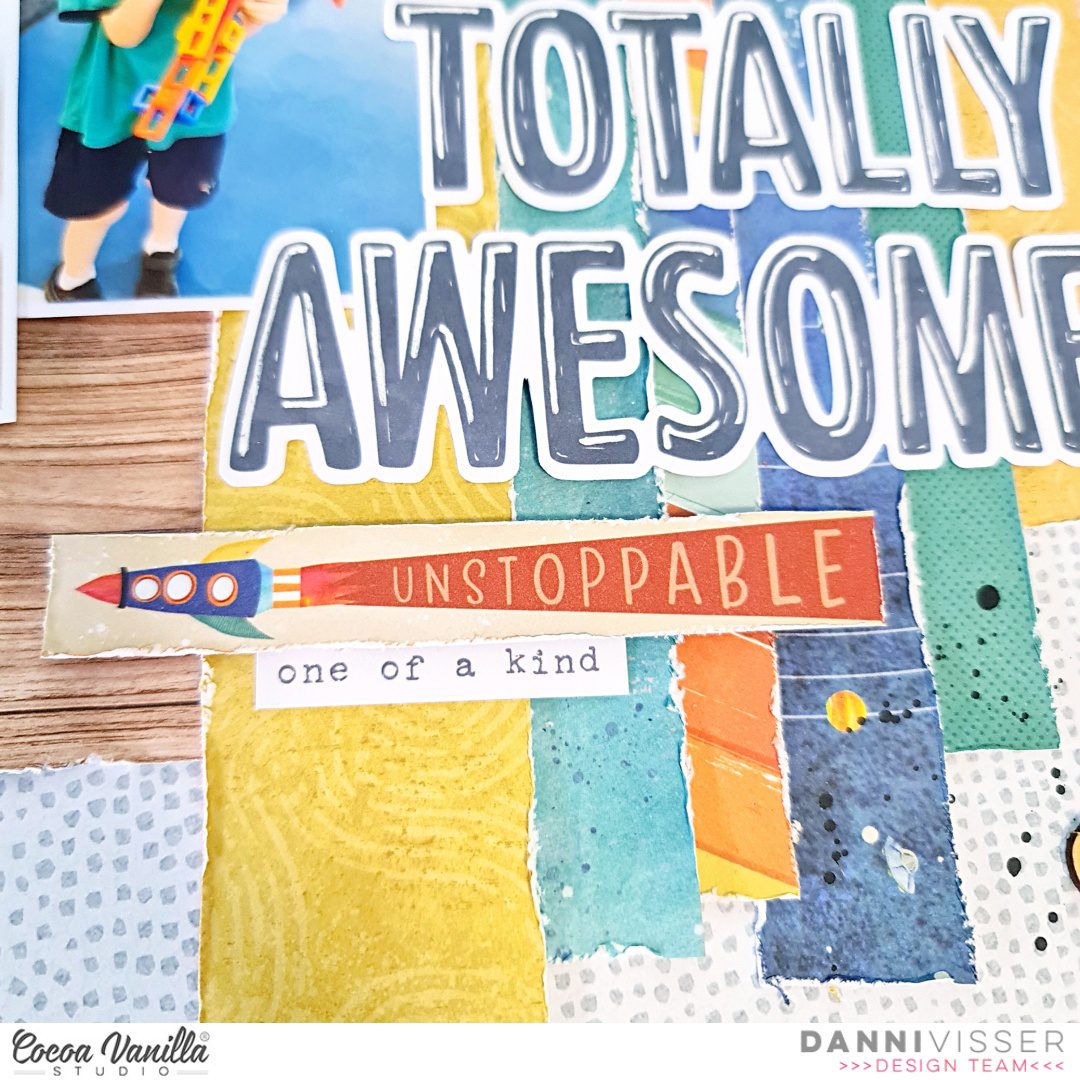
I placed my photos over the paper strips towards the left of the page, overlapping them slightly. I used the die cut titles to create a large, bold title to the right of the page, adding some white gel pen highlights to add my own personal touch to the title pieces. I added a small phrase piece from the cut-apart side of Universal 12×12 patterned paper below my title, as well as some accessory sticker phrase pieces.

Because the layout was already bold and full of visual interest, I didn’t need to do any heavy embellishing. I simple created three small areas of small black ink splatters, followed by some small pieces from the chipboard stickers and a sprinkling of adorable puffy stickers to create a subtle visual triangle around my photos.
I love how this turned out and I hope you enjoyed joining me today. There is a process video on the Cocoa Vanilla Studio YouTube channel linked below if you would like to watch the layout come together. Happy scrapping!
Danni x


 I grab a 12×12 white cardstock paper and choose the colors of Distress Oxide I want to use. The colors I chose are, antique linen, fossilized amber, worn lipstick and spiced marmalade. I start by blending the Distress Oxides and use my blending tools. I start with the color antique linen. Then fossilized amber, spiced marmalade and lastly worn lipstick. I gently blend the colors together and the soft tones in my background come more and more to life. I splash some more with the different colors of distress oxides. Now it’s time to decorate my layout with the awesome collection “These Days” and the cute picture of my son.
 I used different metal dies sets for the leaves and twigs. Some leaves I stitch with gold and white sewing thread. I like lots of little different details in my layouts. I select several die-cuts and along with the leaves and twigs I make clusters on both sides of the hexagons. I use the cute wooden buttons as additional decoration.


