Happy Birthday | Daydream Collection | Danni Visser
Hi there creative friends! Today I want to share a layout with you featuring the gorgeous Daydream collection and a photo of my little man at his 5th birthday party. I have been having a lot of fun scrapping girly photos with this collection, so I wanted to share the love and create some more masculine pages too. There are plenty of more boyish colours and patterns in this collection, so this page came together easily.

I started with the woodgrain side of Over the Rainbow 12×12 patterned paper because I just love a good wood pattern and I find it a very neutral pattern to work with. I added a border of Sun Shower 12×12 patterned paper to bring in some of the yellow that is in my photo.
To add some detail to my background I added some splatters with white ink, varying the size from delicate sprinkles to some larger drops. I also added a lighter sprinkling of lovely shiny gold mist for that metallic effect.
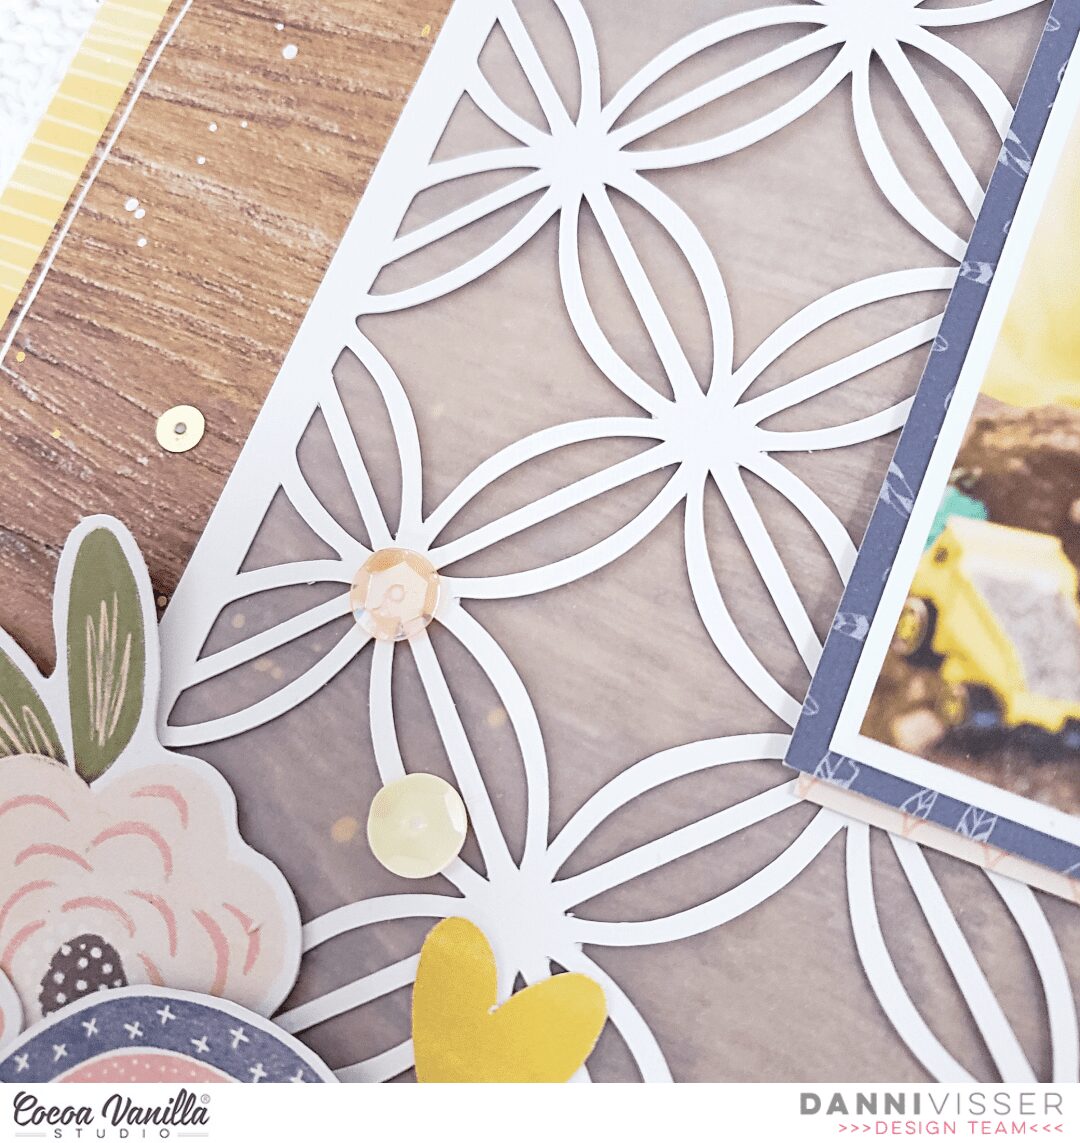
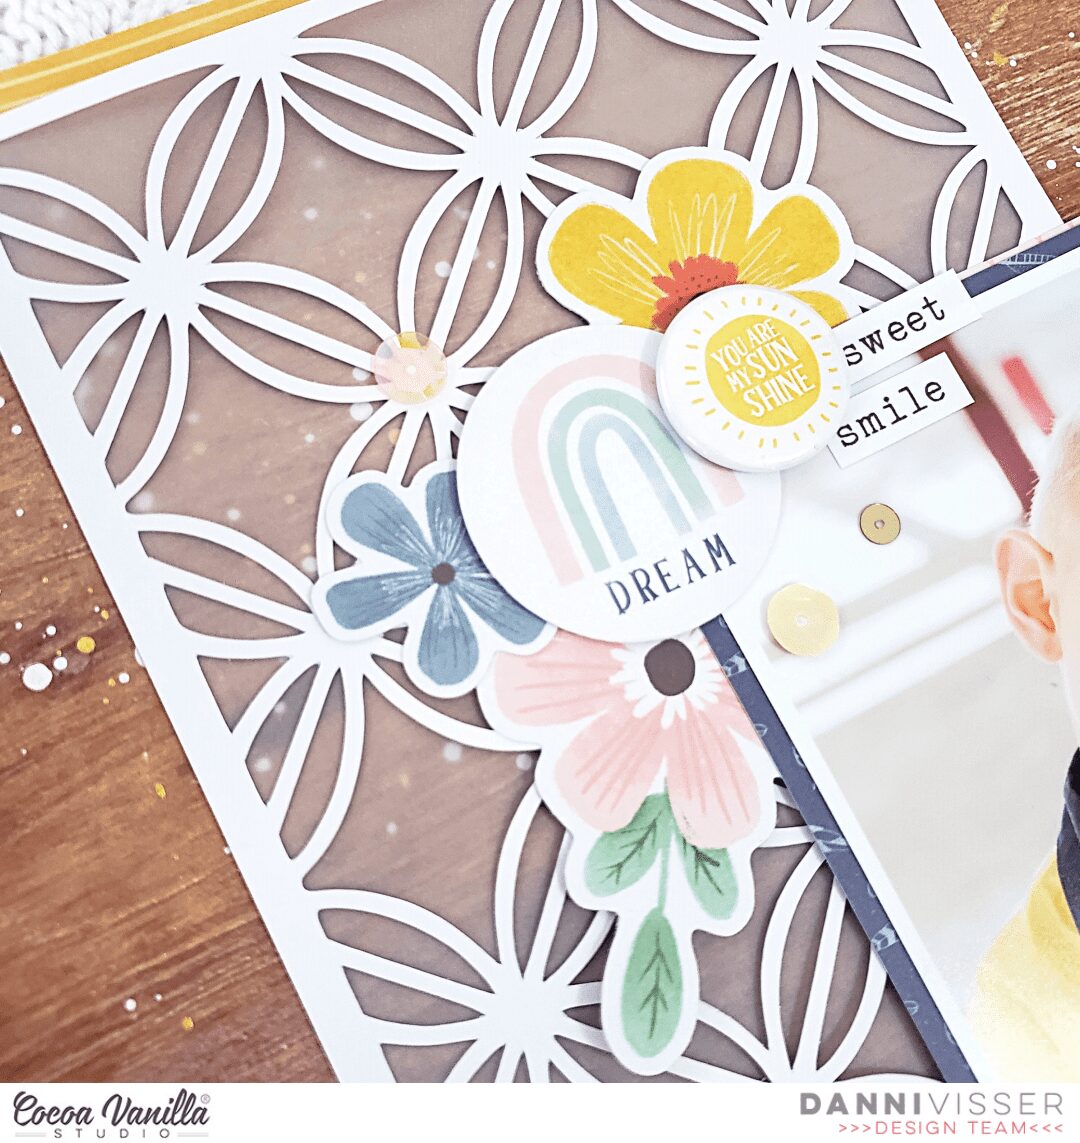
Next I found a geometric circles panel cutfile from Neat n Crafty Cutz that I had cut a while ago from white cardstock but had not managed to use – I love when I can get supplies that are just lying around to good use! I simply backed the entire cutfile with vellum, adding that lovely translucent quality while still being able to see the pattern of the paper behind.
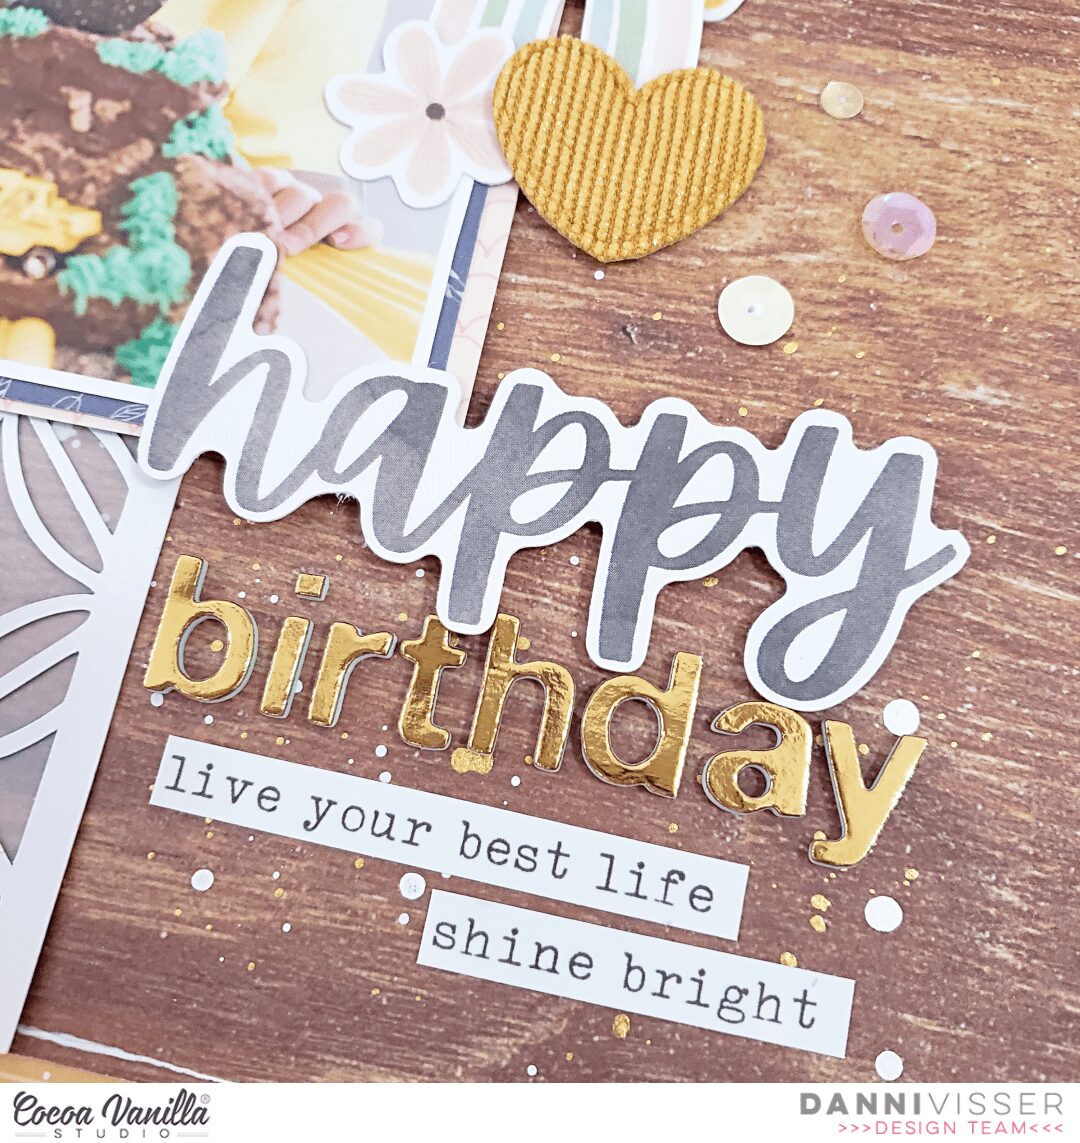
I matted my photo with navy and blush pink papers from the 6×8 paper stack then layered it over the cutfile. I dug through the die cut titles to find the word “Happy” as the main part of my “Happy Birthday” title, using some small gold foam alphas from my stash to finish it off.
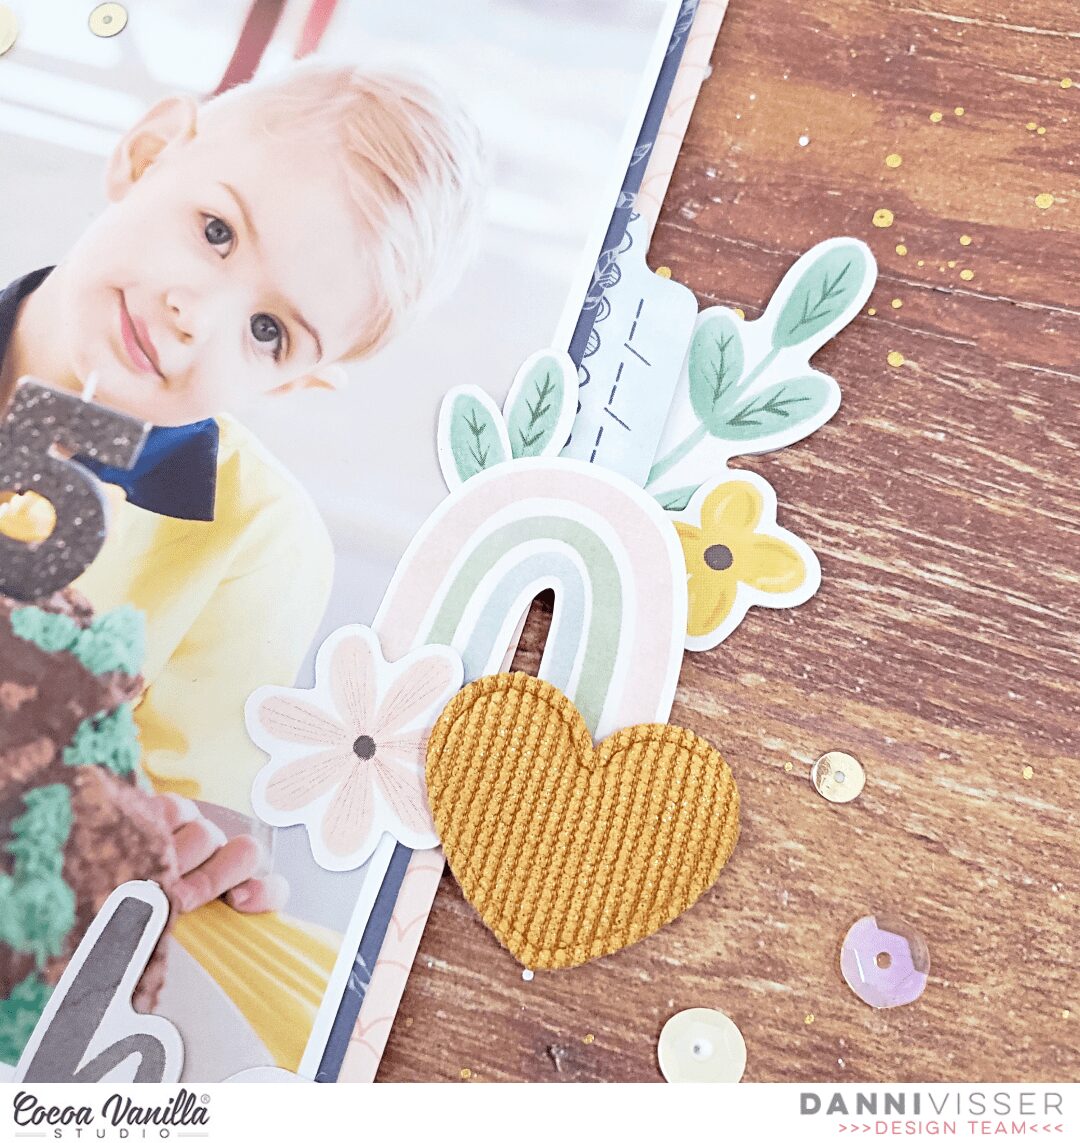
With the bones of my layout down, I added lots of pretty embellishments from the die cut ephemera and accessory stickers, building three clusters of embellishments in a triangle around my layout with my photo as the focus. I made sure to include a rainbow element and a more dimensional element in each cluster; I used a flair button, puffy heart and a foam-backed fussy-cut rainbow for those dimensional pieces.
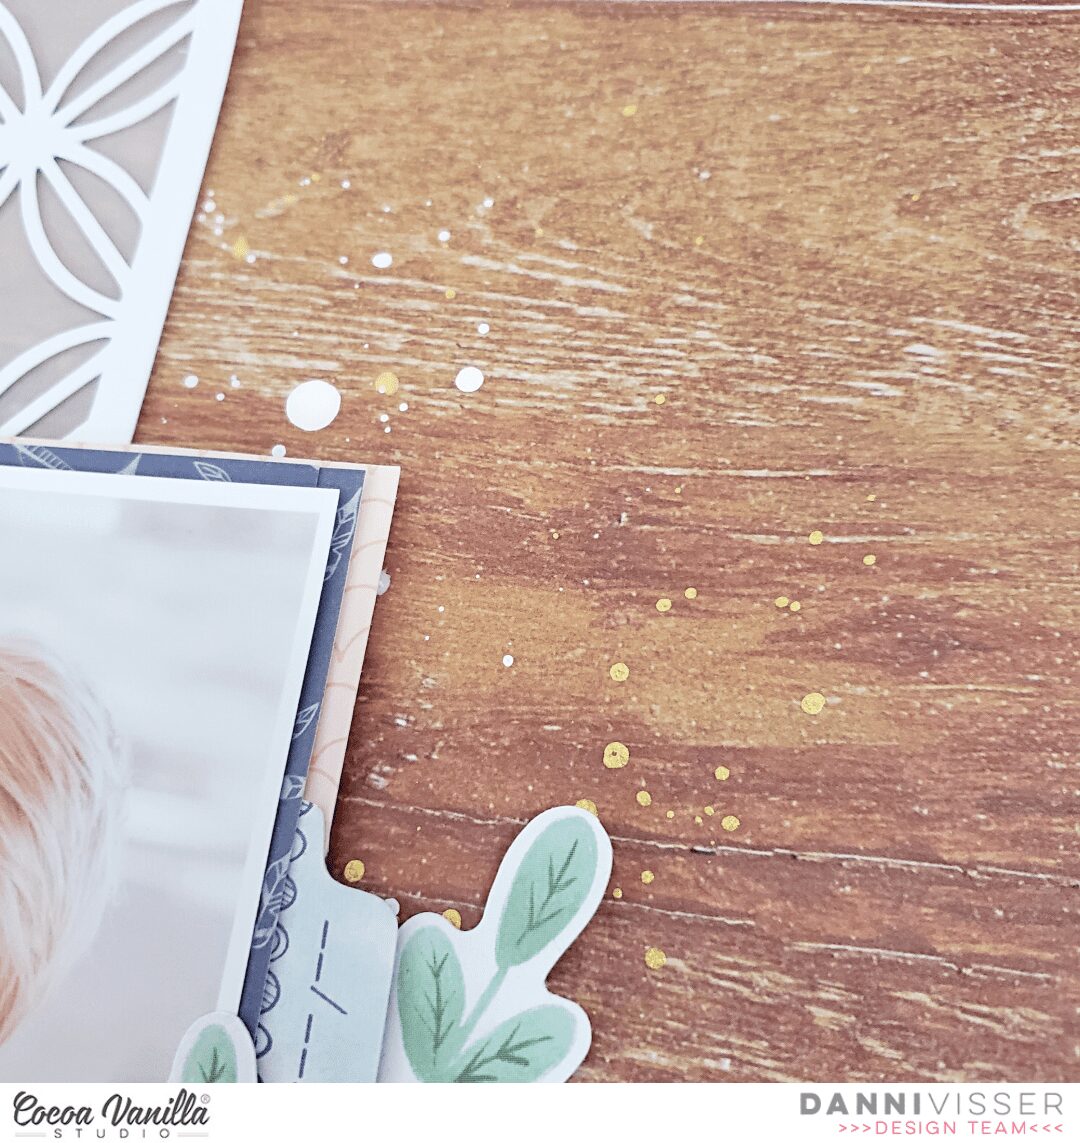
As finishing touches, I added a handful of tiny word stickers from the accessory stickers, a sprinkling of the gorgeous sparkly sequins around each embellishment cluster and a hand-drawn border in white gel pen around outside edge of the woodgrain paper.
I really love how this turned out. I’m definitely a fan of flowers and rainbows on a boy page, and I think the masculine tones of woodgrain, yellow and navy really help to balance it all out. What do you think?There is a process video on the Cocoa Vanilla Studio YouTube channel linked below if you would like to watch this layout come together. Thanks so much for joining me today. Happy scrapping!
Danni x


 I used DAISY DAYS and SUN SHOWER papers to paper piece the embroidery hoop cut file. I then used foam tape to adhere my photo.


