Beautiful Moments | Throwback Thursday Midnight Collection | Danni Visser
Hi there! Danni here with today’s Throwback Thursday inspiration featuring the gorgeous Midnight collection. I adored this collection so much that I have been hoarding a lot of it, so it felt great to put it to good use.

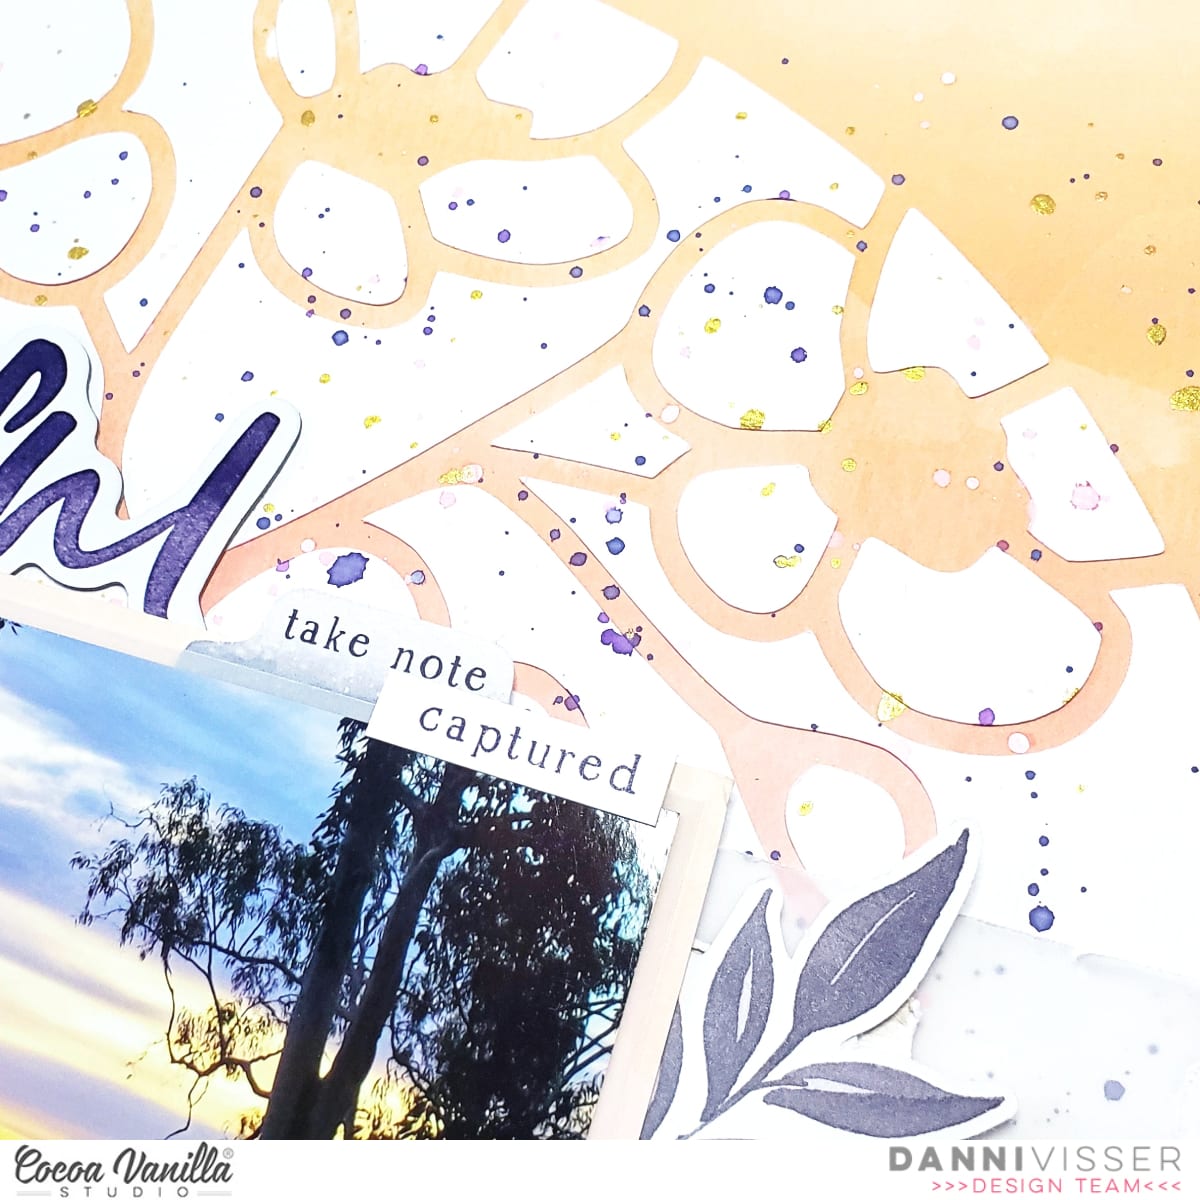
The Sunset Strip 12×12 patterned paper has always reminded me of a sunset, so it was perfect for a background of this landscape sunset photo I took in the Sunshine Coast hinterland. I had cut the floral circle cutfile for another layout, and the negative interior pieces looked so pretty on the cutting mat that I could not bear to bin them, so I carefully glued them to the background paper. It looked so lovely with the patterned paper peeking through!

Next, I used some inks and mists to add some purple, pink and gold splatters to the background. This helps tone down the stark white of the cutfile and adds some interest to the background. I used the Shine Bright 12×12 pink gradient patterned paper to back my photo and built some horizontal layers behind it with plain vellum and the woodgrain side of Shine Bright 12×12 paper to give my photo a natural ‘resting place’.

I made sure to line up the horizon in my photo with the colour change gradient in the background paper – this makes the page look cohesive and really enhances that sunset illusion.The Beautiful Moments title from the chipboard pieces fit perfectly around my photo and was the perfect sentiment for this layout. I used a tab from the die cut ephemera and some tiny words from the accessory stickers to supplement my main title.
Even though I want to hoard them forever, I placed some of the gorgeous die cut ephemera floral peonies and leaves in clusters either side of my photo, then added a pretty butterfly from the accessory stickers on the centre of one of the cutfile flowers, making sure to pop the wings up on dimensional foam – one of my absolute favourite techniques.

Finally, I added a few enamel dots from my stash in matching colours to finish off the layout. This whole layout was very quick to come together, even though it looks very full with plenty of detail – making an interesting background meant I could keep my embellishments minimal while still having a very impactful layout.

I hope you enjoyed joining me today! Please check out the video below on the Cocoa Vanilla Studio YouTube channel if you would like to see the entire process. Happy scrapping!
Danni x
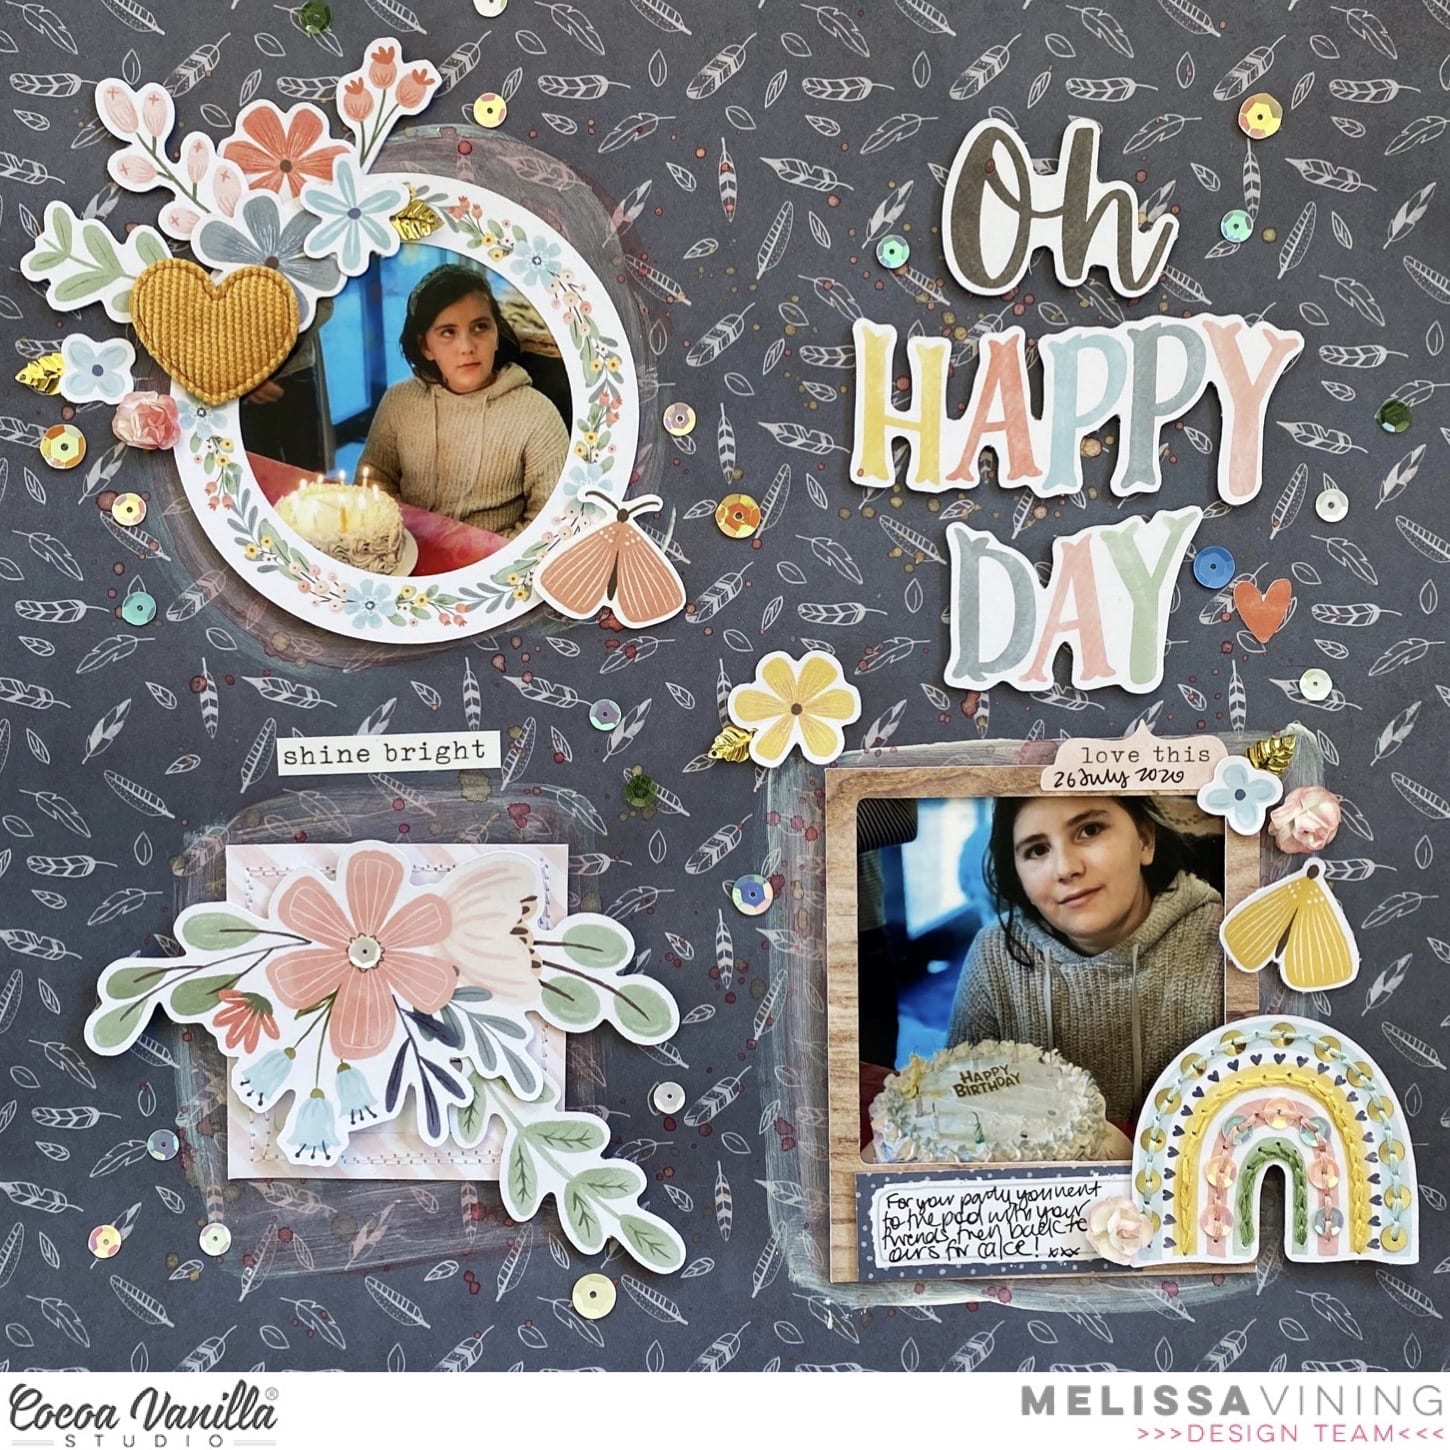
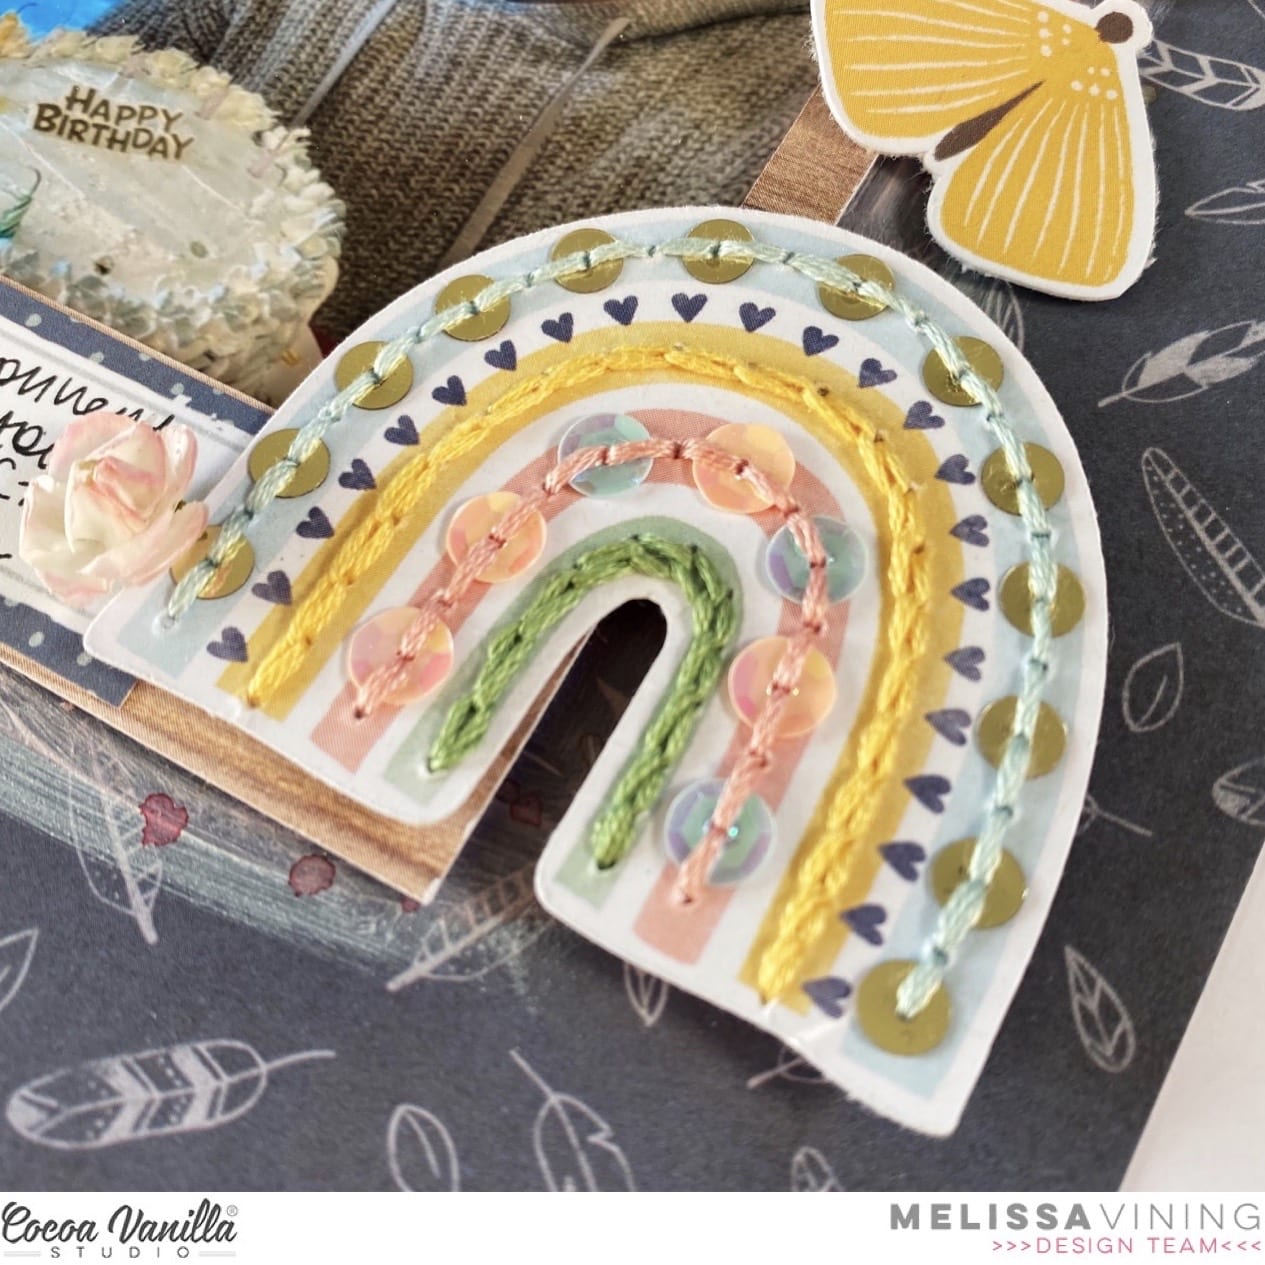


 I finished off with a few happy phrase stickers from the Accessory Sticker sheet placed onto the rainbow and my page was done. This whimsical scene was unlike my usual style of page, but I really had fun creating it and I am happy I could bring my vision to life. (And my daughter absolutely loves it, which is the most important thing, right?!)


