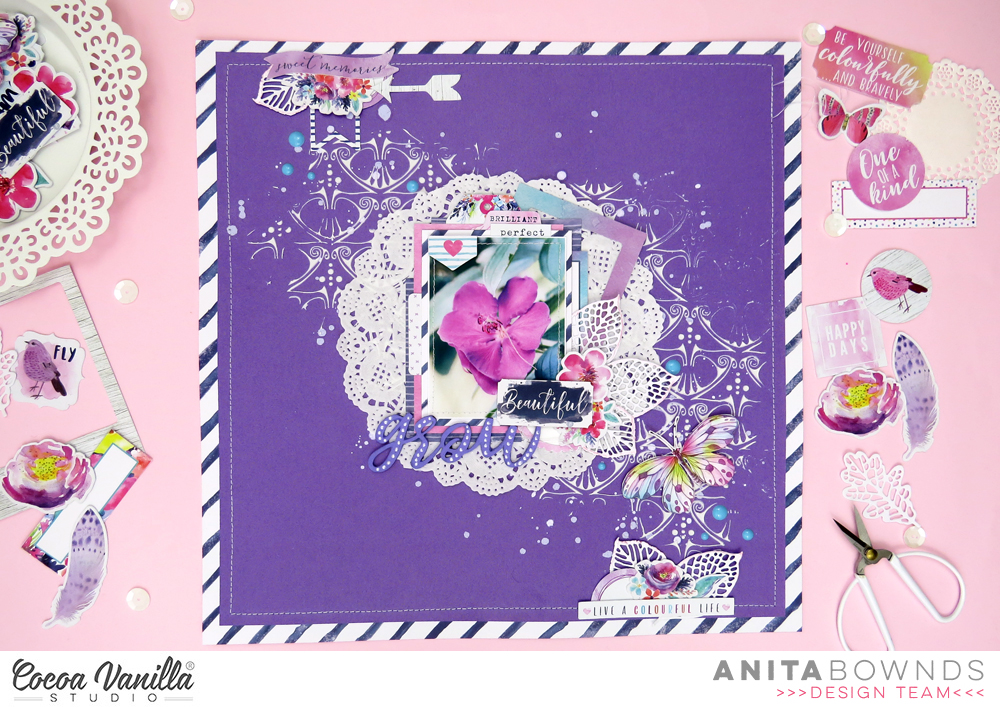
Hey CVS friends Rachel here. Last week I decided it was time for a sort out of my CVS collections, as often when I am creating I get messy and end up throwing my product back in its pizza box and close the lid to hide my laziness! Well it took me far too long but it was worth doing as I discovered I had more than I thought (of course) and I also realised how many papers from different CVS collection go together beautifully. This is what inspired this layout and it is a CVS all sorts!
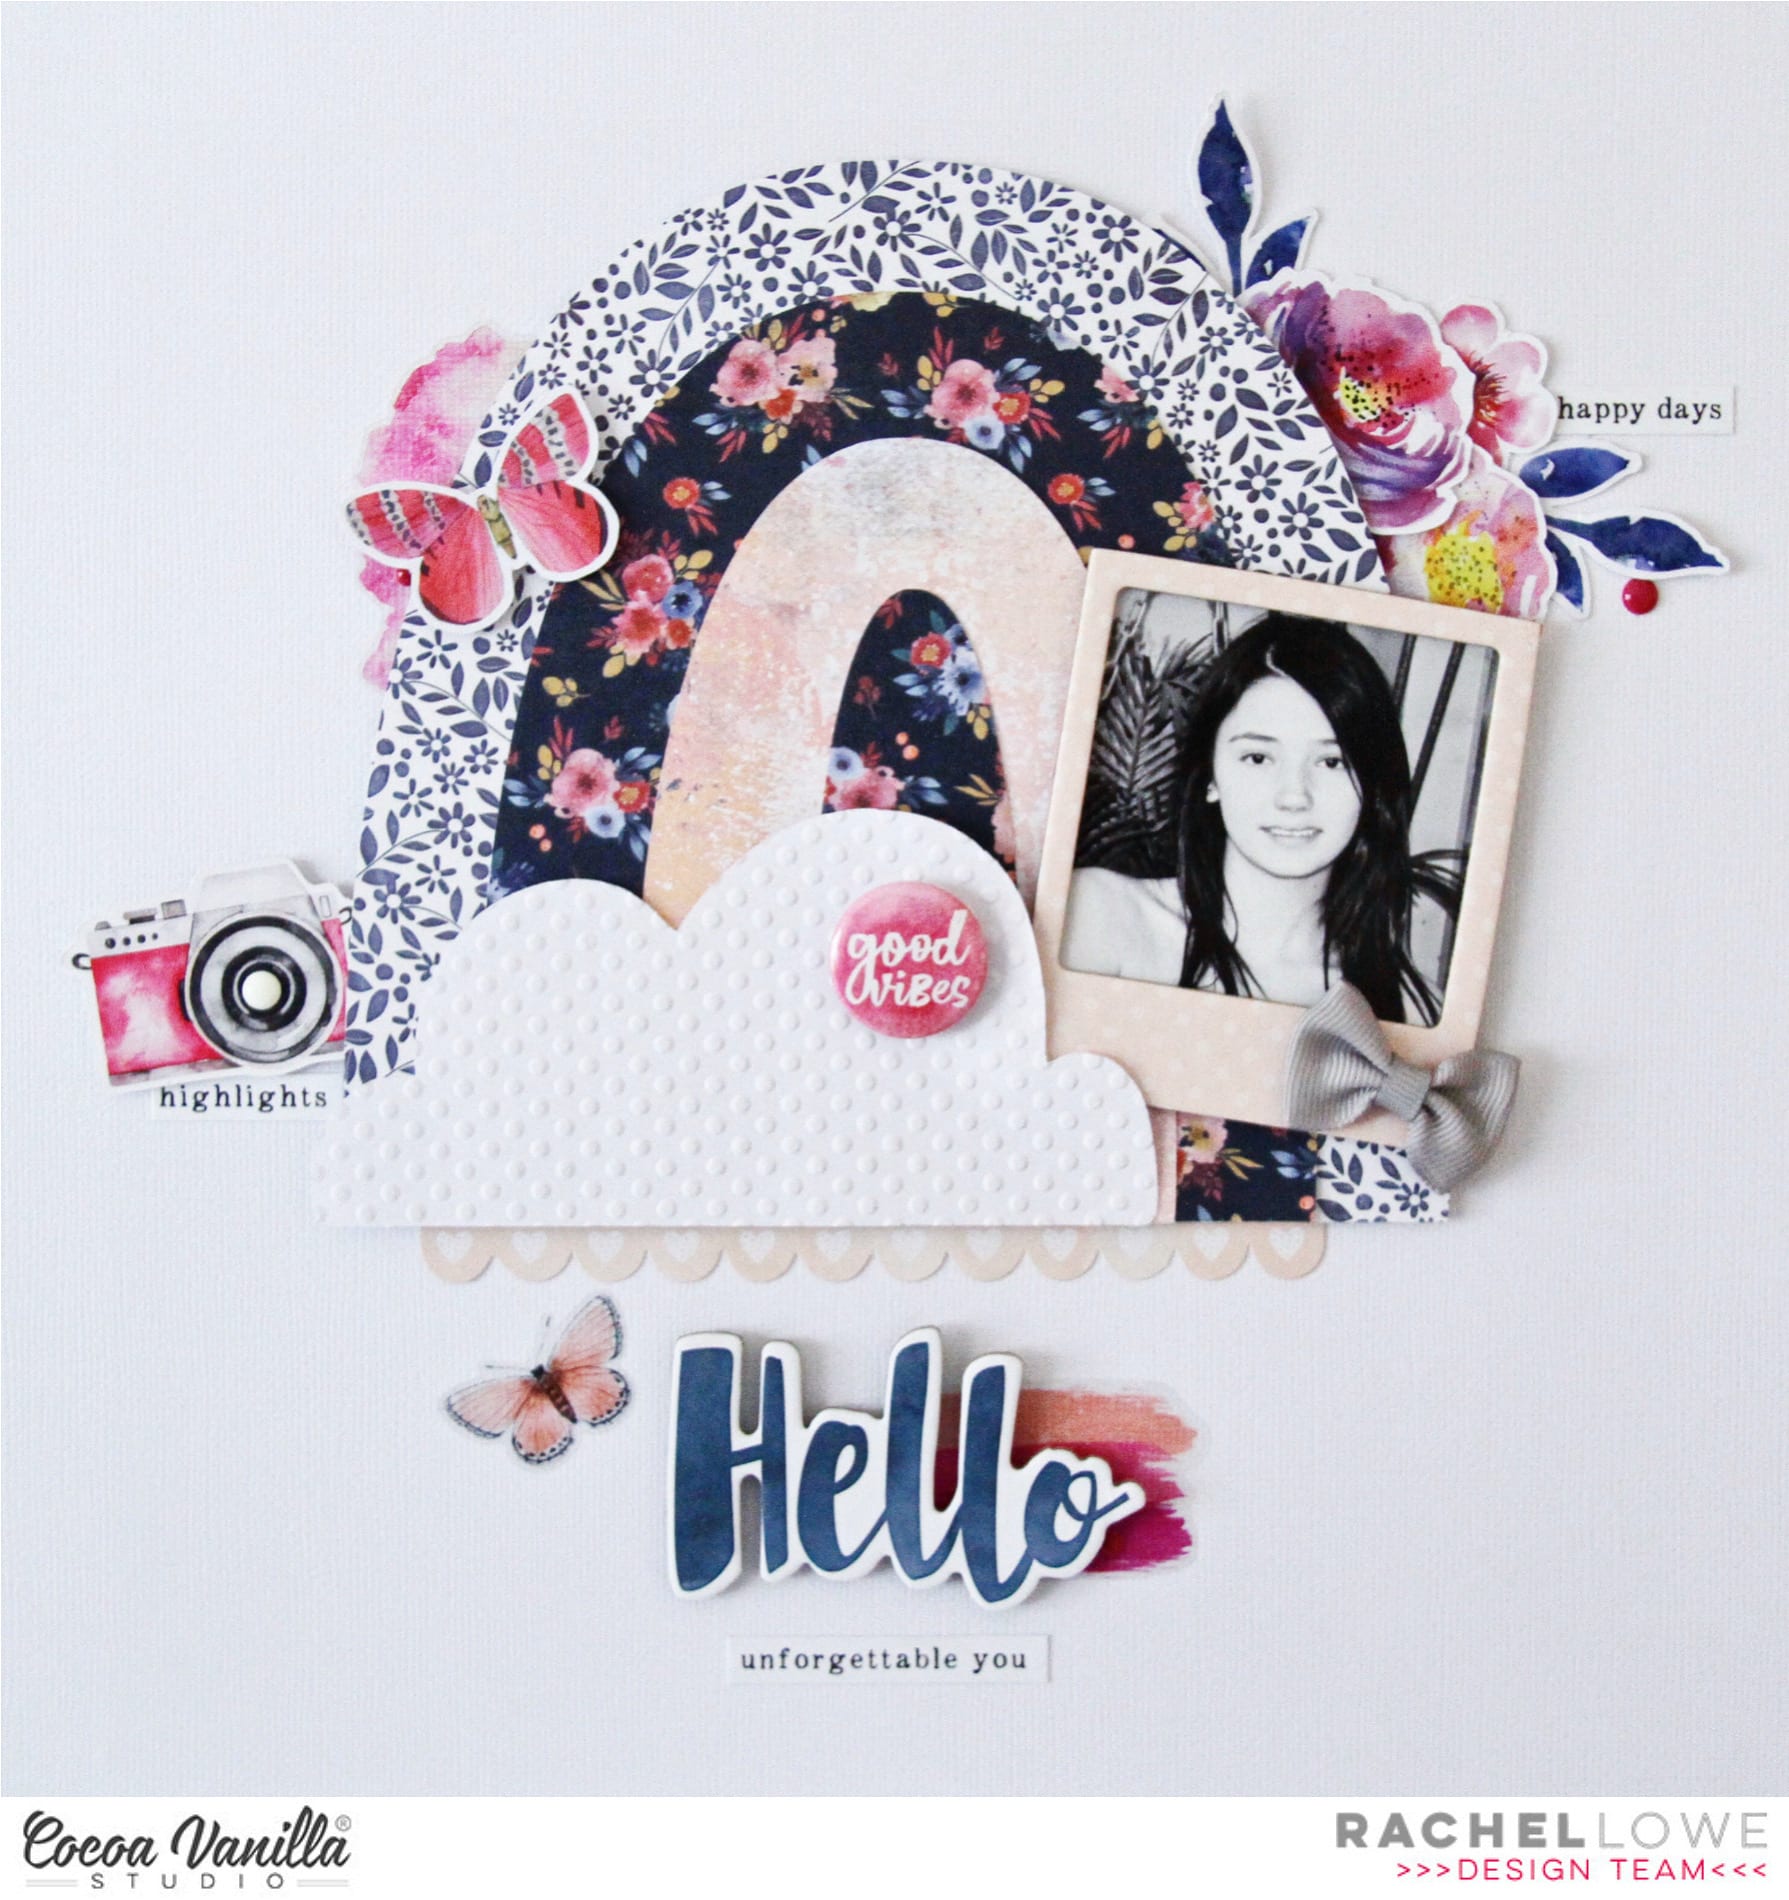
Firstly I chose this super sweet rainbow with cloud cut file (Silhouette Design store). I kept to the rule of thirds choosing three papers that coordinated. I used Navy flower vellum paper and Grow wild paper from Wild at Heart collection, the third paper is from the Midnight collection Moonlight. I added the rainbow with foam tape knowing I would tuck elements under it (and it creates a 3D effect). I used a polka dot embossing folder on my cloud which added texture and design (this stops it looking flat), I added the cloud with double sided tape.
I added a flair from Happiness collection, I chose the hot pink ‘good vibes’ one as it contrasted against the white.
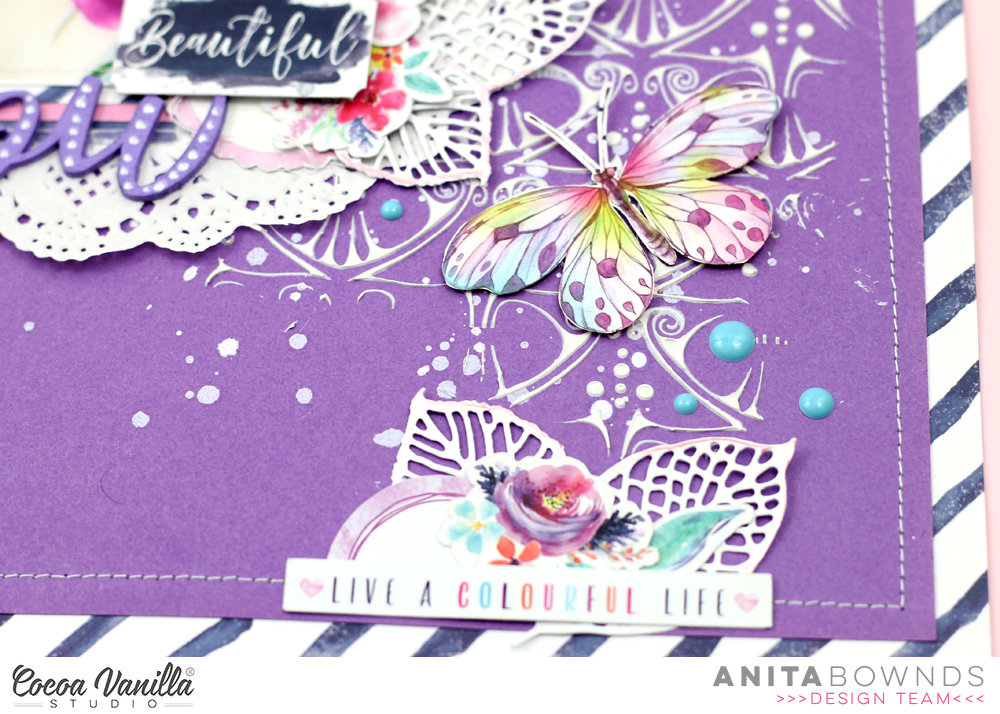
I then used a mix of embellishments from various collections to pretty up this page. As always I added a paint/watercolour clear sticker behind my cloud and adding a die cut butterfly over it, both these elements being from the Unforgettable collection.
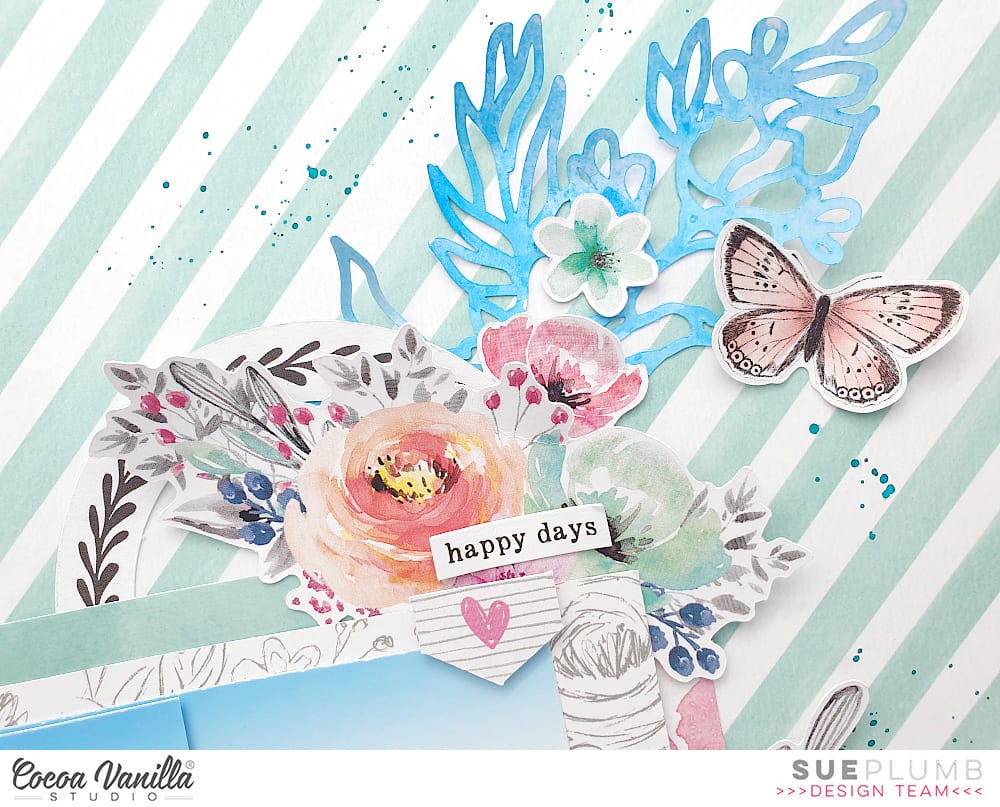
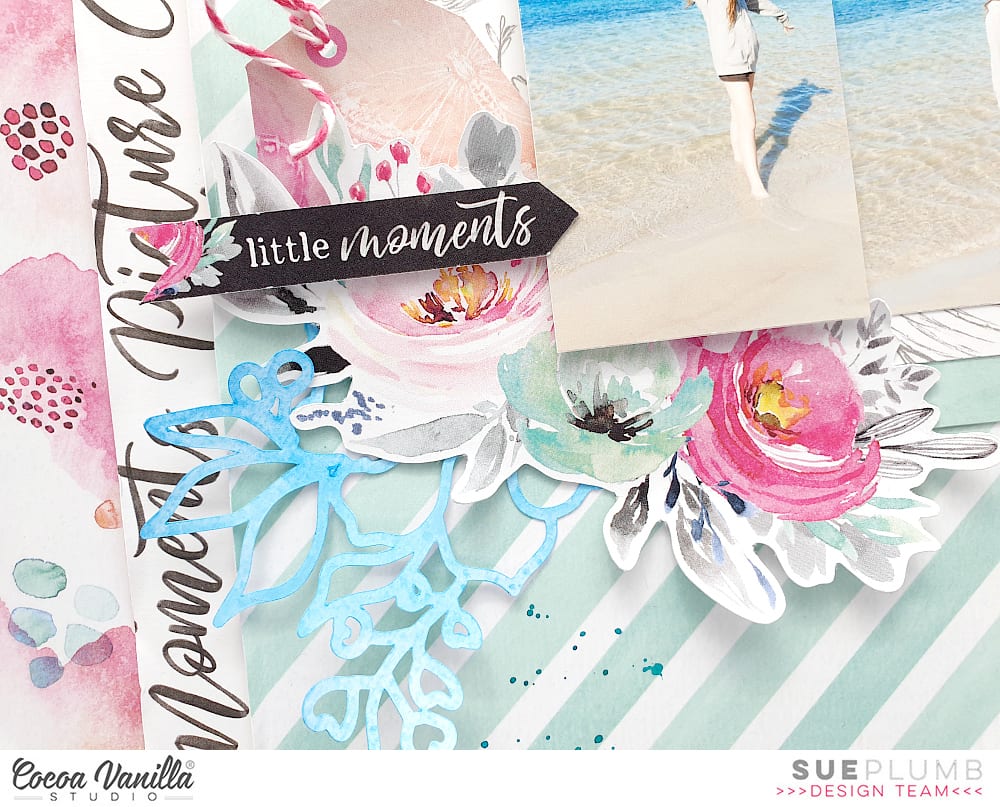
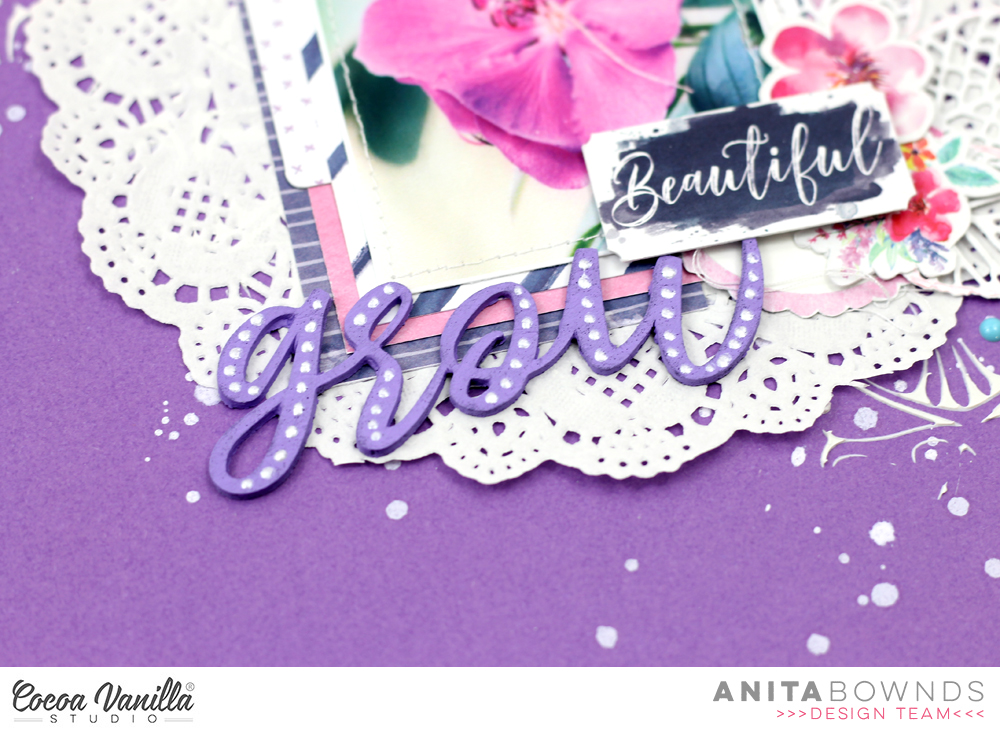
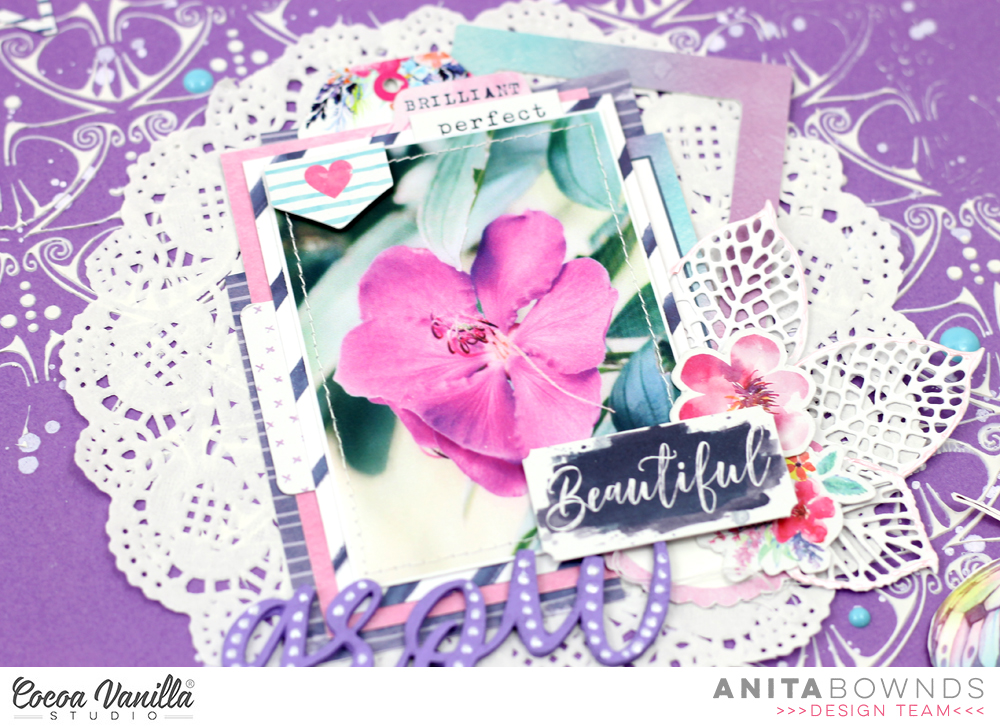
On the opposite side I added a floral cluster using die cuts again from Unforgettable, finishing this cluster off with a phrase sentiment and enamel dots.
I found a chipboard polaroid frame for my photo in a pretty polka dot peach and used a grey min bow to finish off. I added a die cut camera under the rainbow, added an enamel dot to the lens centre and lastly added another phrase sentiment.
I created my title using a mix of chipboard word (using a paint brush stroke clear sticker behind it) and accessory sticker phrase sentiment and a clear sticker butterfly. To create a visual break between the cloud and title I added a peach scallop die cut.
All thats it from me today! Thanks for taking the time to stop by and I hope you have a wonderful week.
Hi everyone! It’s Sue here to share my latest design team project with you. Today I am sharing a 12×12″ layout I created featuring the beautiful ‘Unforgettable’ collection and some recent photos of my daughter at the beach. As my daughter gets older (she’s now 12), I am finding it increasingly difficult to get photos of her, as she doesn’t enjoy posing for me as much as she used to. (Unless she is dressed up in a costume, but that’s a whole other story!) So you can imagine my delight when I managed to capture these photos of her, and I couldn’t wait to scrap them.
I chose to use the ‘Unforgettable’ collection because I just can’t pass up the chance to create something gorgeous and girly whenever I have the chance. I began my page with one of my favourite papers from the collection – the fabulous aqua diagonal stripe print on the reverse of the Sprightly paper. Instead of keeping the sheet as a whole, I decided to add some extra interest by cutting off a strip along the left edge and flipping it over to reveal the abstract watercolour pattern on the other side. Before re-joining the two, I also added a narrow strip of the Unscripted paper between them. I also distressed the edges of the joins slightly to add some extra texture.
With my page base constructed, it was then time to create a focal area for my layout. I layered several smaller pieces of paper (Sprightly; Garland; and Pretty Bits) to form a mat for my photos, adding some cardboard behind the left photo to lift it up a little higher than the other. Then it was time to play with some pretties!
I decided on three main embellishment clusters placed in the bottom left, top right and bottom right corners of my photo mat. Beginning with the top right cluster, I used a die cut circular frame and a large floral piece from the Die Cut Ephemera pack as the anchors for the cluster. It was at this point that I realised I really needed to draw in the stunning blue colour of the water in my photos. Unfortunately, this colour didn’t feature in the collection so I had to come up with another solution. I found a small floral cut file called Flower Bunch (designed by Paige Evans) that I had cut previously, and coloured it using watercolour paints.
Once dry, I cut it into three pieces so that I could use a portion of it in each cluster. I tucked the largest of the three pieces in underneath the die cuts I had started my first cluster with. I then added two smaller die cut flowers; and a small tab and phrase from the Accessory Sticker sheet. I then finished the cluster with a beautiful die cut butterfly.
For my second cluster in the bottom left corner, I again used a large die cut floral piece from the ephemera pack combined with another section of the painted cut file. In behind the floral piece I tucked a pretty little tag (also from the ephemera pack), which I tied with a little twine. I then added the little moments labelled arrow, which I popped up with little foam tape to give it some dimension.
My third and final cluster was to be my title cluster. I had already picked out the living the dream die cut from the ephemera pack for my title piece (it was an easy choice – just look at that beach on a perfect Queensland winter day). I added another die cut flower and leafy branch, as well as the remainder of the painted cut file. I used foam tape under the title, which allowed me enough room to add a watercolour style Clear Sticker under the edge.
I finished off with a small die cut heart alongside my title cluster and then some tiny splatters of blue ink scattered around my page.
Thanks so much for stopping by today so I could share this with you. I hope I have inspired you to get some supplies out and create something pretty too. (Besides, we all need to make room for the new ‘Daydream’ collection coming soon, right?!)
It’s Sophie with you today and I am sharing a girly layout created with the gorgeous Cocoa Vanilla Studio Unforgettable collection. It is a simple page featuring my sweet little girl.
I used a thick white cardstock as my background, cut about half an inch around it and adhered it on the back side of the Storyteller paper to create a border all around my page. I also machine stitched with white thread around it.
I did a few watercolor splatters on my background, centered my photo and backed it with tissue paper and adhesive foam.
I used a fussy cut card out of the same Storyteller paper as a big quote next to my photo. I punched out a few stripes of different patterned papers that I stuck down under the card and adhered everything on the left side of my photo.
I also cut out three labels out of the same patterned paper, added a white stitch around them, ruffled up their edges with scissors and placed them on the right side of my photo. The overall look is like a grid design.
Then, the fun part begins: Adding embellishments ! That’s also the part where it’s hard for me to know when to stop ! There are so many gorgeous flowers, leaves and feathers in the Die Cut Ephemera Pack that match so beautifully… It was a challenge not to put literally everything on my page !!
You might also notice that I created a few watercolor leaves of my own, that I fussy cut and arranged here and there around my page.
I truly hope that you like my layout and you feel inspired to use this amazing Unforgettable collection. Please feel free to comment or ask any questions, and it will be my pleasure to answer you !
Hey everyone, I’m here today capping off the Stars and Stripes theme this week on the CVS blog. Of course, I chose to use the amazing Legendary collection which compliments this theme beautifully.
Here is the layout that I created:
This layout is documenting a photo of my little man taken at the start of March – pre-covid restrictions here in Australia. We had taken a family drive to a small town about an hour from our house to visit the market and township. Jack decided to pose on the townships post office doorstep. I adore this photo but it does project such an innocence in this little man. Jack has such a beautiful and sensitive little heart, but certainly as I have documented many times keeps us on our toes. I chose to feature a stripe through the diagonal stripe ‘Explorer’ pattern paper that has backed my photo. If there is one paper that I would love multiples of in this collection it is this lime stripe paper (or the Woodgrain, who can pass up a nice woodgrain). Instead of using my own typewritten journaling I used the tiny word stickers in the accessory sticker sheet. I was able to make a little phrase by adapting some of the stickers available.
The main design element of this photo was a cut file tag which is called Geometric Tags and is available in the Cut To You online store. In my cutting machine software I manipulated the tag so it was bigger and wider – so I could have a giant tag on my layout. The tag features stars – which I was able to highlight by backing the cut file with different patterned papers. I used the yellow in the Wild One paper and the orange in the One Way paper.
The title of the page ‘you rock’ was created using the clear stickers. I adhere the stickers onto a white card and fussy cut around them creating my own die cut titles. I love how these turned out! I also added a flair featuring a star to this title area.
I created an embellishment cluster in the bottom left corner of the page featuring ephemera and fussy cut stars. I used the stars from the All Star paper to trace onto the woodgrain paper. This helped balance the darker elements of woodgrain in the embellishments.
To finish the page I scattered multiple fussy cut stars. These make a nice design element but also can be used to help balance out any colours that are featured on the layout. The entire layout was then bordered on a patterned paper featuring stars called Offbeat.
Thanks so much for stopping by the CVS blog today. I hope my layout has given you some stars and stripe inspiration!
Hey y’all! Laura Alberts here again with a fun way to use up those scraps at the end of a project! I find cut files are brilliant for finishing off those little scraps you might otherwise throw away and with a giant title like this one from COAPA, those scraps can really shine! I have really enjoyed scrapping tons of photos with the new Legendary collection, but this mixed media style background paper has to be my absolute favorite in the entire collection. It’s called “Offbeat” and I think it framed this cut file beautifully!
I kept the embellishing pretty simple on this layout, so as not to compete with the photo or title design, but I did squeeze in a few stars (and stripes!) anyway. Stars are a great shape for boy layouts and one that has become my go-to for masculine pages. Clustering them is super simple, they tuck into each other at the corner of a label or word phrase sticker (or both!) as well as peeking out from behind larger design elements.
The best part of any layout for me is always those tiny details that finish it off. In this case, I used a combination of enamel dots and Nuvo drops to add a bit of interest to my clusters and then added to the splattered background with even more splatters in gold! I hope you find inspiration to use your scraps too, whether it’s backing a cut file or layering behind your photo. To see this layout come together, check out the process video below!
Hi there crafty friends, Anita here with you today sharing a layout using the bohemian dream collection our theme this week is stars or stripes I have decided on stripes, I added it behind my photo and add them to the border.
I started off by trimming and Matting dreamer pattern paper behind my purple cardstock as I wanted to change it up from my normal white..I then splattered some white paint and some lavender mist across the cardstock to ass more colour and texture then I layered some texture Using a stencil and modeling paste.
Next I added a 6 inch doily in the centre to add softness to my background
I matted my photo on dreamer and beautiful mess to add the stripes and colours to blend
I embellished with ephemera and accessory stickers around the photo
I also wanted to add a bit more colour to the top and bottom of my layout by clusters of embellishments layered By using more accessory stickers and ephemera
For my title I pulled out those beautiful foam titles from unforgettable and painted it purple and add some pearl drops for texture
(Tip)
Tucking ephemera and stickers can add that extra texture and layer to help it not be so Plain
(Tip)
Also cutting out the negatives of your stickers can add a different texture And texture element.
I hope you have enjoyed my mixed media layout today