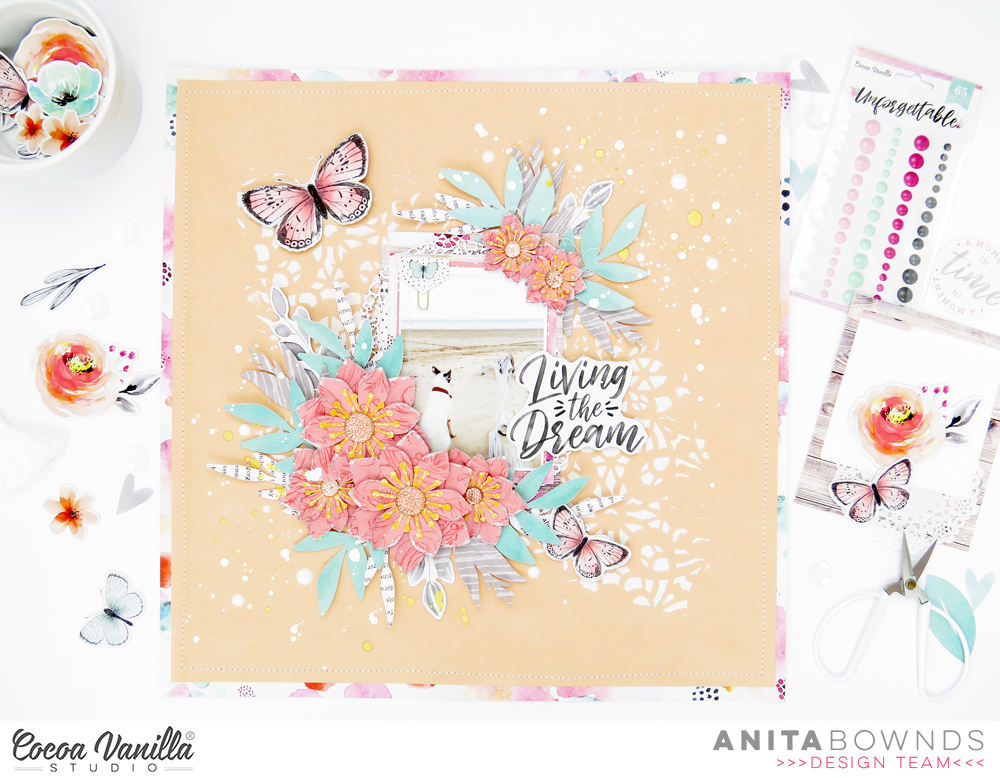
Loving EVERY Sweet Second | Michelle Stokes
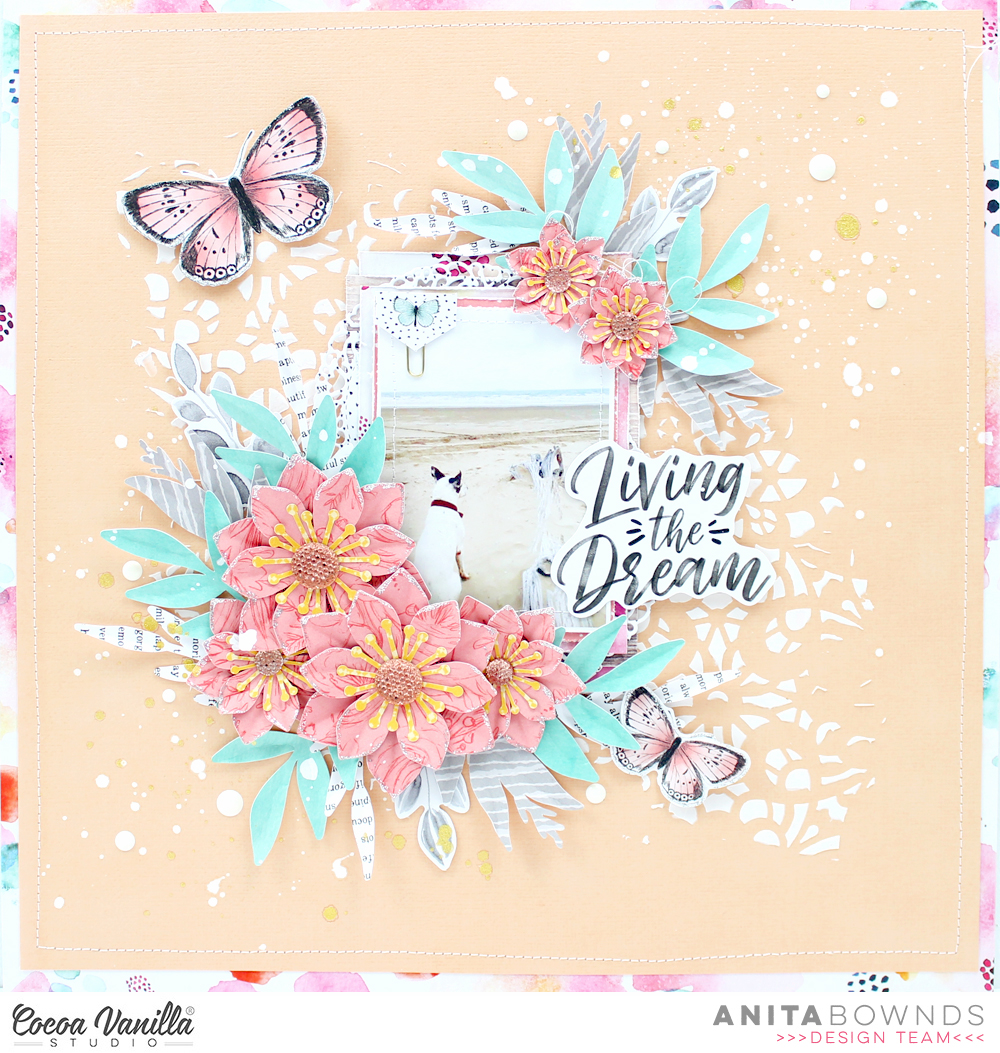
Hi Everyone it’s Michelle here with you today to share a new layout I made to round out our Mothers Day Celebrations. I hope all the mummas out there had a wonderful day yesterday with those near and dear to them. I’ve used the sweet Happiness Collection for my layout today that documents a sweet moment of Leila and I snuggling, and a cut file design from CUT to YOU.

I chose this photo from a few years back so the quality isn’t perfect, but it totally sums up one of the many things I love about being a mum. The endless snuggles while they’re still little. Snuggles these days are very few and far between, so I Cherish the ones we do have.

I cut out the cut file design from CUT to YOU (Hearts on Strings) using the EXPRESSIVE paper and used the outer edge remnants to back frame the white cardstock background paper. I used tiny raised glue dots to adhere the cut file to the cardstock to give a slight lift off the paper.

Next I gathered some complimentary pattern papers to layer under the photo, 2 of my most used colours from this collection I think, the reverse of both GOOD VIBES and EXPRESSIVE with a tiny strip of hearts from the SO FRESH paper.

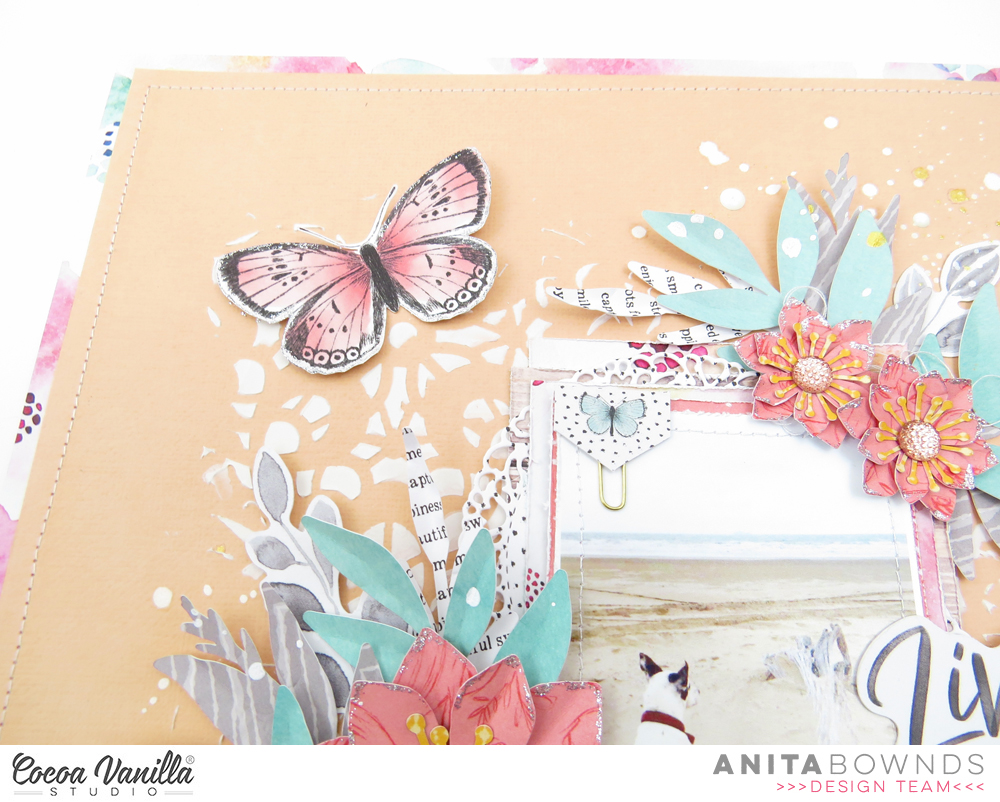
To the left of the photo I added a couple of pieces from the cut apart paper LITTLE THINGS to create a title for the layout. I also included a word sticker from the ACCESSORY Sticker sheet and some handwriting on a tag.

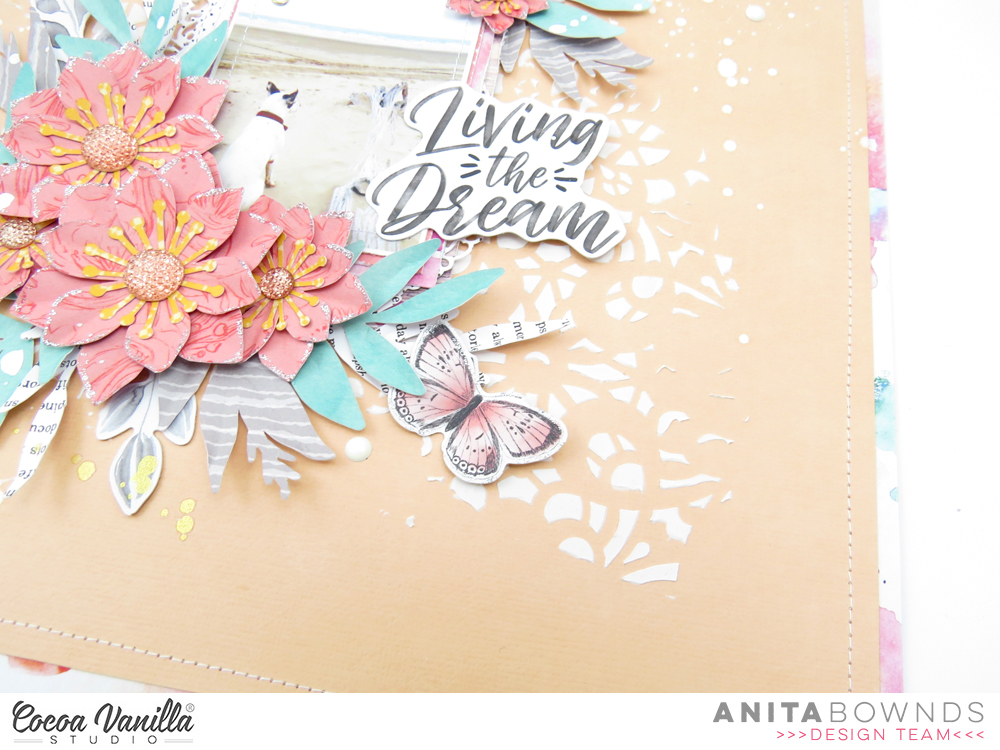
I fussy cut florals from the wreath pattern paper SO FRESH to create clusters both left and right of the photo/title piece and added some stickers from the Accessory sticker sheet and glitter enamels from the Make a Wish collection to finish them off.

Theres also a good splattering of gold colour shine around the page and some machine stitching of the edges to add a little extra fun to the layout.
Well thats all from me today. Thanks so much for stopping by and seeing my layout that celebrates a special moment in this mummas life. I hope you can share your precious moments with us too in the CVS Facebook group. We do love to see what you all create using CVS products.
Until next time, Happy Scrapping!
Michelle x


 I found a really lovely cut file designed by fellow team member Gwen from Cut To You, I cut it out from white cardstock and then backed the hearts at the top of the cut file with the pink side of the
  I chose the ‘B’ side of the
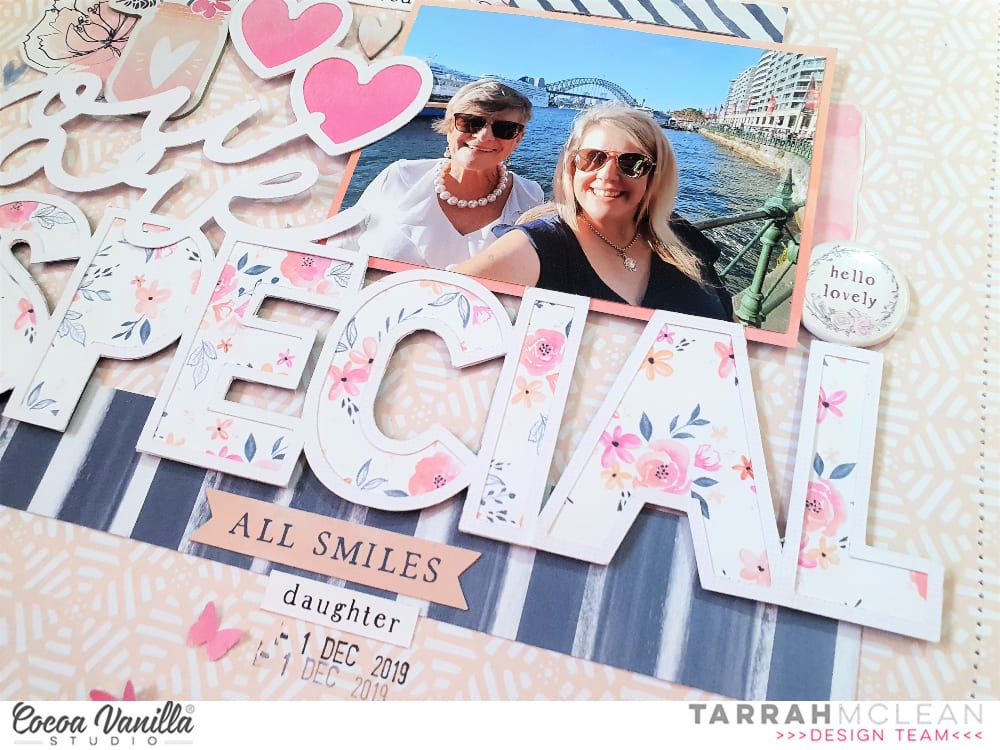 I tucked in one of the cute die-cut frames from the die-cut ephemera pack into the top of my photo, I then took one of the paint strip clear stickers and added it to white cardstock, I then fussy cut it out and tucked it into the right side of my photo. I also added one of the cute flair buttons here. The jar and flower chipboard piece fit perfectly there just above the ‘You’ in the cut file, I love how this looks here. I also tucked in one of the floral die-cuts to the left of the jar to bring in some more of the florals to the page. I also added a few chipboard hearts and also a clear sticker heart too. Lastly I added some of the accessory word and phrase stickers and the date stamp to finish off!
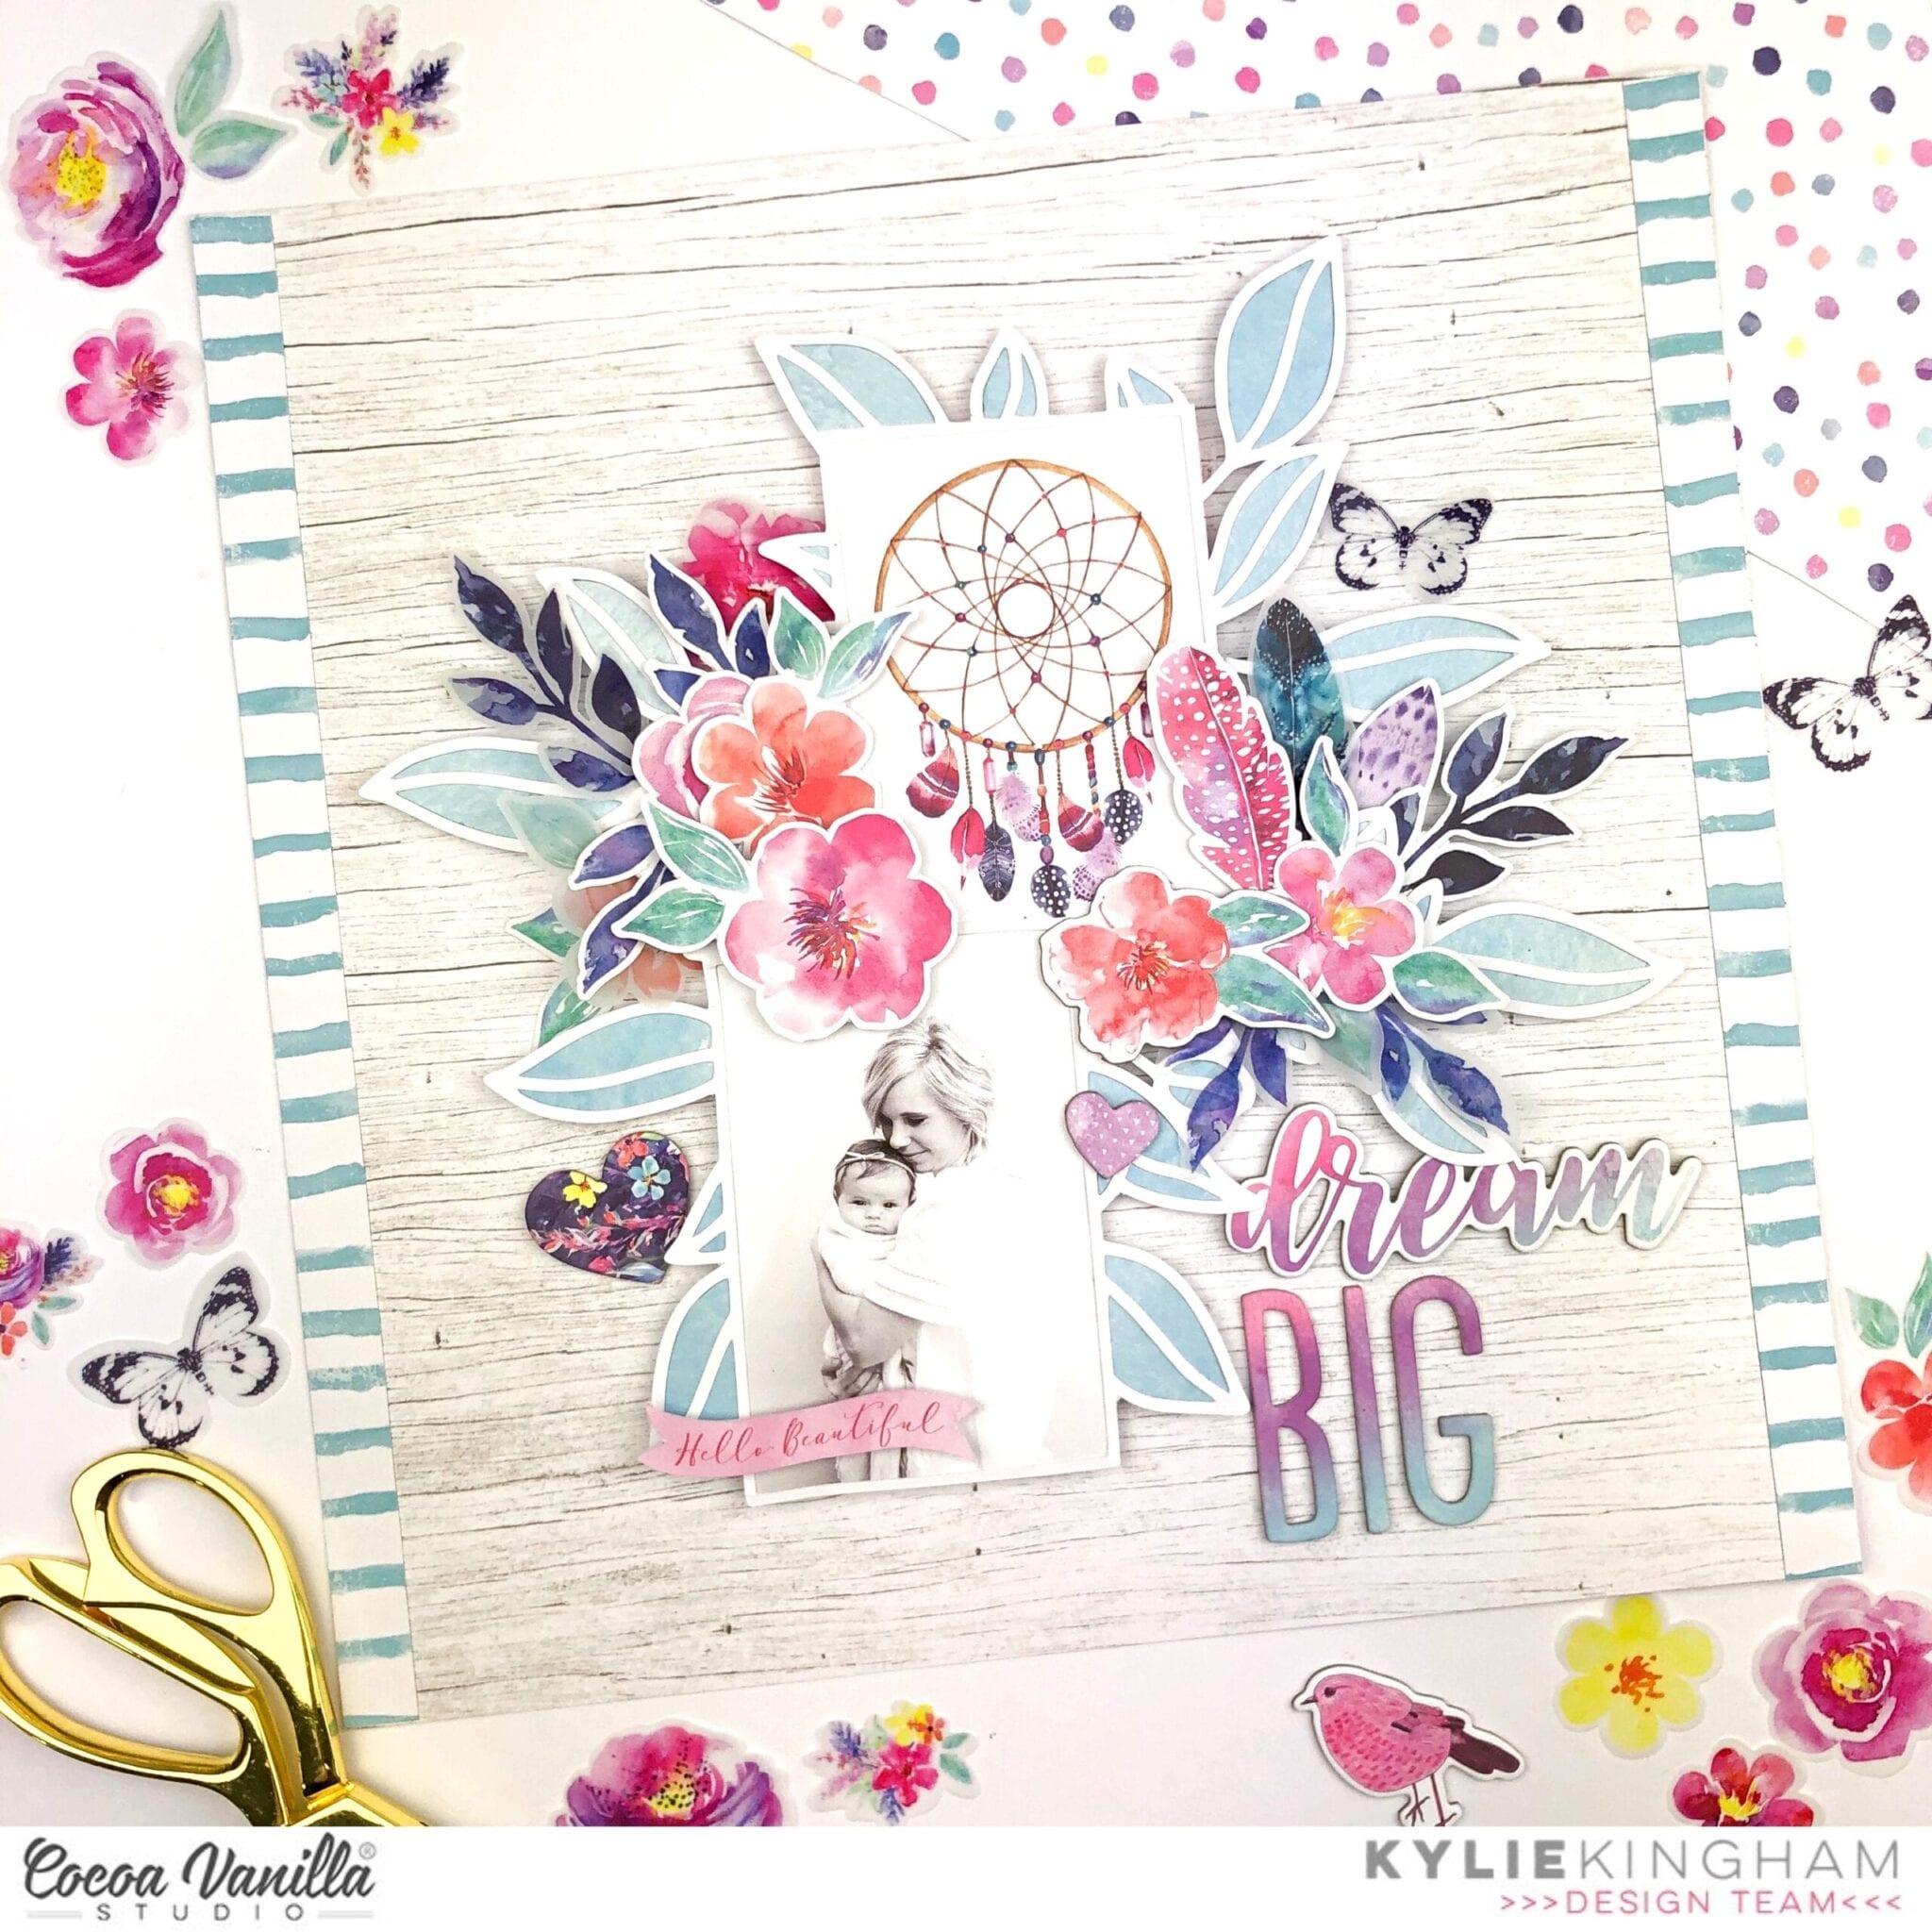
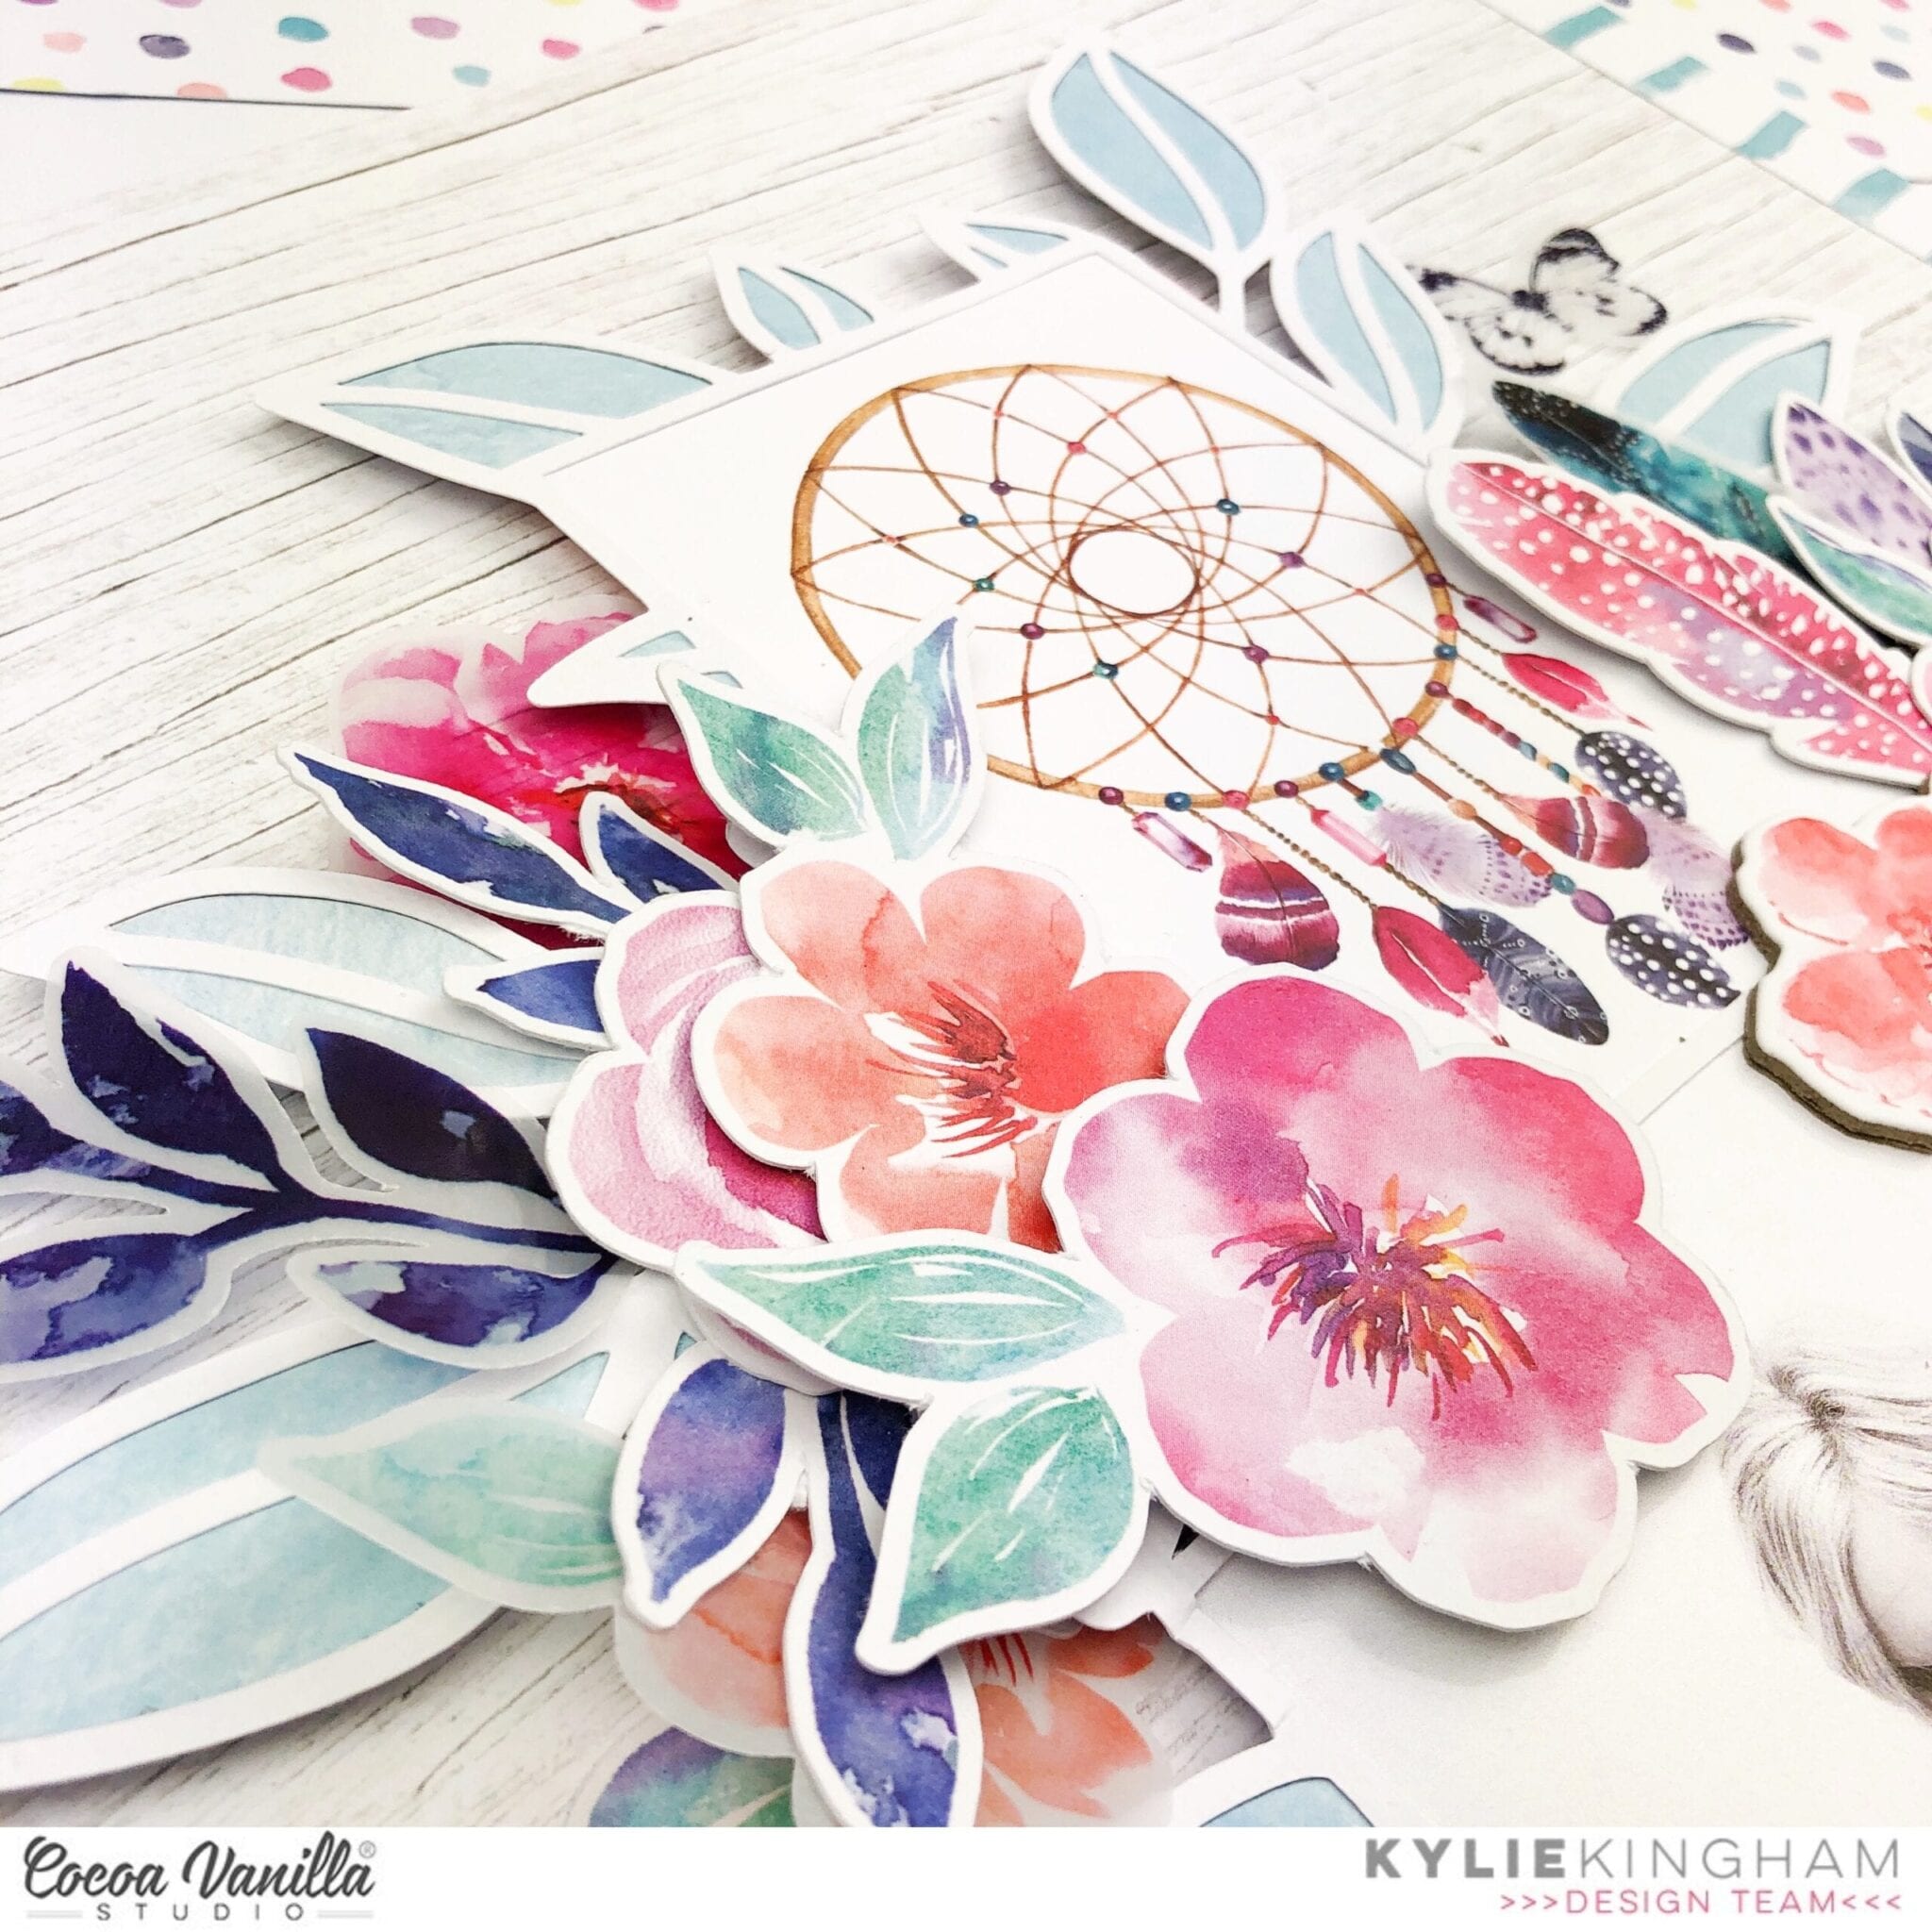
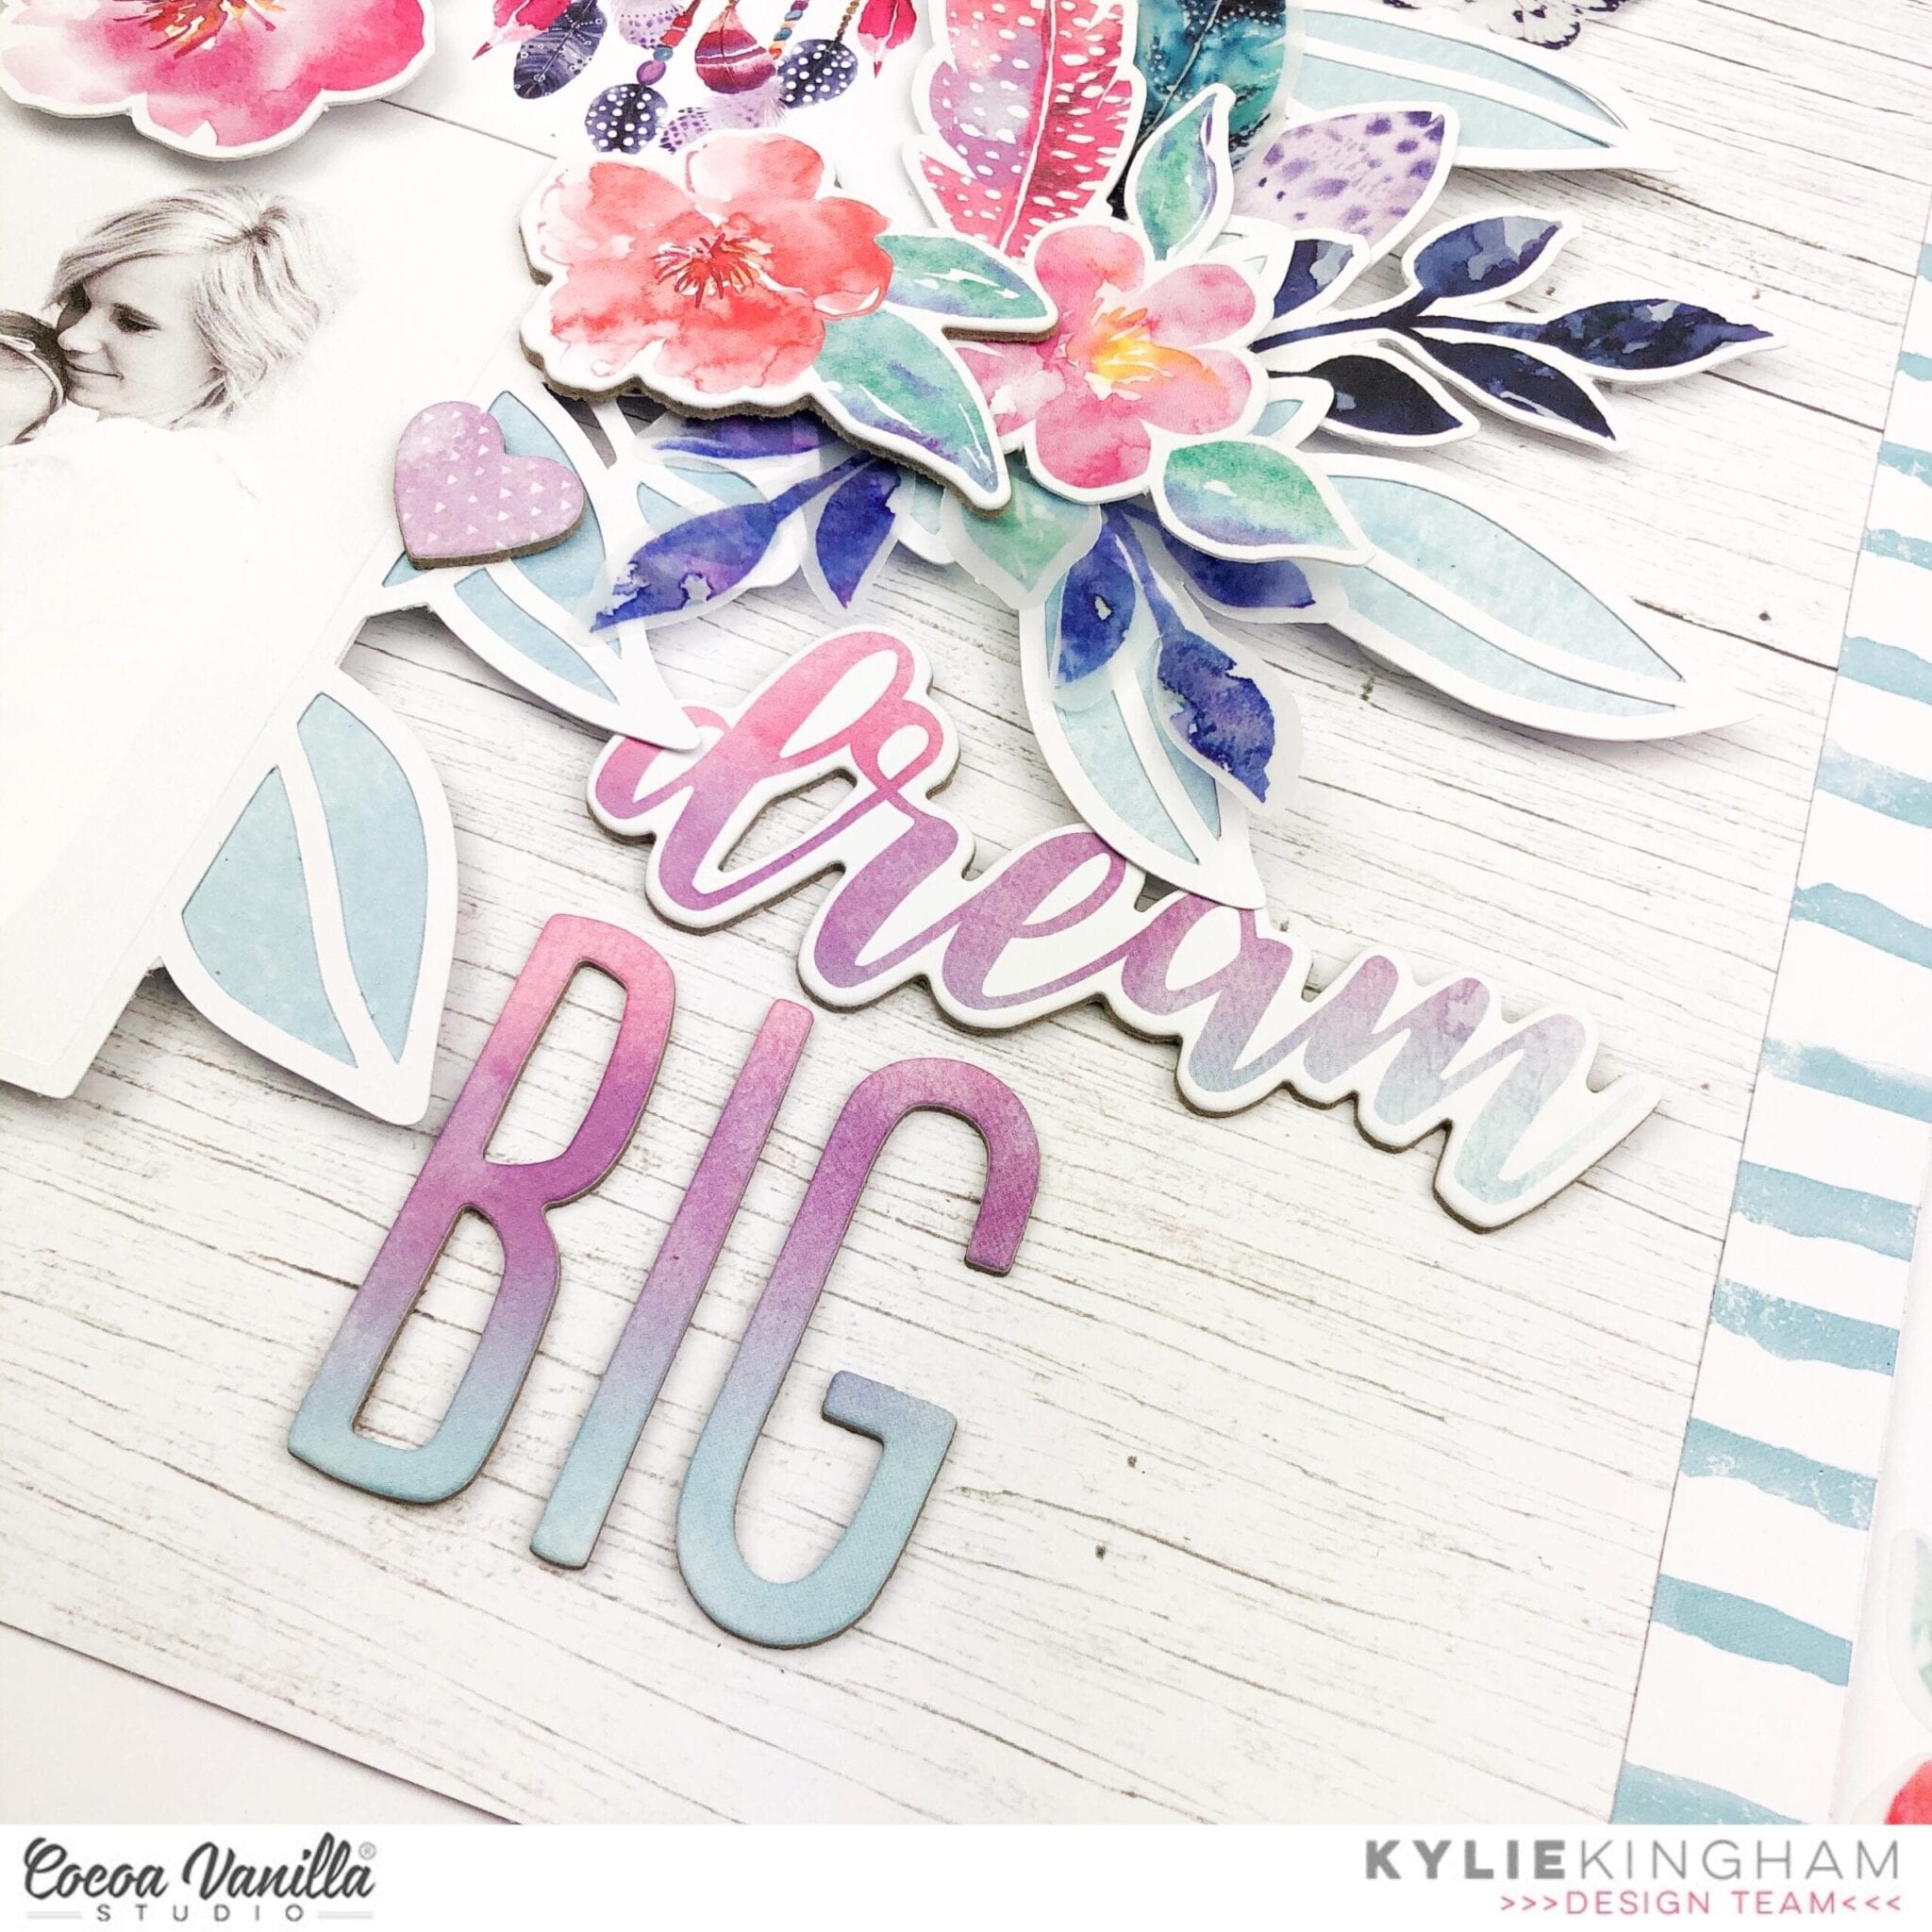
 I have used a fun cut file from Silhouette Design store, I chose it so I could use more of the designs on one layout.
 I then added my photo and again with foam to create more height. I chose to create an embellishment cluster around my photo, using the
  I used the accessory stickers to add my subtitle/journalling.
 I have used more foam tape to add die cuts to create more height and added some
  I love all these colours together but because I didn’t want my layout to look ‘too’ busy I was careful when it came to my embellishing.


 What I loved about the page kit was the paper strips were already designed to a length and width. Being a smaller layout, I was able to trim these narrower and shorter and still get the desired effect. I machine stitched the strips to the page and was able to curve the ends inwards to create dimension.
 I did add a couple of products from my stash to this page, but they were minimal. One thing I added was a piece of pink patterned paper from the ‘Make a wish’ collection to frame the whole layout in. I felt that the layout needed a border to ground it. I also machine stitched around the border. The other thing I added from my stash apart from white cardstock was the wood veneer pieces, they were from both the older collection Free Spirit and Colour me Happy. I had forgotten that I had them in my stash and were a surprising and welcomed addition to help complete this page. They added that finishing touch that I was after.