Incredible adventure | Legendary | Anna Komenda
Hello Cocoa Vanilla fans. It’s Anna here with fresh from the oven page. I got my stash of brand new “Legendary” collection and I knew I had to use it right away. You know I am a mom of two girls, big fan of flowers and pink, but Cocoa Vanilla masculine lines are always so colorful that I would want them anyway. “Legendary” line is also perfect for all your outdoor adventures and this it the way I decided to use it first. I am planning some mini album with my oldest, furry child, who is a good boy but I needed a warm up first.
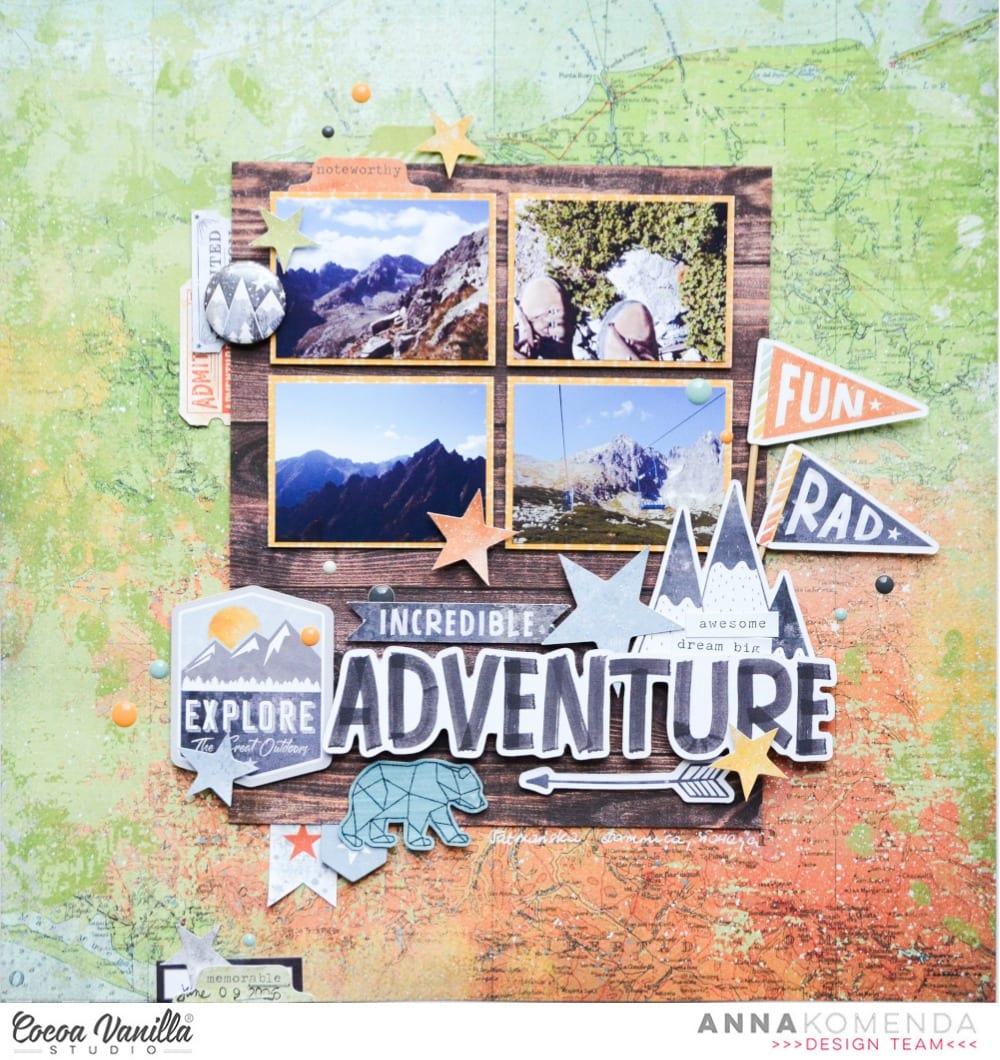
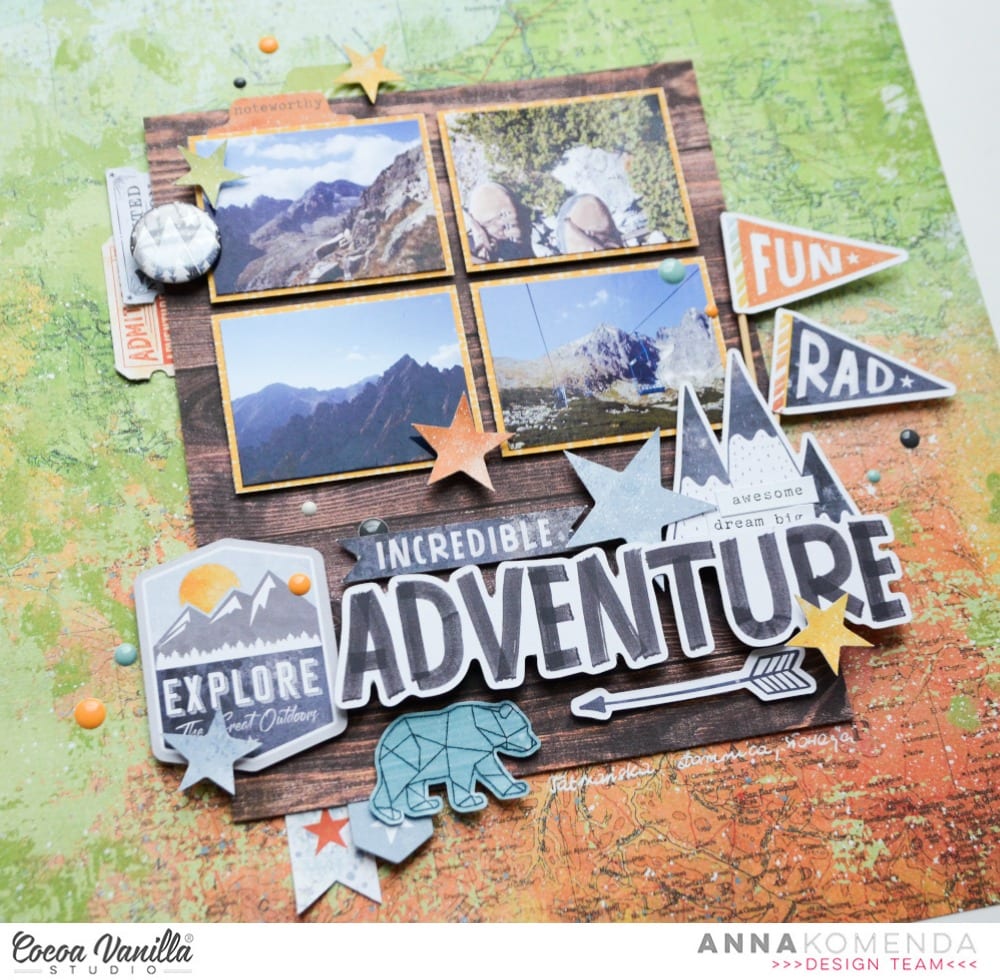
I was very inspired by the paper with a map pattern “Outdoors type”. Because let’s be honest – what can be better as a background for travel page? The problem is that I love the B side too… Such a pretty wooden pattern. So I combined them both :) They look amazing with my photos taken in Tatry mountains during our first (me and hubby) trip as a couple. It was time before fancy cameras and I do not have many decent photos from that time. I managed to pick few when we were reaching a high peak using a cable car. Landscape from above looked amazing that day.
I picked some ephemera pieces that may fit the travel theme and gathered then under the photos. I also added a title using a word from “Die cut titles”. This is such an amazing product and it makes adding titles so easy. You can use words separately or build longer sentences.
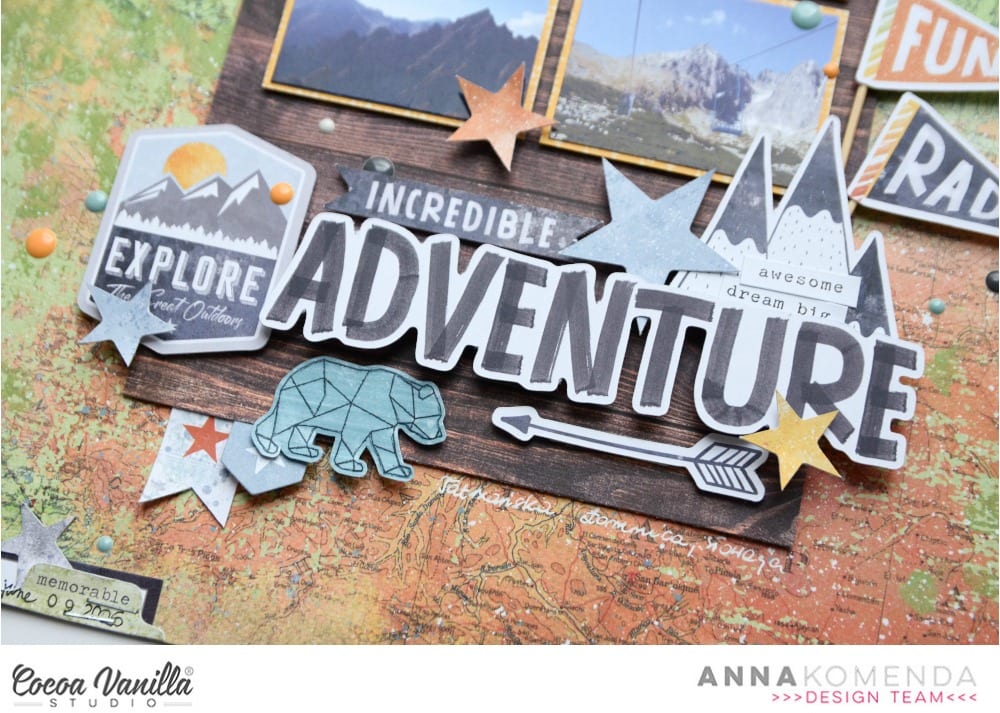
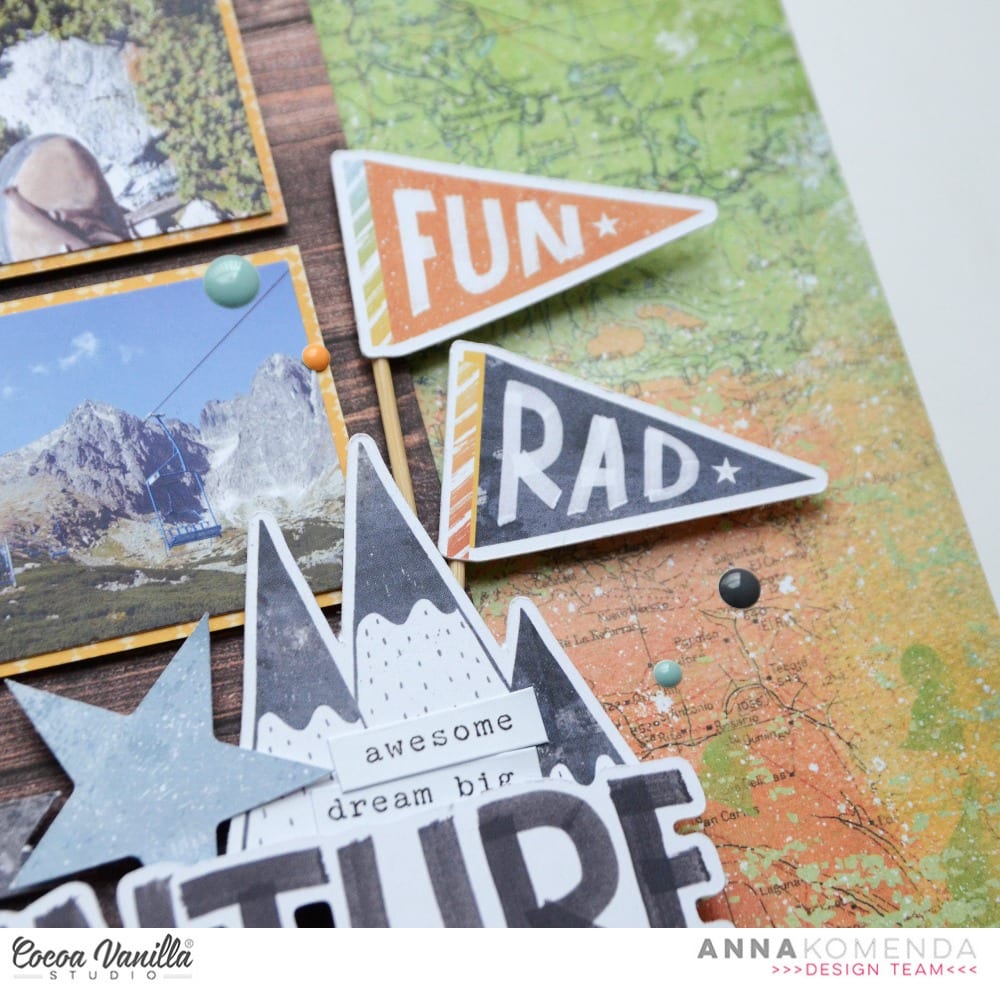
I also have an idea for a very simple embellishment – add little wooden sticks to the flags included into ephemera pack and you will have some dimensional element to add to your projects. I placed my flags over the mountains silhouettes.
I finished my page adding date stamp, few stars and enamel dots. Did you noticed that they are back to the CVS products range? “Unforgettable” collection had them and this line also has matching ones. I love this product and I am so happy to see it back.
That is all for today. I hope you love “Legendary” line as much as I do. It’s appearing in the shops around the world already if you feel you need to have it right away (BTW – I know you do :D). Thank you for stopping by and see you in March.
XO Anna


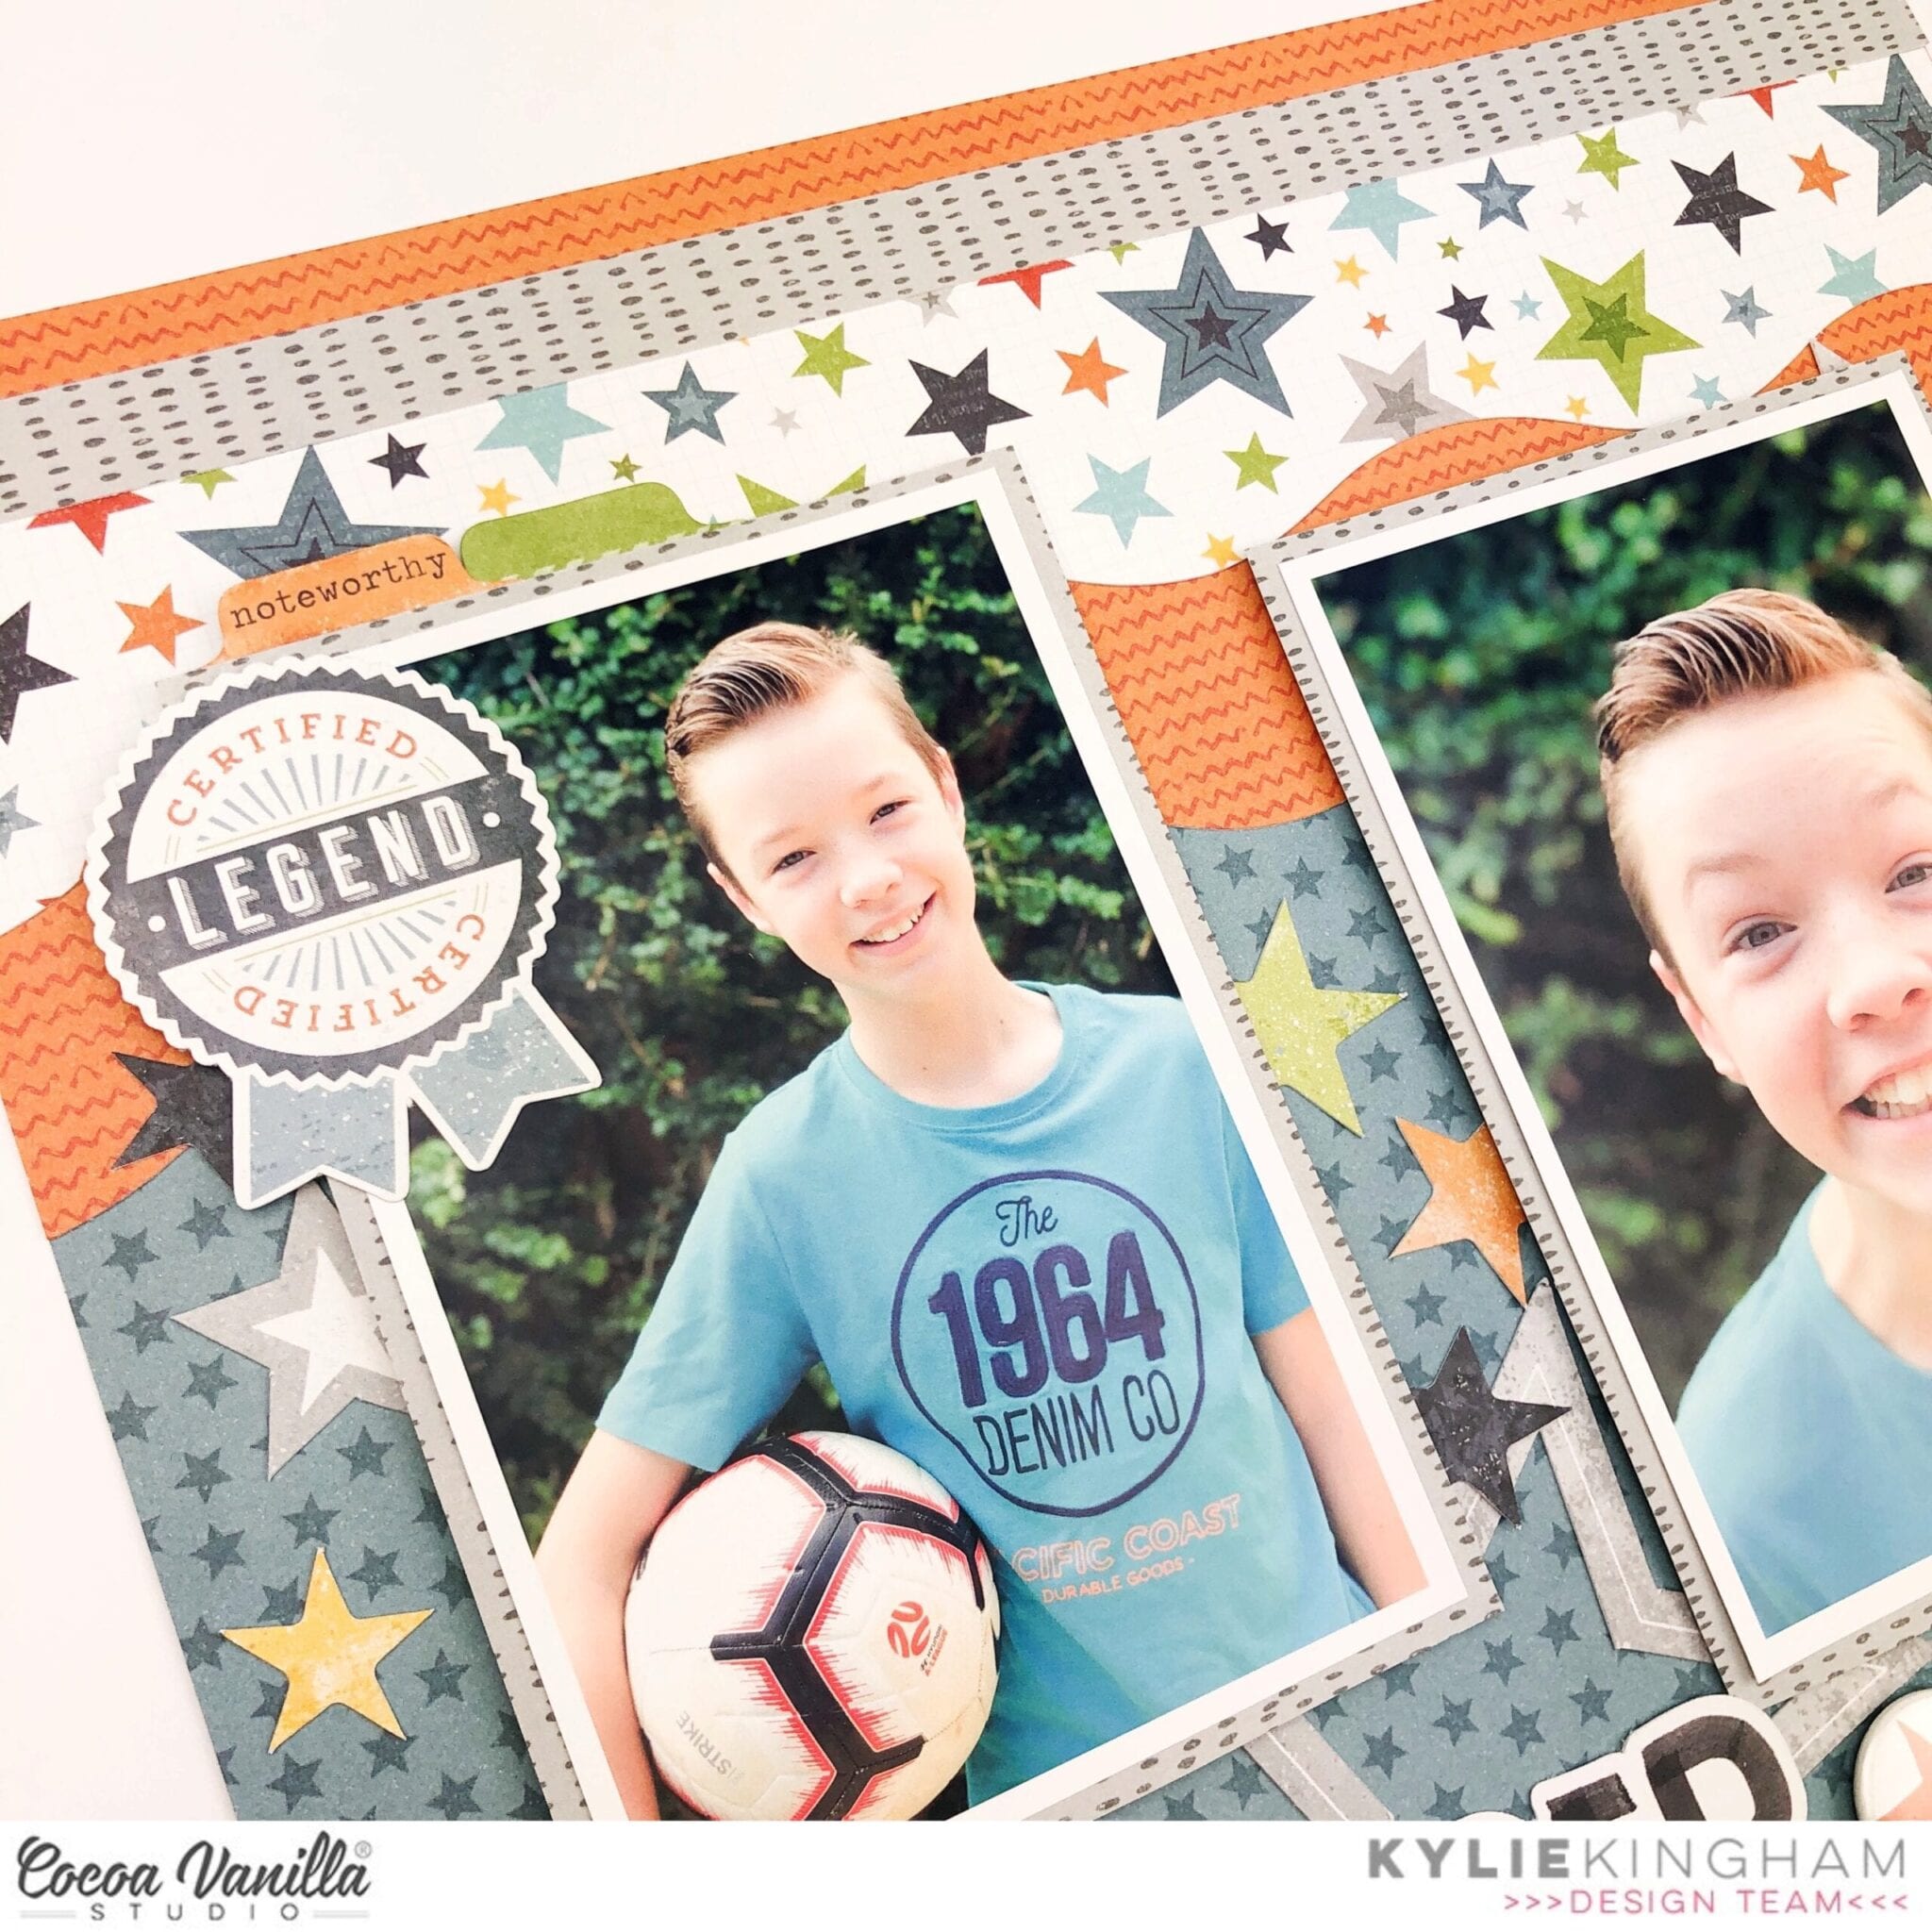


 One of my favourite papers from the collection is the rainbow one called ‘Wild One’, I love how it is in a diagonal design! I trimmed it down slightly and added it to the ‘Explorer’ paper, I like the navy as a mat for the page. I then cut out a diagonal triangle cut file design from The Cut Shoppe from white cardstock and placed it over the top of the paper. I love how the white breaks up some of the rainbow paper. I machine stitched around the outside edge of the layout.
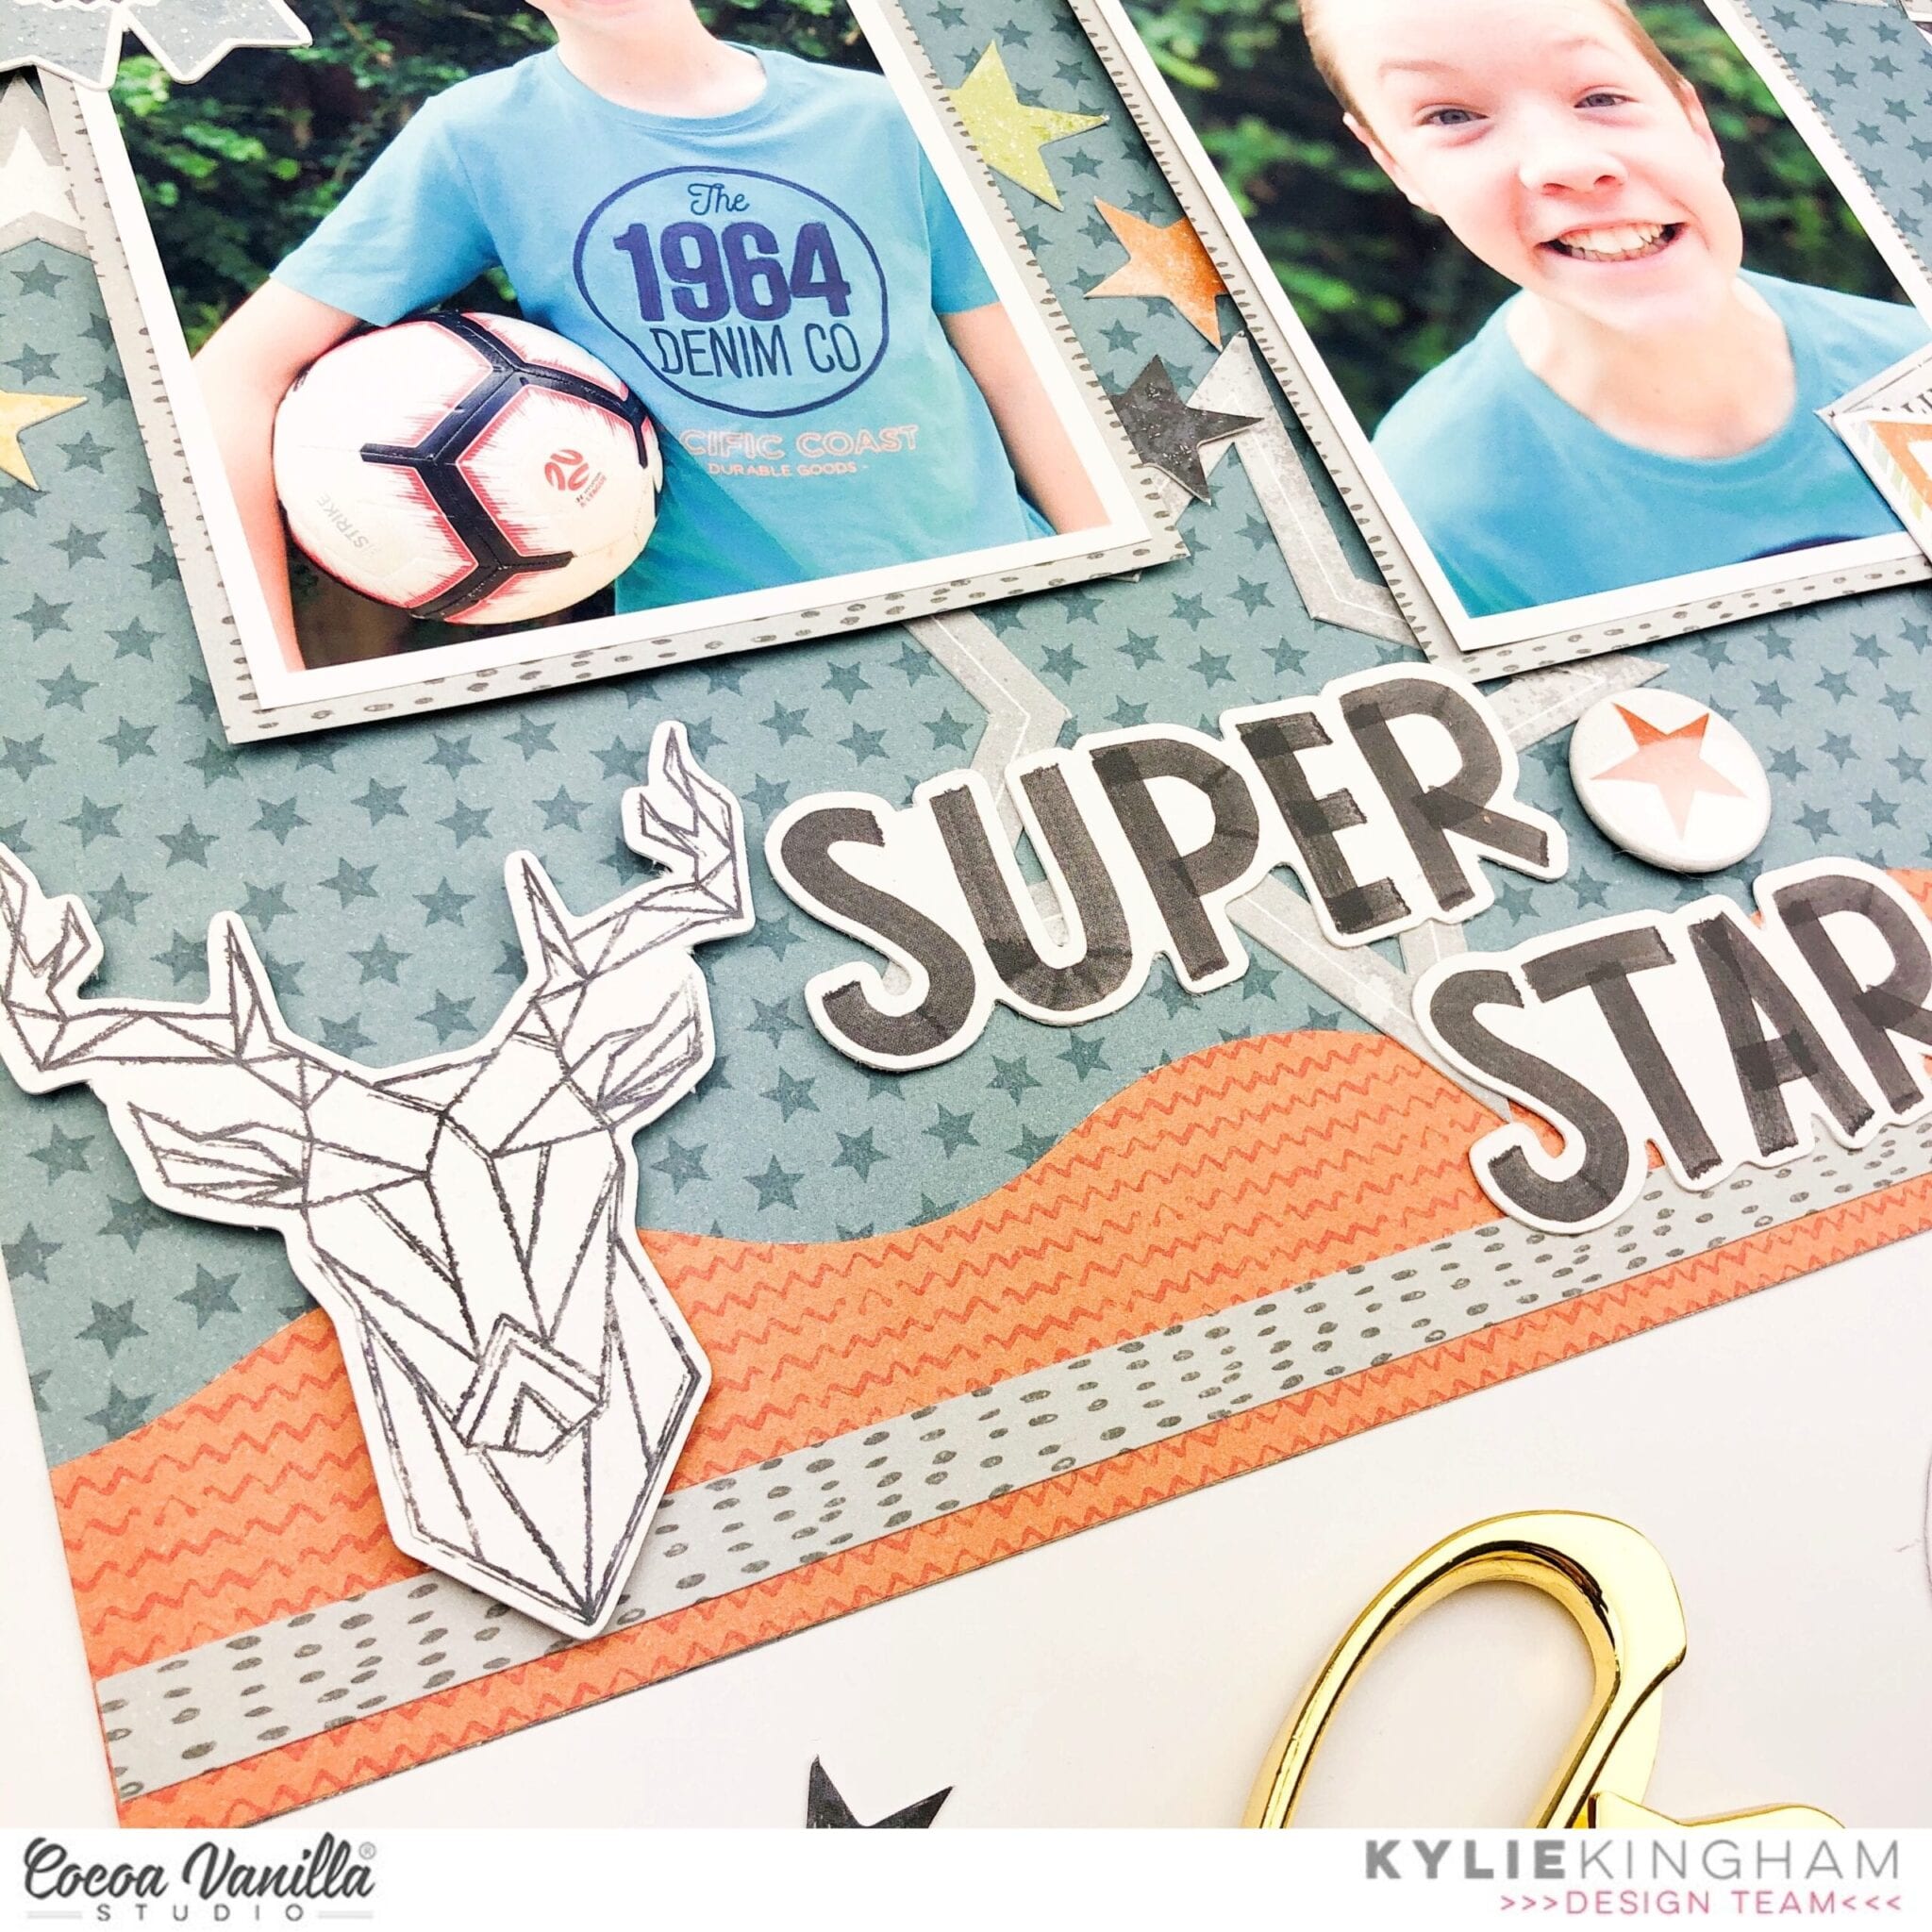
 The large stars in the ephemera pack have a line drawn on them so they were perfect to machine stitch, see the detail on 2 of the larger stars in the photo below. I matted my photo using the wood grain frame die-cut and one of the small cut out papers from the ‘Total Legend’ paper, I also stapled one of banner die-cuts to the top left corner of my photo. I adhered the largest star in the top left corner and the smaller one in the bottom right corner and then adhered my photo over the top.
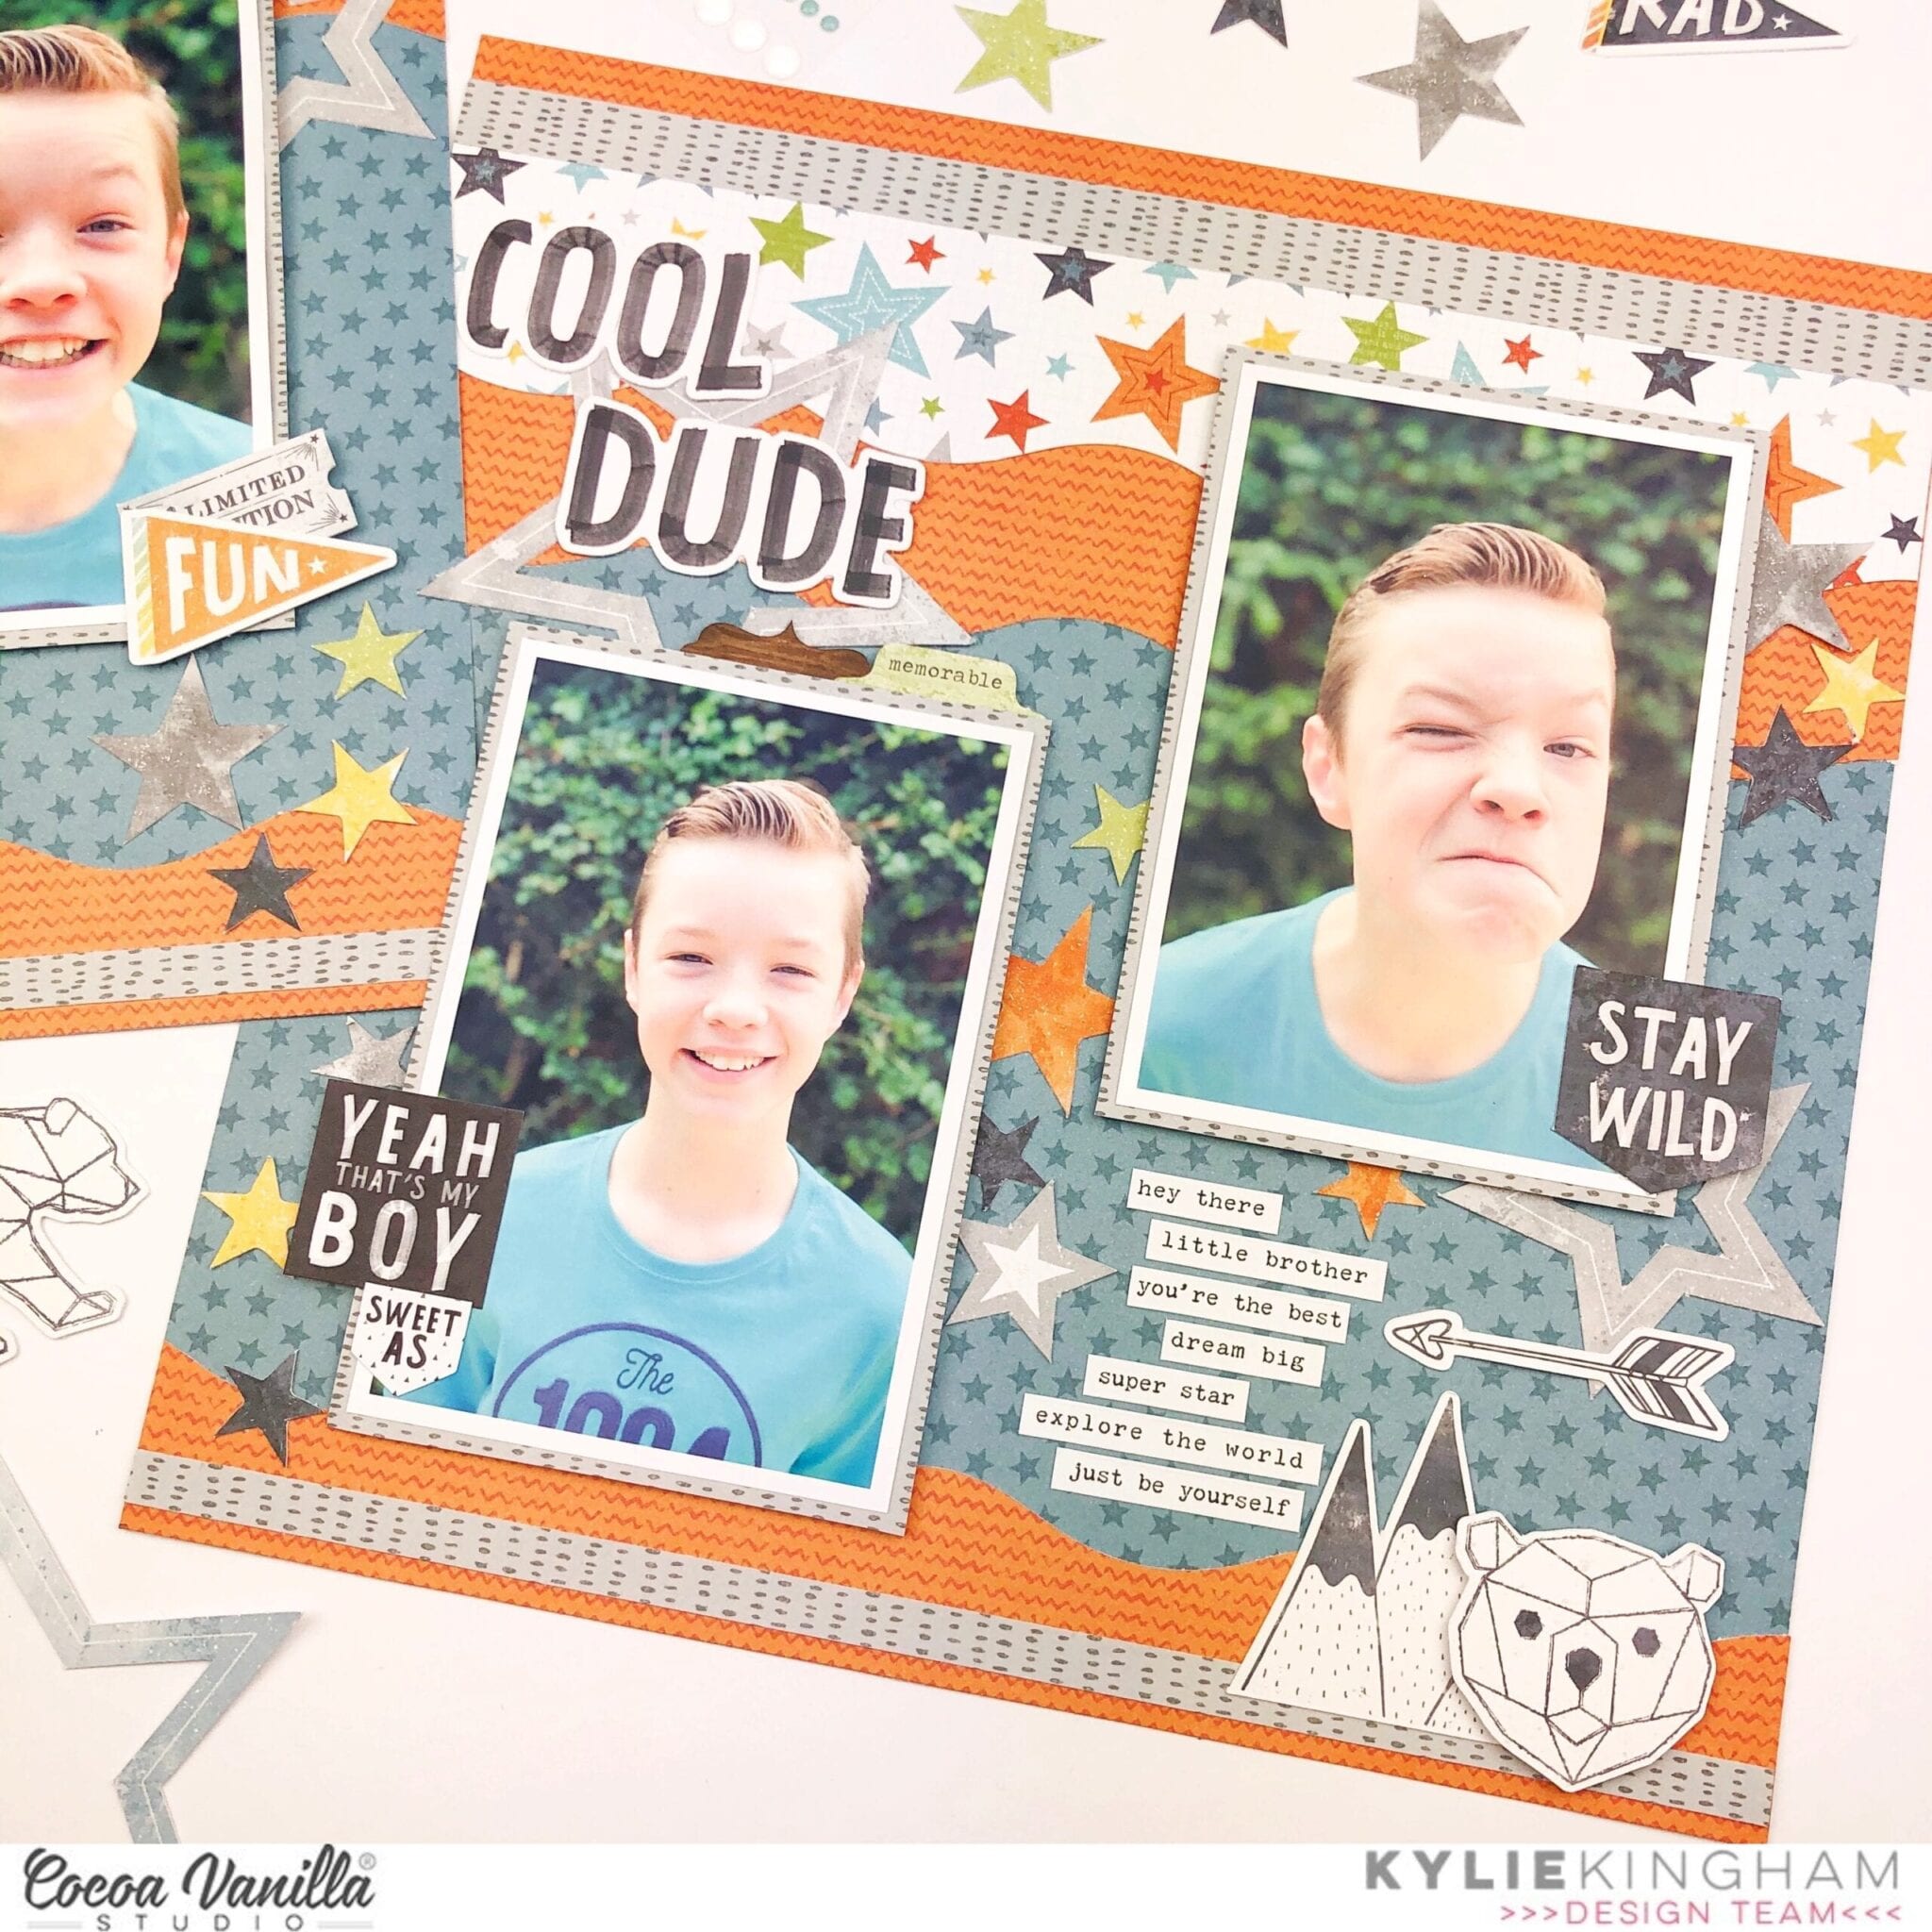
 The Die-Cut title pack are awesome and I love the font of these! I chose the words ‘Cool Dude’ for my title and popped it up with pop dots underneath and placed to the right of my photo. I took lots of the coloured stars from the die-cut pack and popped them up in rainbow fashion like the paper. I love the height and shadows this creates! I also added one of the awesome flair buttons with the star on it to the right of the ‘Cool’ word in my title. Lastly I added a few of the clear stickers, accessory stickers and enamel dots to finish my layout.
 I cut a piece of white cardstock at 10×10 inches matting it on
  I then paper pieced the bike and hearts, I used
  I used the
  I chose a
 This layout is all about pretty! Well that’s it from me today, thank you for taking the time to stop by. See you again soon!