Love You | Unforgettable | Mandy Melville
Hello everyone!
Mandy here today to share another layout using the gorgeous new Unforgettable collection! I’ve used a lot of the beautiful bright pink on my layouts so far using this collection, so this time I decided to focus on the coral and mint colours, along with that lovely woodgrain patterned paper. I love this colour combination, and I think it works perfectly with this selfie of Eleanor and I!
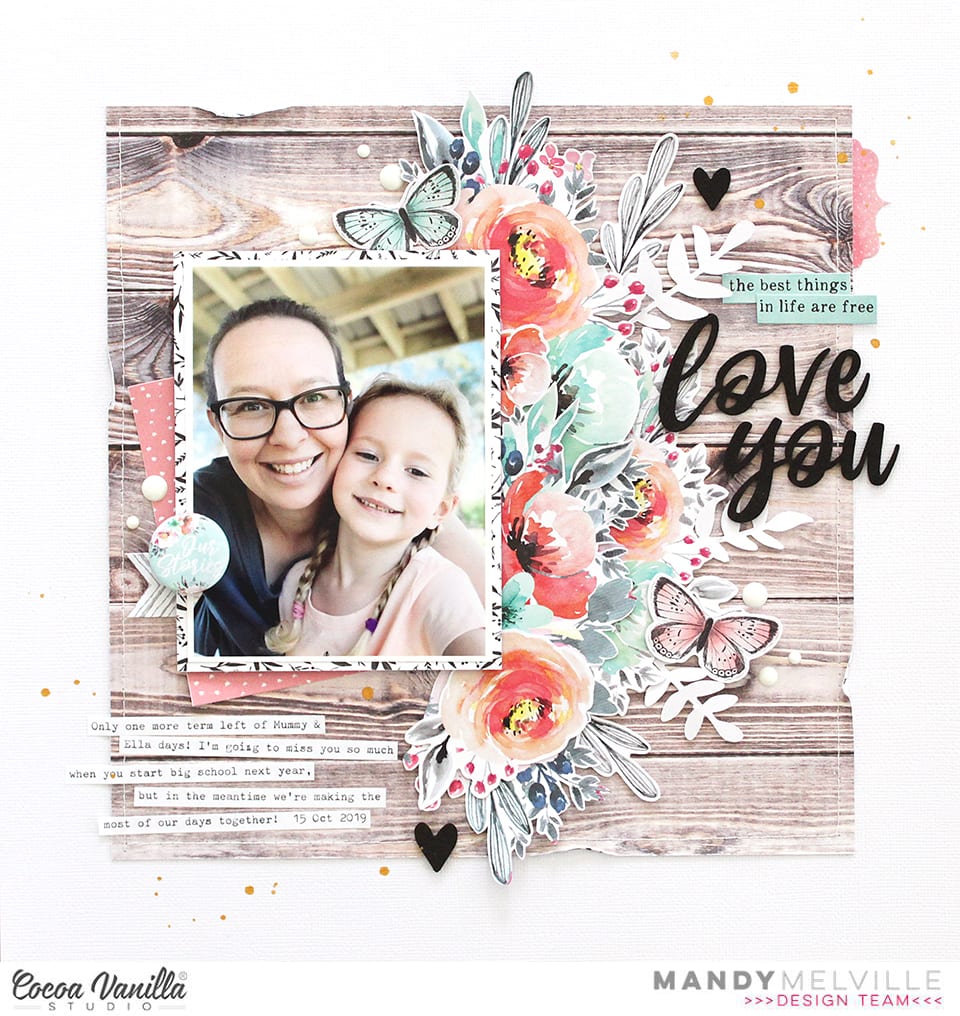
I started by trimming down the Natural Beauty woodgrain patterned paper to about 9 1/4 inches square, and adhering it to the middle of my white cardstock background. I then added some machine stitching around the edge, and distressed the edges a little as well to give it some additional texture.
Next I fussy cut a couple of the floral clusters out of the Glorious patterned paper and I arranged them vertically down the page to make one large floral cluster. I chose clusters that had more of the coral and mint colours in them, and then covered any of the pink flowers with floral die cuts that matched my colour scheme. To bulk out the cluster even more, I tucked some additional die cut leaves and flowers around it, and I also added some leaves that I cut on my Cameo using the Unforgettable Cut Files.
I matted my photo with the reverse side of the Natural Beauty patterned paper, and I also tucked a 3×4″ piece that I cut out of the Pretty Bits patterned paper under the left hand side. To add a little bit more interest to the left hand side of the photo I also added a little flag banner sticker under the side of the photo and I adhered a flair button on the edge.

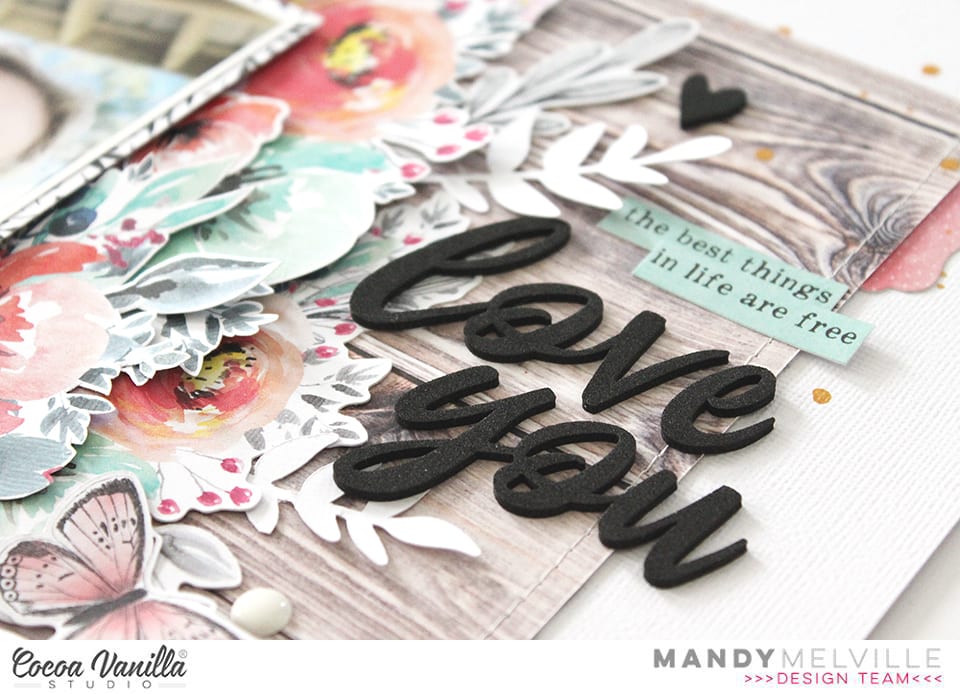
For my title, I once again couldn’t go past using the awesome Foam Title Stickers. I love the contrast that they add, and the scripty font is so pretty! I also added a couple of the little foam black hearts around the layout to create a visual triangle with the black title. Above the title I adhered an aqua phrase sticker which I cut in half to make it two shorter pieces rather than one long one.
To finish the layout off, I added a couple of die cut butterflies, a sprinkling of white enamel dots, some gold ink splatters, and lastly, my typed journaling strips.
Thanks so much for joining me here today! I had so much creating this layout, and I hope that you’ve been inspired by it!
Mandy x


 I took inspiration from the skull and cross bones design in the image and also the colours. I cut out a skull and cross bone design from black cardstock using my Silhouette Cameo and used is one of the main focal points on my layout. I popped up the skull using craft foam and adhered the cross bones flat to the page. In the eyes of the skull, I backed one of them with one of the paper s from the
  The Totally Rad collection has lots of pieces with the skull and crossbones so I pulled out what I had left and used them as embellishments. The large white and black skull and cross bones was fussy cut from the
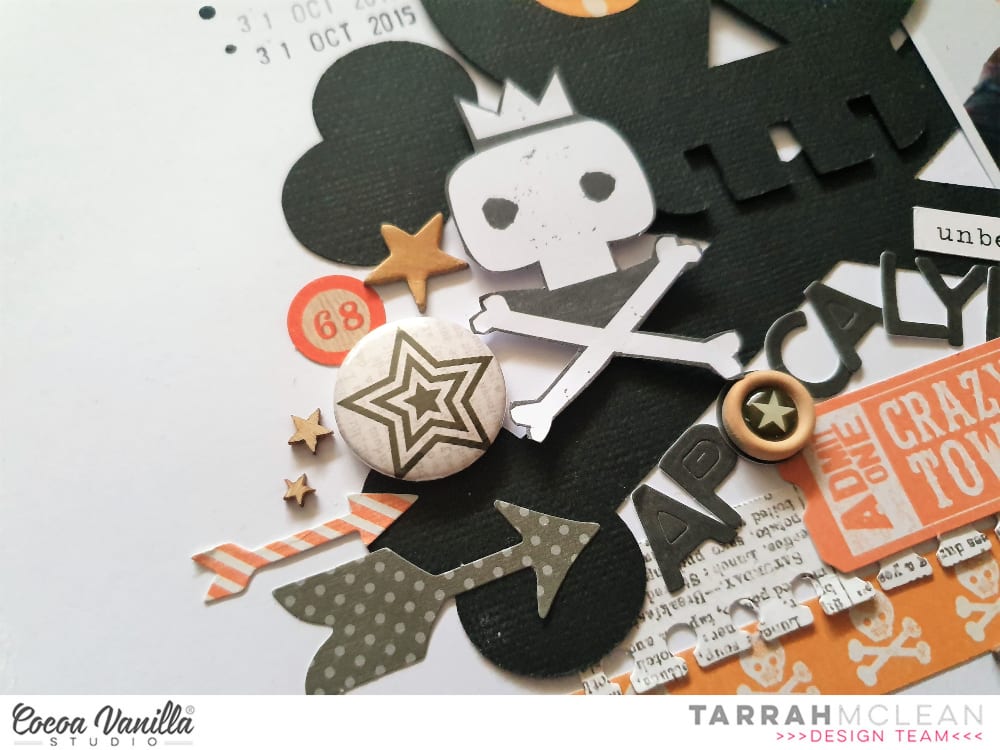 To finish off, I added the chippie crown in the chipboard pieces pack from the


 Absolutely stunning!


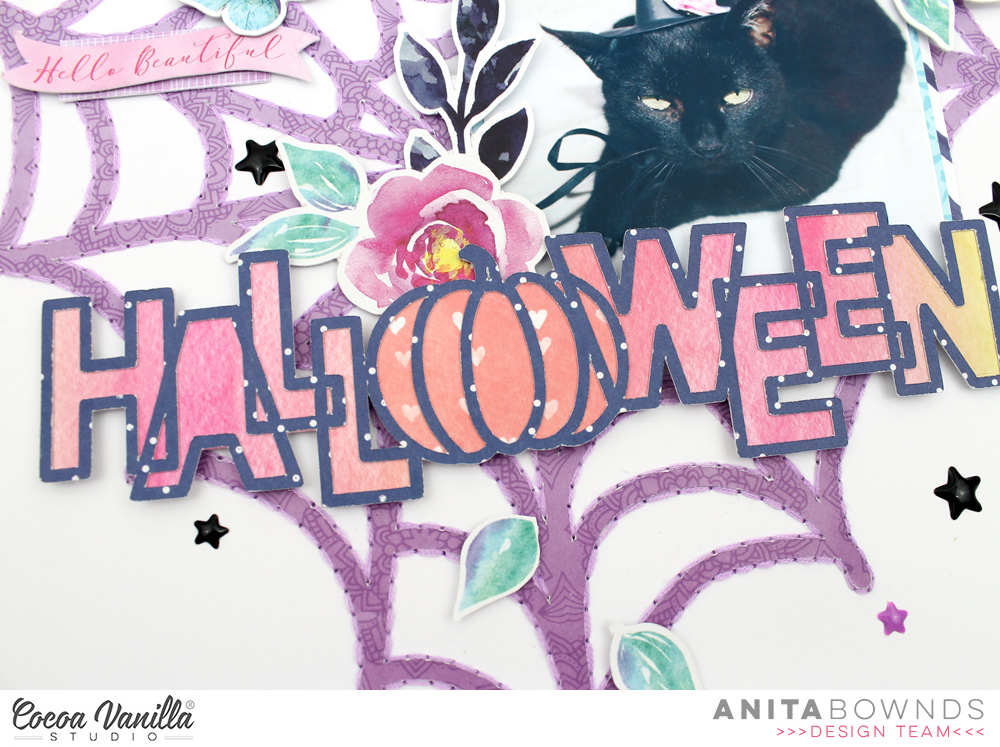
 And here. is version two! I decided to go bold and bright, ensuring my lettering really stood out which I felt it got a little lost in the first version of the layout. The only drawback was I had to convert my photo to black and white, which I think lessens the beauty of the shot.
 On both layouts I have used Story Teller paper as my base so there was a slight contrast with the black dots instead of a flat white. My second version I have used a turquoise cardstock, cutting the Story Teller paper down to 11×11 inches. I also used the same cardstock to cut Girl Squad cut file. on my Silhouette Cameo, in my first layout I used white to cut the Girl Squad cut file.
 I used the beautiful Forget Me Not paper to paper piece the Girl Squad cut file, wanting a smaller print so I could use some of the larger floral die cuts without them getting ‘lost’.
 From the 6×8 inch paper pad I used the Lacewing paper and fussy cut numerous butterflies. I wanted smaller butterflies hence why I used the sheet in the 6×8 inch pad and not the 12×12 paper. I added these with foam tape to create a 3d effect.
 I chose the largest floral bunch from the die cut ephemera pack and added in a way you could still see the lettering. Again I did this with foam tape to add dimension. I added some of the pink and turquoise enamel dots to flowers and under some of the butterfly wings.
 Before adding my photo I used some of the paint blotches from the Clear Sticker Sheet (I adore the clear stickers so much!) to ‘frame’ my photo and draw your eye to it. I used foam tape to attach my photo. I finished off adding some phrase stickers from the Accessory Sticker Sheet.
