
Handmade diary | Storyteller Collection | Anna Komenda
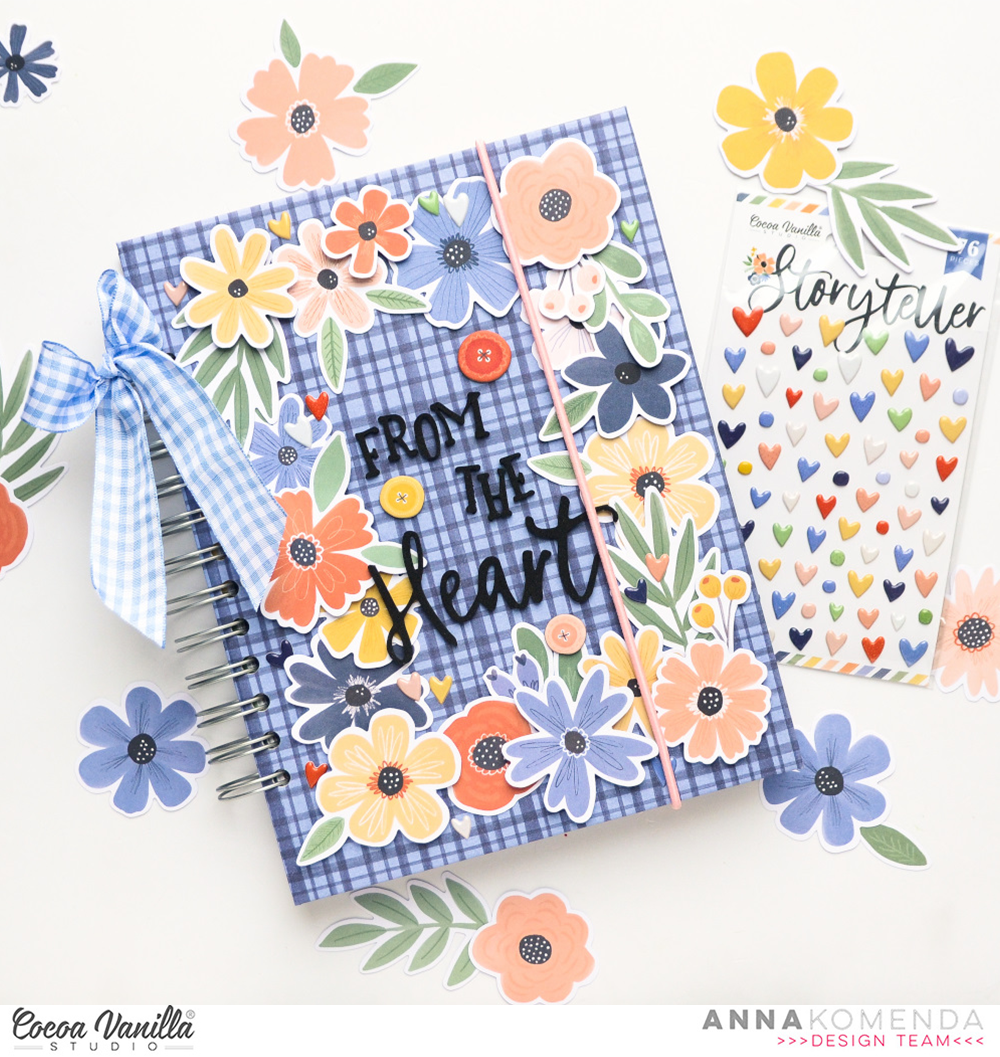
Hello everyone! It’s Anna here with something a little bit different than usual! I know you love all the layouts (and I love them too), but sometimes you are not in the mood for memory scrapbooking. Sometimes you just want to have some fun, use up some embellishments and make something useful. This was exactly my motivation to make this notebook, that can be used as a diary. I am impatiently waiting for the brand new “Happy days” collection to arrive to my doorstep. In the meantime, I still have plenty of other gorgeous lines to play with so I chose “Storyteller” to make my notebook. You can still find plenty of elements from this line in CVS Shop!
As I mentioned, I made this notebook from scratch. If you would like to make something similar, you would need a binding machine like Cinch. I own this tool for years and it still serves me well. I use it to make not only notebooks but also mini albums.
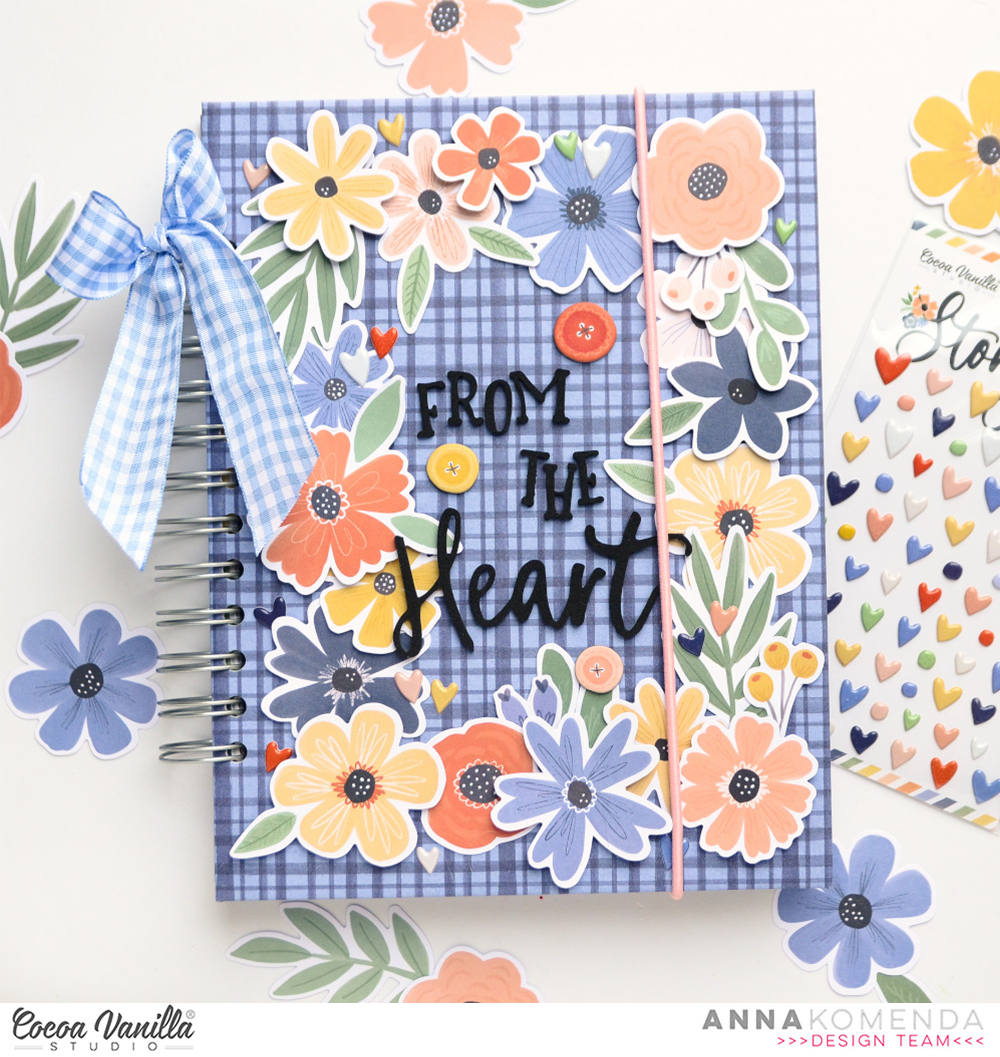
If you would like to make something similar and you have a proper tool, you need to start with choosing your size. I was using A5 sized inserts so my cover needed to be a little big wider and taller. Depending if you wish to add some dividers or tabs, the cover can be a bit wider or shorter – it’s the big advantage of making your own notebook from scratch. I chose “Dits daisy” pattern papers for my front and back covers. I simply cut out pieces of cardboard to the needed size and wrapped them with paper.
I also cut smaller rectangles for the insides of both covers using pretty paper with florals. Now you are ready to punch holes in the covers. You can adjust how many you want, how long the wire should be – it’s all up to you.
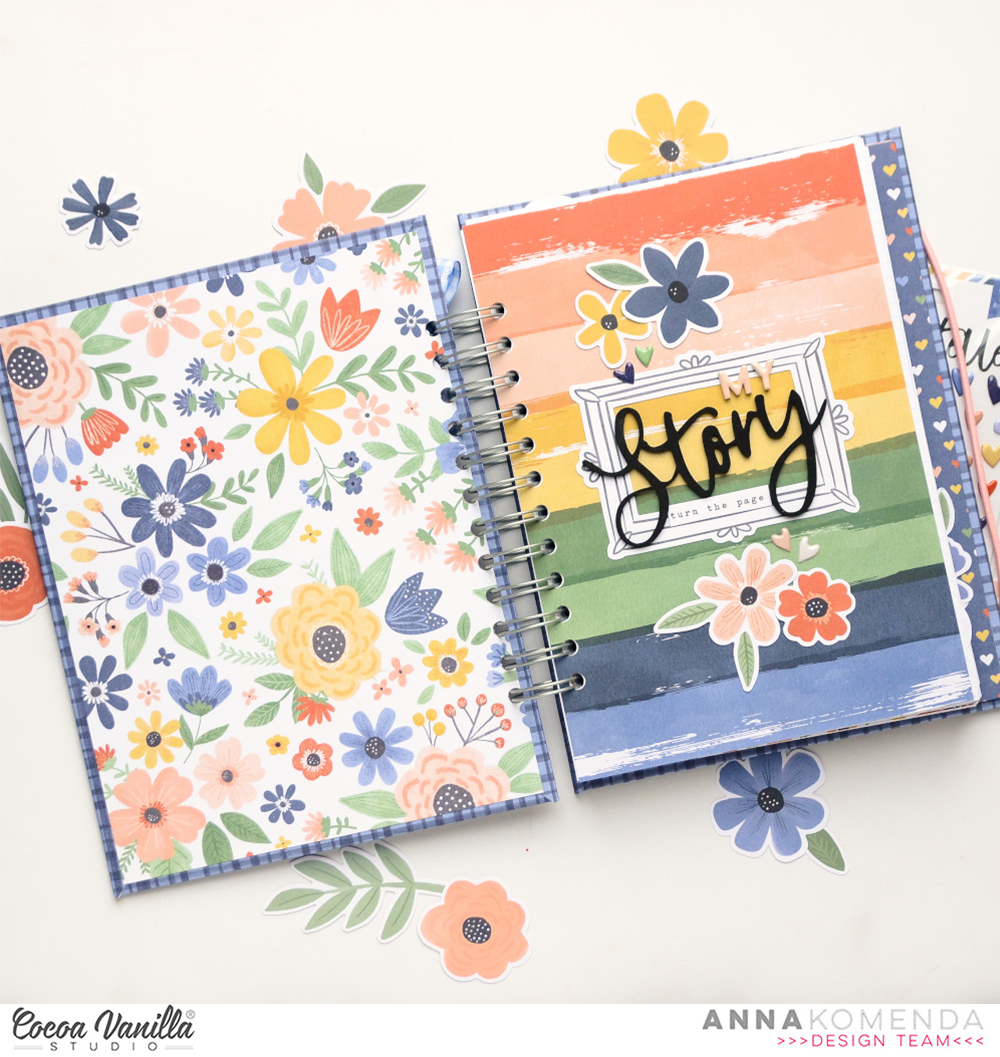
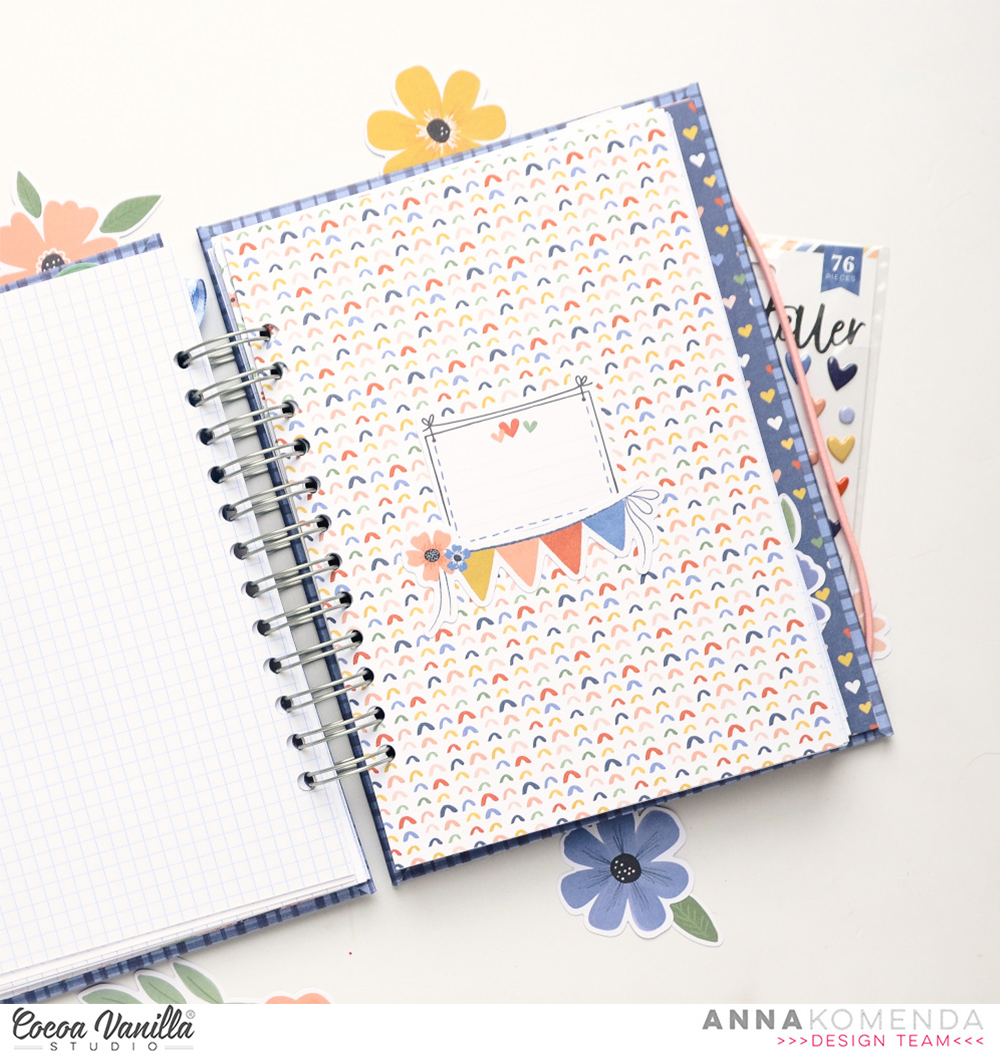
From A5 Paper Stack Pack I chose few sheets to add them between the pages of the notebook. They can be used as a dividers or just some decorative pages, to add something extra to your notebook. I gathered them along the regular sheets and made holes too. With covers and inserts prepared I was ready to bind everything together with 1 inch wire.
After everything was connected, i could start embellishing pages and covers. I started with the dividers, adding some stickers from 6*12 Stickers Sheet and Ephemera Pieces. I challenged myself to use up the whole sheet of stickers and I managed to do so! Mission of making room for new collection completed! :)
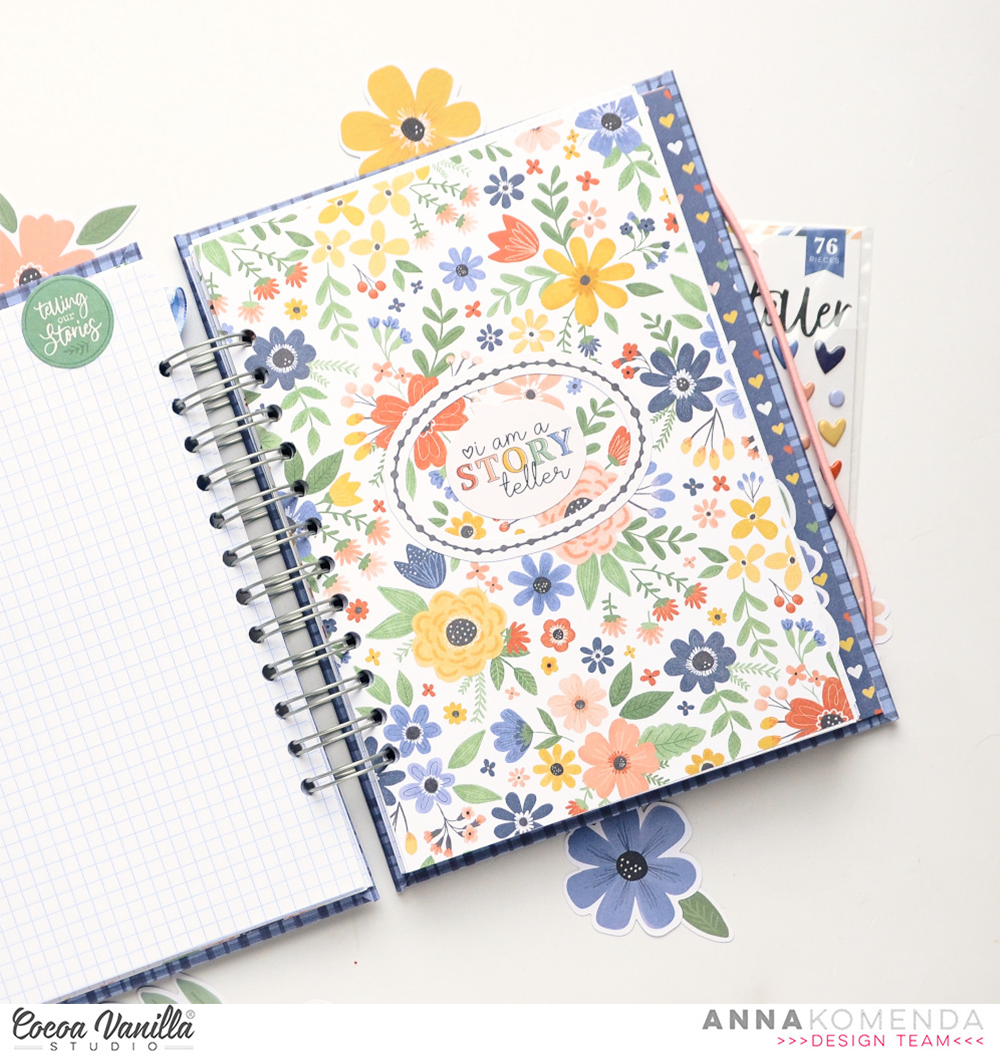
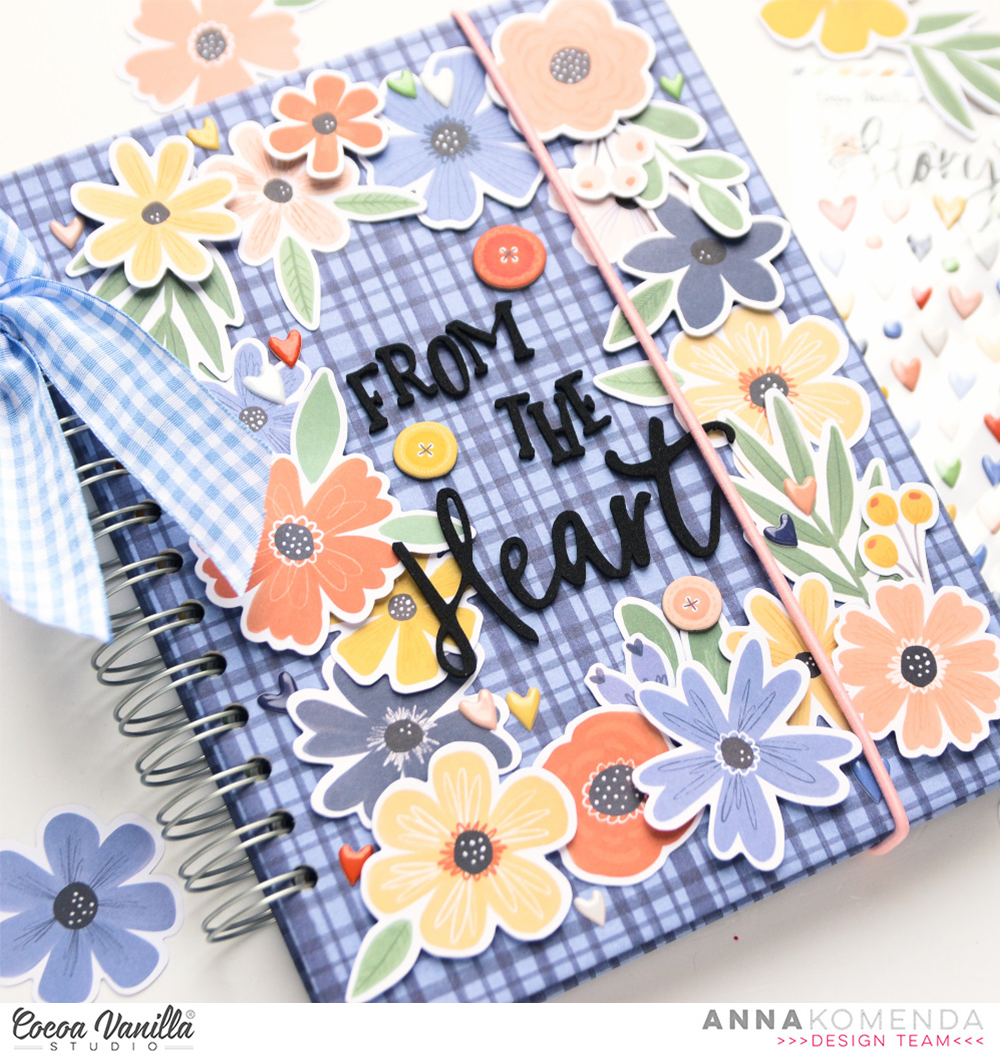
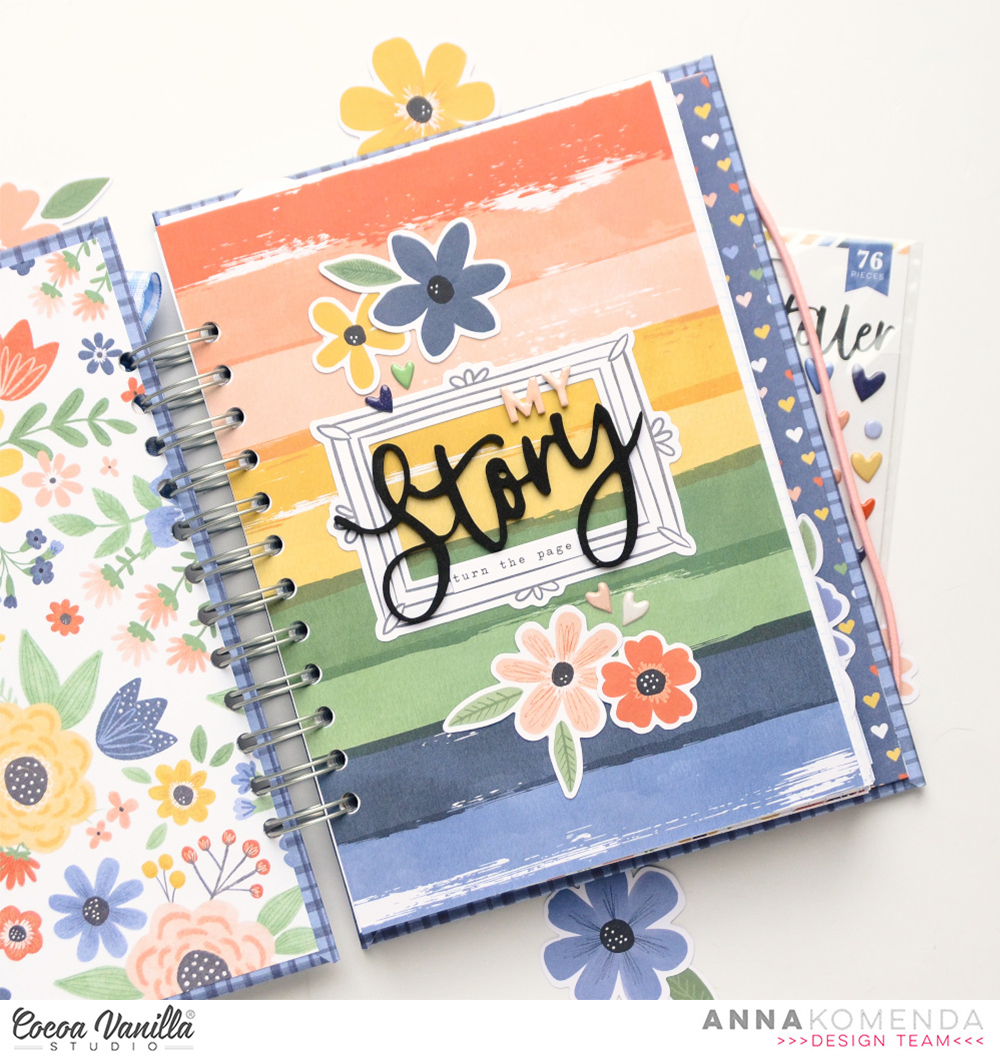
I tried to keep the decorations as flat as possible so the notebook wouldn’t turn out too bulky. It will not close nicely if you add to many dimensional elements inside. However, I added Foam Title Sticker on the first divider and on the notebook cover.
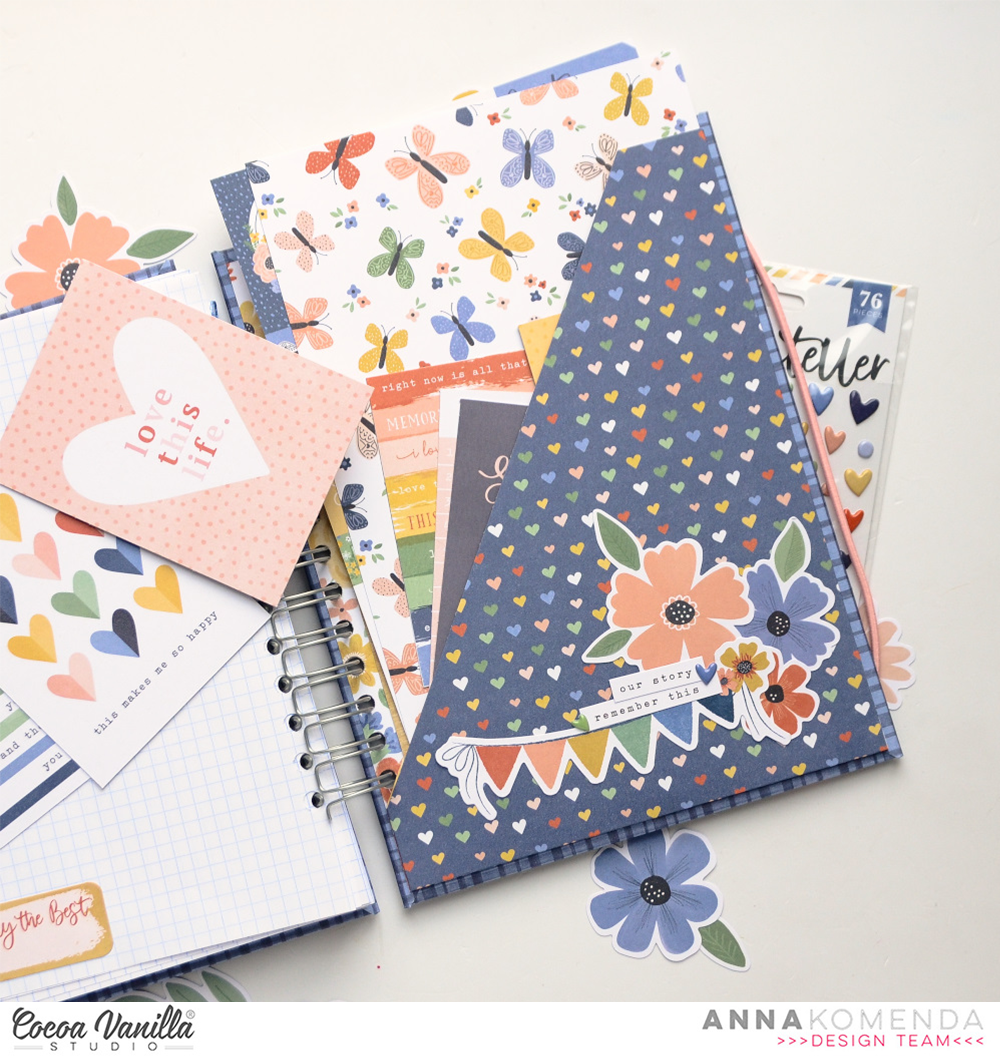
I also added a big pocket on the back cover to hide some extra journaling cards to add to the pages later. You can also keep there some memorabilia! Pocket is decorated with Floral Ephemera. I also added a wreath of flowers on the front cover.
How do you like my idea of handmade notebook? You can use it by yourself or give away as a gift! And you can easily make one with collection leftovers so use up all the bits and pieces!
That is all for today. I will be back in two weeks with another inspiration. Maybe even made with brand new line! Fingers crossed for the fast shipping. “Happy days” is totally my jam and I can’t wait to dive into those yummy colors.
XO Anna