
Let’s Go Explore | Great Escape | Michelle Stokes
Hooley Dooley its February already! Michelle here with you today, sharing something a little different for me using the new Great Escape Collection.
The minute I laid eyes on this awesome collection I immediately thought of all the travel inspired layouts and creations I could make, then I remembered that travel for us has well and truly been on the back burner for quite some time. So why not create a mini book ready for when we are ready to.
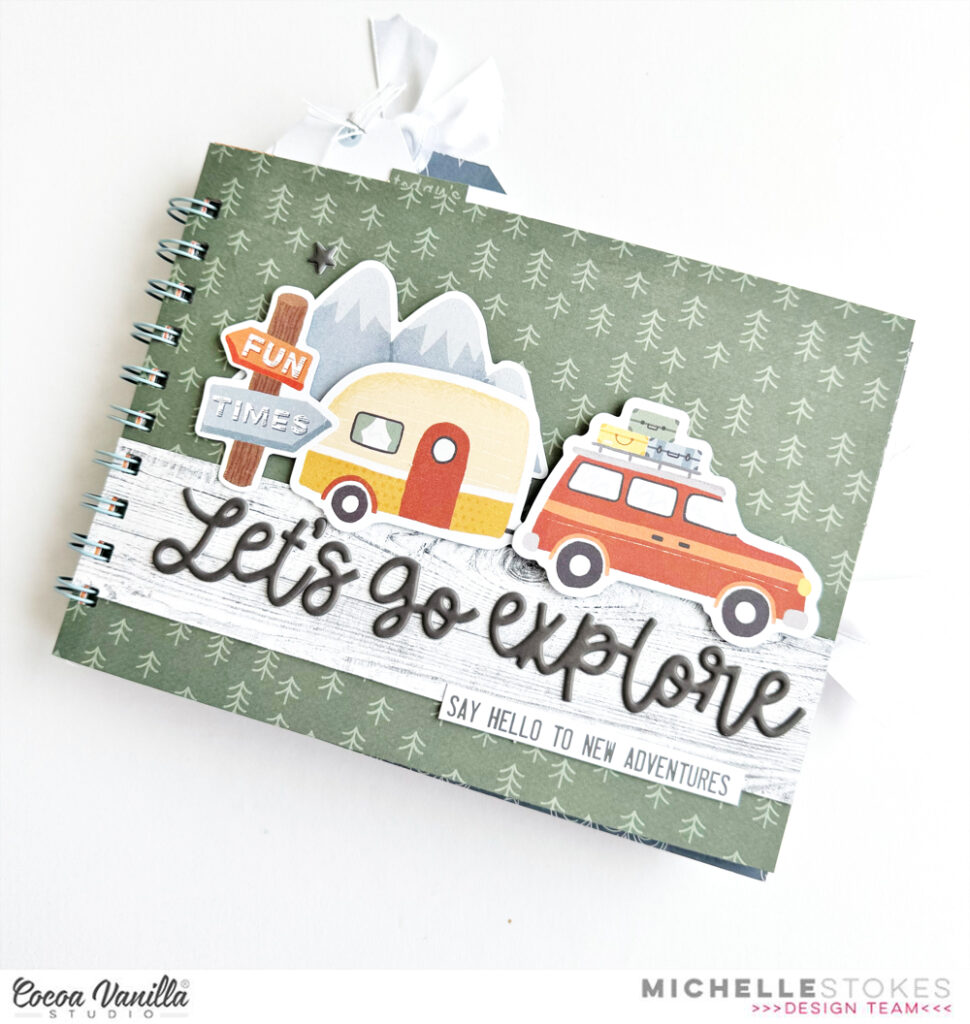
I created this mini album in 6×8 size using so many of the fun pattern papers from this collection, with plenty of space to add photos, write down memories and keep all the things we can collect along the way. Think maps, tickets and tags of all kinds. Theres pockets, fold outs and extra clear pages for all the extra photos I’m sure we will add. I’ll add a list of all materials used at the end of the post for those who may want to recreate for your own travel photos.
Once all the pages and pieces were complete, I bound it all together using my Cinch tool ready for our next family adventure.
Be warned, this is a very photo heavy post as it was just too hard to choose a few photos to share.
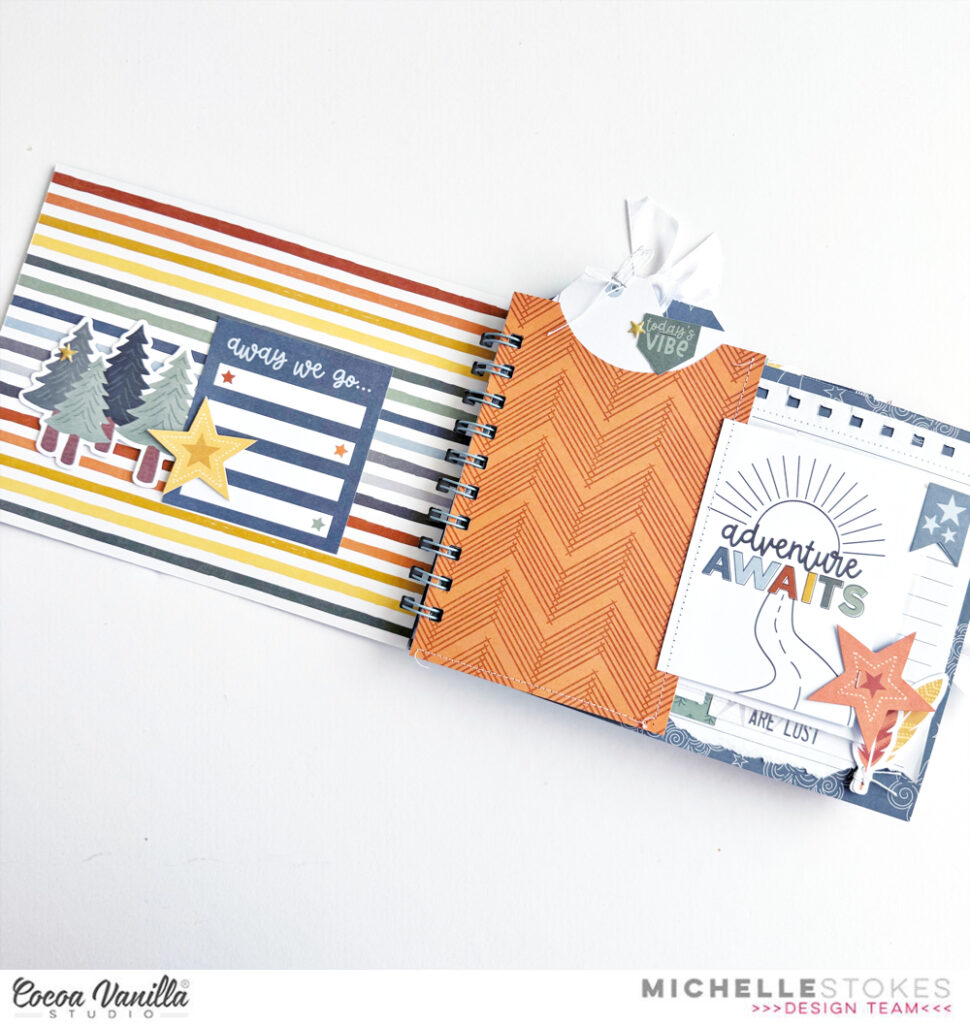

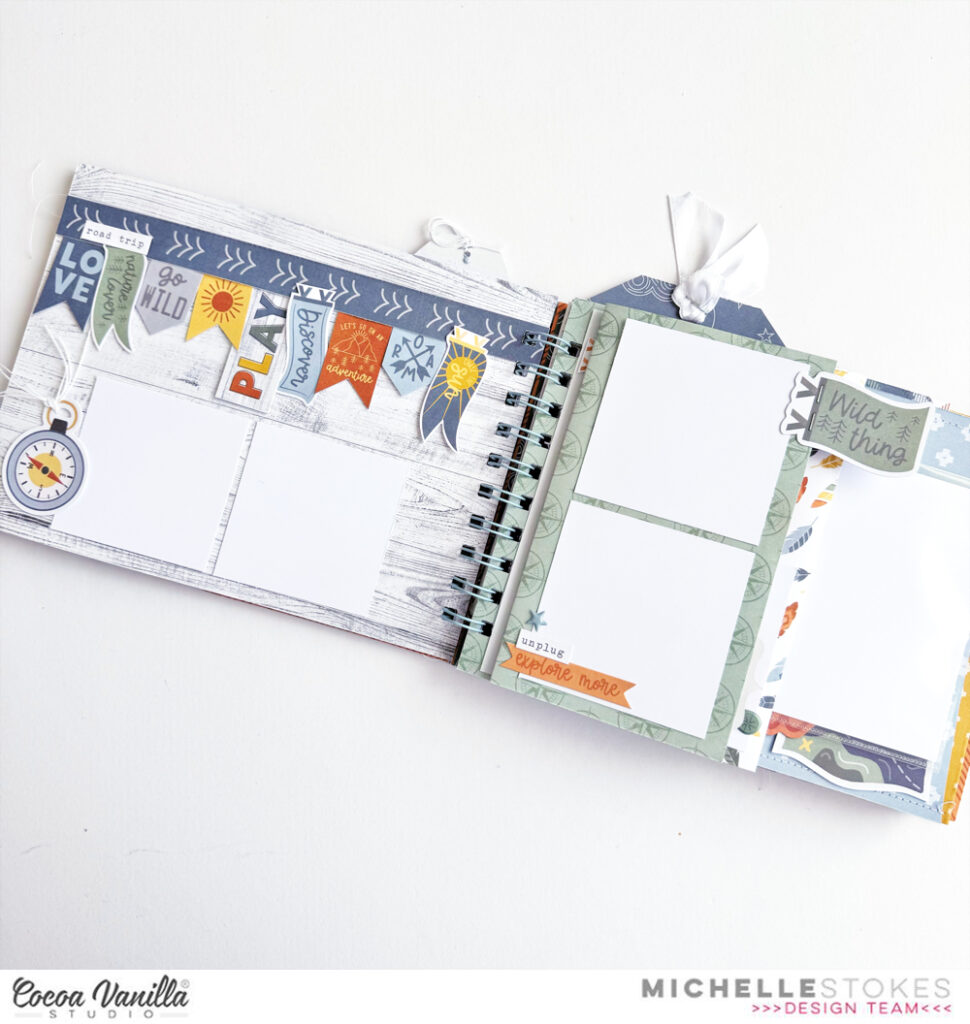
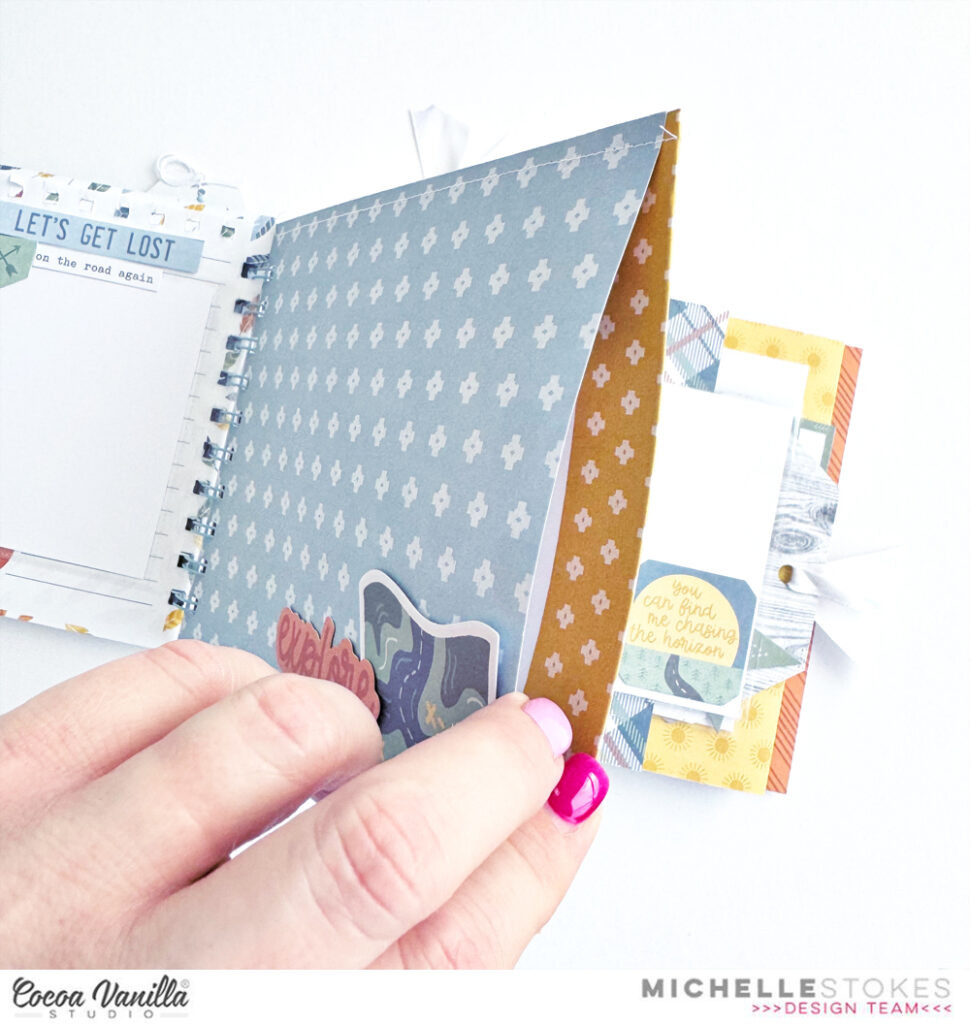
First up is a pocket with hidden tag for photos, bits n pieces or even a little journalling. Then when you flip the page you come across space for larger photos or even postcards collected along the journey
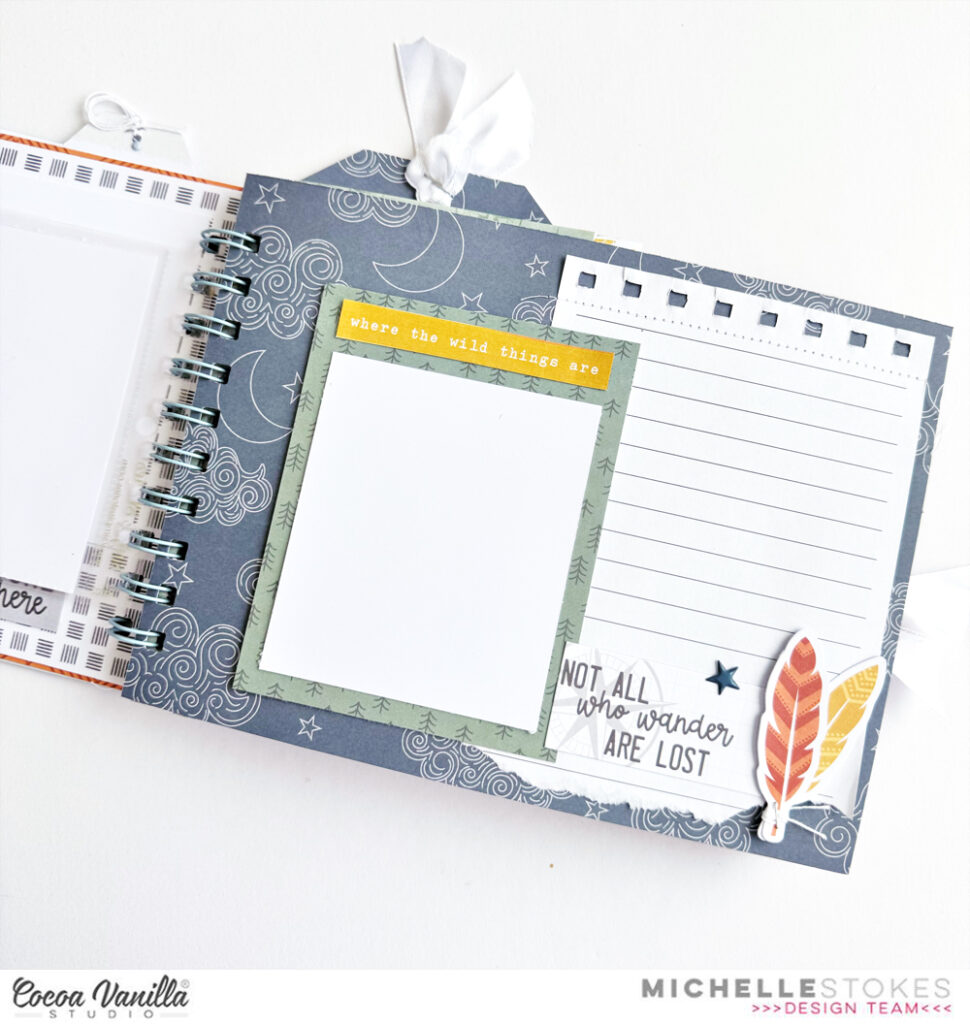
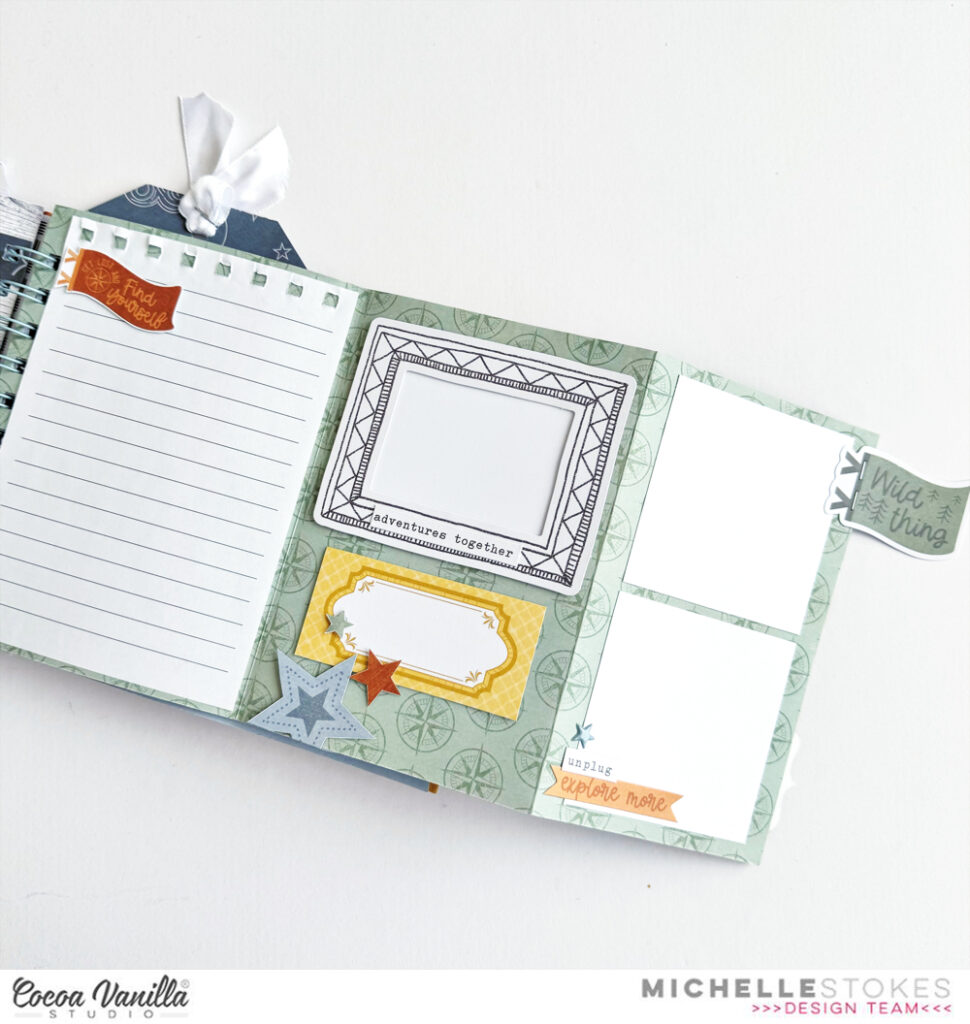
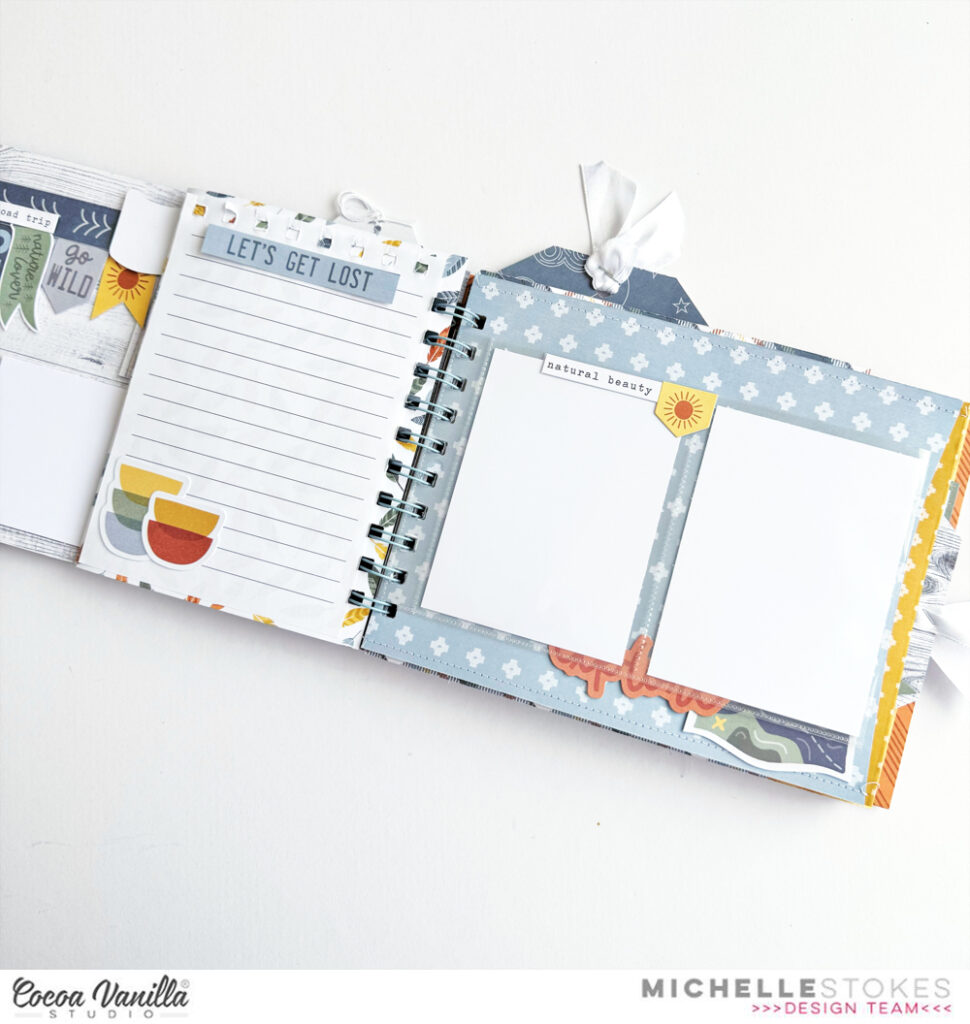
I added in pieces of notepaper scattered throughout the book to give space for journalling all about the adventures being had

I created a large pocket perfect to hold larger items like folded maps and brochures. This was super easy to create by joining 2 pieces of pattern paper together and sewing along the top and bottom. No need to sew along the edge that needed to be closed as the binding coils help to enclose that end.
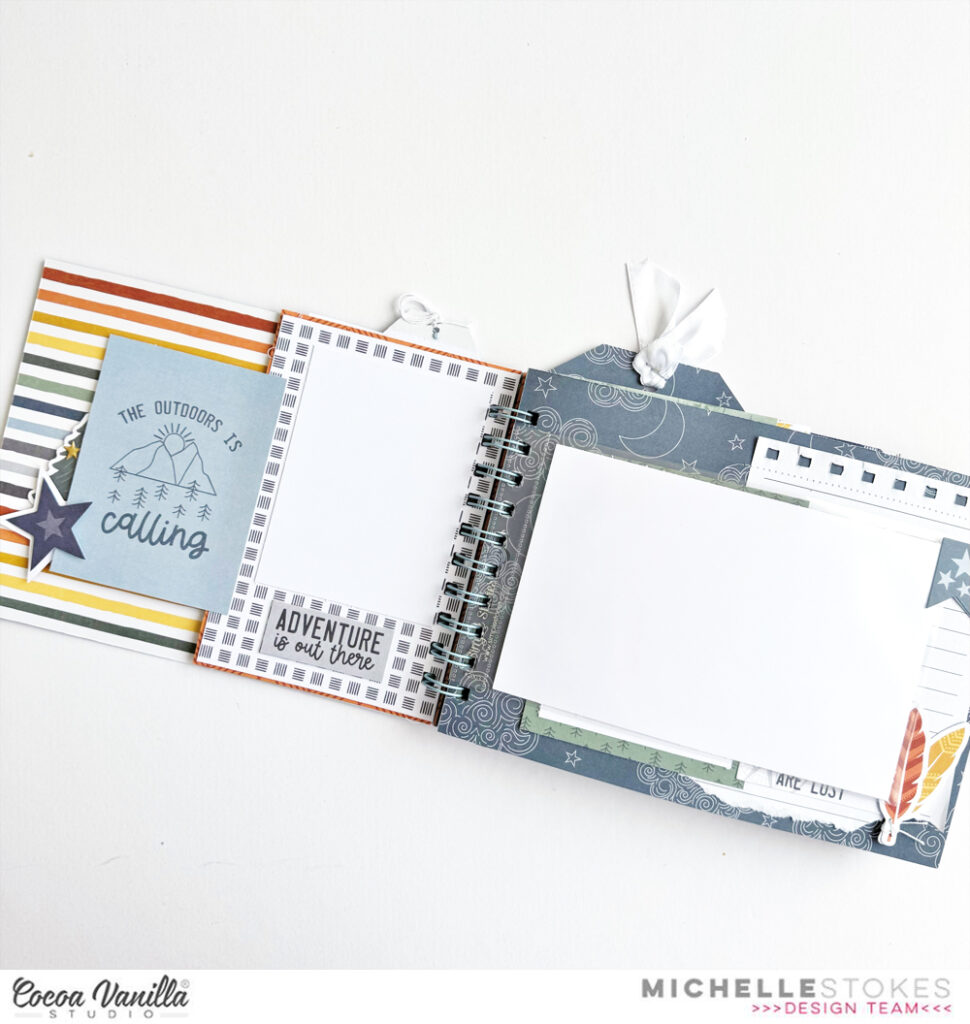
I added another clear pocket over the page for another larger photo, which can be moved like all the pages in this album, by opening up the coil and rearranging.
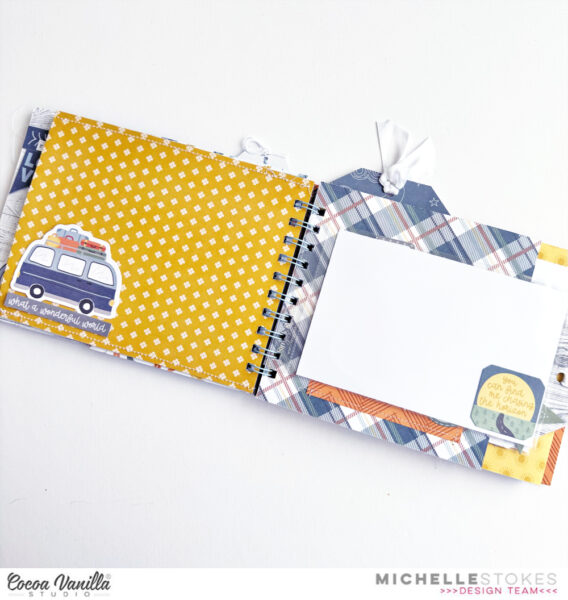
Another funky pocket created by cutting into the paper in line with the design and sewed onto the backing paper using my sewing machine


One of my favourite ways to mix things up in these mini books is by creating different types of pages, this one is a double sided tag with ribbon, reminiscent of a luggage tag


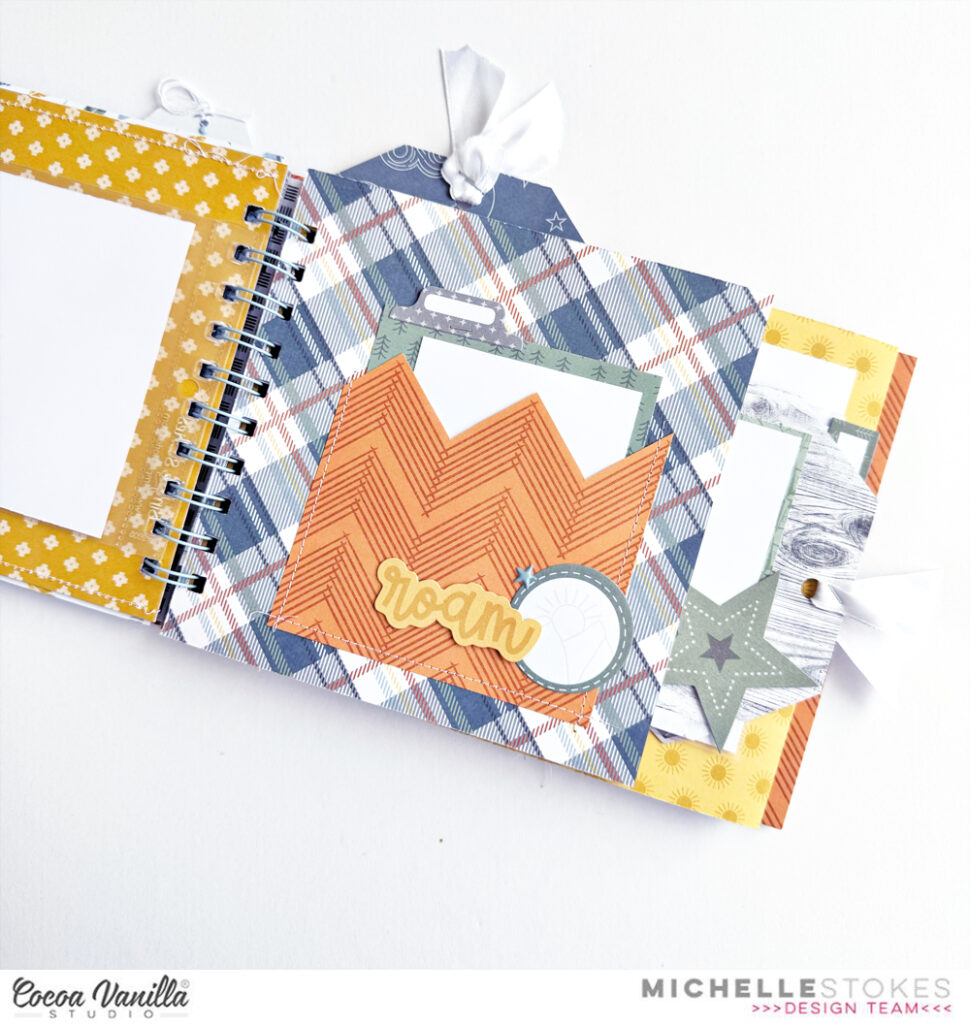
Another fun piece is this flip out page that opens up to showcase multiple photos and journalling together, which would be perfect for extra special moments within the journey


Further into the book theres yet another pocket with some pull out pieces for hidden photos/journalling/ephemera, with the pocket sewn straight onto the pattern paper this time with an opening to the side.


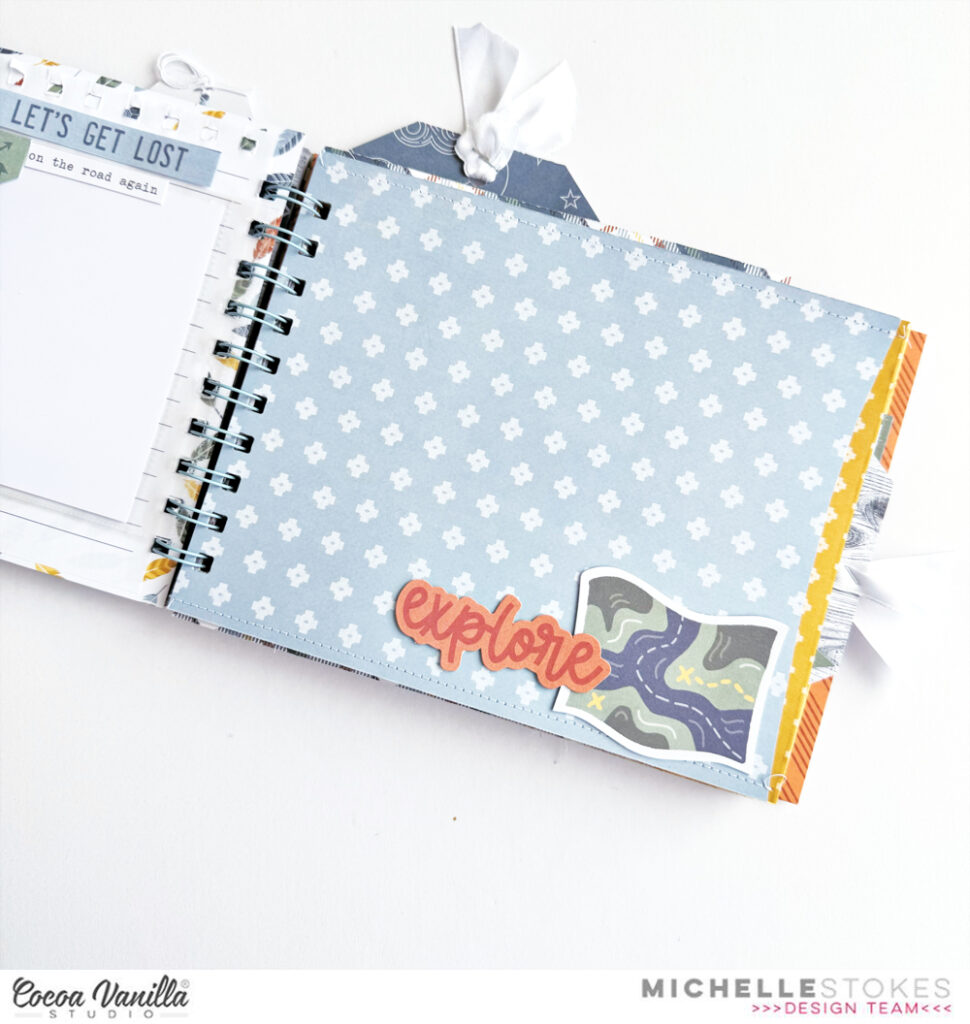
Flipping through theres more places for photos, including a space for some film strip type photos and more journalling.


1 last pocket for the book with a top opening and plenty of space for extra photos/tickets or even receipts from along the journey


Lastly a space on the final page for last thoughts, future trip ideas, extra photos you name it

And a cute little something on the back of the book ready to fill out once its filled up with memories.

Well thats all from me today, thanks so much for stopping by and persevering through the enormous amount of photos I had to share of this fun mini book. If you happen to make your own version, please be sure to share it with us in the Cocoa Vanilla Studio Facebook Community Group as I’d love to see it. Hopefully yours might contain the memories its made for and not sitting patiently waiting for that trip to be booked lol
Until next time, Happy crafting!
Michelle x
PS. Heres whats left of the products I used, with a few extra paper scraps not shown.

Materials & Tools
Great Escape Collection
– 12×12 papers – 1 of each pattern
– A5 paper stack – 4 patterns, 1 of each
– Die Cut Ephemera Pack
– Accessory Sticker sheet
– Foam Title Stickers
– Puffy Stickers
Cinch Machine with Blue binding coil
Sewing Machine with white thread
6×8 clear pocket pages cut in half
White ribbon
Tiny Attacher
Glue Dots
Double sided foam adhesive