
Cool Kid | No Limits collection | Tarrah McLean
Hi creative friends!
It’s Tarrah back with you and today I am sharing a new boy-themed layout using the awesome No Limits collection! The No Limits collection is a bit of a throwback to one of the older Cocoa Vanilla collections but I love revisiting older collections! I don’t know about you but if I have heaps of a collection left, I like to challenge myself to use it up!
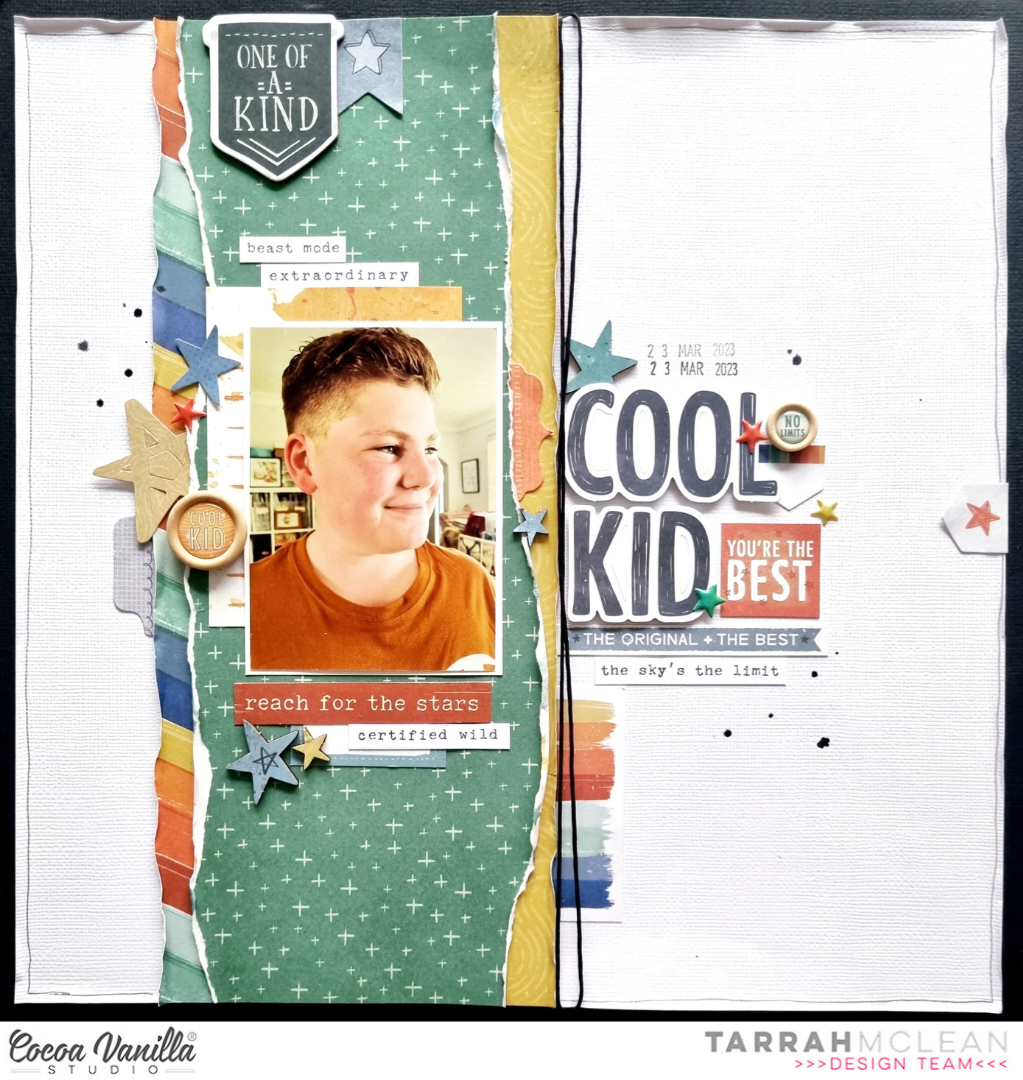
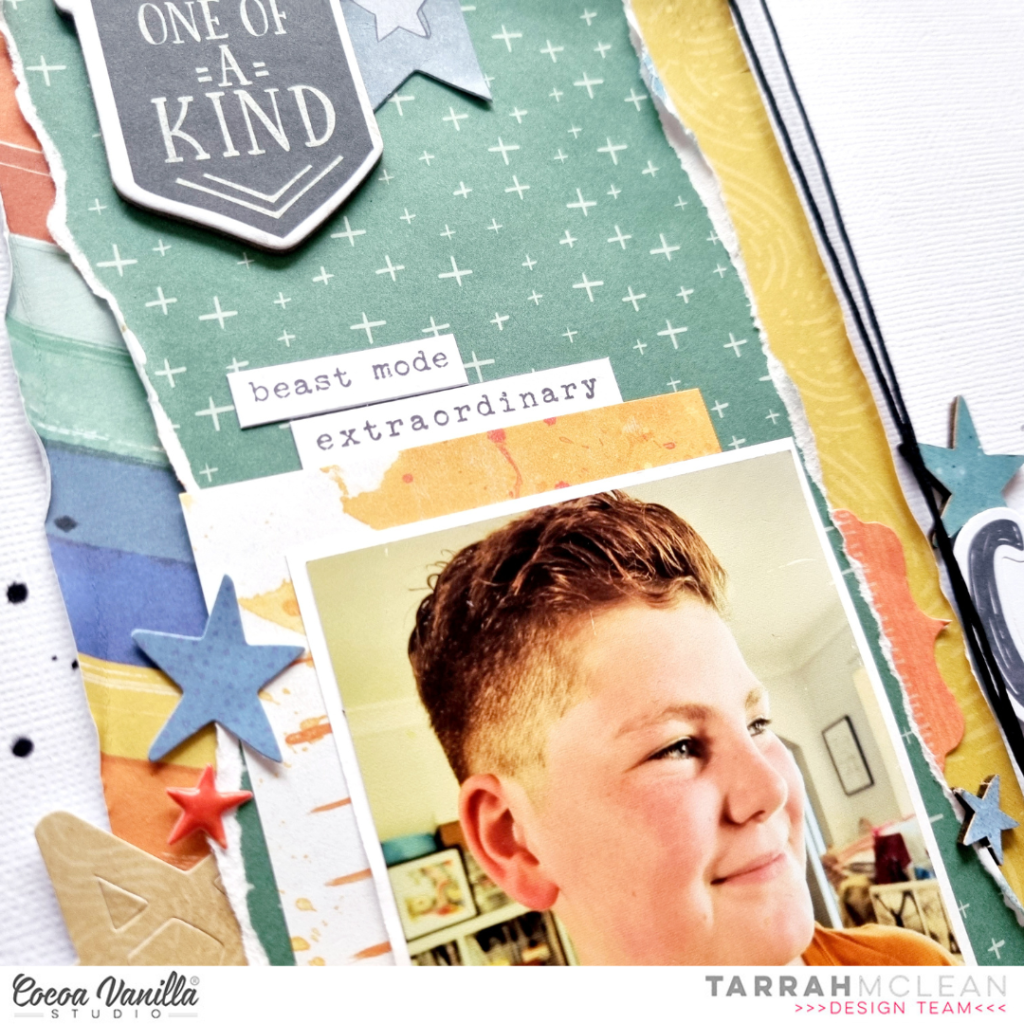
I started out with a white cardstock background as I mostly always do, trimming it down to measure 11′ x 11′ and adhering it to a sheet of black cardstock. I took the Nebula paper and tore rough edges down each side. I then took some of the Latitude paper and tore a piece vertically, I adhered the Nebula paper down and the yellow side of the Latitude paper on the right side. I trimmed the colourful border strip from the Universal paper and adhered this piece to left of the Nebula paper. I bent the edges of the papers using my fingers to add some texture and to add to the grunge/boy theme feel of the page. On the right of the papers, I added some black twine also for some added texture.
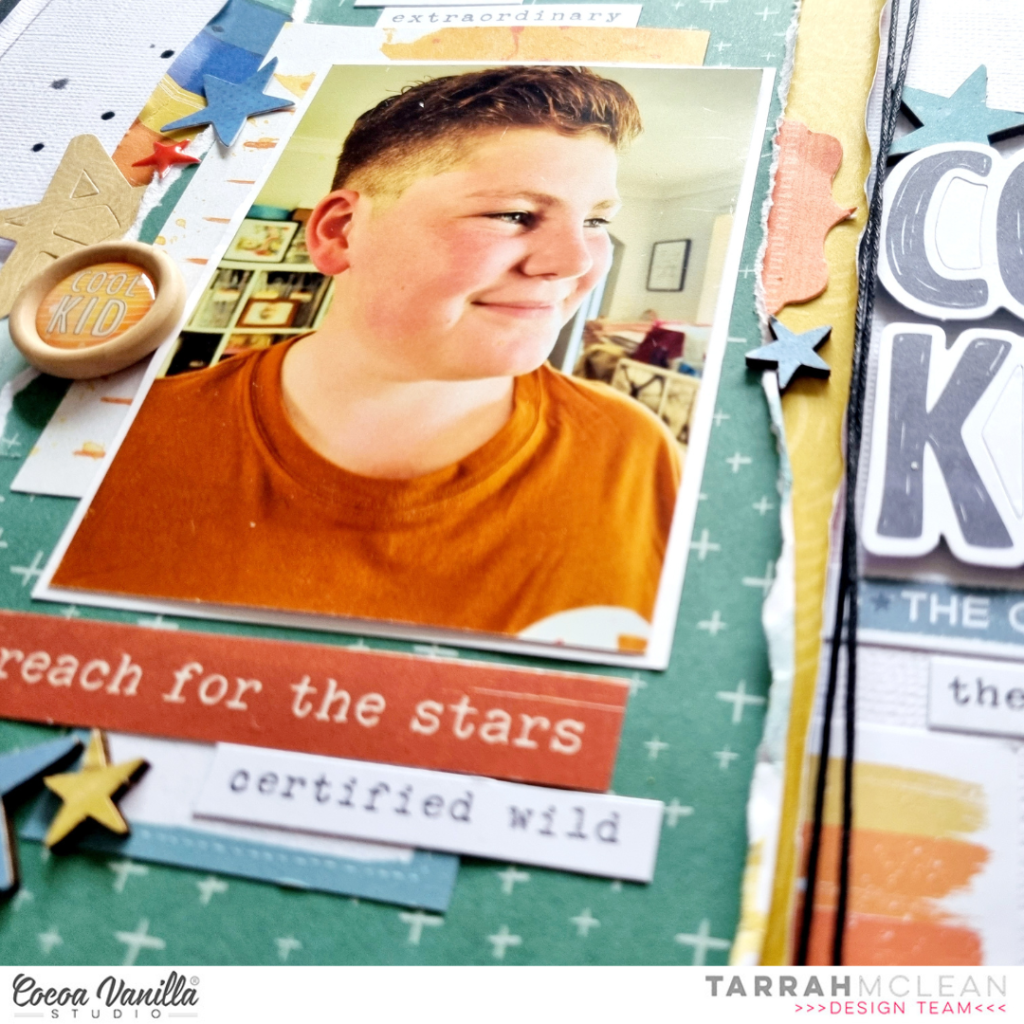
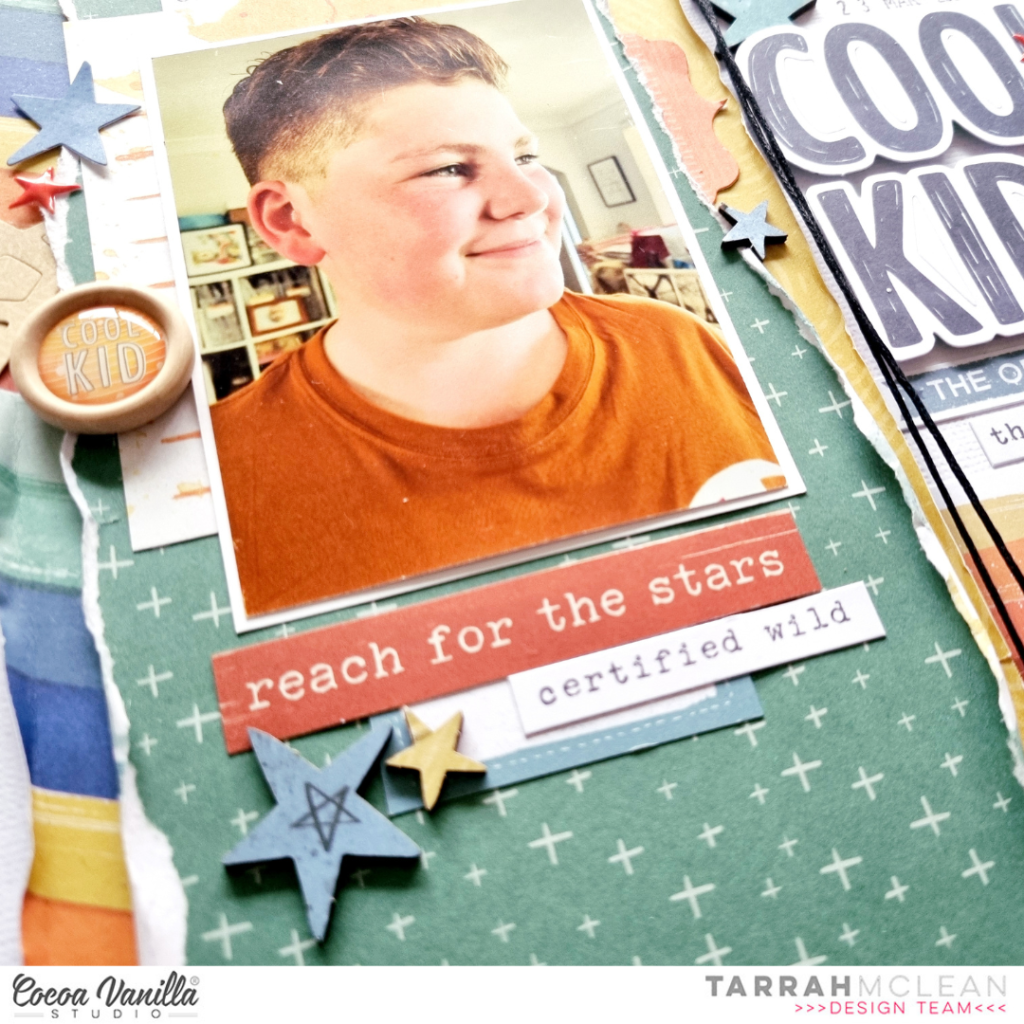
The photo is of my youngest son just after a haircut, he was loving his haircut and I just loved the look on his face so I snapped a few photos of him! I placed the photo in the centre of the papers, I layered one of the 3′ x 4′ pocket cards under the photo for an extra layer. I added some phrase stickers from the Accessory Sticker Sheet here to help tell the story of my layout. Although Certified Wild and Beast Mode may not be quite true lol! The One of a Kind chipboard certainly is true though and I placed this piece at the very top of the page.
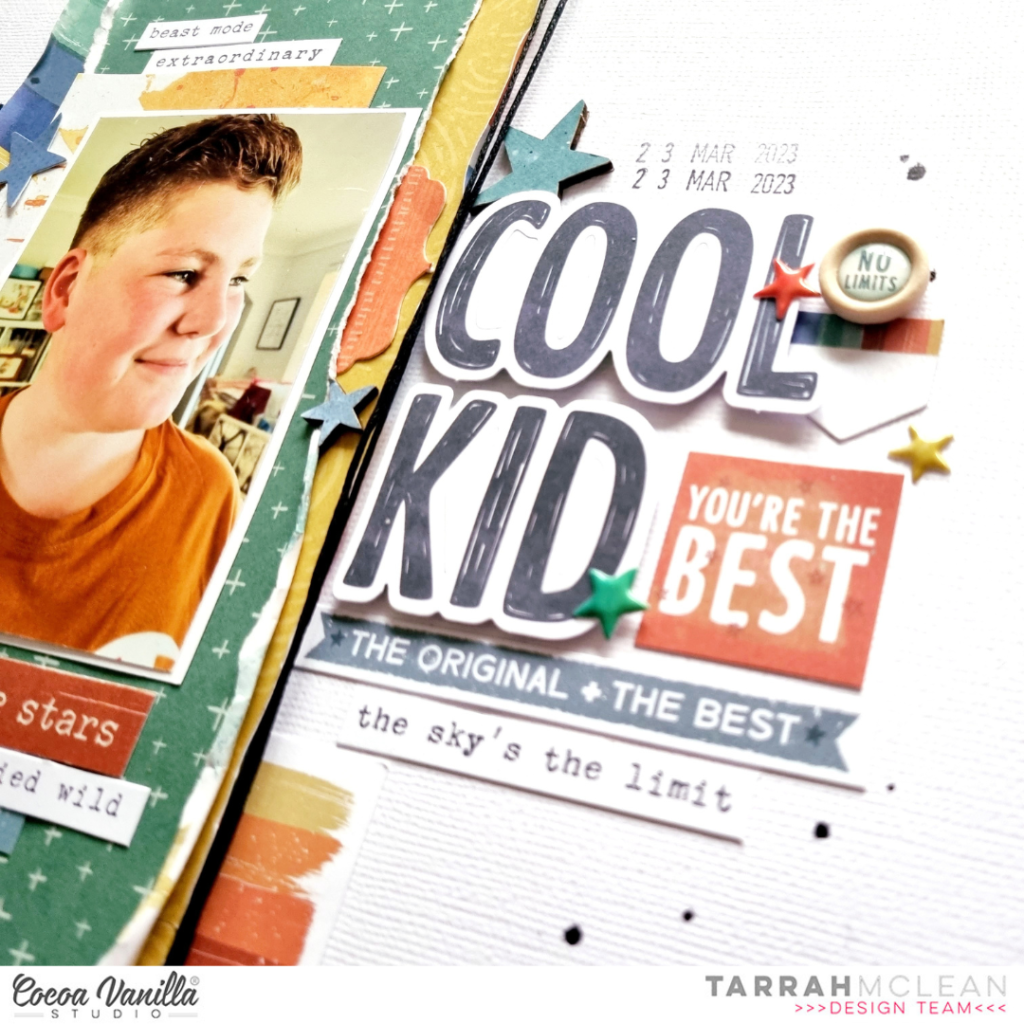
To the right of my photo, I placed my title which is made up of the Die-cut Titles, I used craft foam underneath these to pop them off the page. I don’t know about you but I love the font of these titles! I added some phrases below the title here and then began to add some of the smaller embellishments. I added lots of star embellishments, including die-cuts, chipboard stars and puffy stars. I also added wood epoxy buttons and some tab stickers from the Accessory Sticker sheet.
I love the dimension, detail and texture that all the different papers and embellishments add to a page. The last thing I did was I stamped the date of when my photo was taken, I sprinkled some black mist and freehand drew a black border around the edge using my journal pen. I love how my boy themed layout turned out and hope you enjoyed reading about how I created it.
Thanks so much for stopping by the Cocoa Vanilla blog today!
Happy creating!
Tarrah x
09/08/2023 @ 9:51 am
😎 awesome inspiration thanks.