
Laugh Love Happy | Happiness collection | Tarrah McLean
Hi creative friends!
It’s Tarrah back with you and today I am here to share a new scrapbook layout featuring the older but still GORGEOUS Happiness collection! The Happiness collection would have to be one of my absolute favourites by Cocoa Vanilla Studio! I love it sooo much!
The Happiness collection was the perfect collection to document a photo of my son, my Mum and I out exploring recently. We love getting outside and exploring my parents farm together!
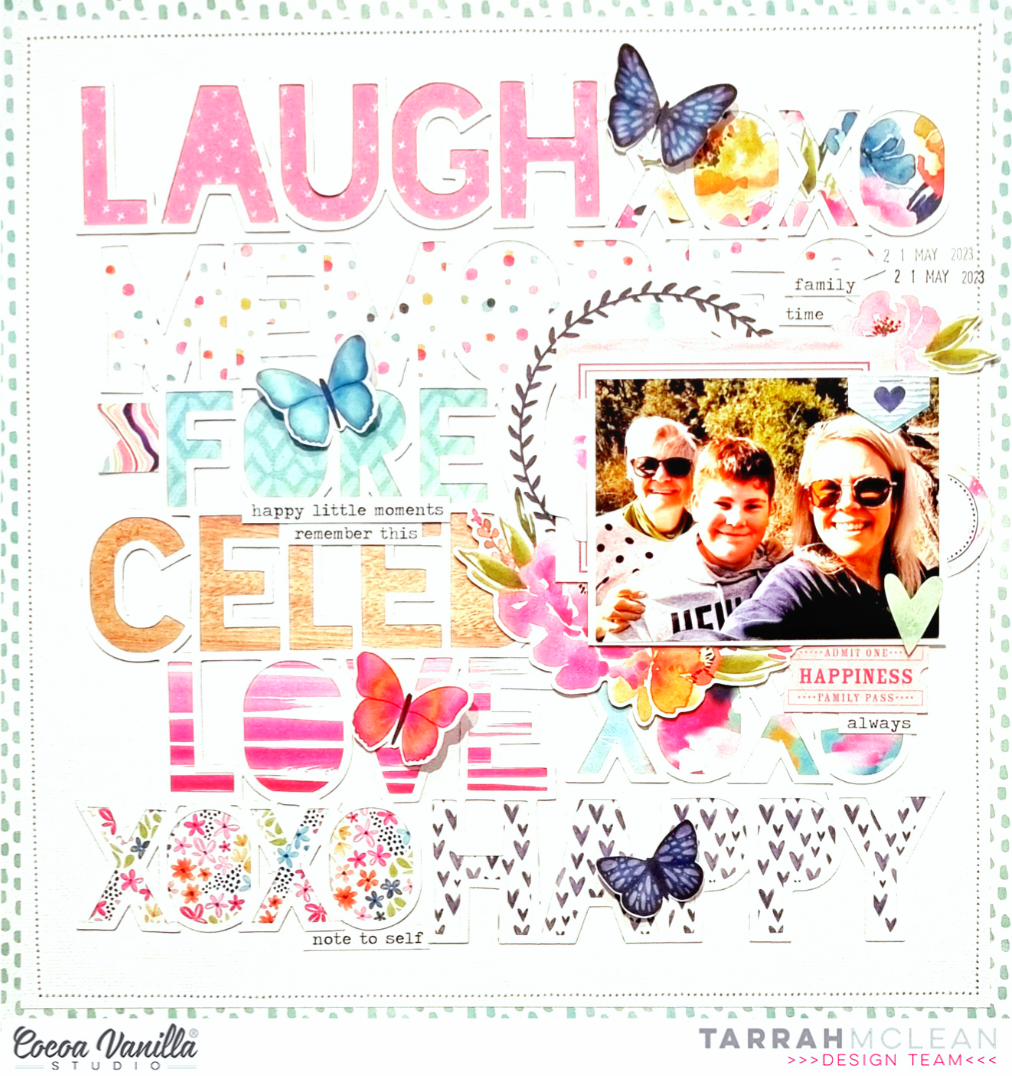
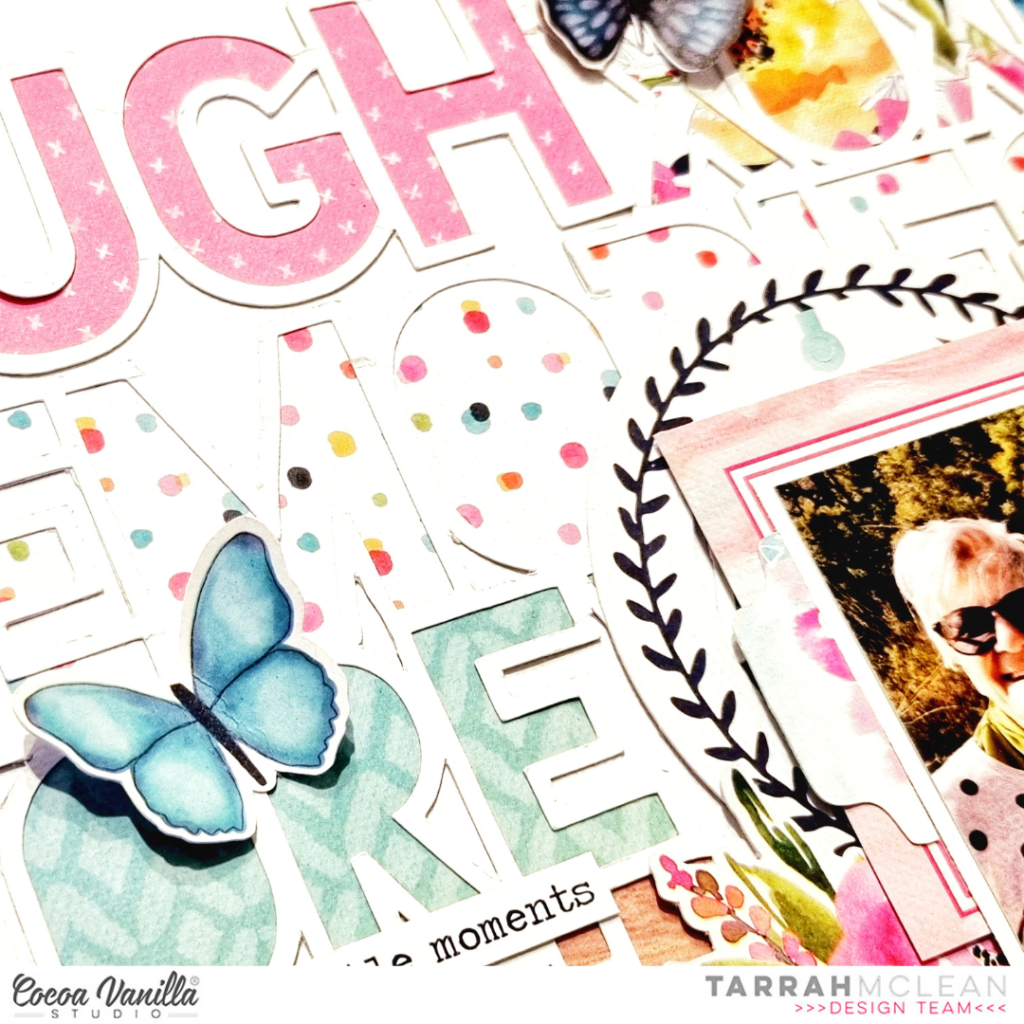
I cut out a large cut file from CUT to YOU using white cardstock, I then chose lots of different papers from the A5 paper stack and backed all of the words with a different paper. This does take some time to get everything all backed however I love the end result and all that time it takes is worth it. I adhered the cut file to another sheet of plain white cardstock using regular adhesive, I often use craft foam underneath cut files but this time I didn’t. I trimmed down the cardstock to about 11′ x 11′ and adhered it to the Little Things 12′ x 12′ paper. I then machine stitched a border around the outside edge to create some texture.
Tip: If you only have a small amount of a collection left (mainly papers) and you want to use it up, cutting out a large cut file is a great way to use up some excess papers, you don’t need too many embellishments by doing this either.
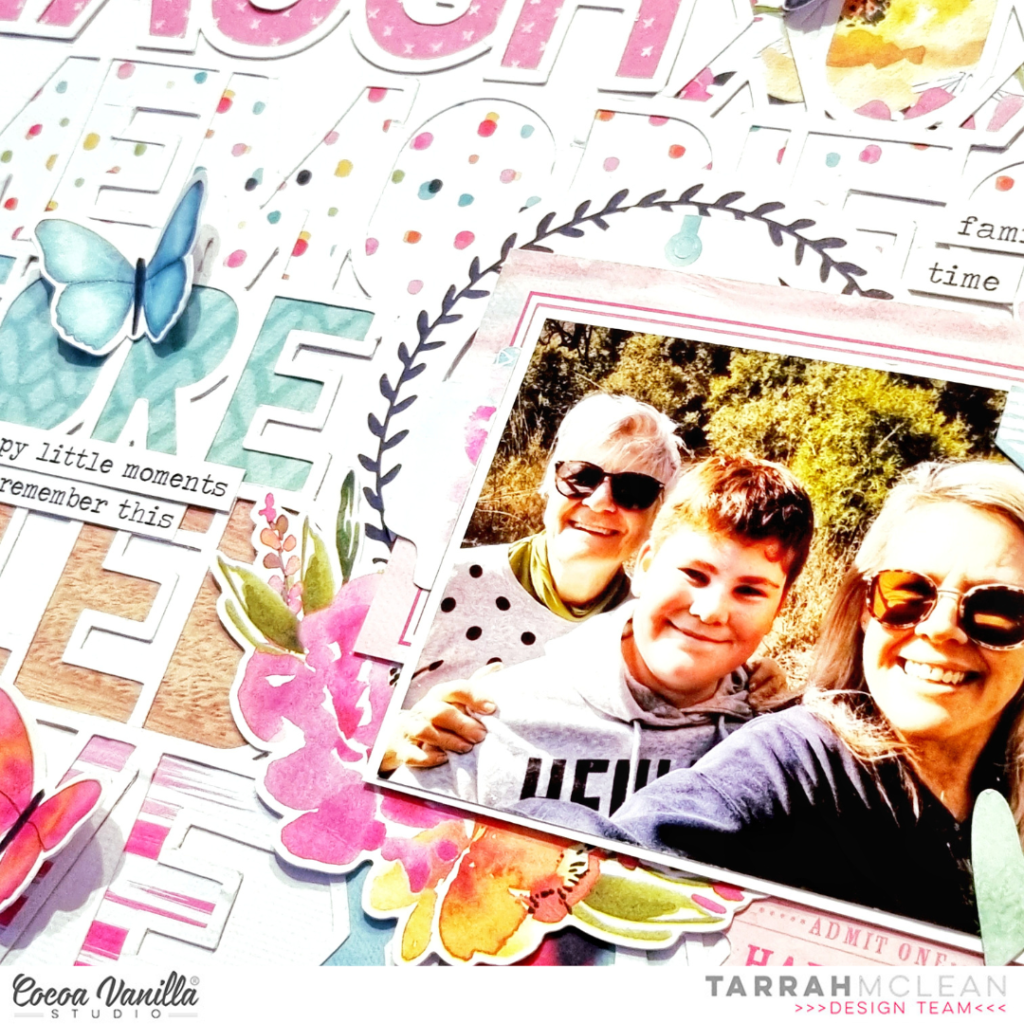
I placed my photo over on the right hand side of the layout, I did have to cover up some of the cut file but I knew that and I am ok with that. I layered a paper underneath the photo and one of the round die-cuts from the ephemera pack and also tucked in some of the gorgeous florals in the top right and bottom left corners. The florals in this collection are stunning don’t you agree?!
To help draw the eye towards the photo some more, I added a die-cut heart in the bottom right corner of the photo, a banner sticker to the top right corner and a tab on the left of the photo. On the right hand side, I tucked in one of the circle stickers, above the photo, I placed some phrase stickers and stamped the date stamp. Creating layers gives the layout depth and lots of interest and really draws the eye into the subject of the layout.

To help the readers eye travel around the layout, I added more phrase stickers from the Accessory Sticker Sheet reading from the top of the page to the bottom of the page. These phrase stickers help to tell the story of the photo and are great to use instead of journalling. I don’t like my handwriting at all so these stickers are perfect for me to use for this purpose. I took some of the gorgeous butterfly die-cuts from the Ephemera pack and placed them tone on tone on the layout. I bent up their wings to add dimension and texture.

Thank you so much for stopping by the Cocoa Vanilla blog today! I hope you enjoyed reading about how I created my layout as much as I enjoyed creating it!
Happy creating!
Tarrah x